


What is the Orton Effect?
I often apply the Orton effect to some of my images and there are a few different ways of creating this effect. In this article I will show you the specific technique that I follow to apply the Orton effect to my images.
Essentially, the Orton effect gently blurs your image to give a dream-like / glow quality and it is being commonly used among landscape photographers.
To create the Orton effect in Photoshop is a very simple process that I will describe in 4 steps as follows:
Step 1 – Stamp all your layers on top twice

When you finish retouching your image, stamp all your layers on top with the following shortcut: Ctrl + Alt + Shift + E (or Command + Alt + Shift + E if you are a Mac user)
Step 2 – On layer One use Gaussian Blur and Blending Mode Multiply @ 70% opacity

On the first layer created, apply a Gaussian blur. To do this, with Photoshop go to:
Filter>Blur>Gaussian Blur and apply a radius of 20. The radius you can choose mainly depends on the size of the image you are working on. With my files I normally choose a radius of 20-22.

Then go the Blend Mode of this layer and change it to Multiply. Reduce the opacity of the layer to 70%
Step 3 – Layer Two – Blend Mode: Screen

Now work on the second layer that you had created on step 1 (this should be the one at the top of all your layers). On that second layer all you have to do is to go to the blend mode and change it to Screen.
Step 4 – Masking

Now the Orton effect has been created to the whole image but you want to try to be selective and just apply the effect to some specific areas (such as the sky) as it can soften important textures and details of the image.
So to mask out of the areas you don’t want it to be applied group both layers using the shortcut: Control + G and then create a Mask.
Paint on the mask with the brush on the areas where you don’t want to apply the Orton effect.
Save the image as a TIFF file with all layers and that’s it!, simple isn’t it?
Tip: Once you apply this effect some colours in your image might became a bit saturated. Be aware of this and whether or not this effect is enhancing or degrading your image.
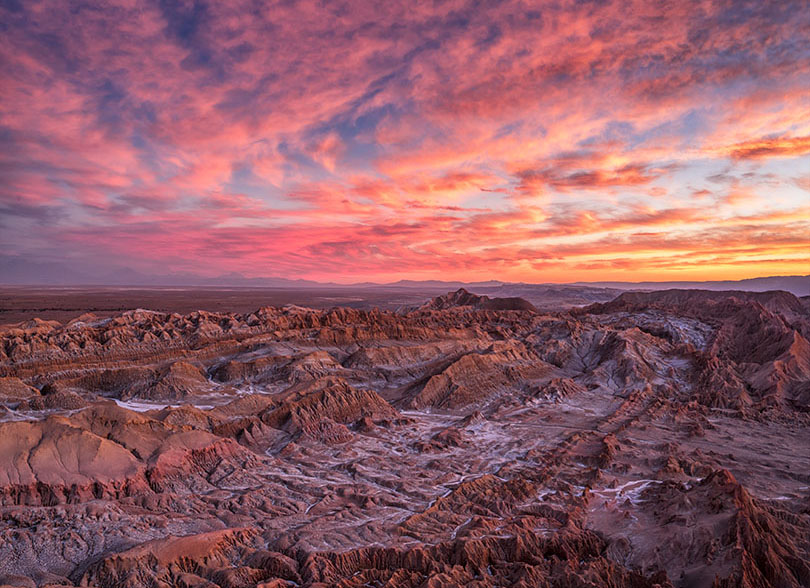
One example

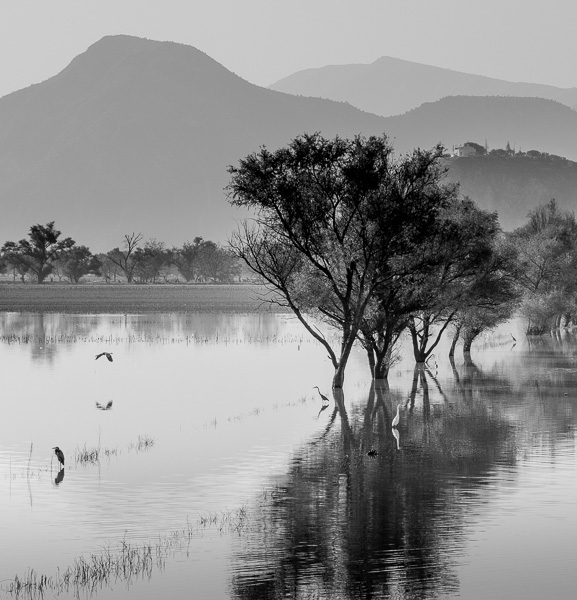
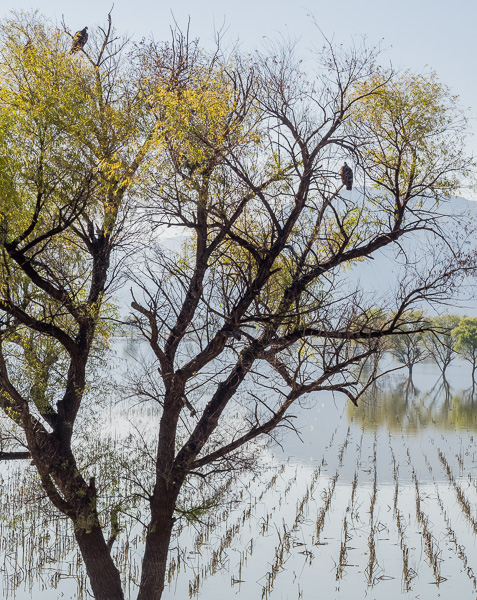
Although it might be a bit difficult to appreciate this on your computer screen or tablet, I wanted to include an image of my recent trip to the Atacama Desert with Luminous Landscape to show the before and after the Orton effect. Notice the blur and glow on the clouds on the above image? – That’s the Orton. I normally use it for the clouds, but depending on your image, you can also apply it to sea waves, to lakes, reflections etc. Have fun!
Ignacio Palacios
May 2016
Elevate Your Vision


Read this story and all the best stories on The Luminous Landscape
The author has made this story available to Luminous Landscape members only. Upgrade to get instant access to this story and other benefits available only to members.
Why choose us?
Luminous-Landscape is a membership site. Our website contains over 5300 articles on almost every topic, camera, lens and printer you can imagine. Our membership model is simple, just $2 a month ($24.00 USD a year). This $24 gains you access to a wealth of information including all our past and future video tutorials on such topics as Lightroom, Capture One, Printing, file management and dozens of interviews and travel videos.
- New Articles every few days
- All original content found nowhere else on the web
- No Pop Up Google Sense ads – Our advertisers are photo related
- Download/stream video to any device
- NEW videos monthly
- Top well-known photographer contributors
- Posts from industry leaders
- Speciality Photography Workshops
- Mobile device scalable
- Exclusive video interviews
- Special vendor offers for members
- Hands On Product reviews
- FREE – User Forum. One of the most read user forums on the internet
- Access to our community Buy and Sell pages; for members only.
You may also like