One of the questions that I’m asked most frequently at workshops and seminars is about my preferred workflow when working with a digital SLR. Here then are the steps that I take, from camera settings to Photoshop. I’ve also provided some insights, where appropriate, into the "whys" of what I do.
Camera Settings
If you are shooting for editorial purposes where deadlines are tight and images need to be transmitted then you will likely shoot JPG files. This makes sense for snapshots as well. I’m not going to dwell on shooting in this manner. Rather I will focus on the techniques need to extract maximum image quality from your camera, and shooting JPG files with pre-set colour balance isn’t one of these.
A RAW file is like a camera negative. It contains all of the information that the camera’s chip was able to record, without any processing. All of the camera’s settings for White Balance, Sharpness, colour temperature etc are irrelevant if you shoot in RAW mode. The reason for this is that you will be able to control these after the fact, either in your RAW processing software or Photoshop. There is no advantage in doing these in-camera, and there are some disadvantages.
Therefore the two camera settings that you want areAuto White BalanceandRAWmode. But first, let’s look at getting the exposure right.
Exposure
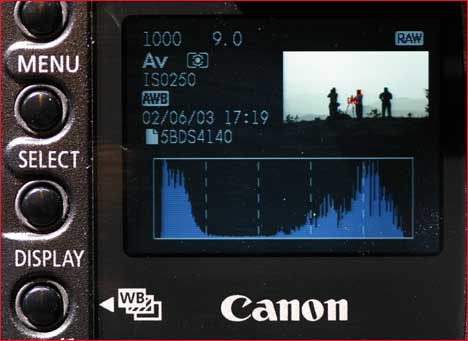
Set your camera so that the rear LCD review shows a histogram overlayed on the image after each shot is taken. You don’t have to always look at it, but it’s worth the bit of extra battery consumption to always have it available. I usually have my cameras set for an 8 second review. I find histogram review to be possibly the single most valuable advantage that shooting digital has over shooting film. (We’ll, there are others, but indulge me).
The advantage of the histogram is that you can tell at a glance (it’s like learning to read an analog watch when you’re a child) whether the camera has been able to capture the brightness range of the subject. Simply put, as long as there isn’t a significant bunch-up of the graph to the right — where the highlight values are displayed — you will have something that you can work with.
Digital imaging chips are like colour transparency film in this regard. Once the highlights are blown out, there’s no getting them back. You simply have clear film (255 value areas in digital) and all the king’s horses can not put image information back where it’s been lost.
Shadows are another thing. The left side of the histogram shows in graphical form where the shadows lay. Digital has a remarkable ability to extract detail from the shadows. When shooting digital, always ere (if you have to) on the side of underexposure. But, with a histogram visible seconds after exposure there’s no need to settle for anything other than the most appropriate exposure possible.
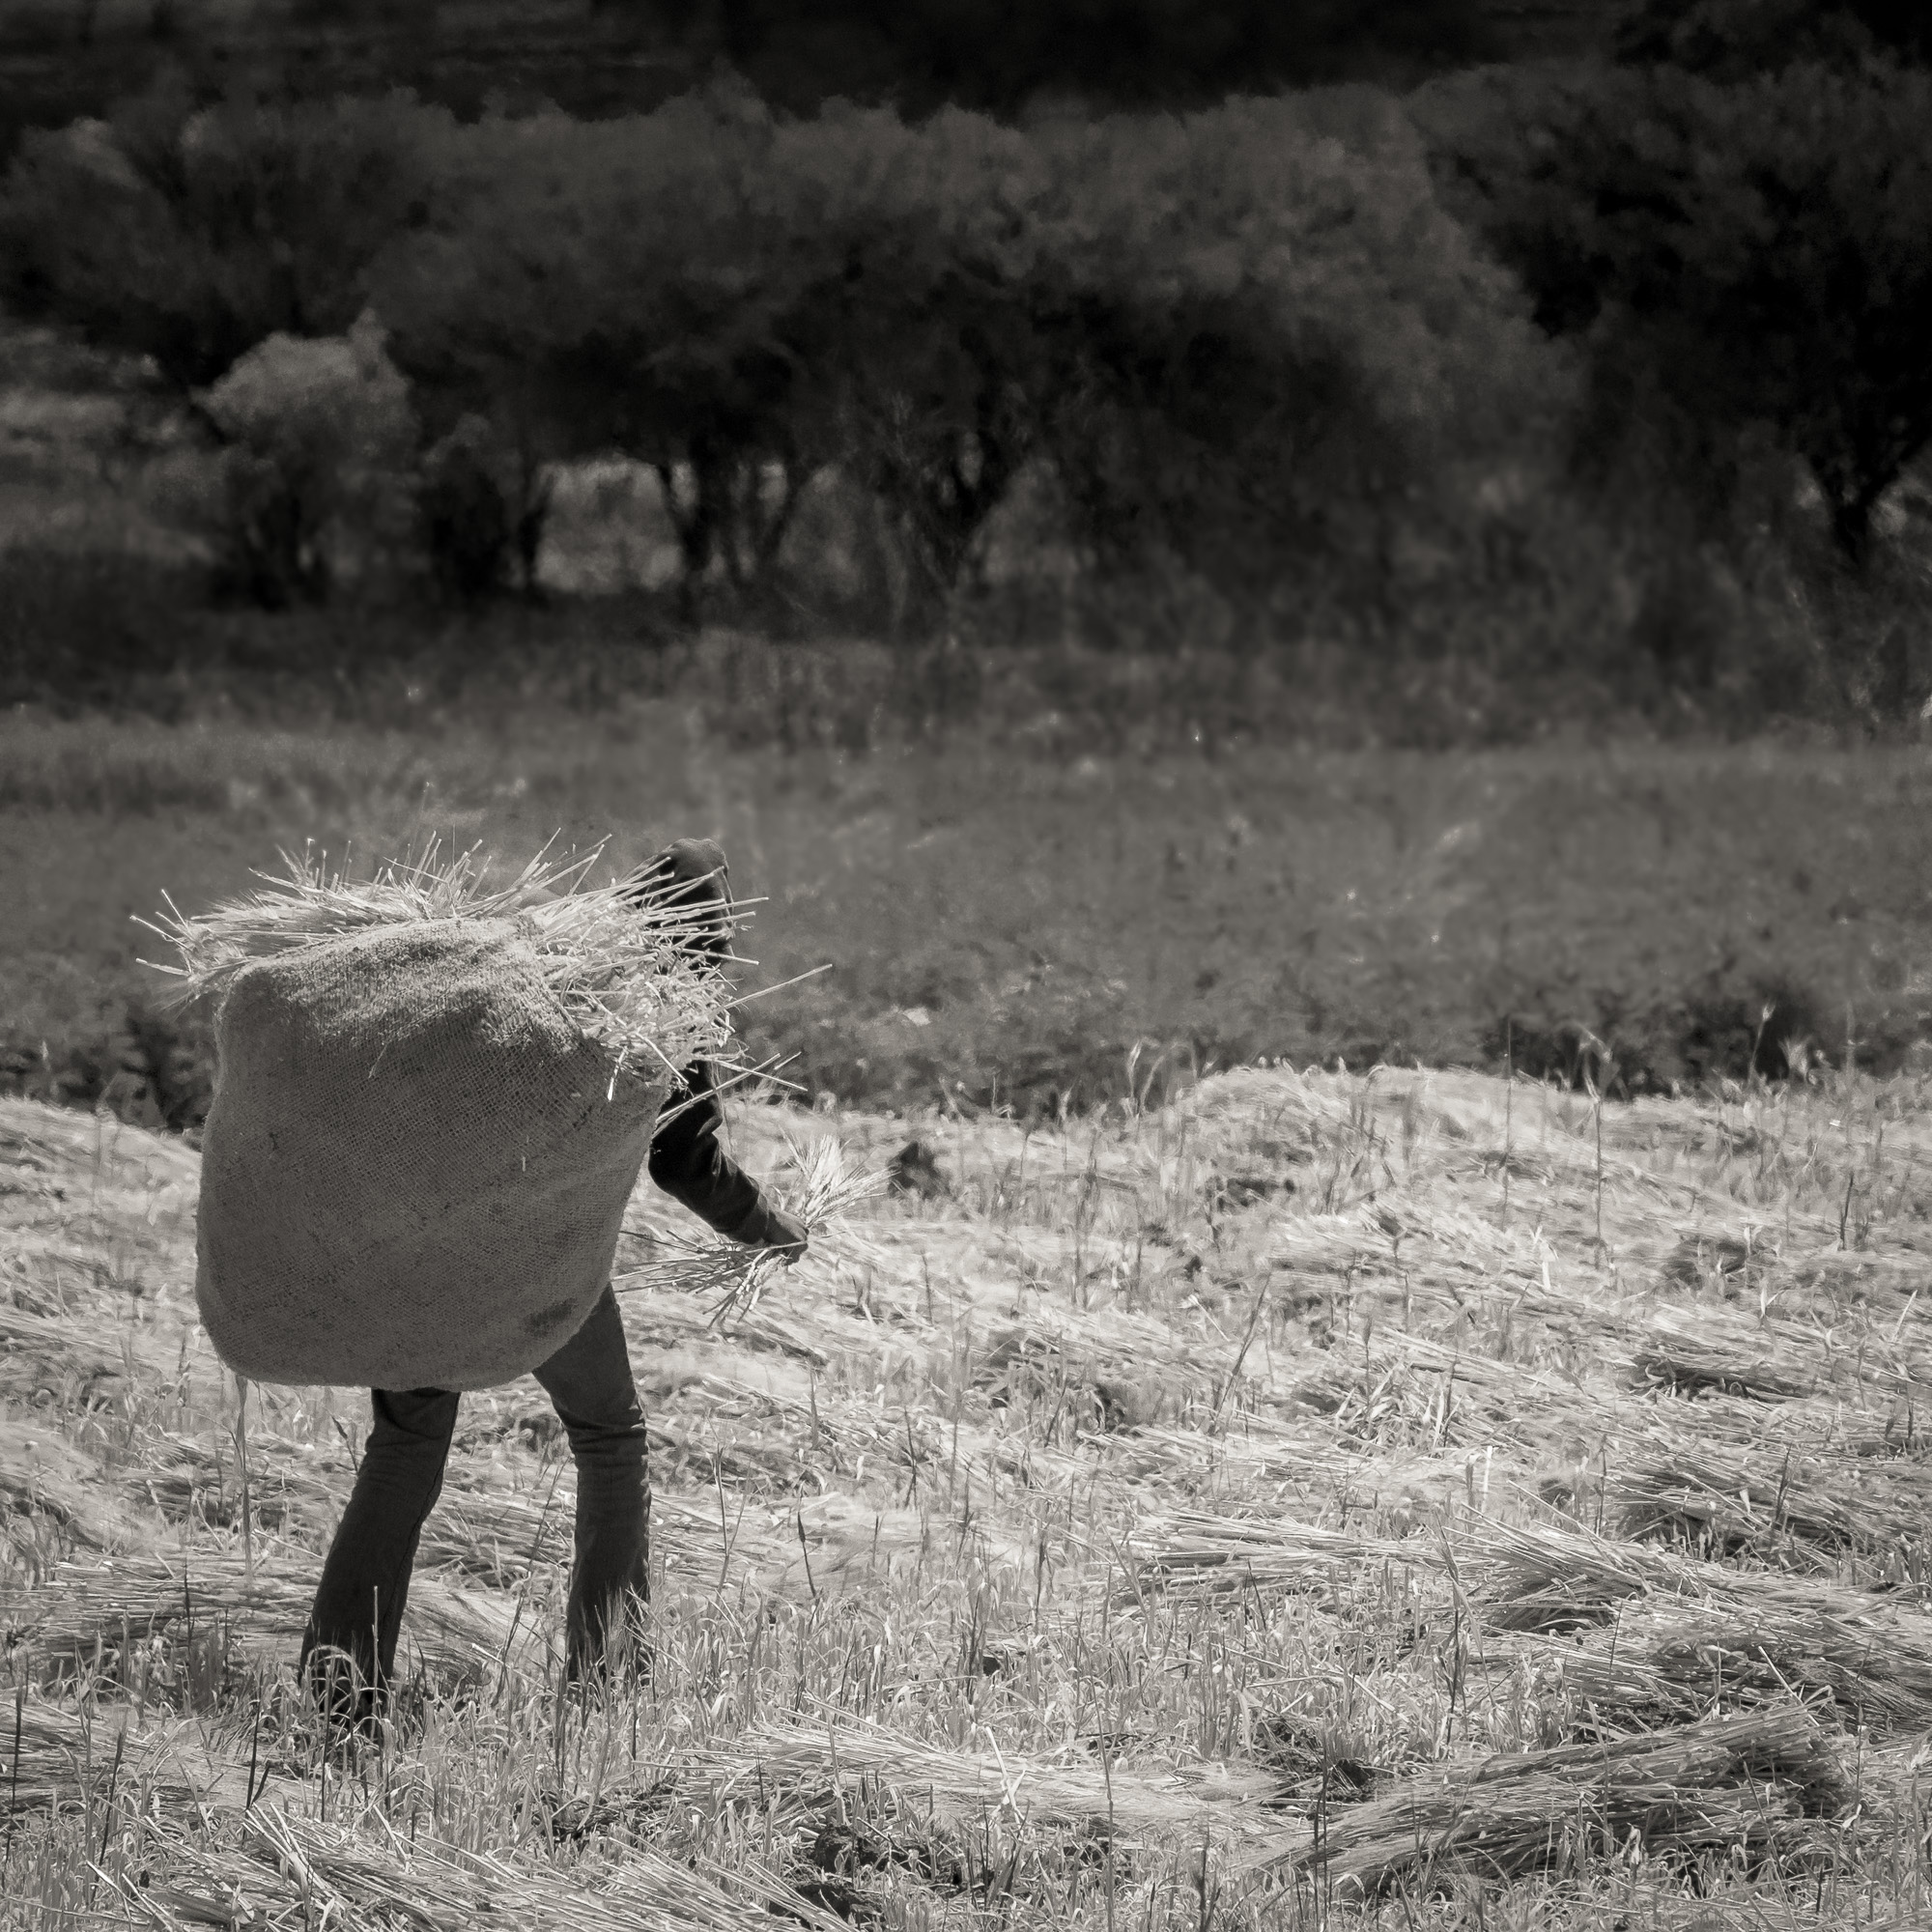
But, mistakes happen. In the shot seen below I had accidentally dialed in -2/3rds of a stop exposure compensation instead of +2/3rds, to compensate for the snow. A very underexposed image resulted that required adjustment both in the RAW converter and in Photoshop.
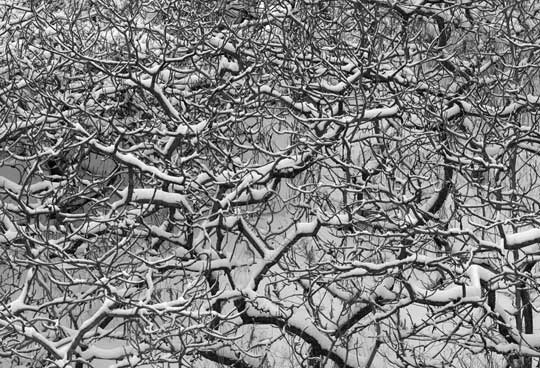
Winter Sumach — Toronto, January, 2003
Canon 1Ds with 100-400mm f/5.6L IS lens. 180mm @ ISO 200
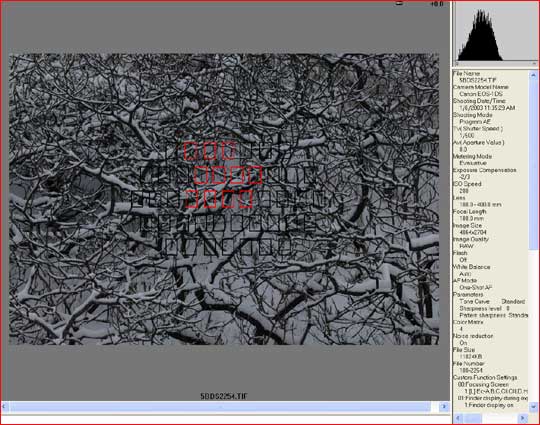
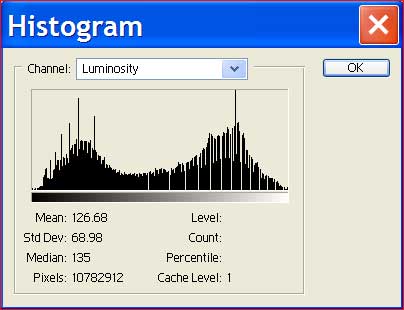
On workshops I’m sometimes asked, "Why are you always looking at the image on the LCD after you take a shot? What are you trying to see?" What I tell them is that I’m hardly looking at the image at all,I’m looking at the histogram. This tells me almost everything I need to know about the technical quality of the image.
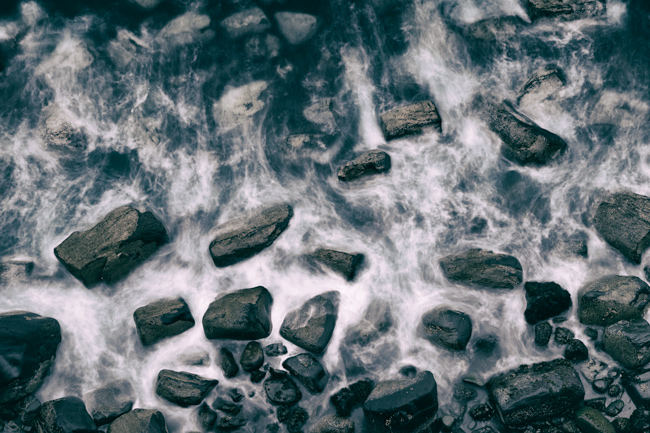
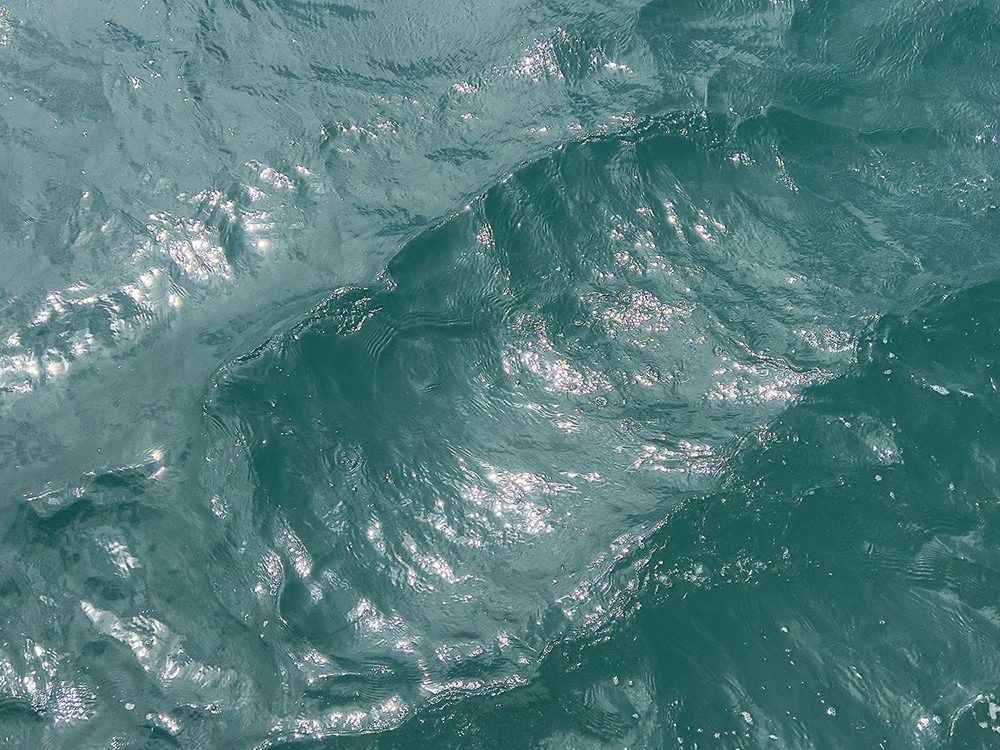
Many cameras also will flash on and off any areas of the image on the rear LCD that are blown out. In the example at the top of this page the water at the bottom of the frame has some small flashing areas. I accepted these because they are what are calledspecular highlights. These are so hot that it would take underexposure of many stops to tame them. They do no harm, and in fact they add sparkle to an image. The important thing in this shot is that the white Egret’s feathers are nicely below 255, and therefore will display beautifully. It takes some experience to learn how to read histograms effectively, but once you are comfortable doing so, you’ll wonder how you ever worked without this ability.
White Balance
This one is easy. Set your camera toAuto-White-Balanceand forget about it when shooting. You will have all the ability that you need to adjust the white balance to whatever you like in your RAW conversion software. Of course if you are doing a product or fashion shoot and you must get colours absolutely correct thenprofile your camera, shoot a white card, set it as your custom white balance and know that you’ve got it as good as it can get.
Depending on your camera, you will want to set its colour set point to either a provided profile, or equivalent colour space. If this sounds vague, it’s because it is. This varies from camera to camera. For example, the Canon 1D and 1Ds have a setting calledColor Matrix 4which is the equivalent ofAdobe RGB. Unless you have a compelling reason for it to be set otherwise, this is a preferable setting.
RAW Mode
Just about every digital SLR allows you to shoot in RAW mode. You’ll find that these files are quite a bit larger than JPGs; roughly the same size as the pixels count, at least this is so with Canon DSLRs. RAW files are usually losslessly compressed. So a Canon 1Ds produces an 11MP RAW file, but this expands to a 32MB TIFF file when loaded into Photoshop.
Regard a RAW file as you would a film transparency or negative. It is the score sheet from which you "play" the image. I never discard RAW files unless they are real duds, like an accidental shot of my boots. One never knows. Storage is cheap. Regret is expensive.
Remember that if you shoot RAW you needn’t worry about White Balance, color balance or sharpness settings in the camera.
RAW Conversion
Depending on the brand and model DSLR you will have a number of choices of how to convert your RAW format files into something that Photoshop can use — usually a TIFF file. Don’t be confused though. Some cameras (Kodak DCS as well as Canon 1D and 1Ds, for example) use the extension .TIF for their RAW files. These are not formal TIFFs and if you load them and then save them back again without using a RAW converter they will be destroyed.
Every camera that shoots RAW files comes with its manufacturer’s RAW converter, or one is available from the manufacturer at an additional charge. Most photographers agree that Nikon and Canon’s converters are poor. My suggestion is that you purchase one of the third party converters such asYarcPlus or BreezeBrowserfor Canon, orBibblefor Nikon. Adobe will have a universal RAW converter out shortly that is something spectacular. There are also others, such as the excellent (though expensive)Capture Onefor the Canon 1D and 1Ds. This will also become available for Nikon cameras in the Spring of 2003.
The first thing to set within the RAW converter is to 16 bit mode (also known as High Bit mode). This is a bit of a misnomer because all DSLRs at the moment shoot in 12 bit as their native mode, but 16 bit is what it’s labeled as (don’t ask). The advantage of 12/16 bit mode over 8 bit mode is that instead of 256 levels to work with in the RAW converter and in Photoshop you have 4096. This can make a huge difference in the smoothness of tonalities.
The RAW converter is the place to make basic adjustments. These are white balance and basic exposure compensation. Look at the histogram within the RAW converter. If you need a bit more shadow detail this is a good time to get it. This is also the place to set your white balance. Using the gray point (colour balance) tool select something in the frame that doesn’t have a strong colour of its own. Also use the white point and black point tools, as well as the sliders if preferred, to try and achieve the best image possible at this stage.
Do not add any sharpening at this point. Leave that for later in Photoshop. Much later.
A word about monitor profiling and calibration. If your monitor is not profiled then you are wasting your time. You need to work knowing that what you are seeing on screen in terms of brightness level, contrast and colours is what someone else will see on their monitors, and what your printer, or a commercial printer will reproduce. You can make the image appear properly on your screen, but if your screen hasn’t beenprofiledyou’re adjusting to a random point. Pointless. Spend the money and buy a spyder and profiling software. Do it! You won’t regret it.
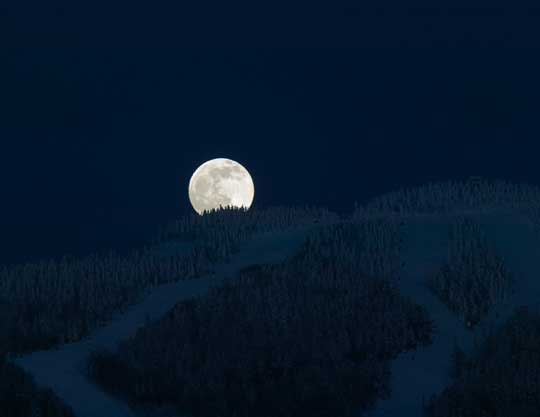
Mt. Tremblant Moonrise — Quebec. January, 2003
Canon EOS 1Ds with 300mm f/2.8L and 1.4X @ ISO 250
In Photoshop
When the file comes into Photoshop from your RAW converter you will be asked how to treat it. Selectconvert to working profile, which should be set toAdobe RGB,unless you have a good reason to set it otherwise.
If you are an experienced Photoshop worker, or have at least read my tutorialInstant Photoshop, you know that you should do as many adjustments as possible usingAdjustment Layers. But, the file will have come in in 16 bit mode, and Adjustment Layers don’t work in high bit mode.
What I do at this point therefore is any requiredLevelsorCurvesadjustments. I also will do any fine turning of gray point, white point and black point that weren’t properly done in the RAW converter. If your shot was well exposed and you have done a good job in the RAW converter software then little more should be needed, but some problem images will need some work at this point, and this is best done in 16 bit mode.
Now, convert to 8 bit mode and do whatever else it is that needs to be done to the image usingAdjustment Layerswhenever possible. If you want to have a complete workflow description, have a look at this site’scomprehensive tutorialon the subject and a new companion article to this one calledA Digital Workflow Primer.
Michael
Read this story and all the best stories on The Luminous Landscape
The author has made this story available to Luminous Landscape members only. Upgrade to get instant access to this story and other benefits available only to members.
Why choose us?
Luminous-Landscape is a membership site. Our website contains over 5300 articles on almost every topic, camera, lens and printer you can imagine. Our membership model is simple, just $2 a month ($24.00 USD a year). This $24 gains you access to a wealth of information including all our past and future video tutorials on such topics as Lightroom, Capture One, Printing, file management and dozens of interviews and travel videos.
- New Articles every few days
- All original content found nowhere else on the web
- No Pop Up Google Sense ads – Our advertisers are photo related
- Download/stream video to any device
- NEW videos monthly
- Top well-known photographer contributors
- Posts from industry leaders
- Speciality Photography Workshops
- Mobile device scalable
- Exclusive video interviews
- Special vendor offers for members
- Hands On Product reviews
- FREE – User Forum. One of the most read user forums on the internet
- Access to our community Buy and Sell pages; for members only.


