This file contains a great deal of useful information for Workshop participants. Whether you’re a relative beginner to wildlife and landscape work or an old hand, I’m confident that you will find both useful and necessary information on this page. Please note that any items in RED are mandatory for this Workshop. If you have any questions about these, or any other issues, please don’t hesitate tocontact me.
Clothing, Packing and Weather
We will be traveling with 4 people in each vehicle, likely SUVs or minivans. The rear area will need to hold all of our cameras tripods and suitcases. We therefore require that you restrict yourself to just 1 bag for clothes (preferably a small duffle bag), one bag for equipment (preferably a backpack style) and a tripod. The one camera bag rule is necessary because we still have to comfortably fit 4 photographers, equipment bags and tripods into each vehicle on the shooting days, not to mention drinking water, and occasionally meals as well.
I like using a duffle bag for my clothes because it also allows me to safely pack my tripod without needing a separate bag for it or carrying it on the plane. I remove the tripod head and wrap it in a sweater for extra safety and to shorten the length of the tripod for easier packing. If you don’t already own a small duffle, consider buying one. It’s the ideal bag for shooting trips. (Just make sure that your tripod will fit.)
During the days of our shoot the clothing bags will, of course, remain at the motels and therefore we should be fine for space in the vehicles and for being able to get to our camera bags easily. When we drive to and from the Albuquerque airport, and again when we travel to White Sands we will need to load the vehicles with everything, because we are overnighting in Alamogordo.
The weather in southern New Mexico in early December will likely range from very pleasant to very cold. I was there last year at this time and temperatures ranged from freezing overnight to the mid-70’s during the day. We could experience any kind of weather though, so here’s a suggested packing list, not just for this trip, but for shooting trips in general. You may wonder why I’m going into all this detail, but years of field experience have taught me what’s needed, and what isn’t. Consider these recommendations (and in some cases, requirements) part of the workshop advise.
Please note.We will be out shooting each day from before sunrise,regardless of the weather. This means being prepared for varying conditions. Please read this page carefully and equip yourself with items that you don’t already own. You probably already have 90% of what’s needed and the rest isn’t terribly expensive.
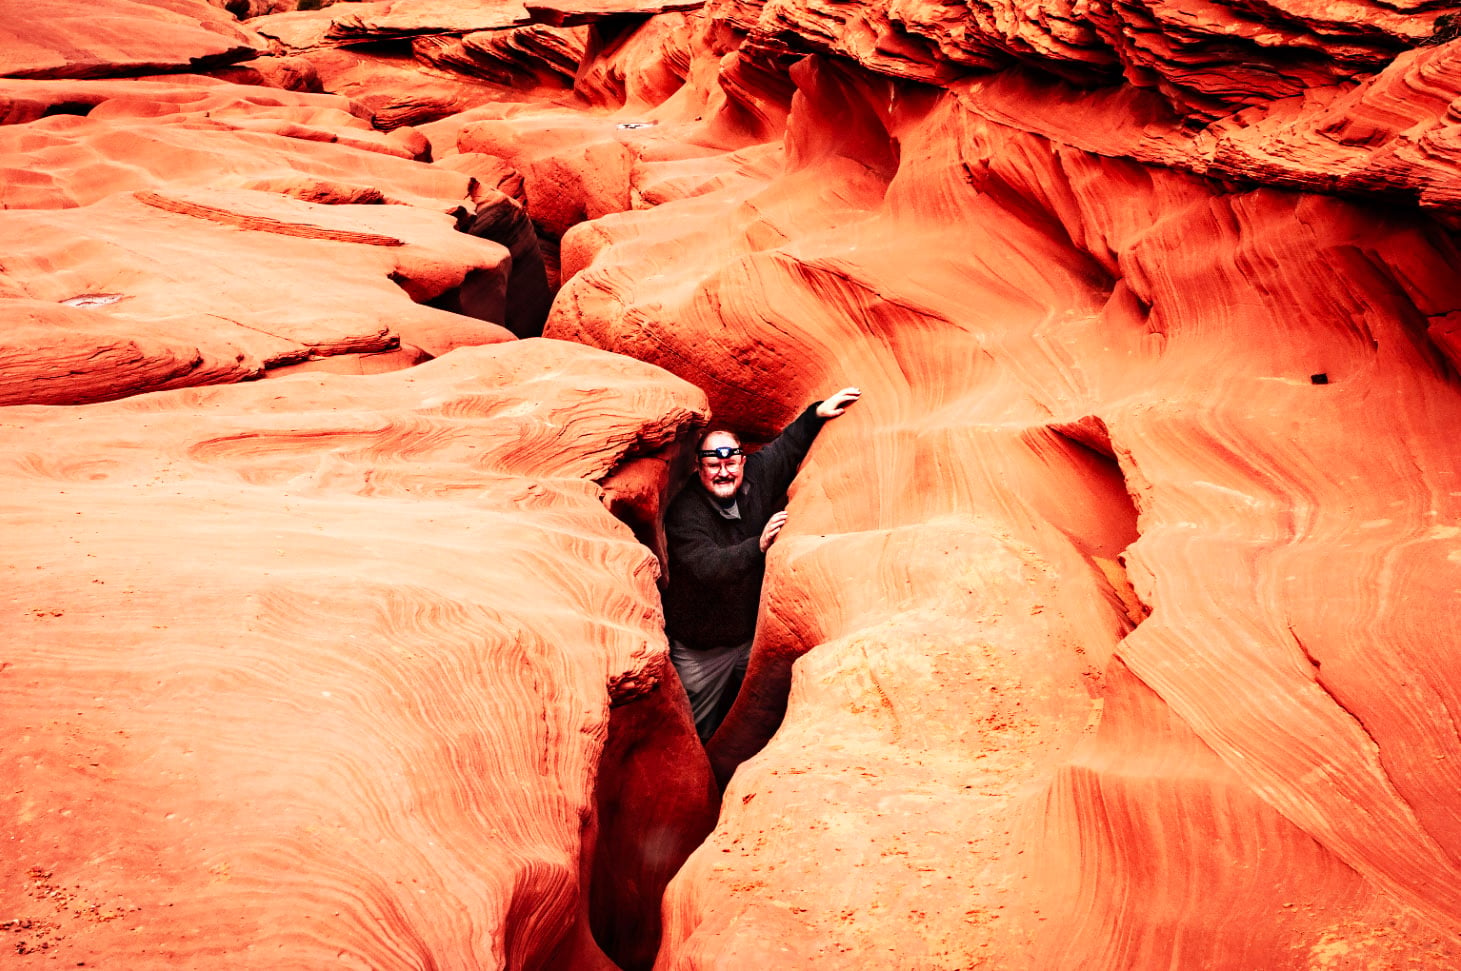
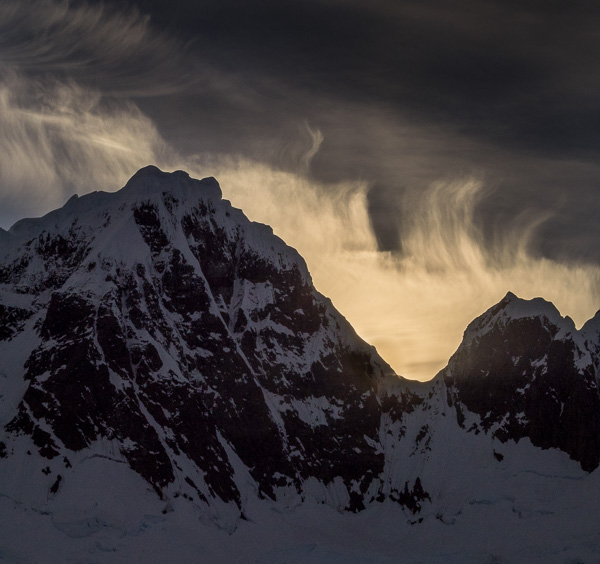
 Flight 67 — Bosque del Apache
Rule #1: Pack Lightly.
Here’s all that you need in terms of clothes
Two Pairs of Jeans. We’ll potentially be doing some hiking over rough terrain in White Sands and only jeans are rugged enough.
Comfortable Hiking Boots. These are an absolute must. If you don’t own a pair, get them now and break them in before the trip. Ordinary shoes, deck-shoes or sneakers are simply unacceptable. Ankle height boots are preferable and if you can get ones that are water-resistant (Gortex), so much the better. A pair of comfortable shoes or sneakers for travel and evenings is also needed.
Photo Vest. Some people think that they look silly or pretentious in a photo vest. Be that as it may, they are eminently practical for fieldwork. Who cares how you look when it’s just you, the mountains and 50,000 brids? I find it convenient to sling the camera and tripod over my shoulder and load up the vest with an extra lens or two, film and filters. This way I can hike around a location without the burden of a 30lb camera backpack, half of which I don’t need at the time.
If you’re looking to buy a new one I can recommend the one made byDomke. Mine is many years old and still in one piece, even after some serious abuse in the field. When I get home I just throw it in the washing machine.
Medium Weight Cotton Socks– calf length. Thin socks will mean that your boots will chafe, especially if they are new. Medium weight cotton also absorbs sweat better.
Ps. If you’re using this as a check-list, don’t forget underwear. I’m not kidding. I once went on a weeklong trip to the high Arctic and forgot to bring any. Choice of style and colour is of course strictly personal 🙂
T-shirts, Polo Shirts, Long Sleeve Shirts– the choice is yours. Bring a mix so that you have something appropriate, depending on the weather and also for dinner, though restaurantsin both Socorro and Alamogordoare pretty casual.
Polar Fleece– It can be very chilly in the early mornings. A wool sweater is OK, but a fleece is preferable.
Please note that there is no need to bring anything expensive, delicate (other than your cameras) or fancy. Where we’re going is rugged. Save your good clothes for another time and place.
Don’t bring expensive jewelry, watches and the like.
A Rain-Jacket or Waterproof Windbreaker. Lightweight is fine. You’ll also want it for warmth in the early mornings as well as rain protection. We’re out shooting each day, regardless of the weather.
Gloves. Bring a pair of thin leather gloves. Nothing fancy is necessary but you’ll find that as you stand in the cold morning air waiting for sunrise you’ll be glad that you did. Thin leather gloves will also allow you to handle a cold camera in comfort.
Small Thermos Bottle. Bring one if you’re a caffeine addict. Because we’ll be out before sunrise each morning standing in the cold waiting for old Sol to make his scheduled appearance, you’ll want to pick up some coffee the night before. We’ll be buying water bottles in town for use each day.
Toilet Kit. Your usual, but also definitely include some #15 SPF sun screen. Also, don’t forget to bring any of your usual medication.
Sunglasses and a Baseball Hat. Sunglasses are a must. If you wear prescription glass either have clip-on sunglasses or get a pair of sunglasses made. We’ll be outside from before sunrise till after sunset every day. Gray tinted or Polaroid sunglass are preferable. Avoid heavily colored ones such as Serengeti since they confuse your ability to judge colour.
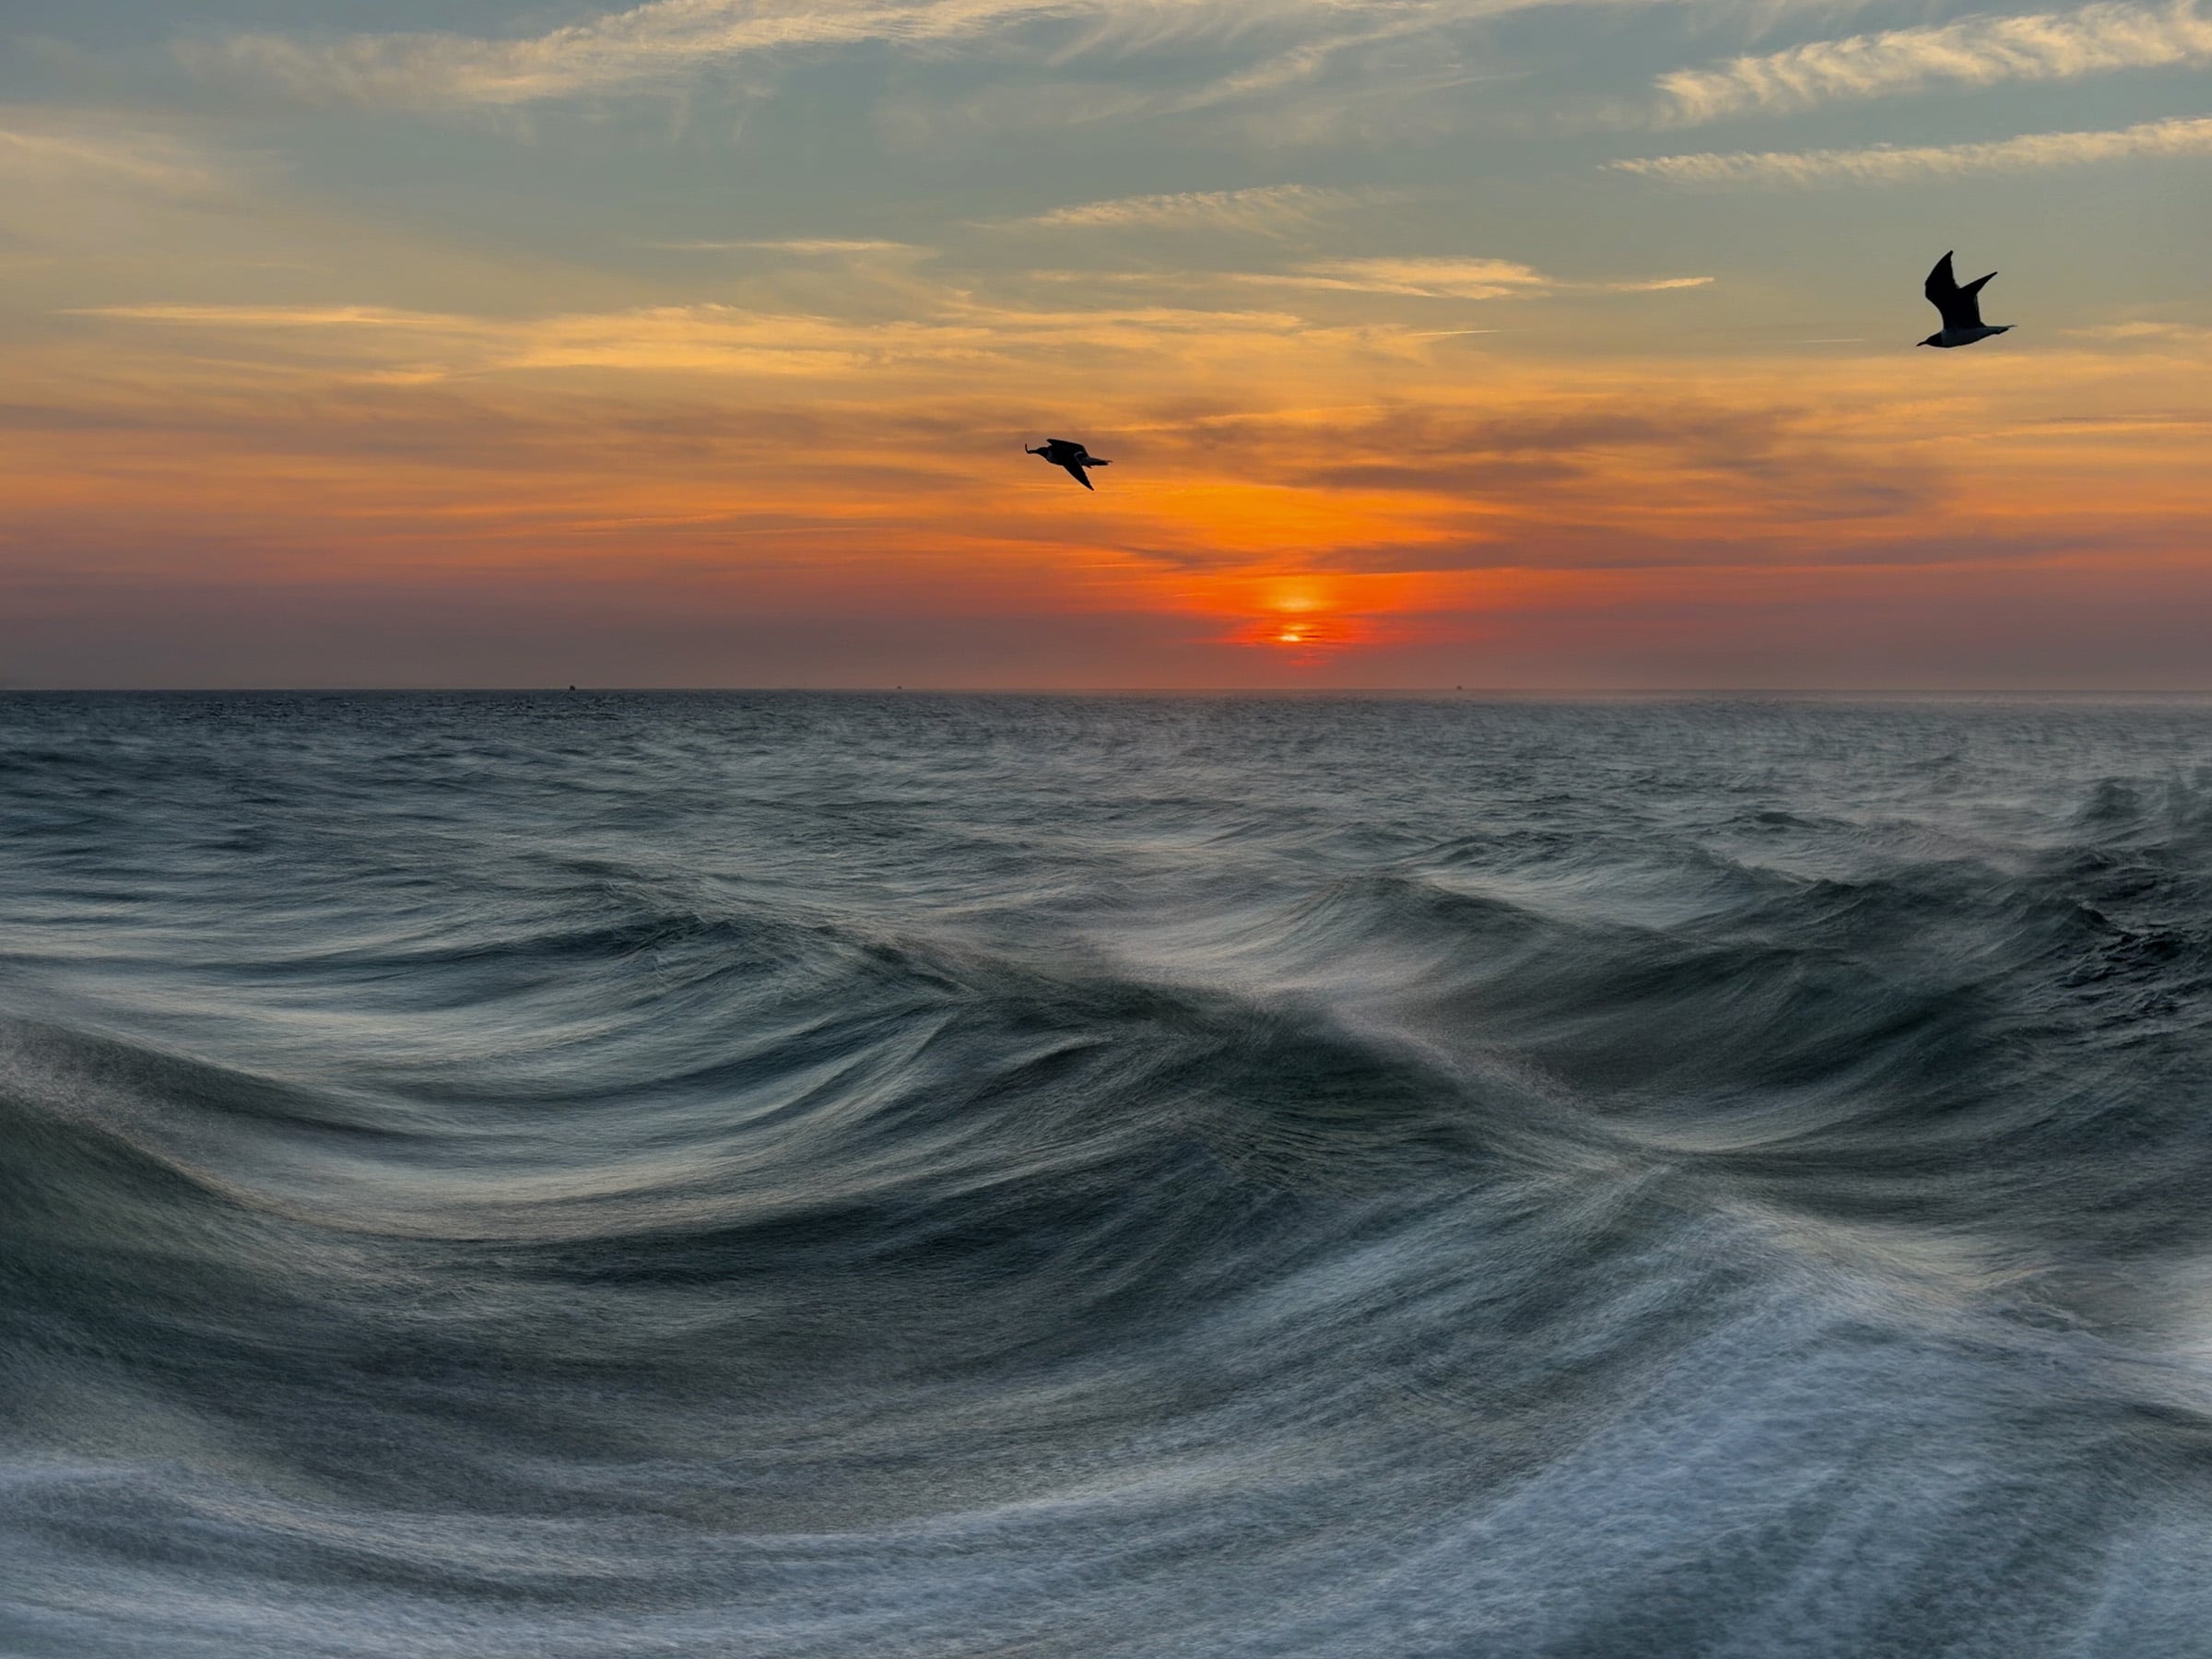
 Sand-Moon-Bush — White SandsMiscellaneous Items:
Cell phones. You may want to bring one but why not just forget about the outside world for a few days?
Telephone Calling Card. Room charges are included in your fee, but not telephone calls, so bring a calling card, or call collect.
GPS and Compass. I always bring a GPS unit to aid navigation and when taking long hikes. You therefore don’t need to bring one on this trip, but feel free if you have one. They can be fun to use. A pocket compass is also a good idea.
Garbage Bags. Always bring a half dozen large sized garbage bags on a shoot; the orange or clear garden kind are best. When we put our gear down to start shooting at a location, if the ground is sandy or dirty you can place your camera bag on or in a garbage bag to protect it from blowing or accidentally kicked dirt, dust or sand. Good protection as well if it rains.
Zip-Lock Freezer Bags. Before leaving home I take all film out of the cardboard boxes and throw them away. Keep 35mm film in their plastic cans and 120 film in the moisture sealed foil, and put as many as will fit into a baggy. Bring a few extras, and then as you shoot put the exposed rolls in a fresh baggy. At the end of the day I put that days exposed film in my suitcase and leave it in the motel room when I go out the following day. That way there’s no chance of accidentally losing it. These bags are also handy for showing film to security at airports. (See below.)
Another use for these bags, particularly the large sized ones, is as emergency rain protection. Bring some heavy rubber bands as well and if you need to protect your camera from the elements poke a hole through the bag for your lens to look out of, and secure it to the end of the lens with a rubber band. Reach up through the opening in the bag to operate the controls. A UV or Skylight filter completes the protection. Remember, we’re going to be doing photography each day, regardless of the weather. Also, bring a wide indelible marker pen. With 8 of us shooting together it will unfortunately be easy for film to get mixed up. Mark each cassette or roll with your initials to avoid accidental mix-ups. These are also handy for marking rolls that need special processing. The same applies to memory cards. Make sure that you have some way of identifying your own.
Money and Credit Cards. As you know, your tuition fee includes transportation during the 3 days of shooting (excluding airfare). It also includes 3 meals a day; breakfast and lunch in the field and dinner each day. It does not include telephone usage in the rooms, liquor or any other expenses.
You should bring sufficient cash for any miscellaneous expenses, and credit cards, as is your usual habits. Please note that we need to be reimbursed for any additional charges to your room, in cash, prior to checkout on Monday morning. We are not set up to take credit cards for this. Personal checks will be OK if necessary.
Rule #2: Don’t Bring Everything That You Own.
Here are some equipment recommendations
Camera Gear
Cameras. Bring whatever equipment you wish to use. Just remember that everything (except your tripod) must fit in a single camera bag and that we strongly suggest a backpack style bag or shooting vest since we’ll be doing some short hikes to get to certain locations. Let me know if you need advice on bags. I use and recommend theLowePro Treckerseries.Whatever bag you have, make sure that it is legal carryone and will fit in an overhead compartment. You don’t want to have to check a soft camera case as luggage!
Think about bringing a second camera body. There are several reasons for this. When shooting in a remote location like this if your only body packs it in, you’re plain out of luck. You might as well go home. Secondly, a second body allows you to conveniently use a different type of film, say B&W as well as colour, or infra-red. Thirdly, when taking short hikes you can keep one body and lens on the tripod, carried over your shoulder, and the second body and different lens on a strap over your other shoulder. If you have a mid-level body now, depending on your budget you might want to consider getting a high-end body next. Or, if you already have a top-of-the-line body consider getting a mid-level as your second.
Lenses. Obviously, bring what you have. Don’t be compulsive about lens quality. It’s better to have an affordable Sigma or Tokina than not to have an ultra-expensive lens from your camera maker. Guess which one will take better pictures? The one that you can bring with you on this trip. If I were to suggest a basic lens outfit I’d propose (in 35mm terms) something very wide (14~24mm), something medium-wide (28~50mm), something medium-long (70~135mm) and especially something long, (135~400mm). These are ranges, not zooms. A long prime of 400mm or so is ideal. If you are bringing a long lens consider aWimberley mount.
Speaking of zooms, I’m a great believer in them for 35mm use. Today’s quality zooms are as good as most prime focal length lenses. For doing landscape work you give up almost nothing by using them and gain a great deal of versatility and convenience. As you’ll learn during the workshop, the most important thing is getting the image that you see recorded on film, not counting lines/mm. With good technique, which we’ll show you, even modestly priced lenses can produce great results.
Extenders. If you don’t already have an extender, think about getting one. Either a 1.4X or a 2X. Don’t get a third party extender like the ones from Tamron or Sigma. They’re just not very good. The ones from your camera manufacturer are best. They’re expensive, but worth it. A top extender from Nikon or Canon, specifically designed for your make’s lenses, is almost as sharp as a prime lens when used stopped down 2 stops. They are really handy for a type of shooting that George Lepp calls "Image Extraction"; finding details in the landscape. It’s the type of work that Steve and I both enjoy doing. If you have a lens that goes out to 200mm, then with a 2X you’re going to have 400mm. If you have already have a 400mm, then a 1.4 will make it a 560mm. It takes a firm tripod and good shooting technique to get quality results, but I know that you’ll enjoy learning how.
Formats. You can shoot whatever format you have and are most comfortable with. Bring something new if you wish. Steve and I will be pleased to help you become comfortable with it. Everyone will either be shooting 35mm or medium format. Large format is not acceptable on this workshop because we will be moving quickly between locations and because of the subject matter. A digital SLR will be great, but be sure to bring enough memory cards, a laptop or other form of storage. You’ll be shooting a lot.
A Tripod. This is aimed specifically at the relative beginners in the group. We’ll be shooting > 95% of the time on a tripod, for reasons that will be clear once the workshop is underway. A tripod is simplya mustfor this workshop. If you plan on buying a new tripod before the workshop, please let me know. Hopefully I can give you some advice.
Ball Heads. Do try and bring a tripod with a ball-head. They are much more versatile than regular heads. I regard the investment in a high quality ball head as being as important as any new lens in terms of its contribution to quality work in the field. Two that I can recommend are theArca Swiss B1and theReally Right Stuffball head. Both should definitely be purchased and used with quick release plates. Life is short, and tripods are a necessary nuisance. Therefore, get and use the best that you can afford. Let me know if I can advise you on this.
A Pocket Flashlight. Working before sunrise and after sunset you will find this invaluable for setting your camera and for finding things in your equipment bag. Useful too if we find ourselves hiking a trail in the semi-darkness getting too or from a location.
Batteries. Put fresh batteries in all of your equipment that needs it, and also bring along an extra set.
A Lens Cleaning Kit. Bring lens tissue and cleaning fluid as well as a blower brush. I make it a habit to clean my camera equipment each evening whether they need it or not.
Film. If shooting 35mm I always plan on having 10 rolls of 36 exposures a day. So, bring at least 30 rolls for the workshop. If shooting 12 exposure rolls of 120 film, bring at least 60-70 rolls. I rarely shoot that much, but finding film, particularly transparency emulsions and refrigerated film is impossible when away from major cities. You can always bring unexposed film home and throw it back in the fridge for use another time.
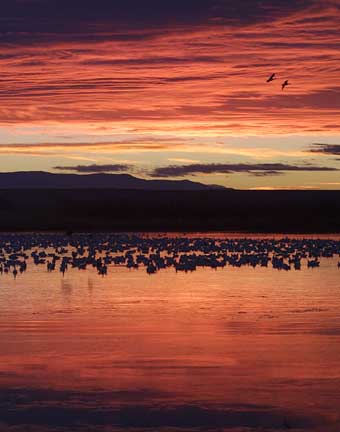
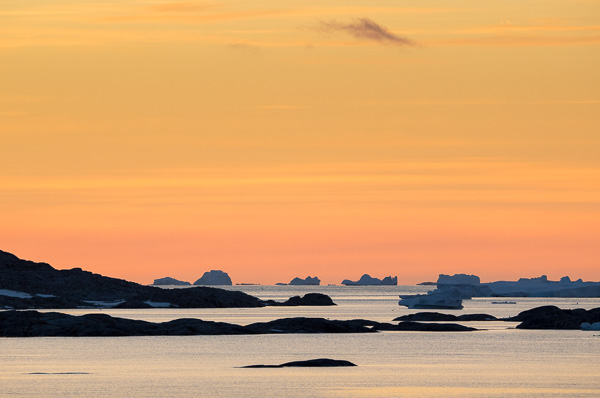
 Glide Path 1 — Bosque del Apache
Remember, film is the least expensive part of any photography trip. Also, because we’ll be shooting at least 6 sunrises and sunsets you’ll do a lot of bracketing.
It doesn’t matter on this trip whether you shoot colour, B&W, negative or transparencies; whatever you feel most comfortable with. If you want to try something new, please do so. Steve and I can offer you advice and guidance on the choice of film beforehand or during the workshop. My personal preference for landscape work isFuji Provia 100 Fcolour transparency film.
Of course if you’re shooting digital be certain to bring enough batteries and cards to handle a thousand or more exposures.
Airports and X-rays.As noted above, I put all of my film, exposed as well as unexposed, in large zip-lock freezer bags. I request a hand inspection when passing through airport security and the see-through bags make this hassle-free so long as the cardboard boxes have been discarded. But, if I forget to ask for a hand inspection, or get refused, I don’t worry because repeated tests by me and others have convinced me that airport X-ray machines (in North America at least) are perfectly safe.
But, do not under any circumstances place your film in checked baggage! There are now baggage X-Ray machines in use that will definitely fog your film. Always hand carry your film on the plane with you.
Flash. Yes, there is an important place for daylight fill-flash in landscape photography, so if you have an electronic flash – any flash, bring it along and learn how to enhance your images. This is one of Steve’s specialties.
Filters. I use filters sparingly while Steve uses them extensively, so you’ll be hearing two different perspectives. The one filter that we both agree is a must is a polarizer. Don’t leave home without one for each lens size in your kit.
You should consider having a UV or Skylight filter for each lens. I don’t use them all the time but they offer some slight advantage in cutting through haze. More importantly they can offer protection for your lens’ front element in rainy or blowing dust and sand conditions. You should also seriously consider agraduated neutral density filteror two. Many photographers don’t know how to use these effectively. They’re almost a must for good landscape work. This will be a good opportunity to learn how to use them effectively. Let me know if you want to learn more about these and what to buy before the workshop.
Meters. Most modern 35mm and medium format cameras have good built-in meters. But if you own a separate hand-held meter definitely bring it along. We’ll show you how to take best advantage of it and how to do things with it that built-in meters can’t do.
There are bound to be other items and suggestions. In the months ahead if I add anything new here I’ll be sure to let you know via the Forum. Do print this page out and use it as a check list, both for this trip and for any others you might take.


Elevate Your Vision


Read this story and all the best stories on The Luminous Landscape
The author has made this story available to Luminous Landscape members only. Upgrade to get instant access to this story and other benefits available only to members.
Why choose us?
Luminous-Landscape is a membership site. Our website contains over 5300 articles on almost every topic, camera, lens and printer you can imagine. Our membership model is simple, just $2 a month ($24.00 USD a year). This $24 gains you access to a wealth of information including all our past and future video tutorials on such topics as Lightroom, Capture One, Printing, file management and dozens of interviews and travel videos.
- New Articles every few days
- All original content found nowhere else on the web
- No Pop Up Google Sense ads – Our advertisers are photo related
- Download/stream video to any device
- NEW videos monthly
- Top well-known photographer contributors
- Posts from industry leaders
- Speciality Photography Workshops
- Mobile device scalable
- Exclusive video interviews
- Special vendor offers for members
- Hands On Product reviews
- FREE – User Forum. One of the most read user forums on the internet
- Access to our community Buy and Sell pages; for members only.
You may also like