


The Problem
As discussed in myPhotoShoptutorialInstant PhotoShop, there is a problem withSharpening(and not just one). The one that I’m referring to at the moment is that theUnsharp Maskfilter can not be done on anAdjustment Layer. This means that once the file is saved after Sharpening there is no way to undo it. (If you don’t understand or appreciate the usefulness ofAdjustment Layers, please read the above tutorial.)
Consequently many PhotoShop users do all of their image processing adjustmentswithoutusingUnsharp Maskingand instead save the file unsharpened. Then, when they are ready to print they flatten the image, (merge the Adjustment Layers) apply theUnsharp Mask,and then print.
This is the preferred way of working, but it doesn’t address all of the other problems associated with the use ofUnsharp Mask, the preferred sharpening tool in PhotoShop.
Stay Sharp
Sharpening is one of the most danger fraught activities in image processing. Too much or too little and the image can be ruined. But, whatarethe proper settings forThreshold,PercentageandRadius? I have no idea, and unless you’re willing and able to do some complex math, neither do you. What most photographers do is to use a setting that has worked well for them in the past, or they struggle‚ looking at the screen trying to decide which slider to slide, and by how much.
Looks OK? Maybe. But what you’re doing is sharpening the image for a 72 dpi screen,notfor the size and resolution of the final print. Making an 8X10" today and a 13X19" tomorrow? Sorry! Once your file is sharpened and saved that way, that’s it. You have to go back to the original scan and redo everything if you want change it. Want to upload a particular shot to the net? What about preparing it for commercial printing? Who knows what the right settings are? This isnota good thing, to paraphrase Martha.
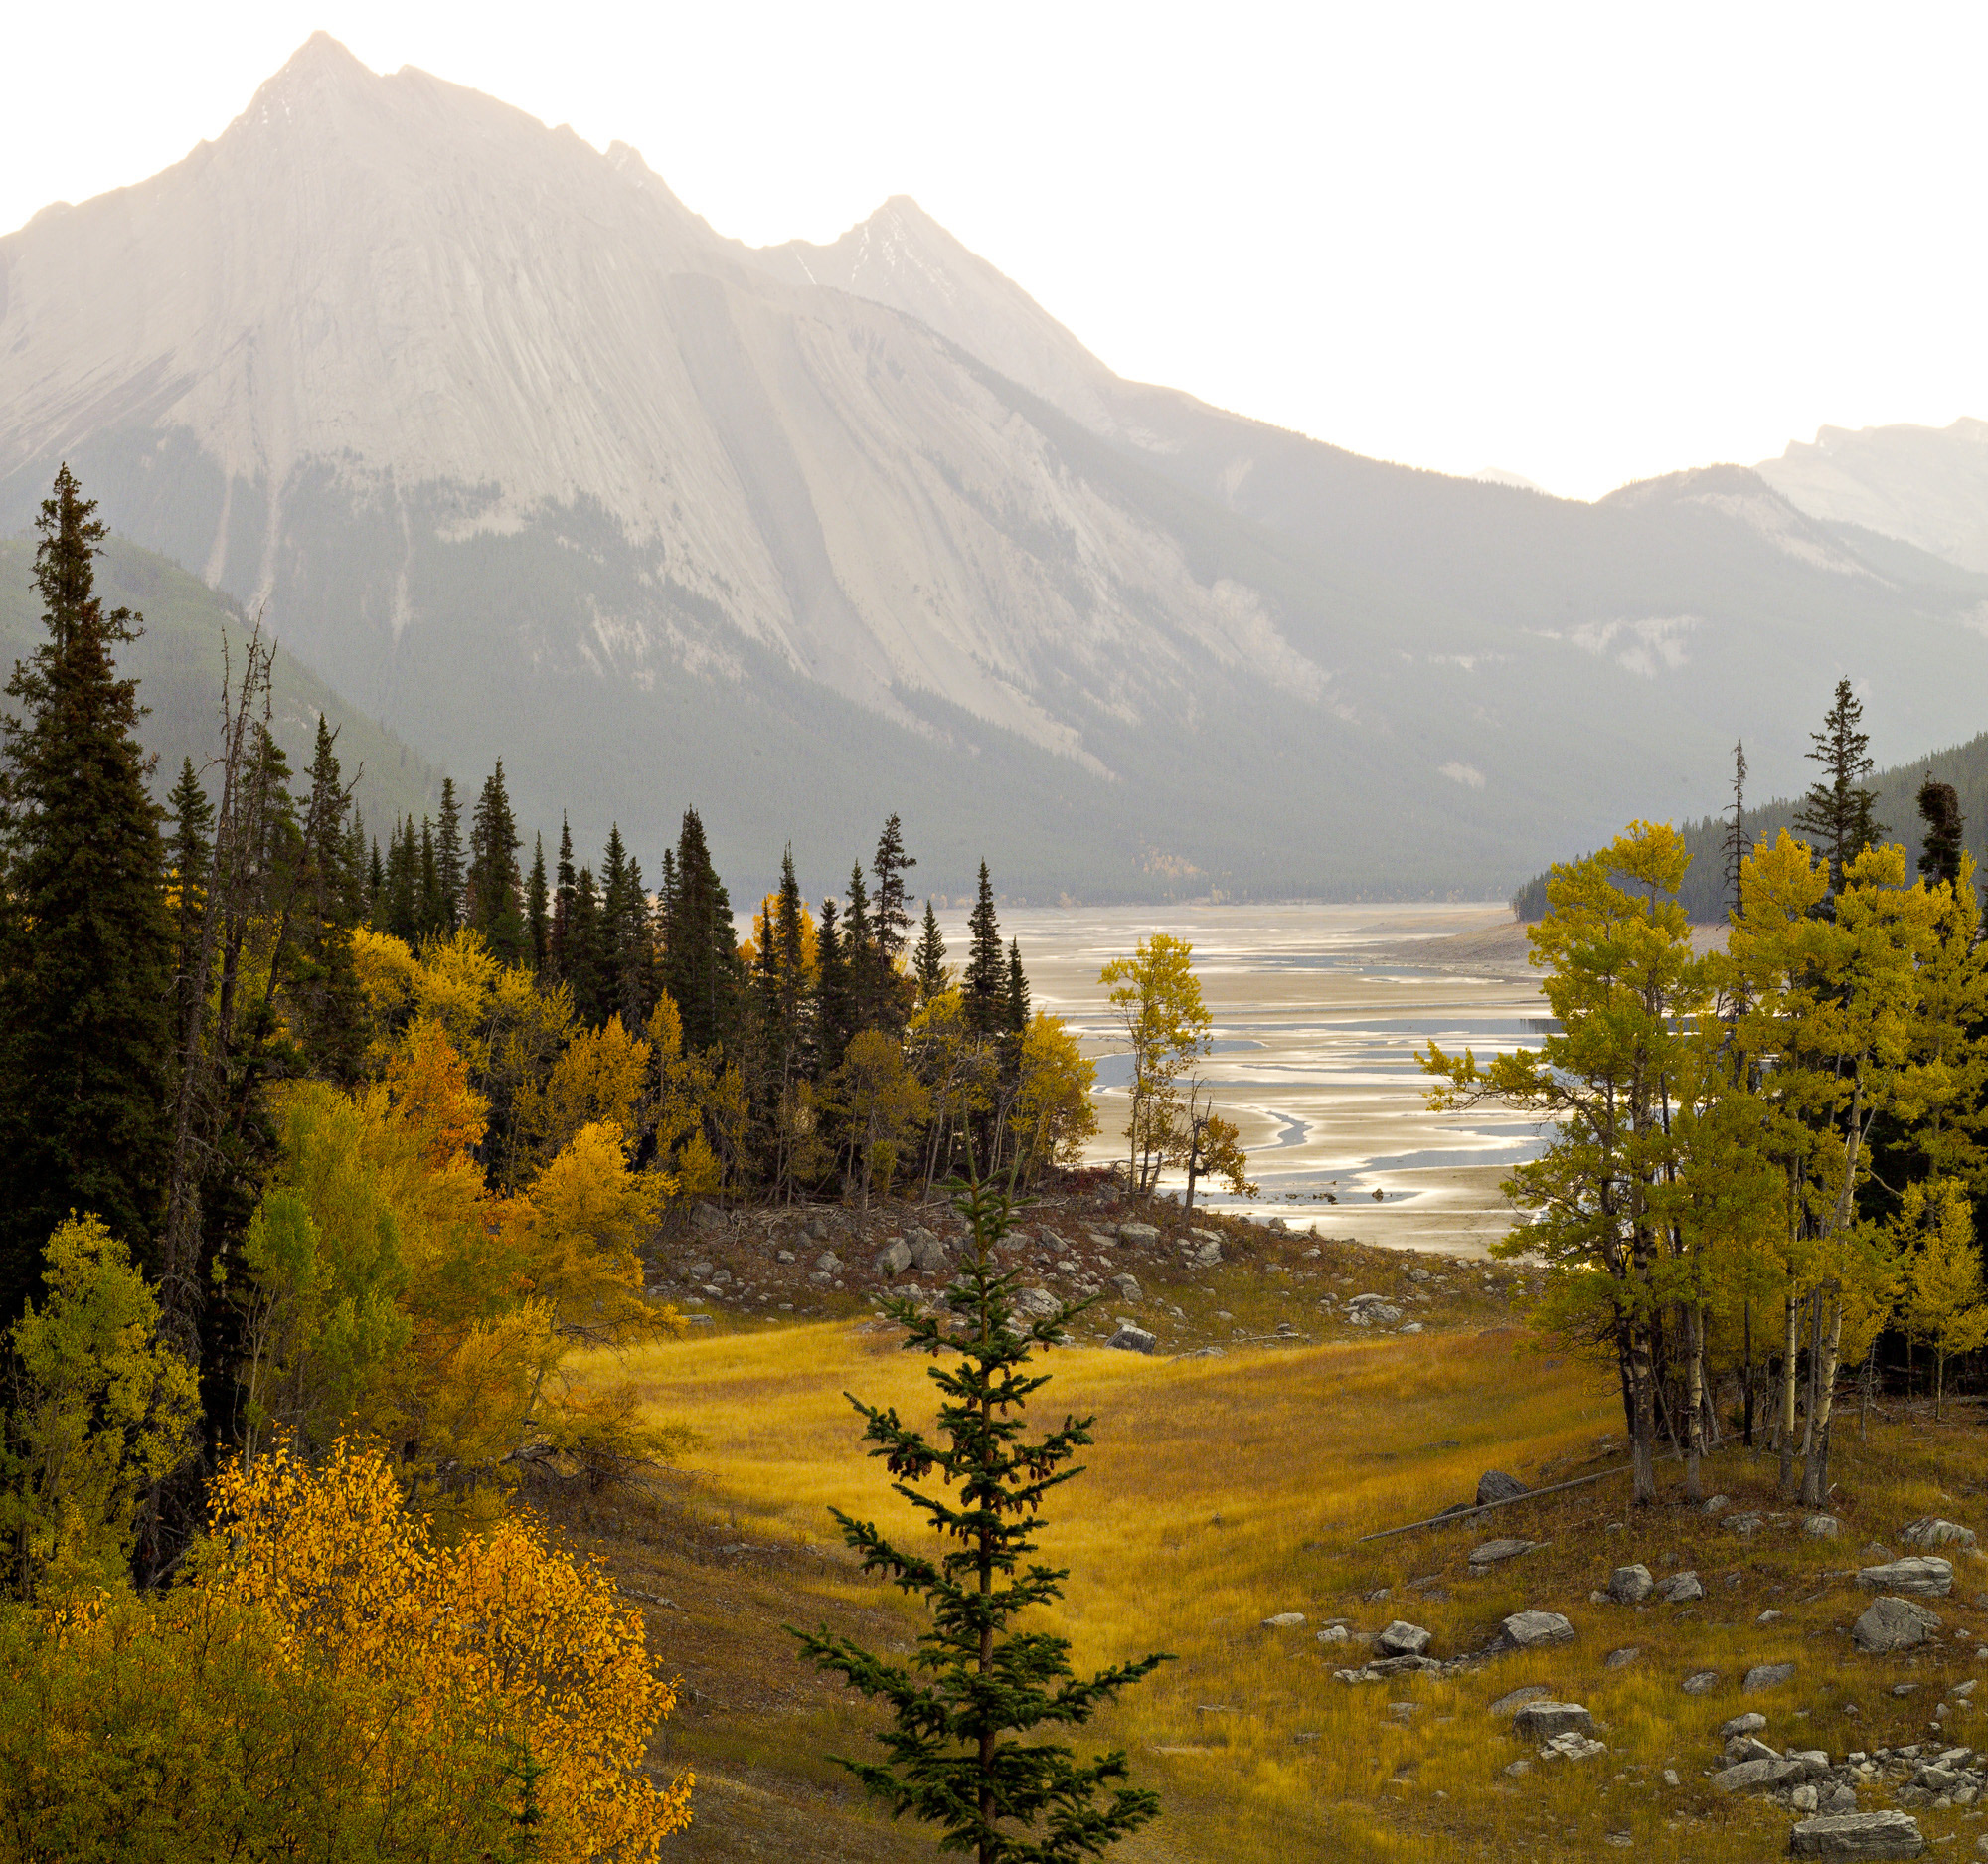
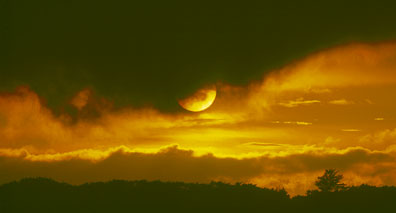 Muskoka Sunset #3‚ Muskoka, Ontario, 2000
An Automated Solution
nik Sharpener Pro!is a superb product that solves this problem. Let’s see what it does, and why.
nik Sharpener Pro!(NSPfrom now on) is a PhotoShop plugin. (This means that it’ll work with any image processing program that accepts the Adobe plugin standard.) The workflow is to scan and process your image as you normally would but ensuring that no sharpening of any kind is applied by your scanner or any other program. When done, save the file including any Adjustment Layers.
When ready to print load the file and set the print size and resolution that you plan on using for this particular print. If you’ve usedAdjustment Layers, make sure that theBackground Layeris selected.
When you’re ready to print, Instead of running PhotoShop’sUnsharp Mask,run theNSPfilter from under theFiltermenu in PhotoShop. You’ll discover that there are separate filters forInkjet,Color Laser,InternetandOffsetprinters.
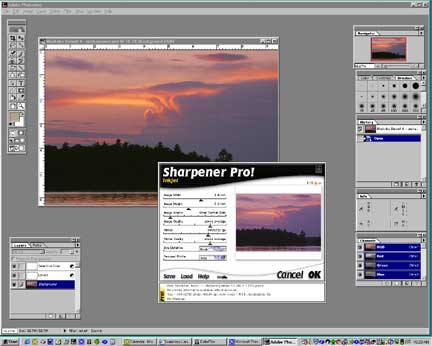
The program will ask you a number of questions about the image, including its size, and the type of printer resolution available. You’ll even be able to specify at what distance the viewer will likely be viewing the print. (An 11X14" print hanging in a frame on a wall will need different sharpening than one in the hand at close inspection.)
APreviewscreen is available, but as the developer points out in the manual what you see onscreen isnotwhat you’re going to get on paper.
Special Features
According to the manual there are quite a number of special features that allowNSPto do a much better job thanUnsharp Maskever could, even if you knew exactly what settings were needed for a particular print size. Among these are the ability to apply different amounts of sharpening to different areas of the image. So, for example, a sky area probably doesn’t need as much sharpening as a field of grass, andNSPtherefore deferentially applies varying amounts to each area.
The program also featuresFence ‘n Foliageprotection. This prevents over-sharpening on areas of the image that have smaller high-contrast transitions than others.
FinallyHue Protectionprevents the colour and contrast shifts that occur when anUnsharp Maskis applied to a colour image in other thanLab / Luminancemode.
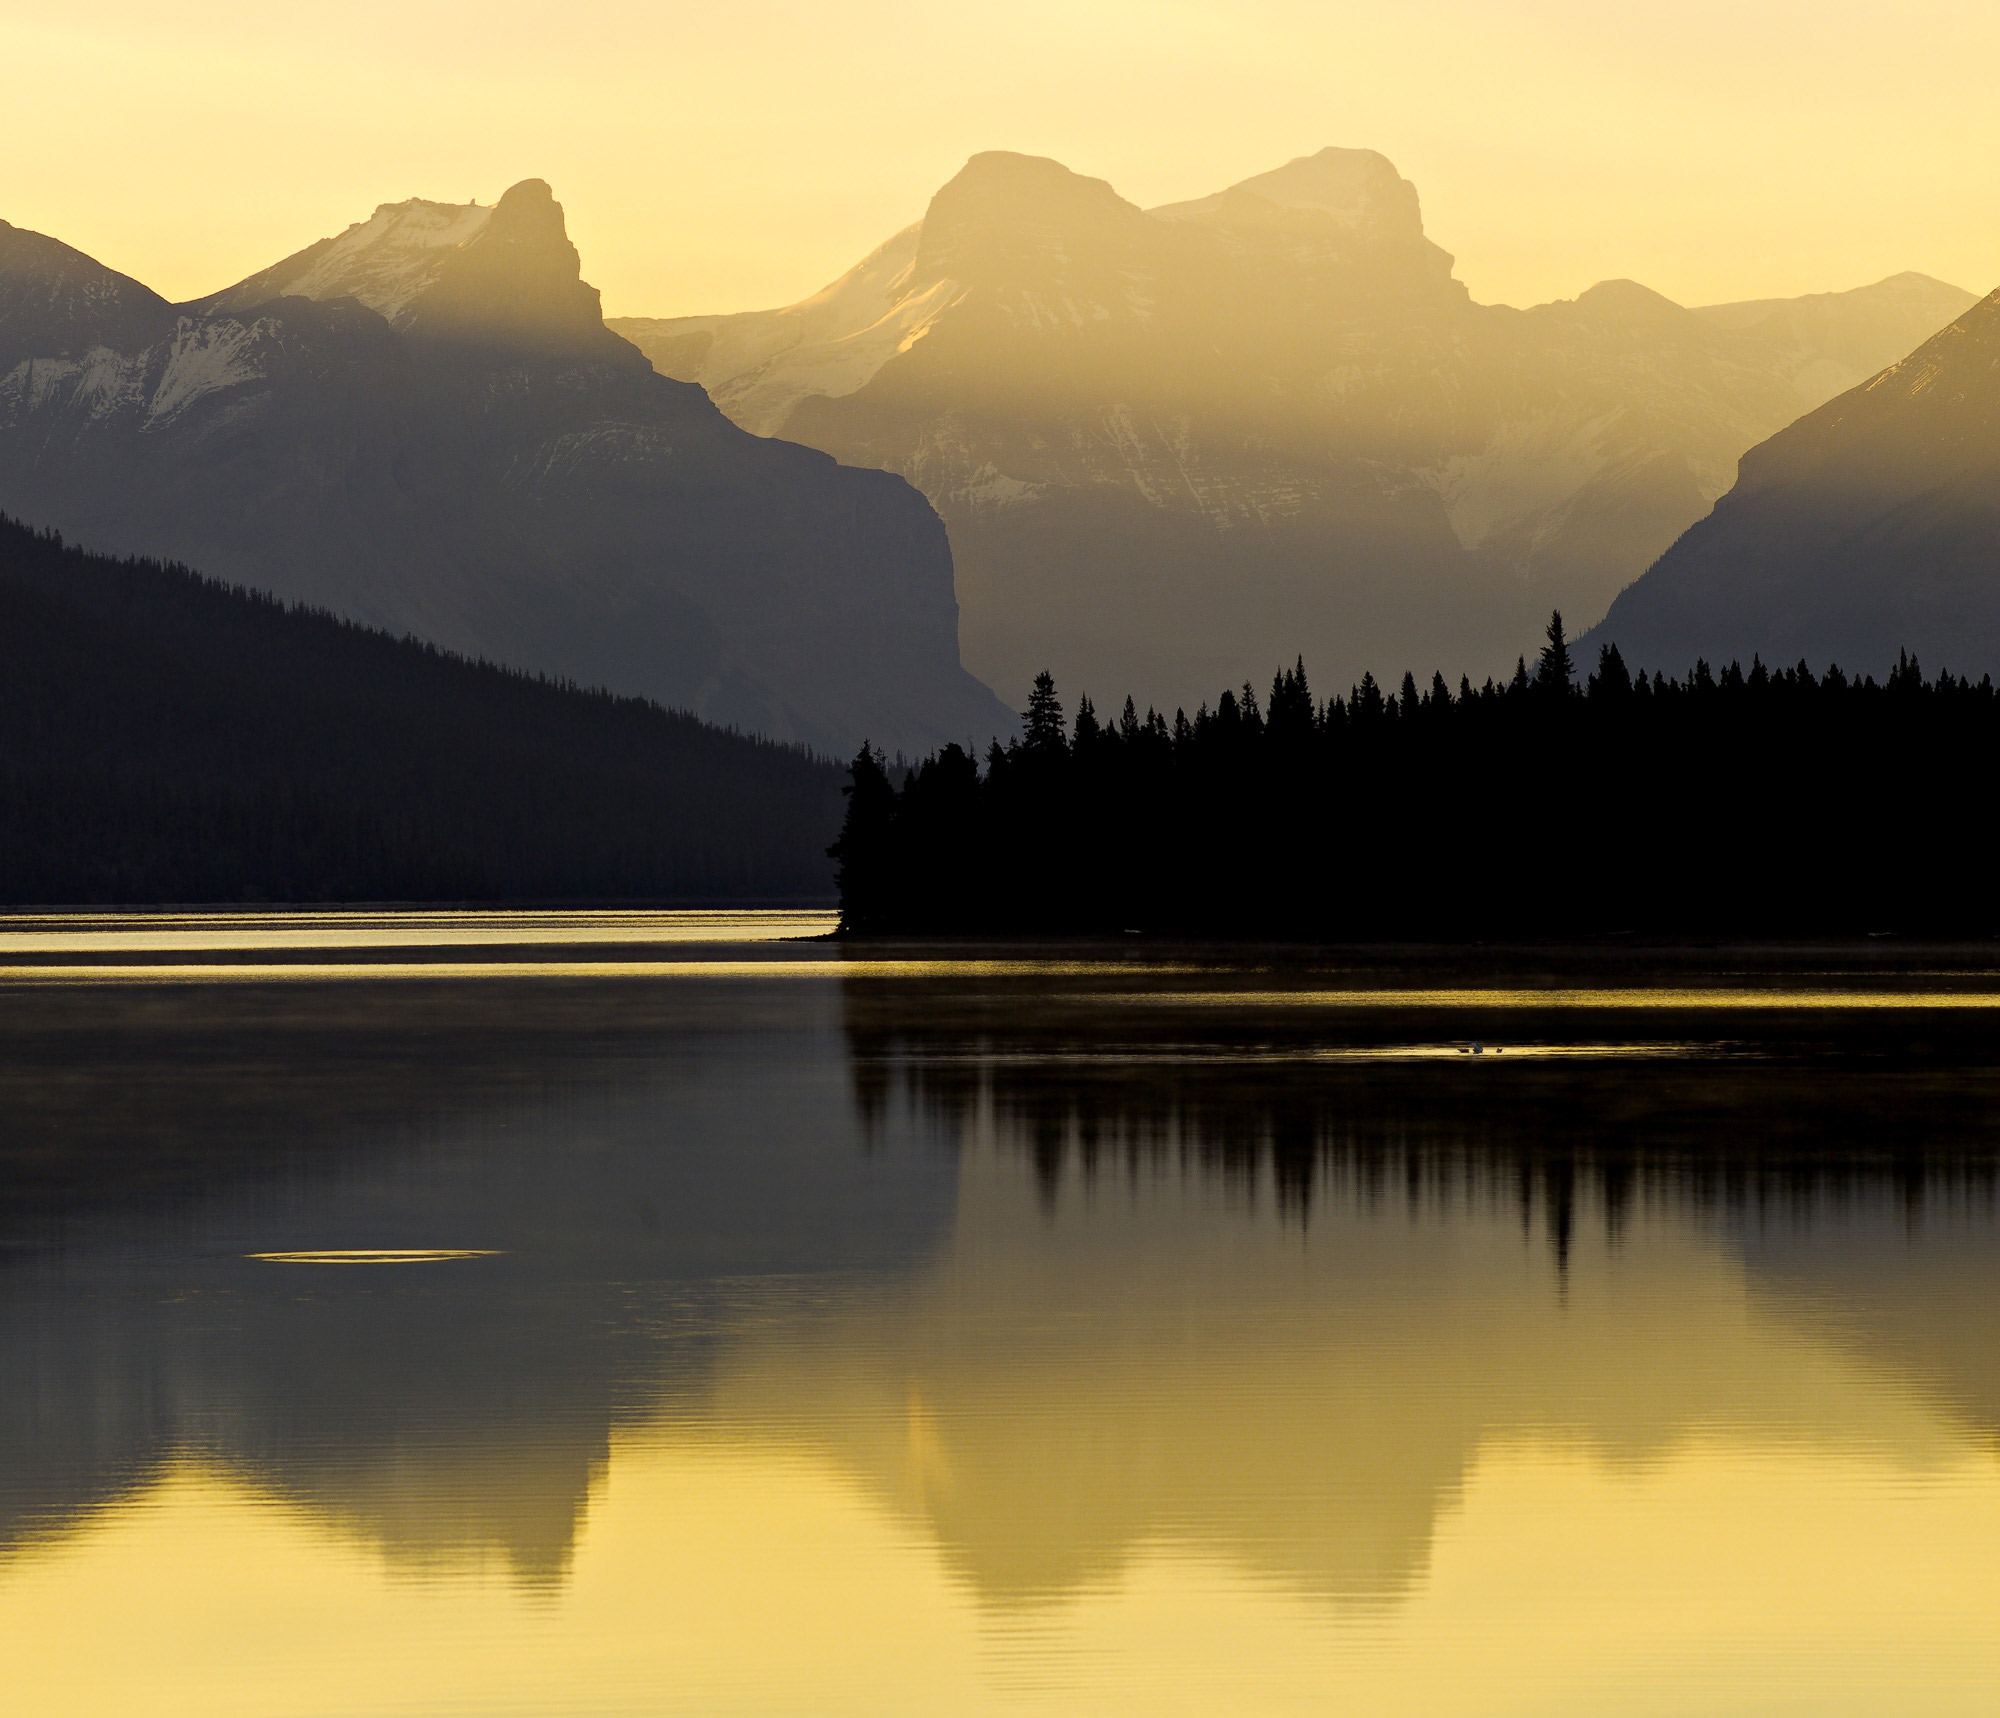
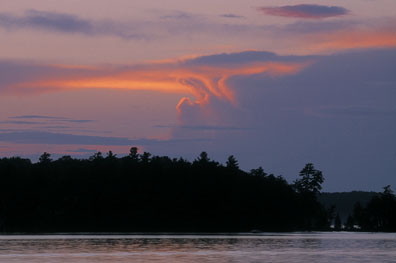 Muskoka Sunset #4‚ Muskoka, Ontario, 2000
The Cost
Unfortunately this program is very expensive at $329 US. (There is a less expensive version, but nowhere near as full-featured.) The way I rationalized the purchase was that since I will likely use it on thousands of images over quite a few years, the opportunity cost turns out to be quite reasonable. I hope that you come to the same conclusion. This is averyuseful tool indeed.


Elevate Your Vision


Read this story and all the best stories on The Luminous Landscape
The author has made this story available to Luminous Landscape members only. Upgrade to get instant access to this story and other benefits available only to members.
Why choose us?
Luminous-Landscape is a membership site. Our website contains over 5300 articles on almost every topic, camera, lens and printer you can imagine. Our membership model is simple, just $2 a month ($24.00 USD a year). This $24 gains you access to a wealth of information including all our past and future video tutorials on such topics as Lightroom, Capture One, Printing, file management and dozens of interviews and travel videos.
- New Articles every few days
- All original content found nowhere else on the web
- No Pop Up Google Sense ads – Our advertisers are photo related
- Download/stream video to any device
- NEW videos monthly
- Top well-known photographer contributors
- Posts from industry leaders
- Speciality Photography Workshops
- Mobile device scalable
- Exclusive video interviews
- Special vendor offers for members
- Hands On Product reviews
- FREE – User Forum. One of the most read user forums on the internet
- Access to our community Buy and Sell pages; for members only.
You may also like


