


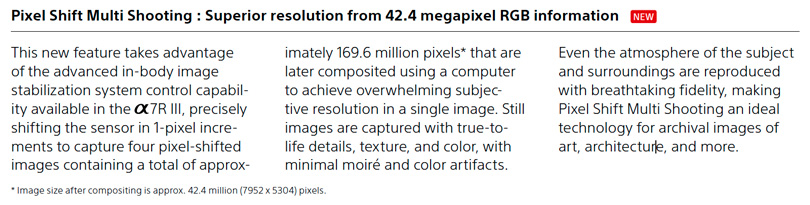
Does Pixel Shift Make A Difference?
There seems to be a constant barrage of news about the NEW Sony a7r III. The Internet is full of videos and news about the camera. Last week, Sony invited me, some YouTubers, and other content providers out to Sedona, AZ, to shoot with the a7r III for several days. Sony paid for the trip, put us up, and fed us.
Sony put together an agenda that would allow us to try the camera out in various conditions. These included hot air balloons, helicopters, astrophotography, models, and cars. It was a dawn-till-bedtime schedule, but it was a lot of fun.
As I wrote in a previous article, I was so impressed with the a7r III that I have already placed an order for my own camera. Once I receive it, I’ll do a full, hands-on review. The camera I was using at the event still did not have final firmware on it. However, I didn’t have a single issue with the camera during my very heavy shooting over those few days.
While I already knew the camera would perform well and deliver excellent images, I did not know how well the NEW Pixel Shift feature would work. Thus, I set out to test this new feature.
The Concept
Pixel shift is not totally new. This concept was first introduced on some medium-format cameras years ago. Since then, both Olympus and Pentax have offered the feature.

The concept is that the sensor is shifted one pixel when taking four exposures. The resulting images are then combined in external software and a new image is output.

What needs to be understood and has confused many people is that the resulting image is the same size as a single exposure image would be. What happens, though, is that the combined pixels result in a “perceived improvement in image quality.” My observation is that the resulting file has less stair stepping on diagonals in highlights and more details in textures. Moiré, if present, is eliminated. I’ll give a bit more in my summary.

The Software
At this time, the only way you can use Pixel Shift is to take the images and process them on either a Mac or PC computer. This is where it gets a bit clunky.
First off, to shoot a Pixel Shift image, you need to turn it on in the camera. I would have thought that Sony would have made this a bit easier, for example, by putting the feature on the camera’s quick menu. Currently, the feature needs to be turned on using the camera menu. Those of you who are familiar with Sony cameras know that the one major complaint people have about the camera is its menu system. It is extensive and sometimes confusing to navigate. I hope that they figure this out one day and offer a menu system that is on par with the technology they offer in the camera.
Nonetheless, you do become familiar with the menu layout over time, and it becomes less cumbersome.
You find the selection in the menu and activate Pixel Shift. You have a choice of how long the delay is between exposures. Before using the feature, you must make sure your subject will not move and that the camera is firmly locked down on a sturdy and stable tripod. Any movement whatsoever will deliver very strange results.
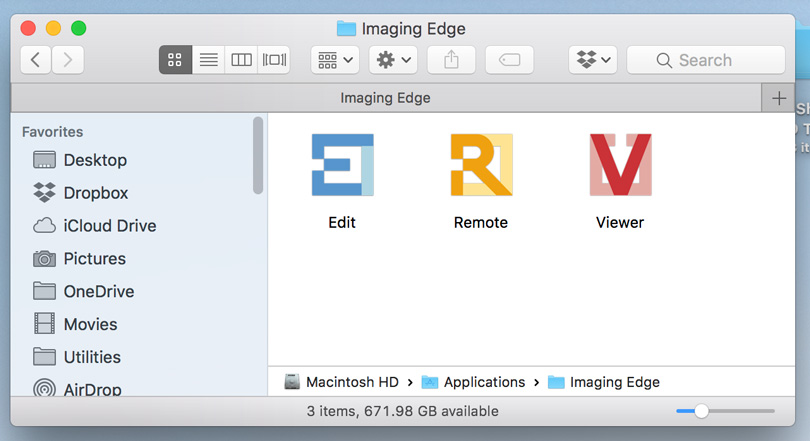
The Imaging Edge software has three separate applications
This feature is not something that can be used except in the most controlled shooting situations. I tried a few landscapes with the feature turned on, and even though there was no perceivable breeze, there were misaligned leaves and blades of grass, thus making the resulting images useless.
The Sony software I used, Imaging Edge, was just released for the Mac. By today’s standards, the software is not very easy or intuitive. I do hope that Capture One and Lightroom eventually figure out a way to include this feature in their software.
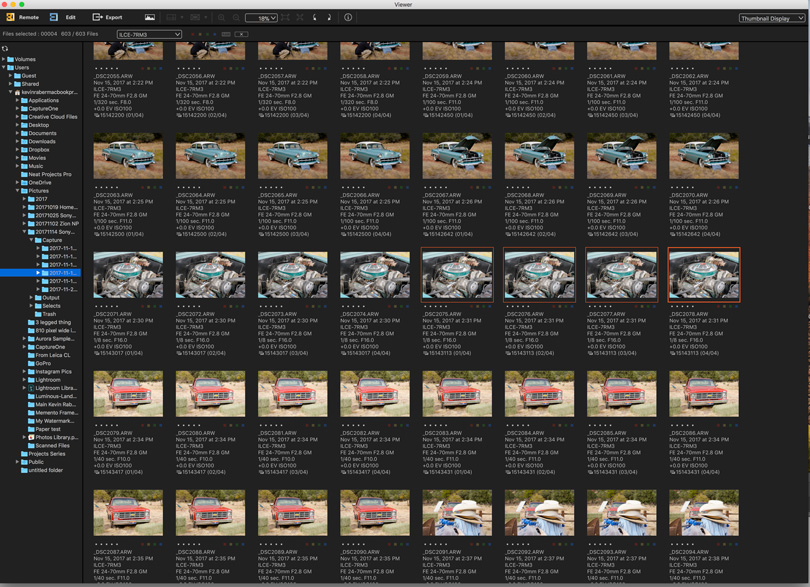
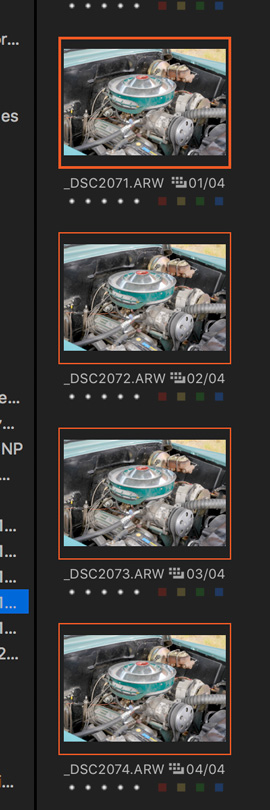
The layout of the software is more or less easy. You use the hierarchal menu to select the folder where the Pixel Shift images reside. You can tell a Pixel Shift image because it has a small icon that looks like a Rubik’s Cube.
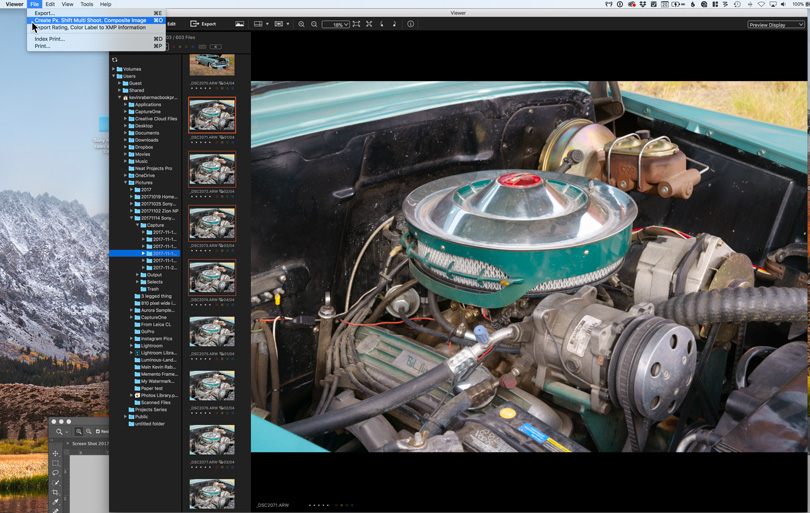
You select the four images for the exposure set. Then, using the pull-down menu, you tell the software to combine the images.
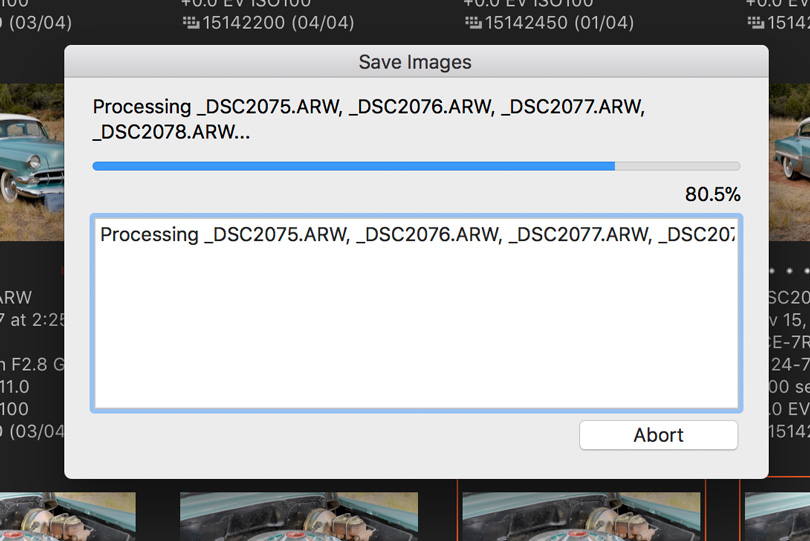
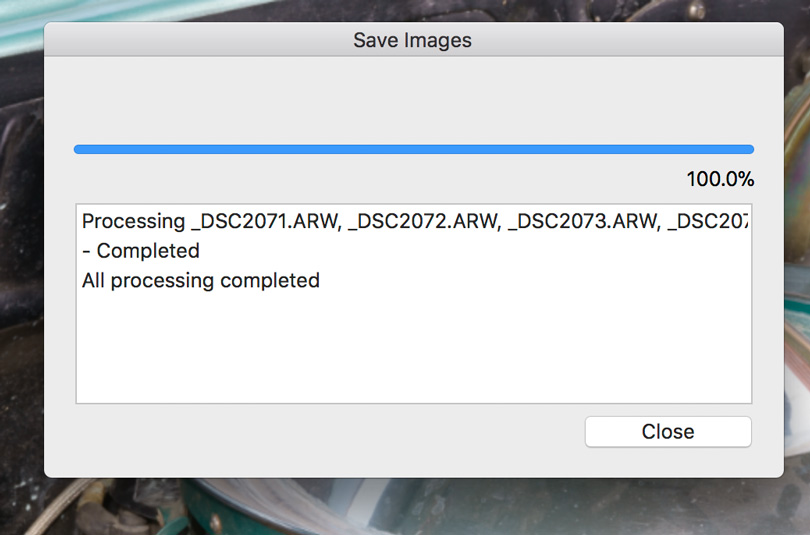
You are presented with a dialog box showing the progress.
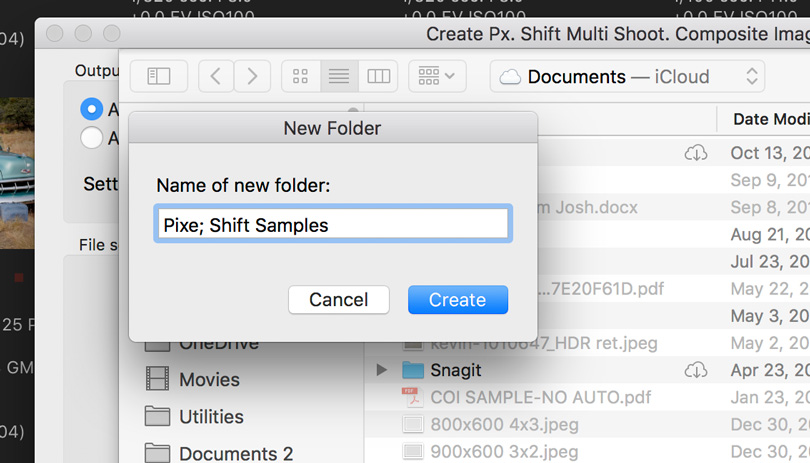
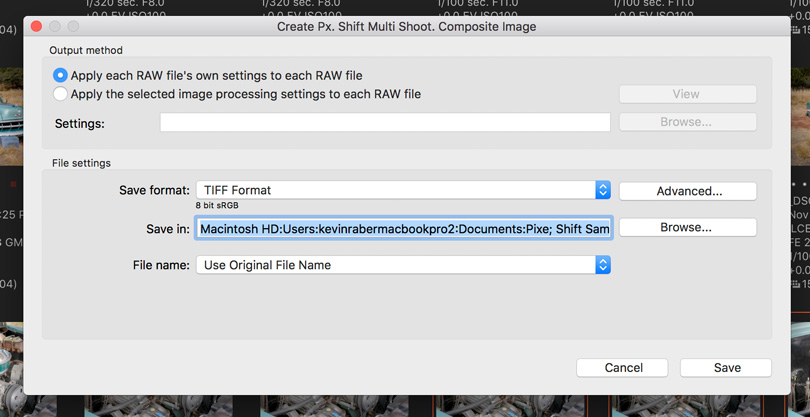
You are also given a dialog box to set the destination of the resulting image. There are a few other options as well, such as JPEG, TIFF, and so forth.
The editing software also gives you a choice to modify the typical exposure adjustments we are all accustomed to.

The final image will look like this—_DSC2063_PSMS (1).jpg—after the software adds a PSMS designation to indicate that it is a Pixel Shift image.
Some Images
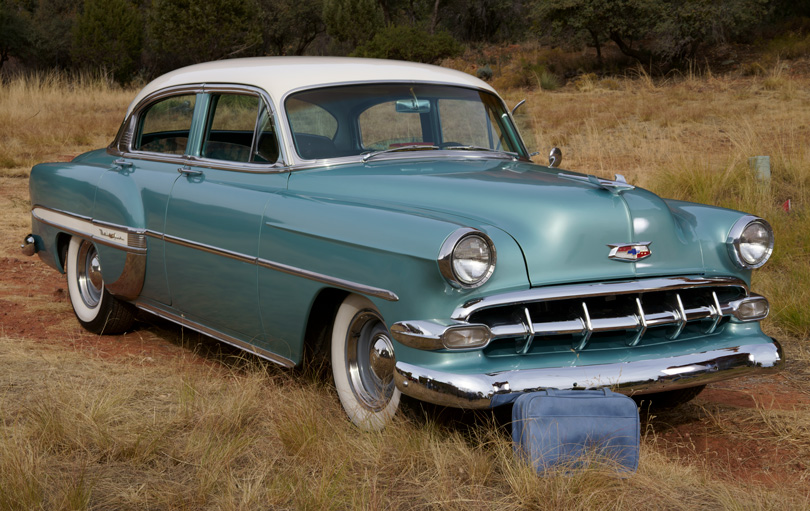
Below are a few images to show the results of Pixel Shift. I was fortunate enough to have a Phase One Trichromatic camera with me and shot the same shots with it (just for comparison sake).
To view these images, please click on the image and then use the magnifying icon to click through until you reach 100%. You can then move around the images. When finished, click the arrow in the upper left corner to return to the article. If you want to do side-by-side comparisons, I would suggest opening a second window and viewing them side by side.
Phase One Trichromatic
Click on the image to see at 100%. Navigate through the images to see details. Click the arrow at the top left to return to the article.
Sony a7r III – One of the original 4 raws
Click on the image to see at 100%. Navigate through the images to see details. Click the arrow at the top left to return to the article.
Final Pixel Shift
Click on the image to see at 100%. Navigate through the images to see details. Click the arrow at the top left to return to the article.
Conclusion
Pixel Shift is an interesting and beneficial new feature. In some ways, I think the original marketing by Sony is a bit misleading. When I first saw this as a new feature, I imagined getting a file four times the size of the original. Sony even mentions the overall size of the files when combined to make this new image. See below. Always read the small print.
You must read the small print to understand that your image will be approximately 42.4 million pixels in size after compositing.
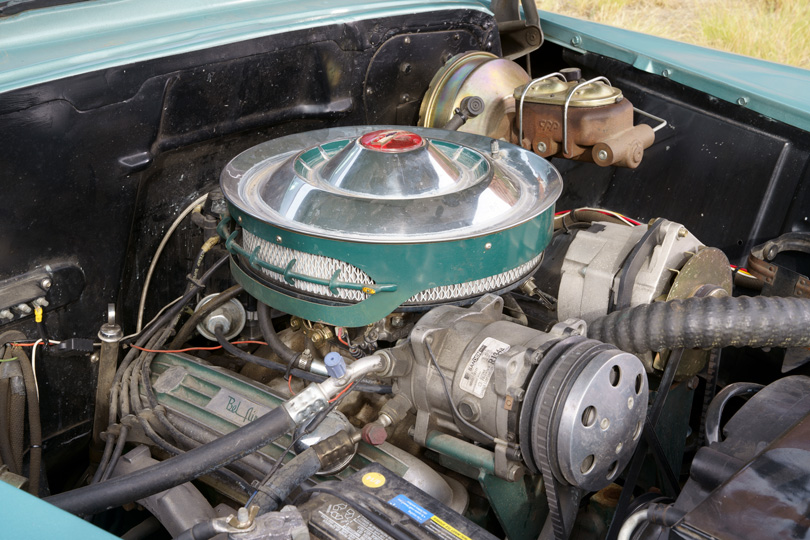
I did a lot of pixel peeping at 200% and 300%, doing side by sides in Photoshop. You can see differences when looking close. These become evident in highlight and specular areas as well as parts of an image with fine detail. There is less stair-stepping and other artifacts, which results in a cleaner file. So, while it may still be the same size as the original file, the resulting file has more perceived detail. I see this in areas of texture, such as the metal on the engine in the above samples or on the Chevy logo on the red truck.
Download Three files Red Truck
Download Three Files Of The engine
I think the real test will be to make prints from the above files and see how they look. I’ll be doing that over the next few days and will update this article with the results.
Pixel Shift is only one small piece of what makes the Sony a7r III so attractive. There is a new battery, better viewfinder, joystick, 4K video, dual card slots, better image stabilization, and so much more.
I look forward to getting down to some serious testing in the next week or so once I get my own camera. Sony is certainly pushing the envelope with its cameras and technology. I am really looking forward to seeing what Sony shares with us next. For now, I am loving my a9, and I know the a7r III will be my main go-to camera. Fun times!
The a7r III is available from B&H Photo
Kevin Raber
November 2017


Elevate Your Vision


You may also like