Rediscover – Understanding Resolution

Techniques

March 2, 2018 ·

Michael Reichmann

Understanding Resolution

Digital Vs. Analog The traditional analog world was easy to understand. Negatives and prints were continuous tone and one simply made an enlargement from the negative or transparency to the size needed. Today, in the digital environment, many newcomers get-tripped up by the concepts of input and output resolution and terribly confused as to what settings to use, and when.

To understand these issues clearly one needs to start with an acceptance of certain physical limitations of the human eye. Our vision is incapable of discriminating detail below a certain level. This varies from individual to individual and even by the same individual on different days, but more or less this point is at about 200 dots per inch ( 80 dots / centimeter). (See my article, Understanding Sharpness).

When an image is composed of dots smaller than this they appear to the eye as continuous tone. This has been relied upon by the printing trade for a couple of hundred years. Every photograph and every image that you see in every book, magazine, calendar and art reproduction is comprised of dots of ink, at resolutions typically ranging from 70 to 300+ dots per inch.

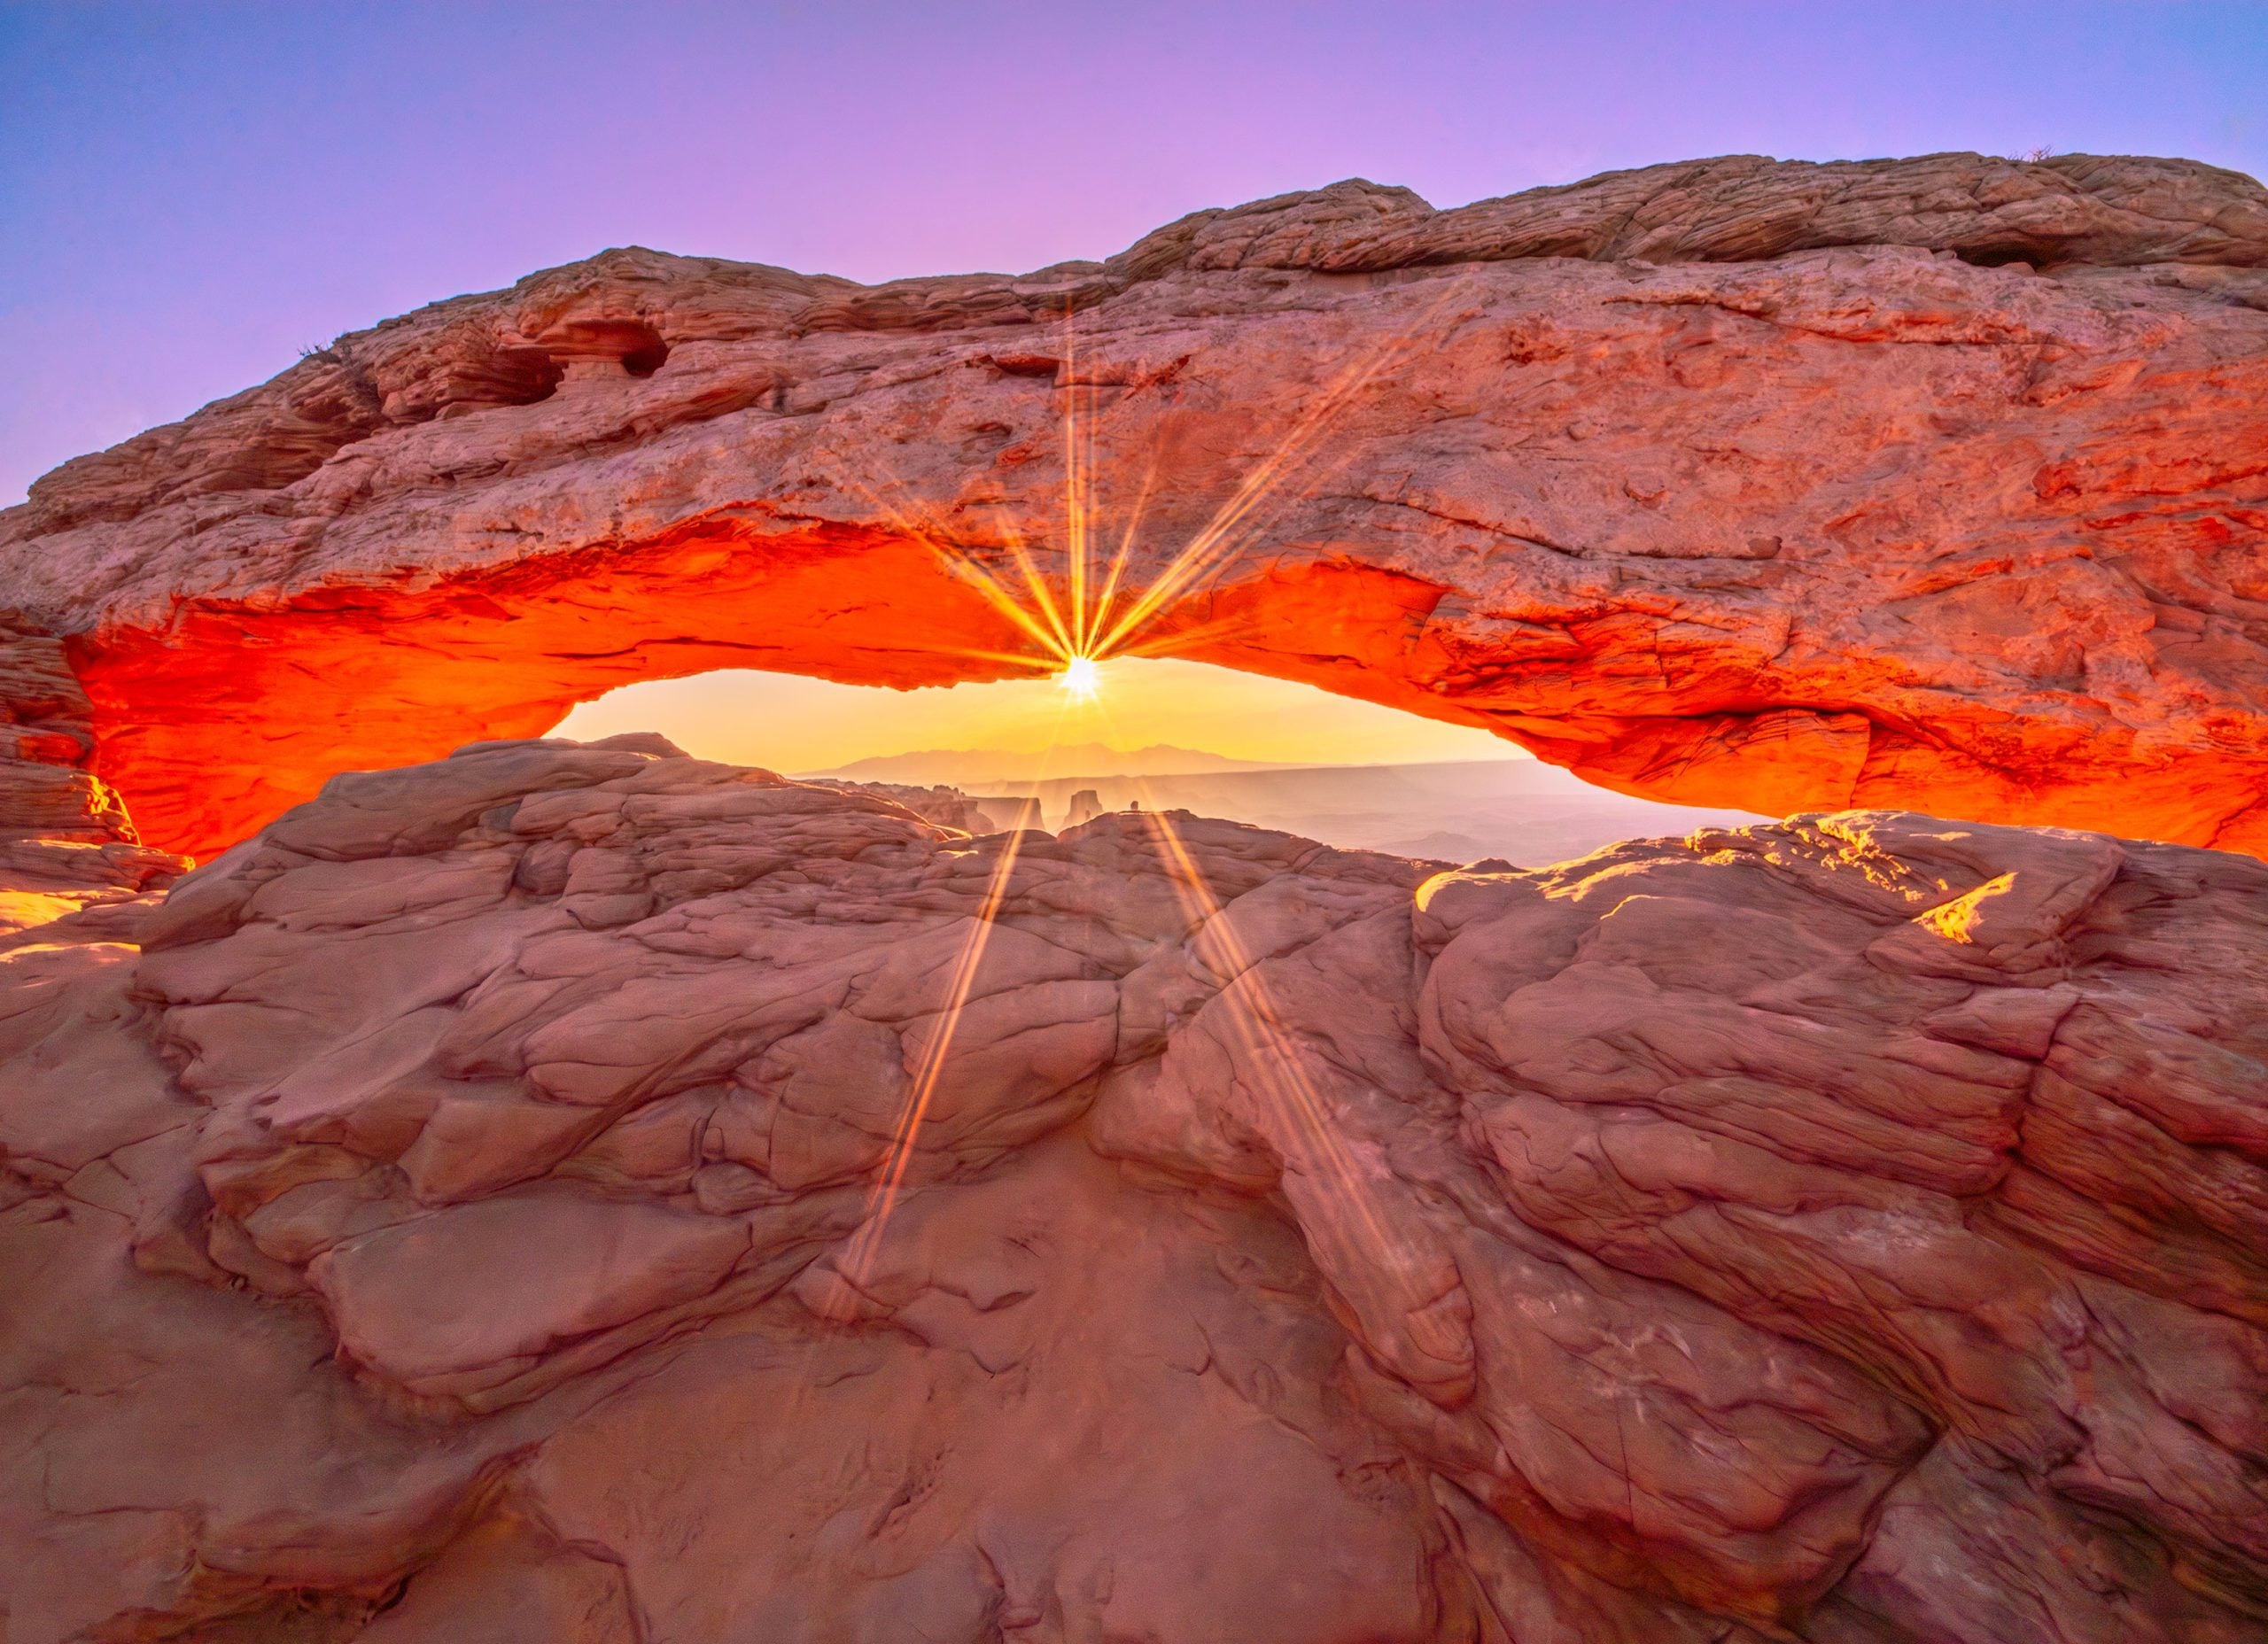
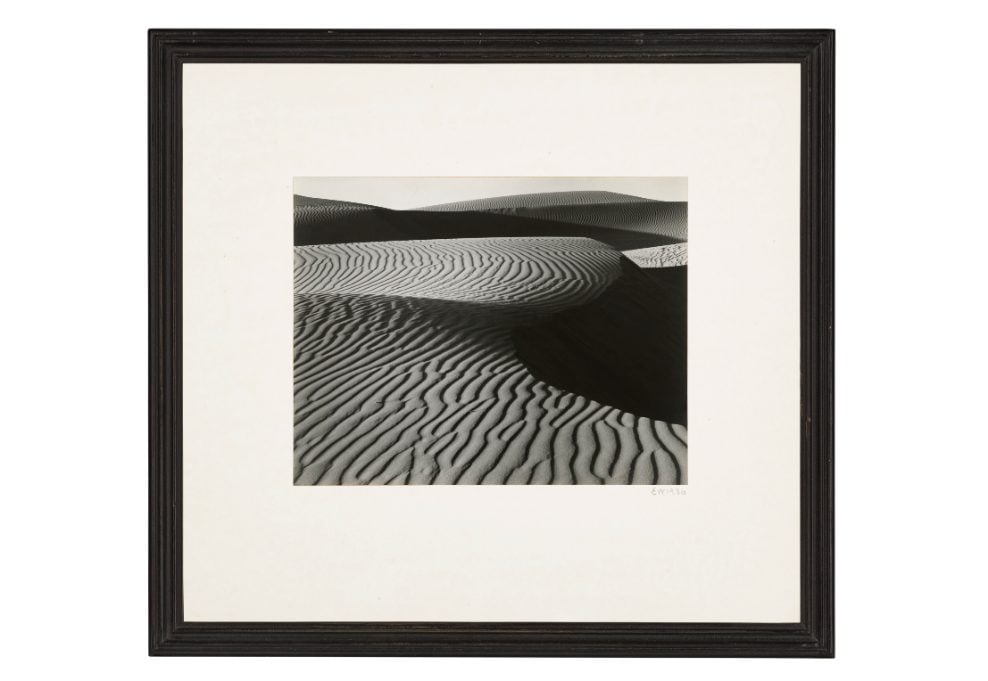
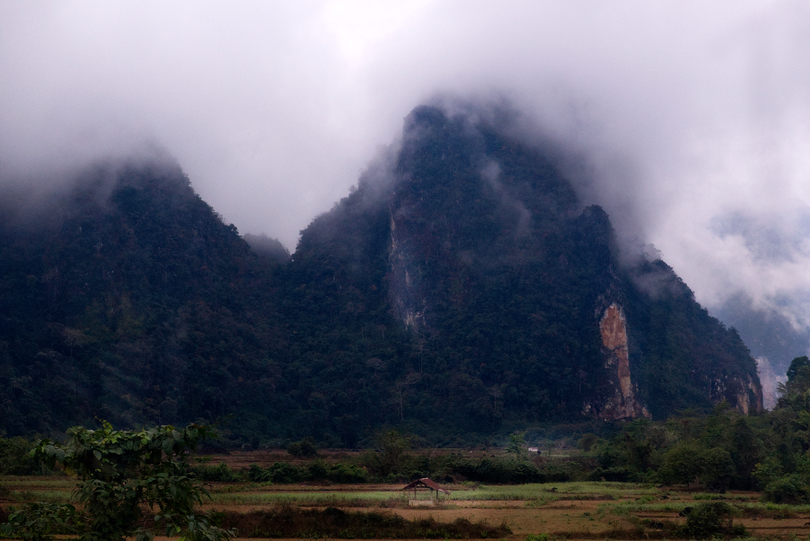
Agathla Peak, Arizona

Come The Resolution (Bad pun — sorry but I couldn’t resist)

Digital images, whether derived directly from a digital camera or from a film scanner, obey the same laws. If the resolution used to make a print is too low we will “see the dots“, just as you sometimes do in a photograph reproduced on low-quality newsprint.

What you end up seeing are the pixels. These are the discrete elements used to capture the image created by the camera or scanner lens system on the device’s imaging chip. They are in effect the equivalent of the grain found in silver-based films or the dye clouds found in color negative and transparency films. The problem comes when trying to understand the relationship between what is captured and what ends up on a print.

This box above shows the Image Size dialog box in Photoshop for the photograph of Agathla Peak seen near the top of this page. It was photographed with a Canon digital SLR, the D30. (The same issues described below would apply to a scanned image. The principals discussed are the same.)

This information at the top of the box tells us that the camera took an image that is 2160 pixels wide by 1440 pixels wide. The size of the image is 8.9 Megabytes.

The section of the box below this shows that the current setting is for an image that is 9 inches wide by 6 inches high and that the resolution of this image will be 240 pixels per inch. Please note that the Resample Image box is unchecked.

The Ins and Outs of Input and Output Resolution

If you were to now change any one of the values for Width, Height or Resolution you would simultaneously change the other two. If for example, you changed the Height to 6 inches then the Width would become 4 inches and the Resolution would become 360 ppi, as seen below.

This is because a digital image has no absolute size or resolution. All it has are a certain number of pixels in each dimension. Obviously, the resolution changes as the image size changes because the number of pixels that make up the image are being spread over a greater or lesser area. Therefore the resolution changes accordingly.

Now, let’s say you want to make a larger print — say one that was 14 inches wide. You would then end up with an image that was about 9.3 inches wide but more importantly one that would only have a resolution of 155 pixels/inch. This is not enough output resolution for a high-quality print, as we’ll see below.

Ressing Up

While there is no free lunch, it is possible to create extra resolution when needed ‹ but within certain limits. You’ll likely have noticed that the Photoshop dialog has a selection box at the bottom called Resample Image. If you check this box it decouples the locked relationship between Width and Height and Resolution and allows you to set them separately.

If you turn this box on by checking it you can make the image any size at any resolution you like.

In this example, I have made the image 11X16.5″ at 360 PPI. But, as can be seen at the top of the box I will be increasing the size of the file to more than 67 Megabytes from an original of under 9 Megabytes.

Where did that resolution and all those bits come from? They were invented by Photoshop. This is the same as when one sets a scanner to a resolution higher than the scanner’s true Optical Resolution. These are empty pixels. In other words, there is no new data there, the program has just used the data available to invent new pixels.

Well“, you might say, “That’s pretty useless. What’s the point”? Actually, if done in moderation this technique can allow you to make prints larger than your original image would normally allow. The reason for this is that a large print is viewed from a greater distance than is a small one and therefore the effect is masked.

As I said, the key word is moderation. One alternative is to use a stand-alone program called Genuine Fractals (link takes you to OnOne Site using this technology). This uses a different mathematical algorithm than does Photoshop and in my opinion, does a much better job of ressing up. It’s important to note though that in either case, the higher the quality and the larger the size of the original image, the better the ressed-up image will be.

Finally, you would also use this to res-down an image. If you’re preparing a photograph for use on the web you want to have it at 72 ppi. You would turn on Resample Image, set the value to 72 ppi, and then set the Width and Height to whatever you needed. Photoshop will then throw away the unneeded pixels and create an appropriately sized file.

What Resolution Do I Need?

The final question is —how big is big enough? The answer depends on the device that your image will appear or be printed on. For example, images on-screen typically need a maximum of 72 PPI. If a file has higher resolution than that it simply looks no different on screen. The only real difference will be that the file will be bigger and will, therefore, be slower to download. All images on this site are at 72 ppi, regardless of their size.

High-end lab printers need different resolutions. The LightJet 5000, the most popular wet-process digital printer, needs a file of exactly 304.8 PPI. Check with your lab for the resolution that they need for their particular printer.

Inkjets

Most photographers do their printing these days with a desktop inkjet printer and the Epson Photo printers are the most popular so I’ll use them by way of example. These printers, such as the models 870/1270/2000P are (somewhat misleadingly) listed as 1440 dpi printers. This means that they are capable of laying down that many dots per inch. But, to create a color image they need to use 6 different inks, so any particular pixel reproduced on a print will be composed of some dithered composite of colored dots using some or all of these inks. That’s why you need more dots from your printer than you have pixels in your image.

If you divide 1440 by 6 you end up with 240. This is the true minimum resolution needed to get a high-quality photo-realistic print from a 1440 dpi Epson printer. Many users, myself included, believe that a 360 ppi output file can produce a somewhat better print. If my original scan is big enough to allow this I’ll do so but I don’t bother ressing up a file to more than 240 ppi when making large prints.

PPI & DPI

PPI (Pixels per Inch) and DPI (Dots per Inch) are frequently used interchangeably in this industry, by pros and amateurs alike. While wrong, this isn’t a huge problem since we usually know what we’re talking about. To be absolutely correct it’s worth noting that scanners, digital cameras, and screens are all measured in PPI while printers are measured in DPI. Just so you know the difference.

A Closing Thought

This is a subject that is easier to understand by playing with your imaging software than by reading about it. Do so until this all makes sense, otherwise, your days ahead in the digital darkroom will prove to be frustrating.

Finally, when you save your files make sure that you save them with the original image’s resolution intact. Only when a file has been safely saved should you start changing the resolution. Also, if you haven’t done so yet have a look at my tutorial Instant Photoshop for some recommendations on how best to work with your files, and what file formats to use for particular applications.


Rediscover, is just that. A rediscovering of some of the best-archived articles this site has to offer.

Luminous-Landscape is a large website with over 5700 articles, reviews, tutorials, and videos.  As I was going through old articles I saw in many cases how timely they were.  While new advances in technology, new camera models, and new software have appeared the one thing that isn’t new is the basics.

We have gone back to the archives and we are editing and reformatting some of the best articles from the past.  Most of these articles are by Michael Reichmann, founder of this site.  Others are by guest contributors.  All of them will remind us of how important it is to understand the terms and digital basics that will be rediscovered here.

Please keep in mind that these articles may reference old pages, products, and cameras.  While newer models have been introduced the content of the topic hasn’t changed much or at all.  We decided to keep as much of the original content intact.  There may every now and then be a link that is bad, let us know and we will fix them. 


Michael Reichmann
First Published in 2001


Lorem ipsum dolor sit amet, consectetur adipiscing elit, sed do eiusmod tempor incididunt ut labore et dolore magna aliqua. Ut enim ad minim veniam, quis nostrud exercitation ullamco laboris nisi ut aliquip ex ea commodo consequat. Duis aute irure dolor in reprehenderit in voluptate velit esse cillum dolore eu fugiat nulla pariatur. Excepteur sint occaecat cupidatat non proident, sunt in culpa qui officia deserunt mollit anim id est laborum.

Lorem ipsum dolor sit amet, consectetur adipiscing elit, sed do eiusmod tempor incididunt ut labore et dolore magna aliqua. Ut enim ad minim veniam, quis nostrud exercitation ullamco laboris nisi ut aliquip ex ea commodo consequat. Duis aute irure dolor in reprehenderit in voluptate velit esse cillum dolore eu fugiat nulla pariatur. Excepteur sint occaecat cupidatat non proident, sunt in culpa qui officia deserunt mollit anim id est laborum.

Lorem ipsum dolor sit amet, consectetur adipiscing elit, sed do eiusmod tempor incididunt ut labore et dolore magna aliqua. Ut enim ad minim veniam, quis nostrud exercitation ullamco laboris nisi ut aliquip ex ea commodo consequat. Duis aute irure dolor in reprehenderit in voluptate velit esse cillum dolore eu fugiat nulla pariatur. Excepteur sint occaecat cupidatat non proident, sunt in culpa qui officia deserunt mollit anim id est laborum.

Lorem ipsum dolor sit amet, consectetur adipiscing elit, sed do eiusmod tempor incididunt ut labore et dolore magna aliqua. Ut enim ad minim veniam, quis nostrud exercitation ullamco laboris nisi ut aliquip ex ea commodo consequat. Duis aute irure dolor in reprehenderit in voluptate velit esse cillum dolore eu fugiat nulla pariatur. Excepteur sint occaecat cupidatat non proident, sunt in culpa qui officia deserunt mollit anim id est laborum.

Avatar photo

Michael Reichmann is the founder of the Luminous Landscape. Michael passed away in May 2016. Since its inception in 1999 LuLa has become the world's largest site devoted to the art, craft, and technology of photography. Each month more than one million people from every country on the globe visit LuLa.

You May Also Enjoy...

Techniques

Celebrating Alternative Photography: Cyanotype Prints with Ashok Viswanathan

February 15, 2024 ·

Swindy

FacebookTweet By: Ashok Viswanathan – FFIP, EFIAP.PPSA Cyanotype is one of the earliest printing processes, dating from 1842 by Sir John Herschel, shortlyafter the discovery


Techniques

Van Dyke Brown Image

Celebrating Alternative Photography: Mastering the Van Dyke Process with Ashok Viswanathan

January 16, 2024 ·

Swindy

FacebookTweet Long-time Lula member, Ashok Viswanthan, kindly offered to share his approach and methods for alternative photography processes. I hope you enjoy his detailed “how-to”