


Do you struggle to capture stunning macro compositions? Would you like to produce macro photos that are simply stunning?
You’re not alone.
Composition is one of the trickiest parts of macro photography to learn. It’s also one of the most important. So you’ve absolutely got to master it–if you want to create amazing macro photos.
Fortunately, there are a few basic macro photography composition tricks and techniques. And once you know them, you’ll be on your way to gorgeous macro images.

Are you ready to become a macro composition master?
Then let’s dive right in.
Macro Photography Compositions: The Basics
First things first:
Composition refers to the arrangement of the elements in an image. It’s all about positioning your various subjects around the frame.
For instance, if you’re photographing a daisy, how do you incorporate the daisy into your shot? Do you put it dead center? Toward the right? Toward the left? Or somewhere else entirely?
And do you include a second daisy? Where should you put that second daisy? Directly behind the first? Or far in the background?
That’s what composition is all about.
And here’s the thing:
The difference between a terrible macro photo and a good macro photo?
It can be just the composition. If you position your flower too far to the left, the shot might go from stunning to bleh. Seriously.
That’s where this article comes in. Because I’m going to give you some guidelines that make sure your macro photos are never ruined by a bad composition.
Sound good?
Now, let’s start with the [most important macro photography composition tip of all
https://www.jaymesdempsey.com/macro-photography-compositions/: Macro photos should have one main subject (two at most).
That is, you should have a focal point in every macro photo– something that really draws the eye. Think of this as the anchor, which holds the viewer steady when they look at your image.
If you include too many focal points, the photo will begin to feel cluttered. The viewer will get distracted. And your image won’t have much impact.
Something to note: While you can have multiple subjects, I generally recommend against it. One-subject macro photos can be truly stunning. And while two subjects can work in an image, it’s much harder to pull off.
So stick to one subject whenever you can.
And make that single subject the sharpest, clearest, most obvious part of your image.
Which brings me to my next composition tip:
The best macro compositions have a supportive background.
When I say supportive background, I’m referring to a backdrop that doesn’t distract the viewer. Instead, it emphasizes the main subject, and makes it even more powerful.
What does a supportive background look like?
A supportive background https://www.jaymesdempsey.com/macro-photography-backgrounds/ generally has two main characteristics:
One: It’s uniform (or close to it). This ensures that it doesn’t detract from the overall photo. And that it emphasizes your subject.
Two: It’s beautiful. This is generally in terms of color–because the best backgrounds tend to add a nice wash of color to the image. But it can also be in terms of light. For instance, a [black and white macro photo https://www.jaymesdempsey.com/black-and-white-macro-photography/ can have some truly beautiful highlights (which then frame the main subject).
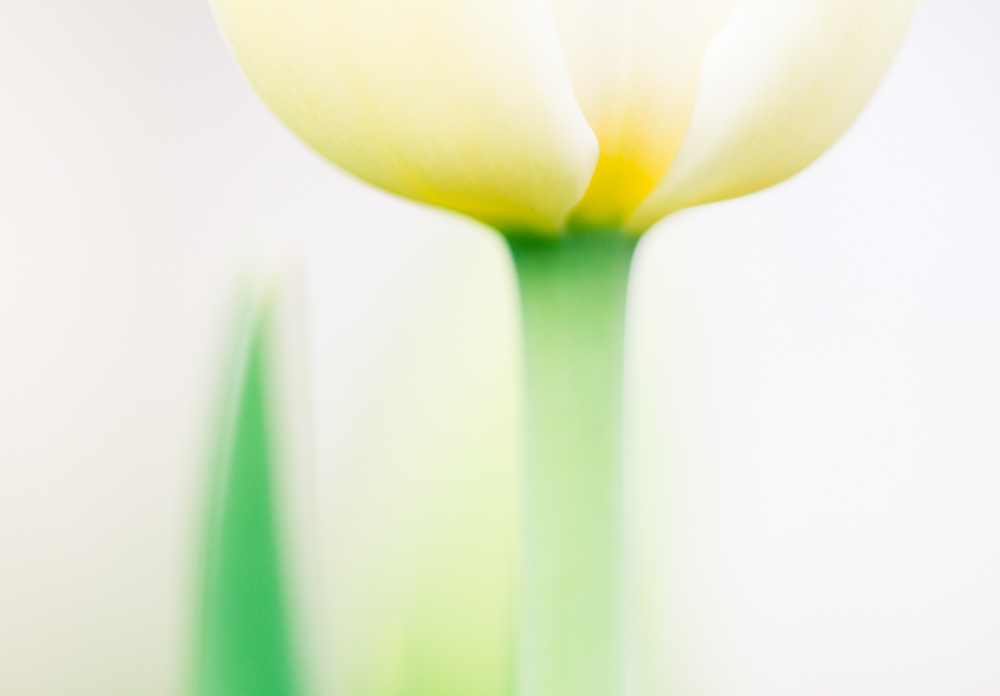
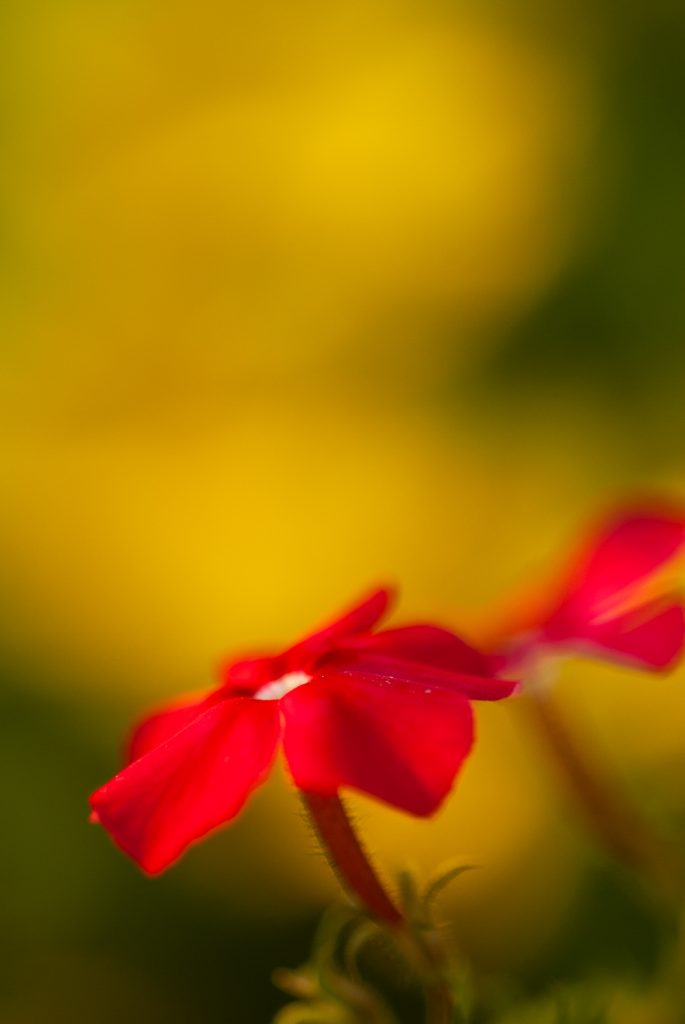
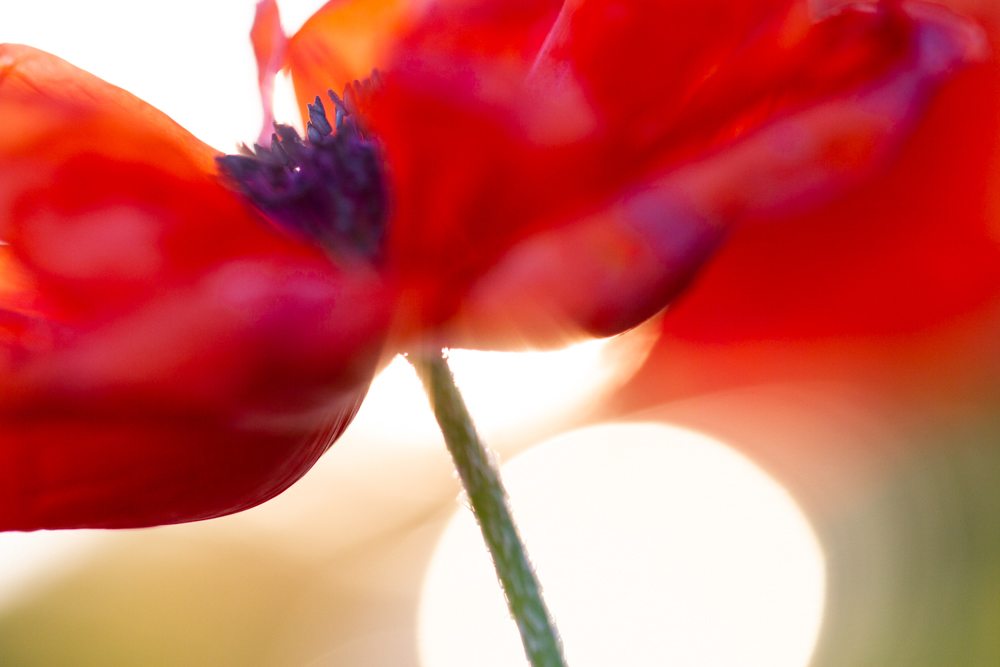
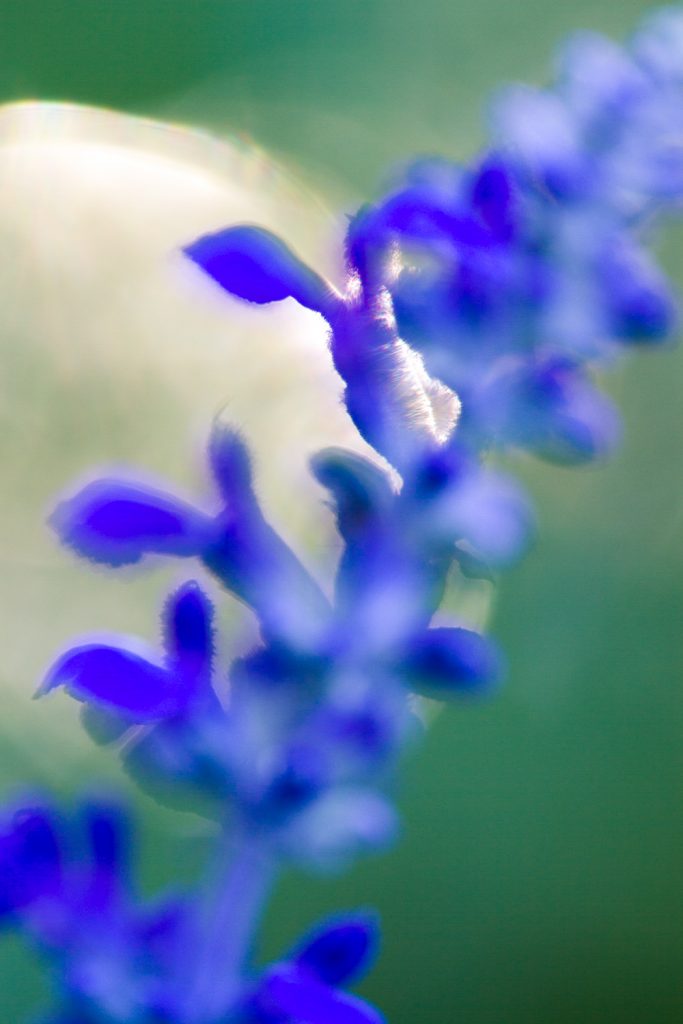
Here’s an example of a wonderfully supportive background:
One of my favorite ways to generate a supportive backdrop is to face into the sun, and make sure that my subject blocks the bulk of the sunlight. This generally creates a powerful backlit glow, which is both dramatic and colorful.
That’s what I did for this photo:
But another way of creating a stunning backdrop is to include a colorful element behind your subject, then use a wide aperture to make it blur.
Once you’ve found a beautiful background, what do you do?
Position your main subject so that it draws the eye.
If you have a supportive background, there’s a good chance that your viewer will automatically be drawn to your subject.
But in photography, you don’t want the viewer to have to do any w ork. You want to direct their eyes around the frame as much as possible (and ideally toward your focal point).
So you have to position your main subject very, very carefully. And make sure that it’s the first the viewer looks toward.
I’m now going to introduce you to three simple techniques which will always make the viewer look toward your subject.
First, use the rule of thirds.
The rule of thirds states that you should place your main subject a third of the way into the frame. Specifically, you should put your subject along these gridlines:

This is because the thirds in the frame are points of balance. [If you can put your subject along the thirds https://www.jaymesdempsey.com/rule-of-thirds-macro-photography/], the viewer will feel satisfied looking at the photo. Their eyes won’t need to move. There won’t be any tension.
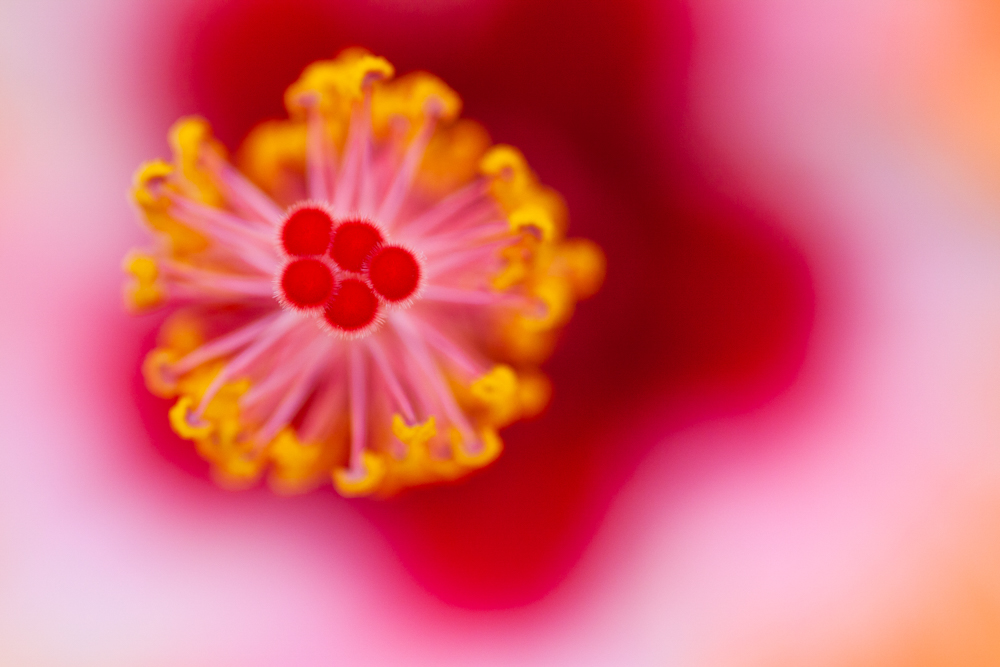
In particular, if you can put your main subject at one of the points of intersection between two gridlines (known as ‘power points’), then you’re basically guaranteed a strong composition. Power points are perfect for emphasizing your main subject. And they make for really gorgeous macro images.
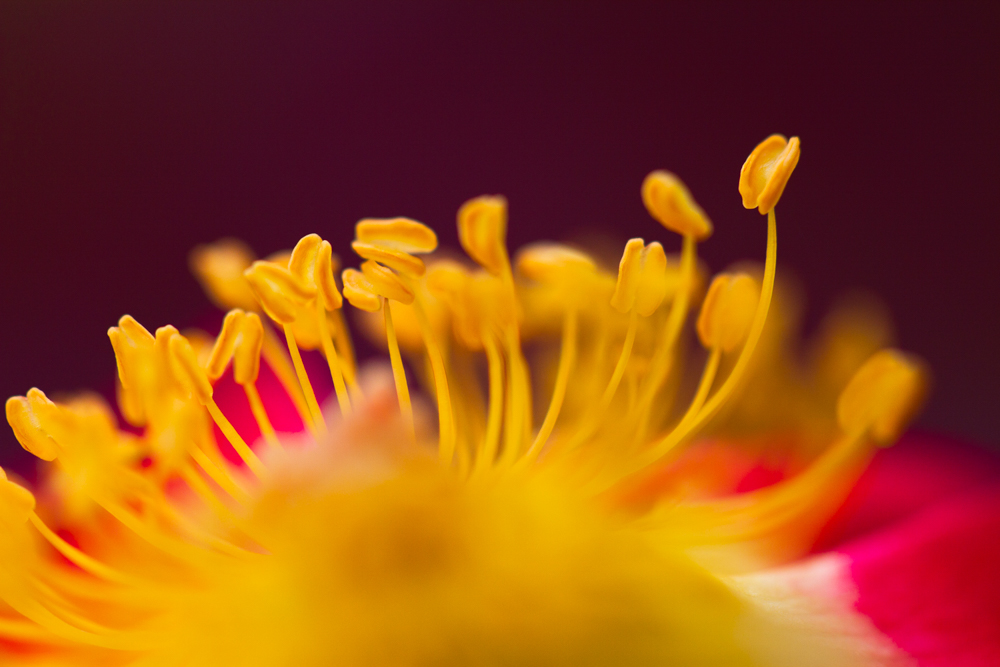
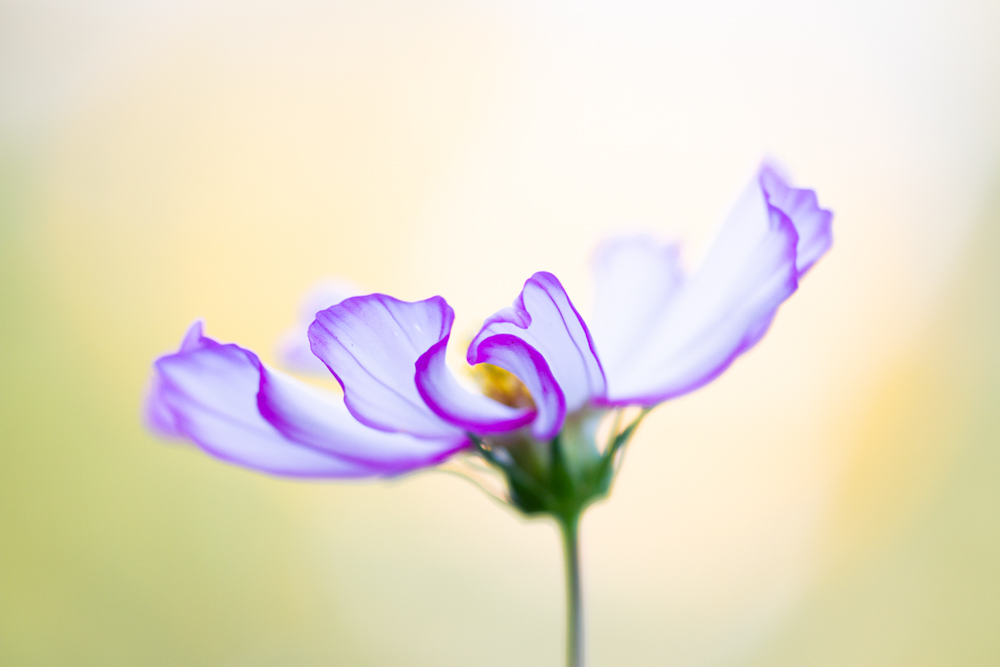
In fact, I often place my macro subjects at power points. Look at the image below
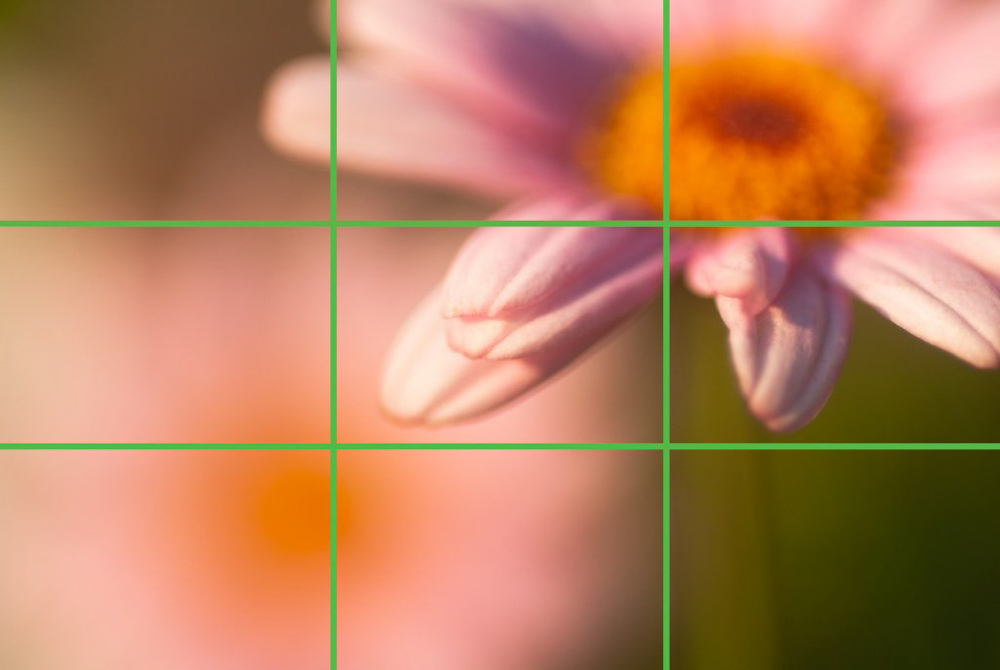
See how the flower aligns perfectly with the gridline intersection?
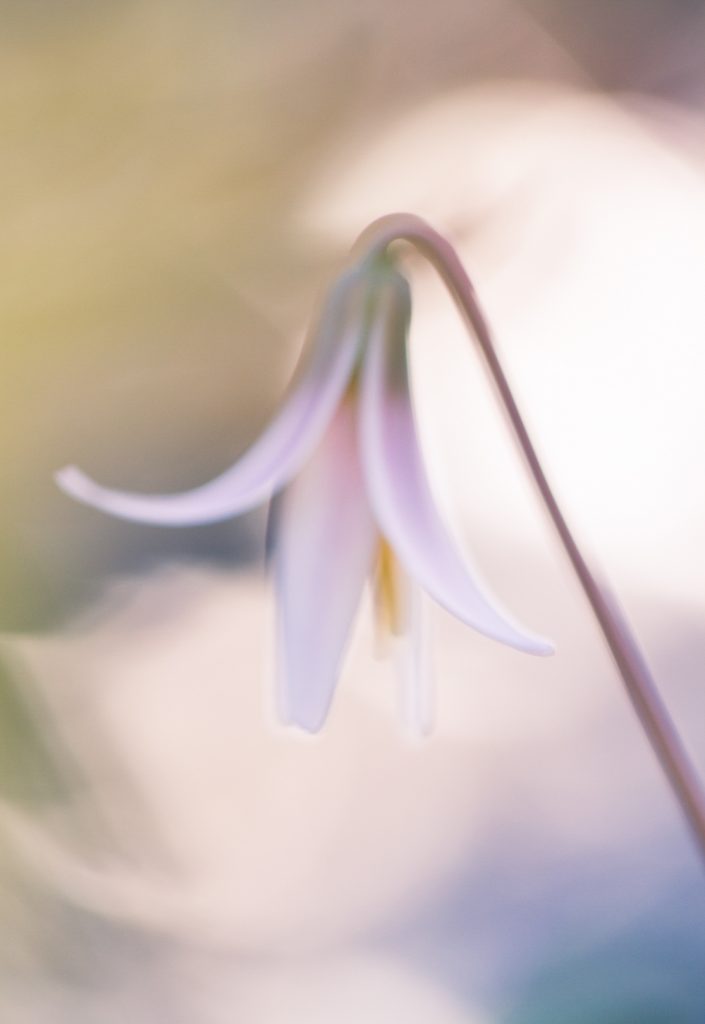
Second, be familiar with leading lines.
Leading lines are simply lines that move the viewer through the frame. People have a tendency to follow lines, and so photographers take advantage of that.
The idea is to point the lines toward your main subject. That way, the viewer will always be directed back toward the focal point of your image.
Make sense ?
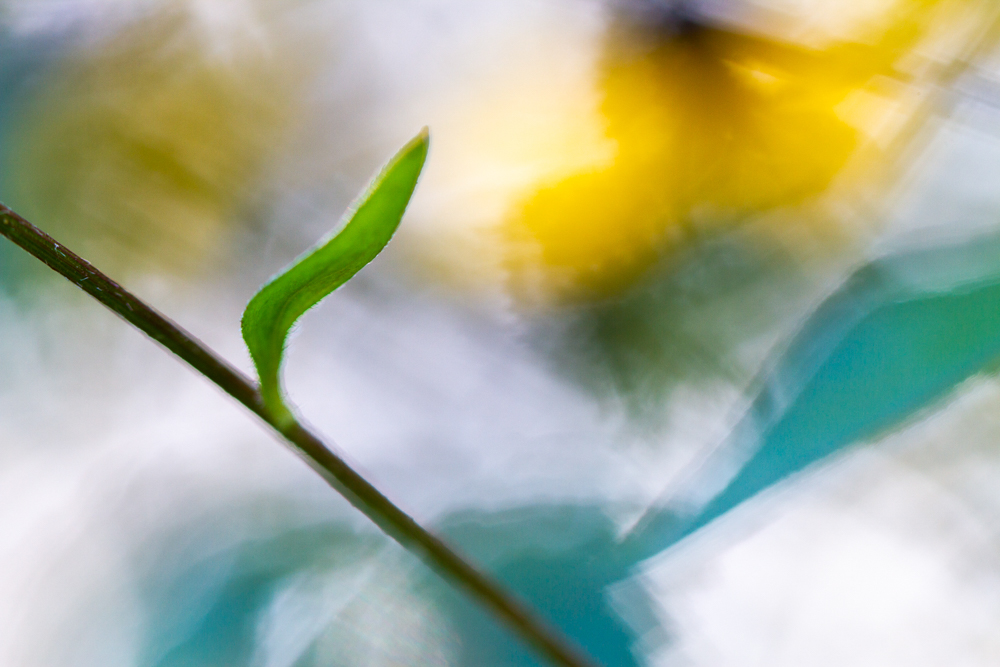
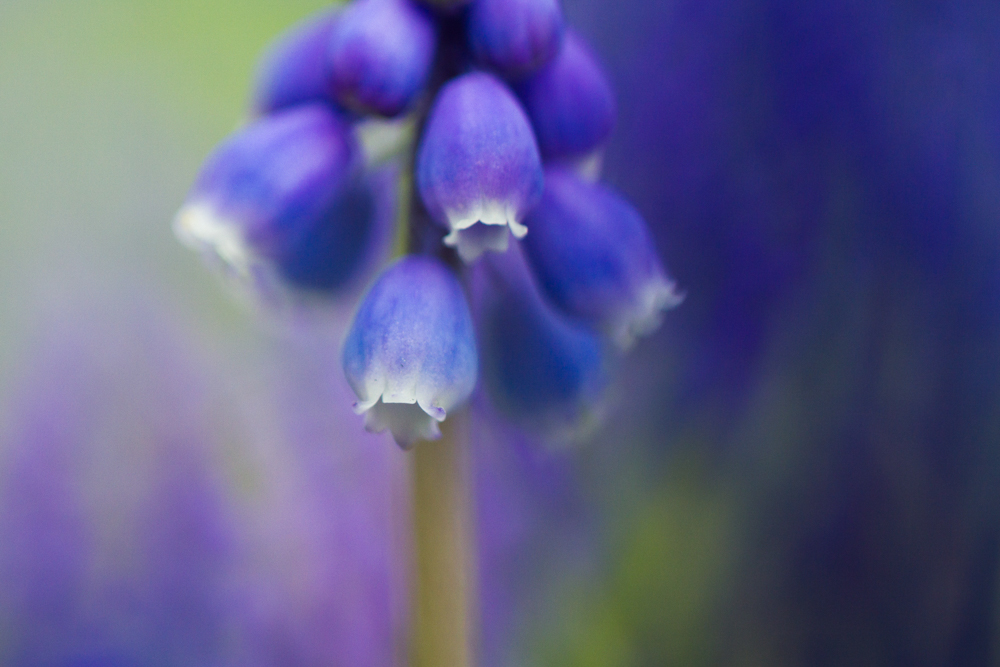
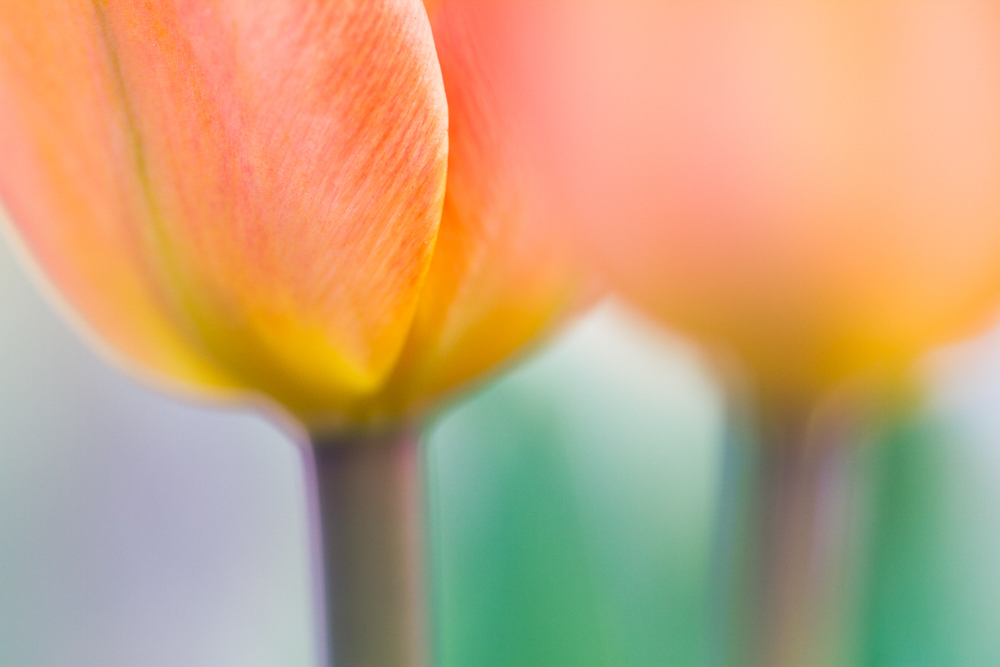
Now, leading lines can be made of anything: branches, leaves, flower petals, and more. But one of my favorite leading lines is a flower stem. When I want to emphasize a flower as a main subject https://www.jaymesdempsey.com/flower-photography-tips/ I show a lot of the stem–so that the viewer is drawn straight toward the flower!
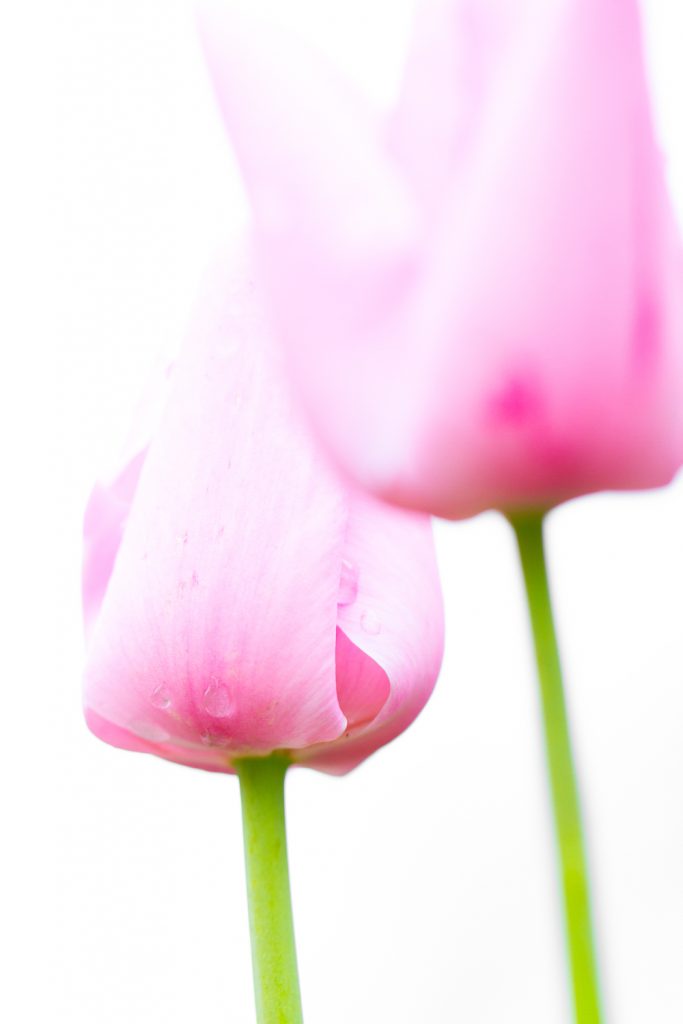
Here’s the bottom line:
When you’re composing your macro photos…
Just look around for [some leading lines https://www.jaymesdempsey.com/lines-macro-photography/ . I bet a line or two will pop out at you. Even if you didn’t notice it initially!
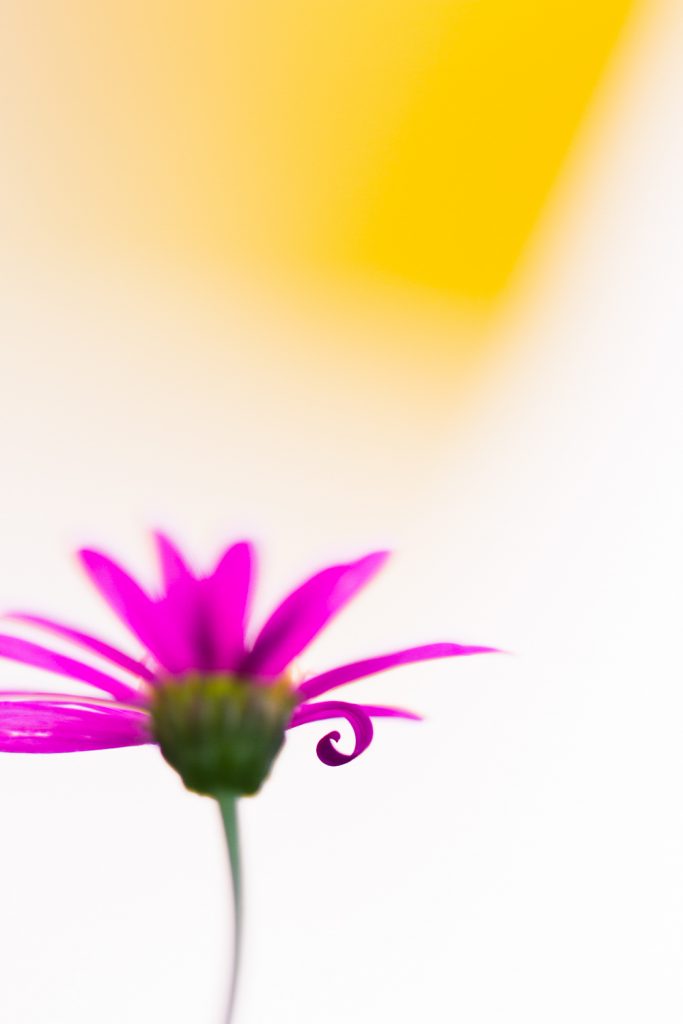
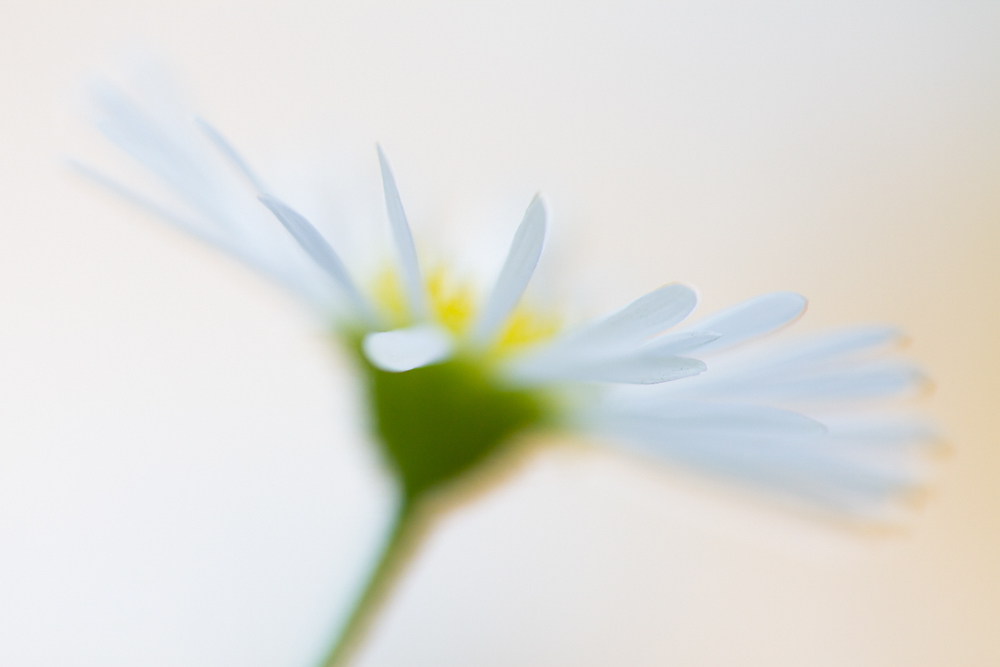
Third, use negative space to make the subject more powerful.
Negative space is essential for macro photography. And if you can learn to use negative space carefully, your images will instantly improve.
Let me explain:
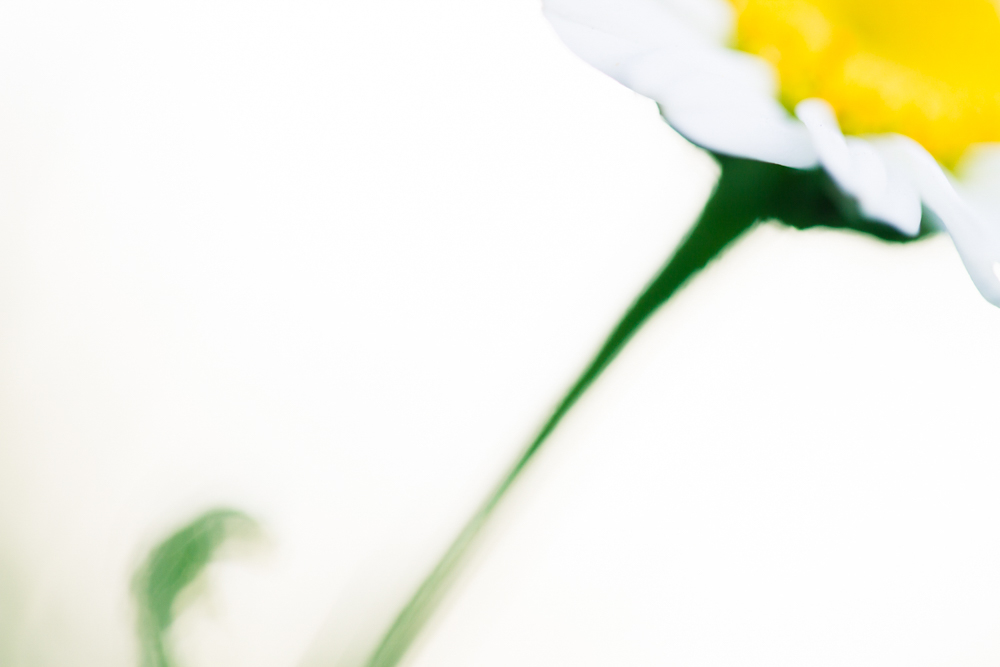
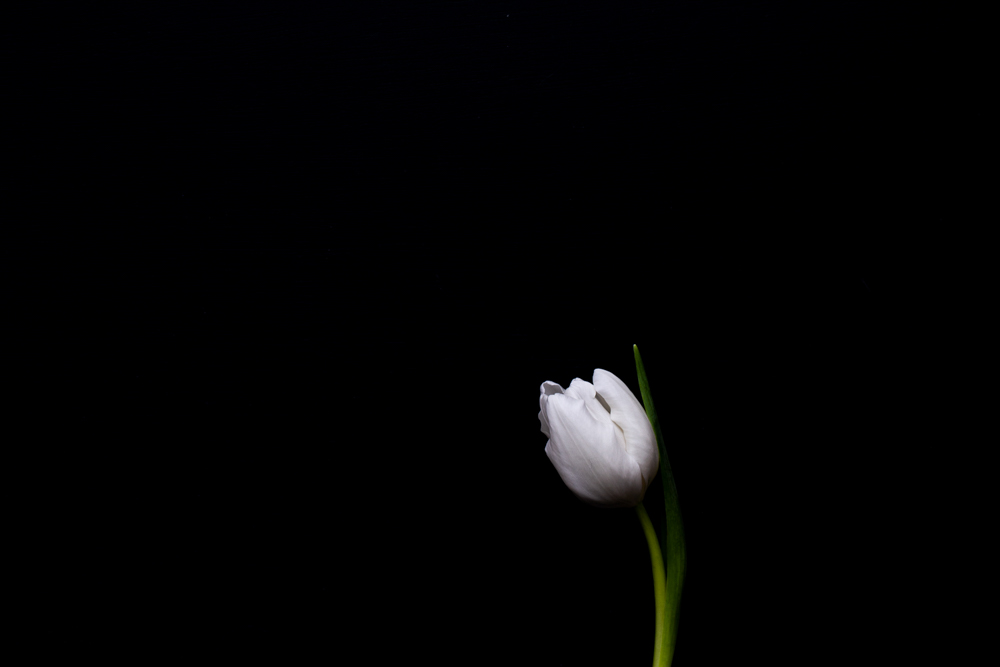
Negative space is simply empty space in a photo. For instance, in the photo below, the entire left side of the image is negative space:

In macro photography, negative space tends to be empty backgrounds and white skies. But negative space can be anything that feels featureless: an expanse of ocean, a stretch of sand, or even an out-of-focus tree.
And negative space is extremely powerful, because it brings the viewer back t o your main subject. People can’t fixate on negative space for long. Pretty soon, it starts to feel like too much of nothing.
This is how minimalistic photography works. The frame is filled with negative space, plus a small subject. But the small subject manages to stand out, because the negative space keeps forcing the viewer back to the focal point.
I urge you to try this in your macro photography. In every photo you take, make sure you include at least some negative space.
This’ll make the image far more powerful.
A Beginner’s Guide to Composition in Macro Photography: Next Steps
Hopefully, you now have a good grasp of composition in macro photography. And you know how you can consistently create [stunning macro compositions in the future. https://www.jaymesdempsey.com/macro-photography/

Because the thing is, most of macro photography composition really is j ust about the techniques I’ve discussed. Once you’ve mastered the rule of thirds, leading lines, negative space, and choosing a focal point–well, after that, it’s mostly just using those techniques in new combinations.
So get out and start taking some macro photos! I guarantee that your compositions will look far, f a r b e t t e r .
BIO: Jaymes Dempsey is a nature-obsessed photographer in the midwestern United States. To see more of Jaymes’s work, check out his [nature photography website https://www.jaymesdempsey.com/ . To learn how to take stunning nature photos, subscribe to his [blog https://www.jaymesdempsey.com/blog/ , or start with [his article on capturing stunning abstract macro photos! https://www.jaymesdempsey.com/abstract-macro-photography/
Jaymes Dempsey
June 2019


Elevate Your Vision


You may also like


