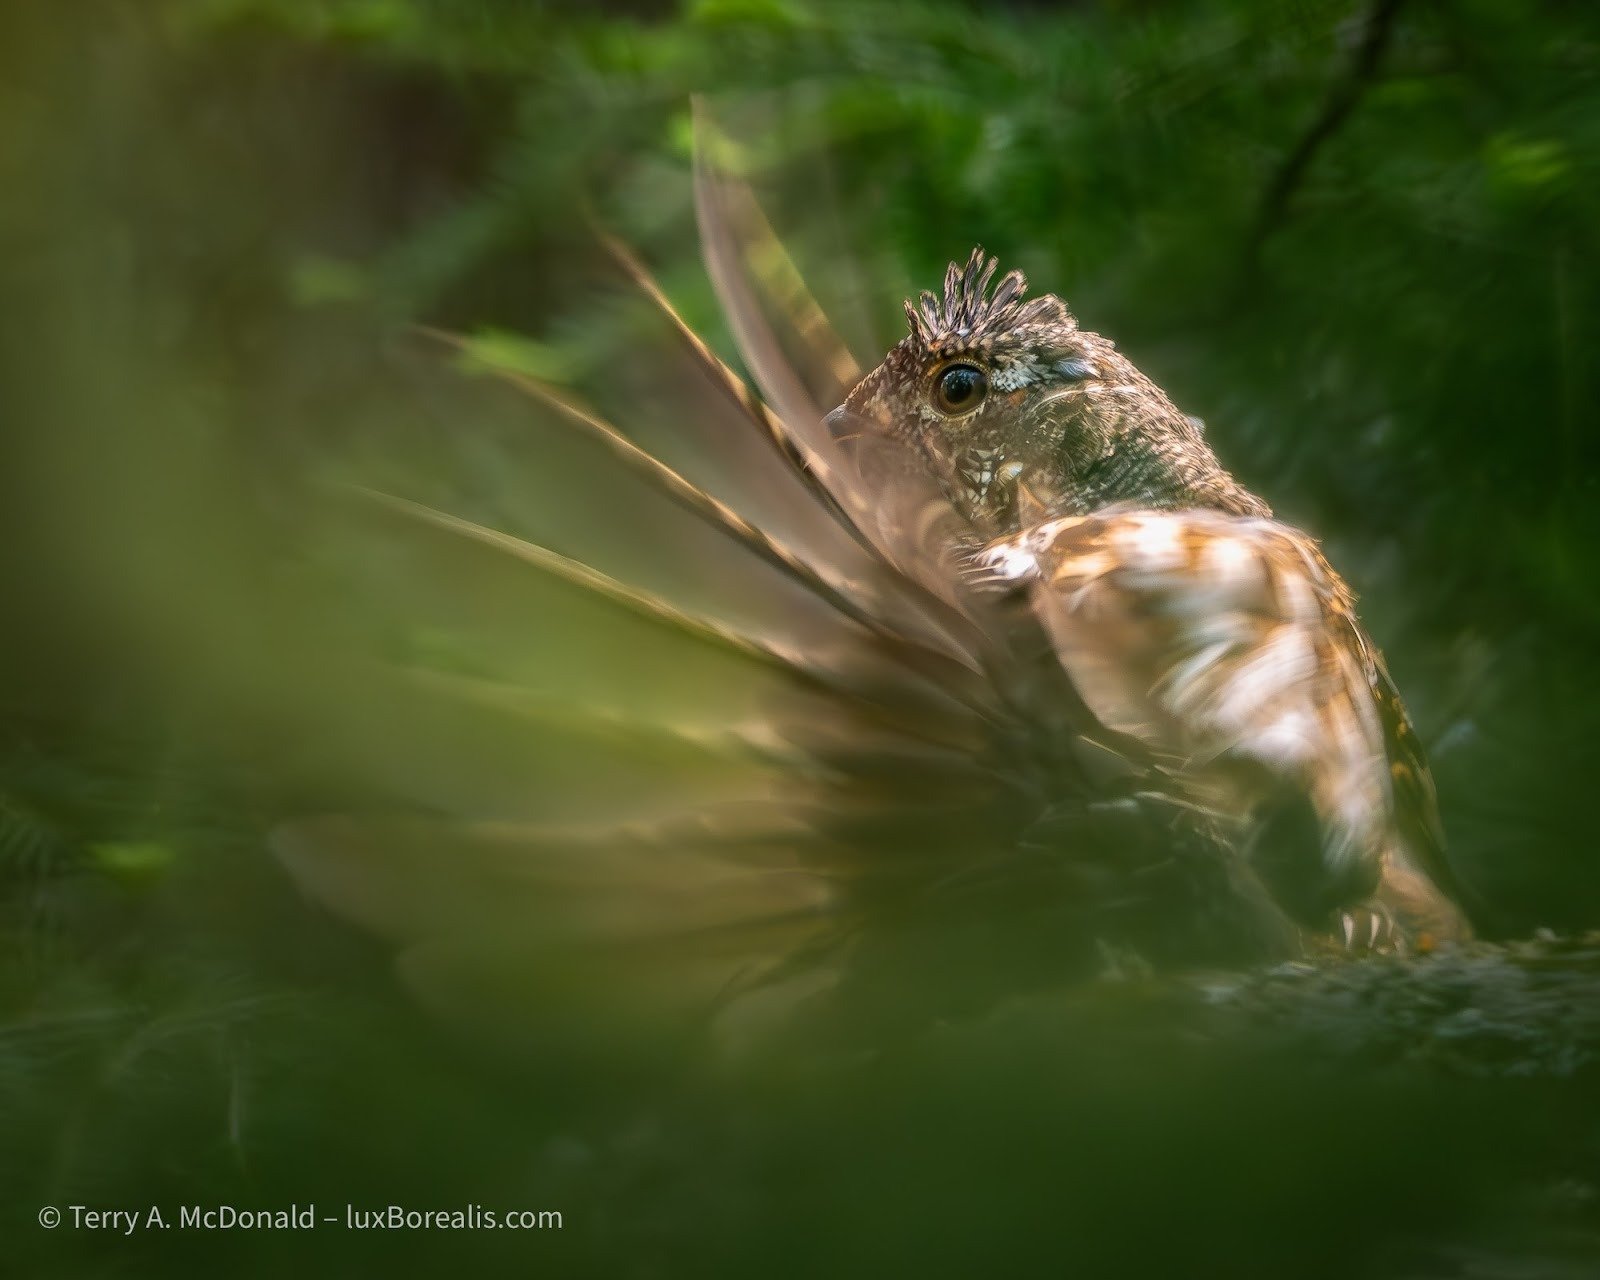
Black-and-White / Monochrome
I love black-and-white. Like many of you, I cut my teeth using Dektol, stop bath, fixer, Agfa Portriga Rapid, Ilford Galerie, Multigrade FB, and Kodak Elite during the wet darkroom era. And today, without chemicals and millions of litres of wash water, digital has made B&W not only easier, but far more satisfying.

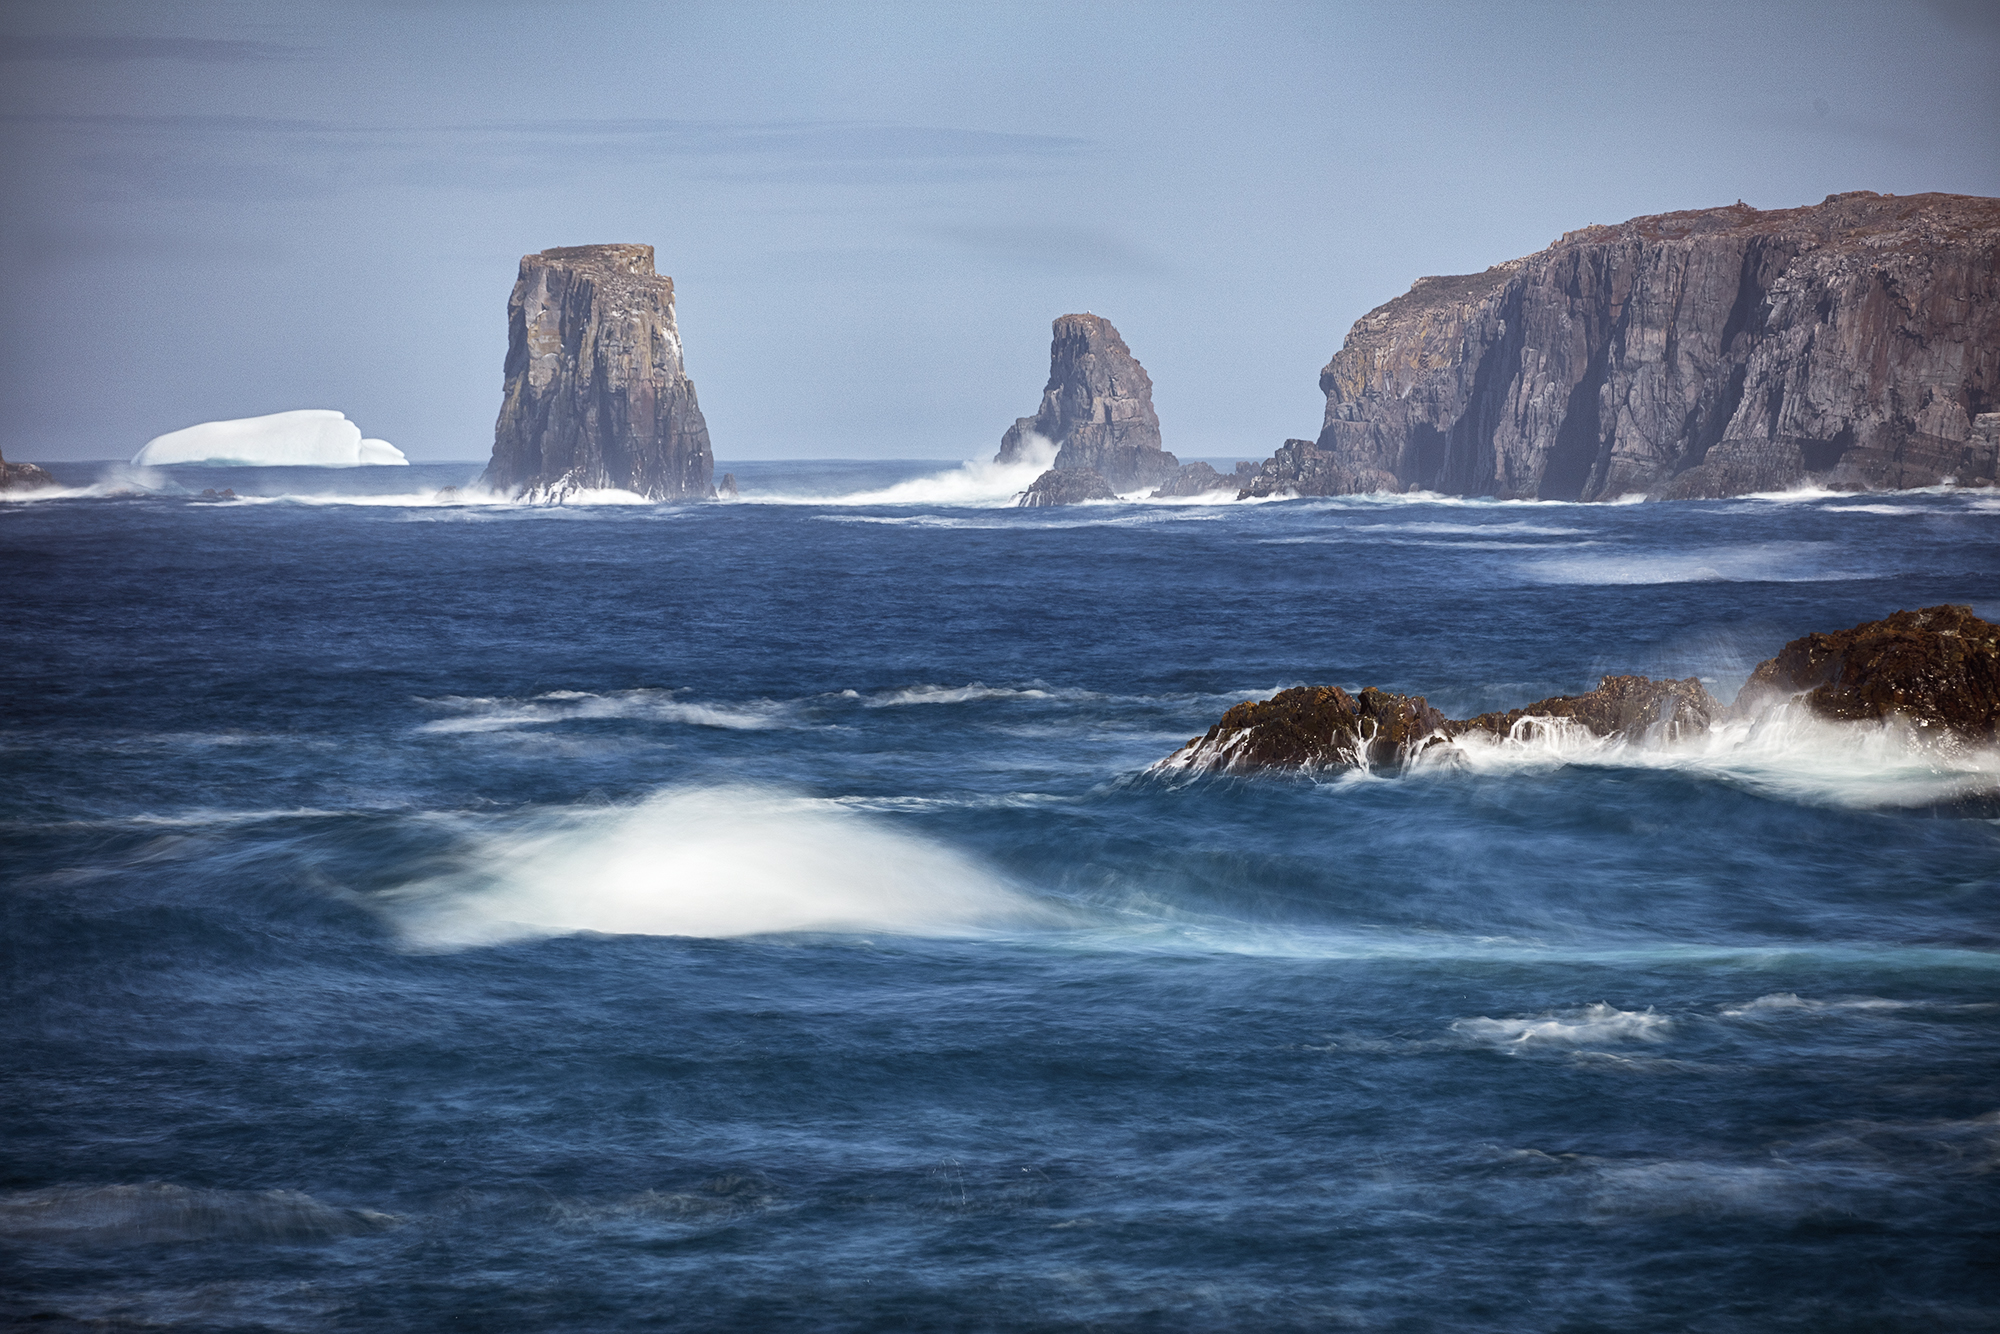
OM-1 | 12mm (24mm efov) | ƒ8 @ 1/1000 | ISO 800 | HHHR | Lightroom with my own toning ‘recipe’ applied.
While I’m used to the tools in Lightroom, PhotoLab 9 was an easy switch, though I noticed two differences, one of which is significant. Firstly, there are only six colours in the Channel Mixer, where Lr has eight. Not too significant. More significant to the production of monochrome images, though, is having the ability to tone the final image. I tone ALL my monochrome nature images to what I would call a slightly warm, earthy brown, using Lr’s Color Grading. Hue 48 is applied at a Saturation of 18 and a Balance of -50, which applies disproportionately more to the shadows. It’s my ’look’, one I developed through much testing. None of this is possible with PL9.
In fact, DxO limits PL9 in its toning capability, as only Sepia is available and Split Toning is completely unavailable. There is no way to tweak the values of Sepia to achieve the same effect I have with Lr, unless I shell out an additional USD $150 for the DxO FilmPack. What?! FilmPack is a set of third-party pre-sets that many herald as being a must-have. Though push-button presets are popular now for users to find just the right look, my feeling is the basic controls of Toning and Split Toning should be available within PL9 to allow users to explore and learn, without relying on presets. But that’s me.
Export / Printing
Being a digital-focused app, the Export to Disk command in PL9 is very useful, though, oddly the keyboard shortcut is Cmd/Ctrl+K, not E, which is ‘Force Parallel’. Its dialogue box offers a great range of options that would satisfy most requirements along with a few presets.
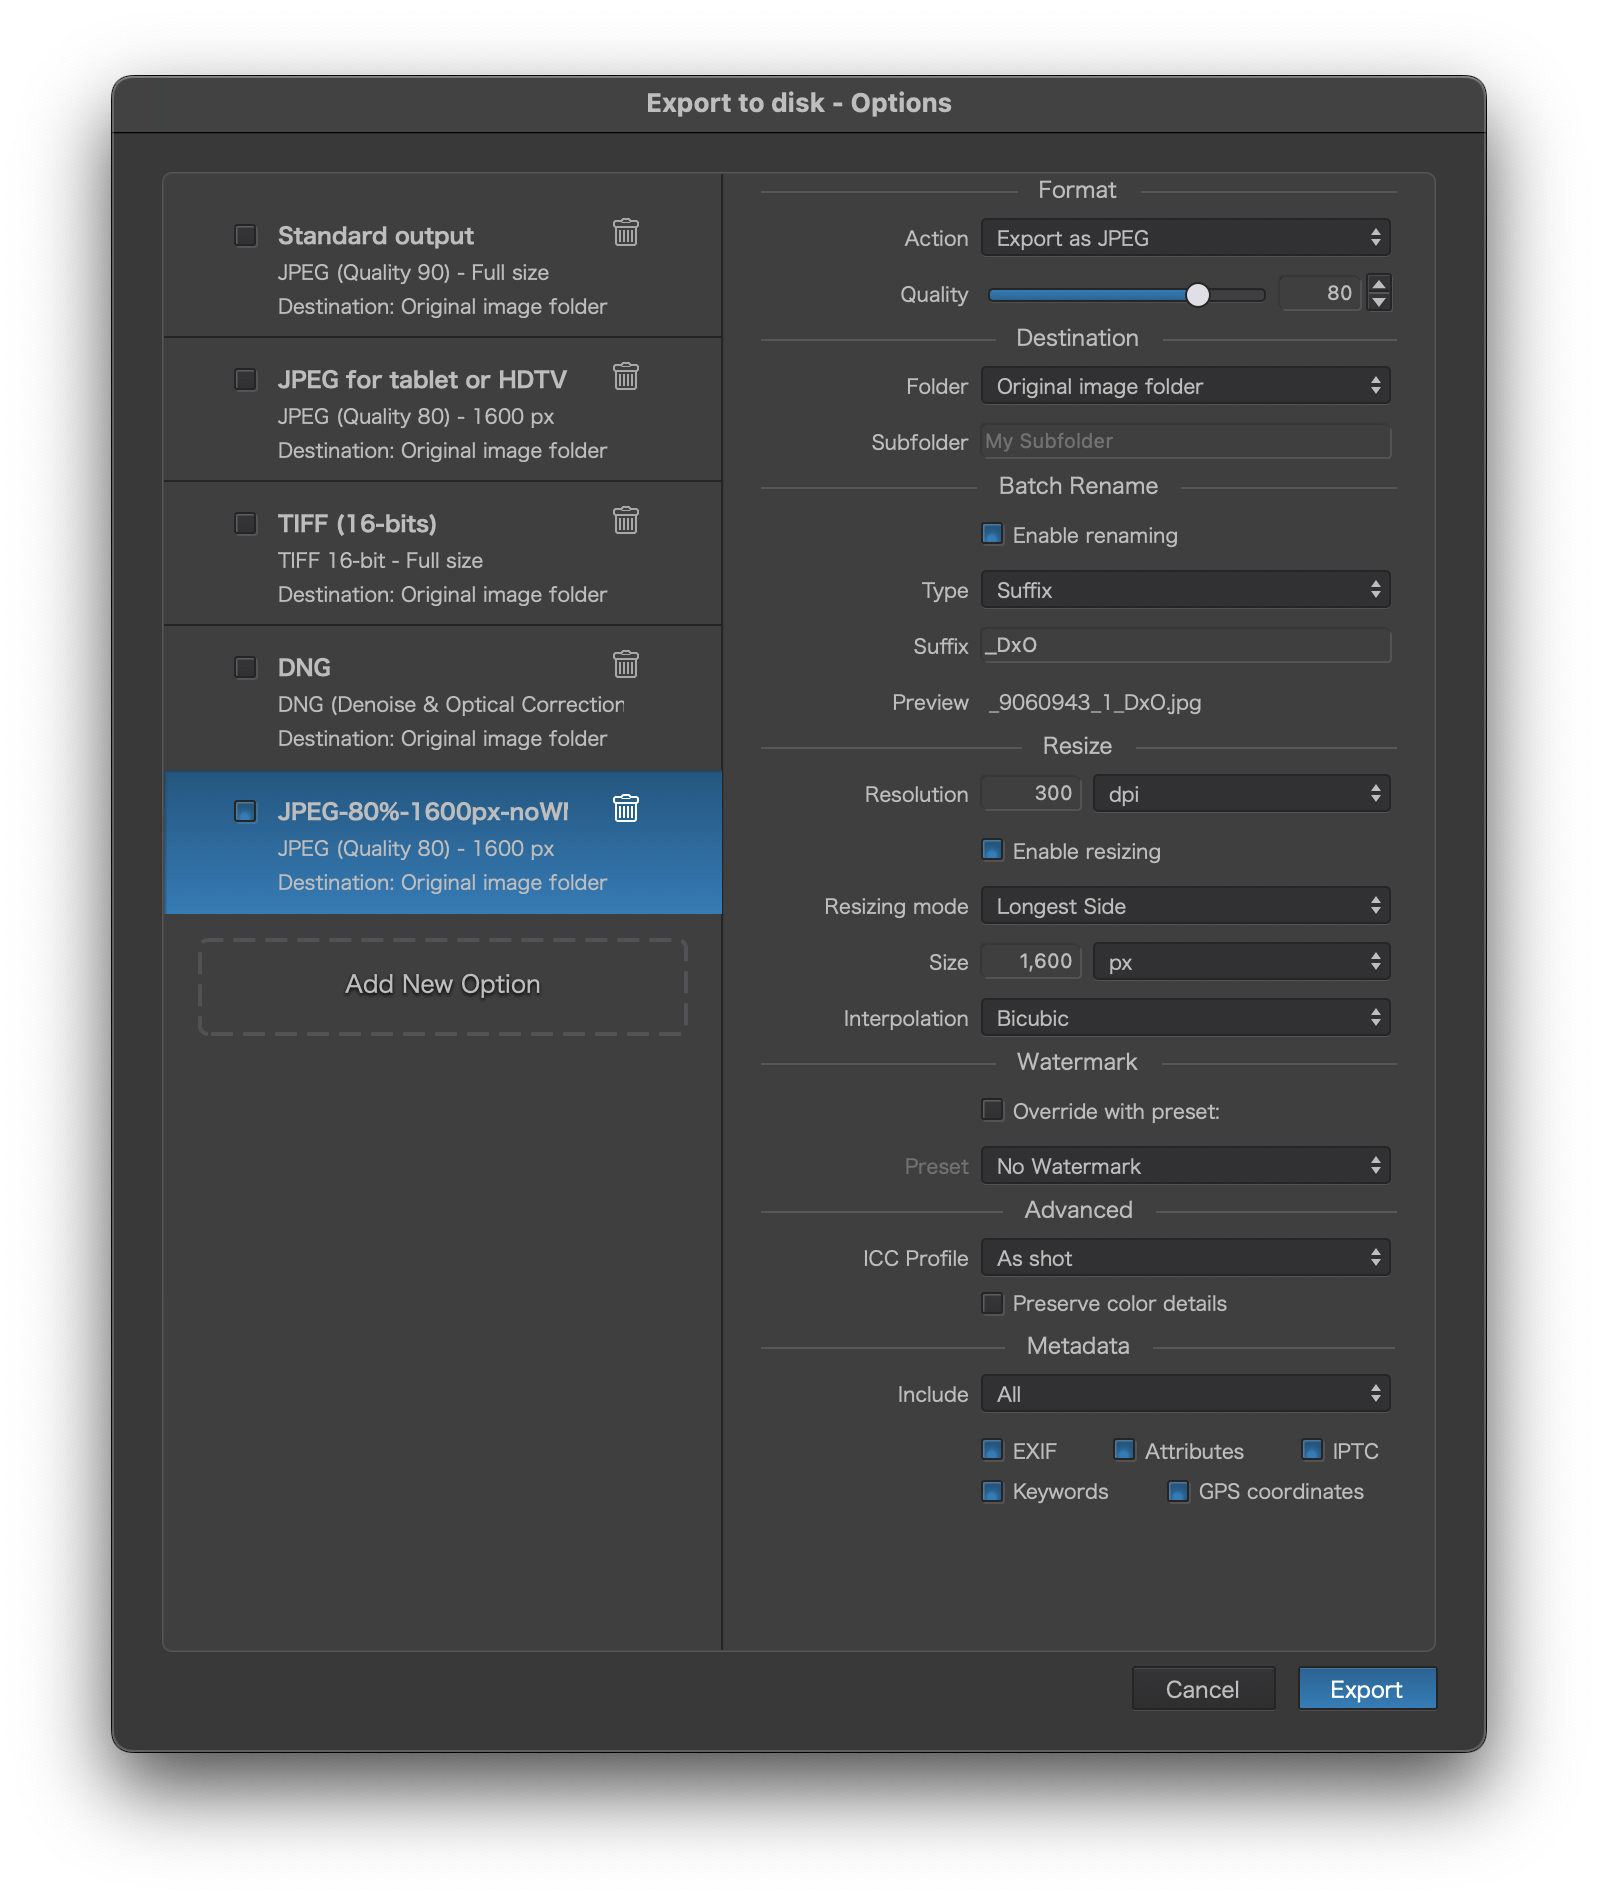
Most importantly, it allows the user to create presets for commonly-used file sizes and types, plus processes, destination, metadata, and re-naming. This is much the same as LrC and significantly more versatile than LrCC. New presets are easy enough to make, however they start from scratch, rather than starting from settings already entered, which adds unnecessary steps. On the other hand, any change is automatically kept, without having to save it as a new preset—very helpful. Export to Disk also allows multiple different presets to be selected at once, which is ideal for professionals who may need to export a DNG to one folder, a full-size JPEG to another, and a small JPEG to a third.
Again, PL9 seems to fit between LrCC and LrC in its capabilities. LrCC has woefully few choices for export and no ability to save presets other than the last one used. One aspect of LrC I wish PL9 had, though, is the option, under Destination, to ’Choose folder later’. This is helpful for presets as I don’t always export to the same folder. On the plus side, folders are remembered and added to the drop-down menu. Different horses for different courses, I suppose. I notice that even for small 1600px JPEGs, the Export process takes much longer than I’m used to with either version of Lr. I expect this is due to processing times.
Watermarking
All is fine here with plenty of options for both graphical and text watermarks. I’ve always used text watermarks and am missing the ability (found in Lr) to add a drop shadow to help white text stand out against light tones. Also, watermarks can only be edited in Customize. And, to use an edited watermark upon Export, the watermark must be saved as a new pre-set.
In the Export dialogue box, the user must ensure the correct Watermark preset is chosen. I found that what I see in the Customize preview may not be what is exported, unless I’ve chosen the updated or new Watermark. Confusing for the uninitiated, and something to keep in mind if you’re finding the wrong watermark on your image. What users may find is that they accumulate a number of Watermark presets for left and right watermarks at different sizes and opacities, depending on the image. In LrCC, watermarks can be edited upon Export, tweaking the watermark on the fly to best fit the image.
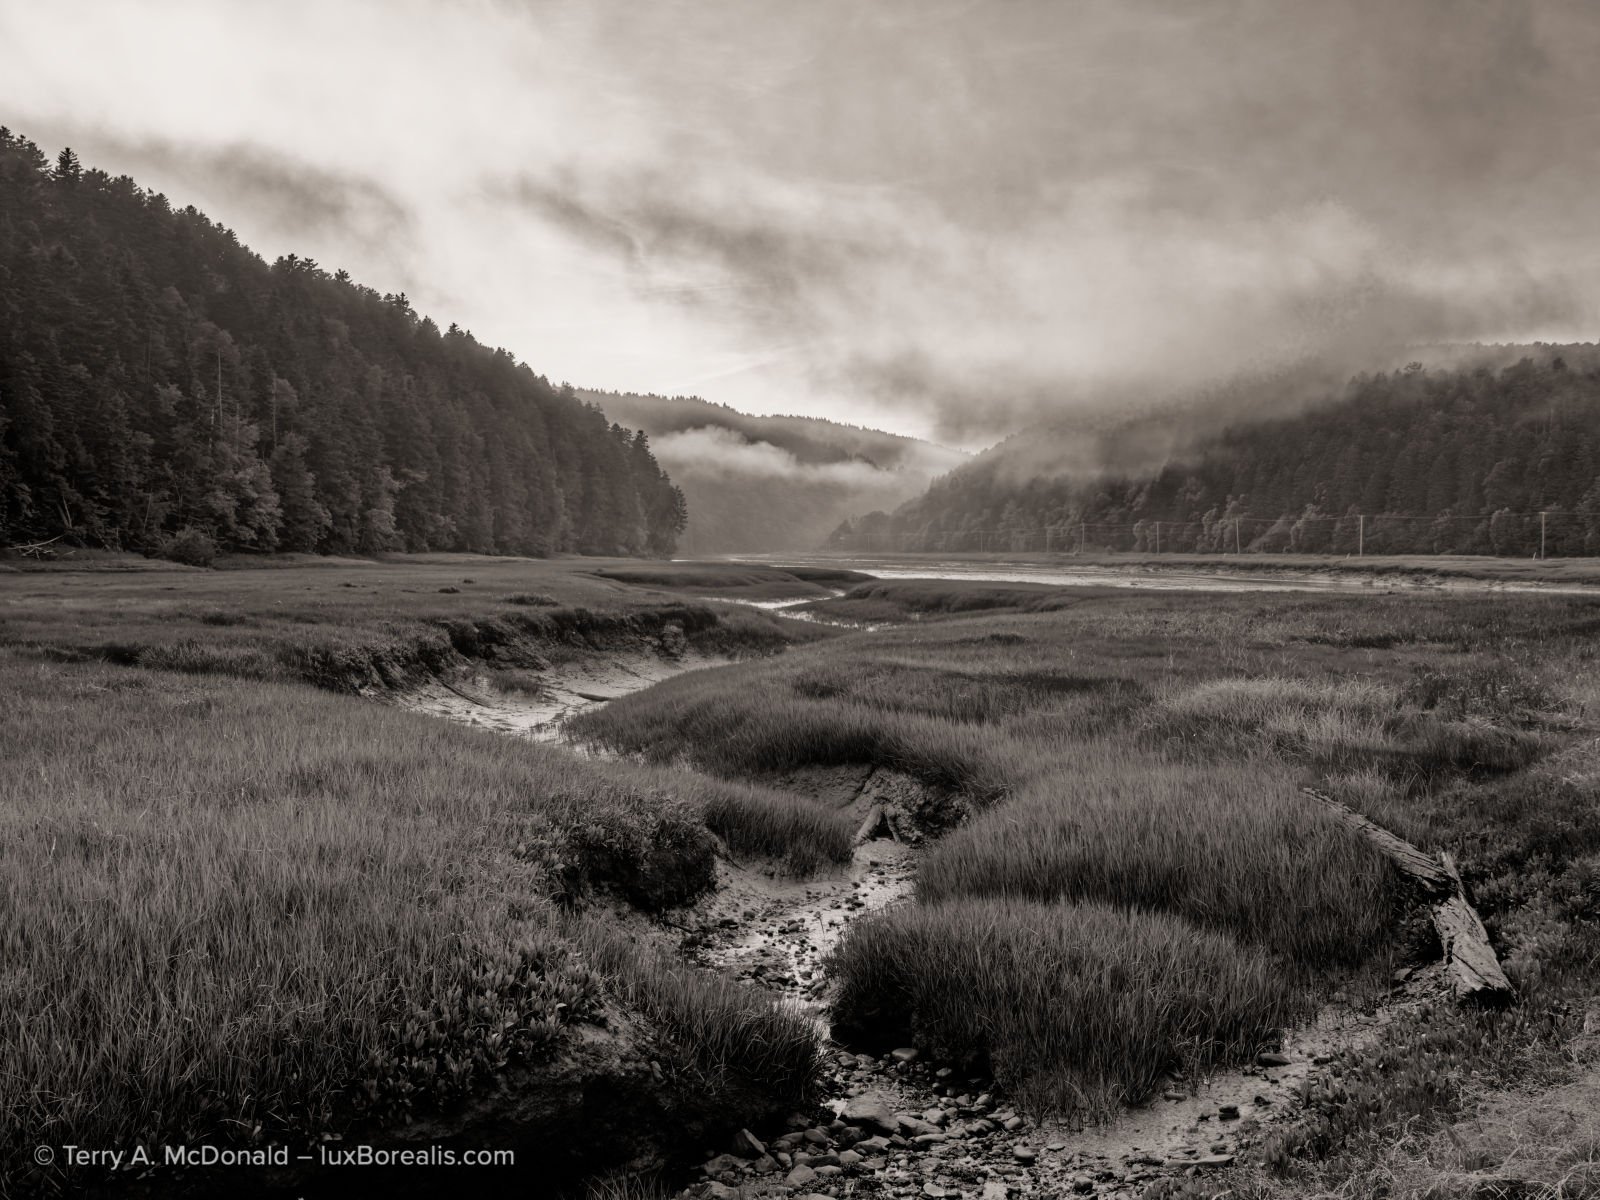
OM-1 | 17mm (34mm efov) | ƒ5.6 @ 1/500 | ISO 400 | Tripod-HiRes | PhotoLab 9
‘Sepia’ toning is at 10, the closest I could get to my preferred ’Sh48/16/-50’. I can’t say I like the look of the 65% opacity watermark from DP9, compared to the Lr watermark in the photo above this one.
Printing
Fewer people print these days, but if you do, you want a smooth interface. Some have argued the LrC interface is confusing to use, and it is, if you don’t use it often enough to build routines. With PL9 users set up the page using Page Set-up then choosing Print or Cmd/Ctrl+P to bring up the printer interface. This might be fine for straight prints, centred on a page with standard margins, but it’s not really useful for fine art printing or printing specialty items like photo cards. Even for third-party printing, it’s okay, but not ideal.
One alternative is to Export a JPEG or TIF to the exact size, then use a free printing app like Epson Print Layout, Canon’s equivalent, another is to use Affinity Photo or Apple Pages in Layout mode to compose the print along with any text details you want on the print. PL9 has a simple output sharpening option in Export, though it is not ideal for printing. Users may be tempted to use the Unsharp Mask feature, but, ChrisWhite.photography cautions that it is part of the process sharpening, not output sharpening. He also cautions against using it across the whole image and recommends using it within a Mask for specific areas.
So, what to do about Output Sharpening? I wondered about this until I discovered that DxO has the NIK software package which includes a sharpening module. It will set you back another USD $170, but in its defence, it appears to be a helpful set of modules not just for output sharpening, but also for Pre-Sharpening (instead of the lens module sharpening in PhotoLab 9). Many also use it for adding textures, SilverEfex for black-and-white, and a host of other effects.

OM-1 | 400mm (800mm efov) | ƒ8 1/2500 | ISO 3200
However, from a comparison perspective, for something that can be done within Lightroom, at no additional cost, DxO offers yet another up-sell—a very good package of modules, but still, an up-sell.
Another alternative is to output to Qimage (USD $90), an app specifically dedicated to printing. Some Lightroom photographers use Qimage for printing, though the Lightroom Classic print module is excellent.
I regularly print from LrC and find it more than capable, for creating black-and-whites without SilverEfex, and for making properly sharpened fine art prints for framing. I’m able to set output sharpening, paper size, image size, border, margin, add text and a watermark, use ICC paper profiles—just about anything a professional printer might need, including saving it all as a pre-set, so I don’t need to set it up all over again. So, out of the box, PL9 falls short. If you’re serious about printing anything beyond straight prints, you will need to purchase extra software or use Lightroom.
Merge to . . .
It is not unusual for photographers these days to shoot multiple frames for HDR and Panoramas. Both can be blended in Lr. It even has HDR Panorama Merge. There is no facility for any of this in PL9. Panorama stitching has been a feature request since at least 2019. How unfortunate. DxO correctly points out that both blends are best done after images are denoised, demosaiced and sharpened. I agree, but I would expect photographers are doing this in Lightroom prior to blending.
Cost
This brings us down to the last variable: cost. My Adobe Lightroom subscription does NOT include Photoshop. I dropped Ps almost a year ago in favour of Affinity Photo at considerable savings. This will allow us to compare like with like.
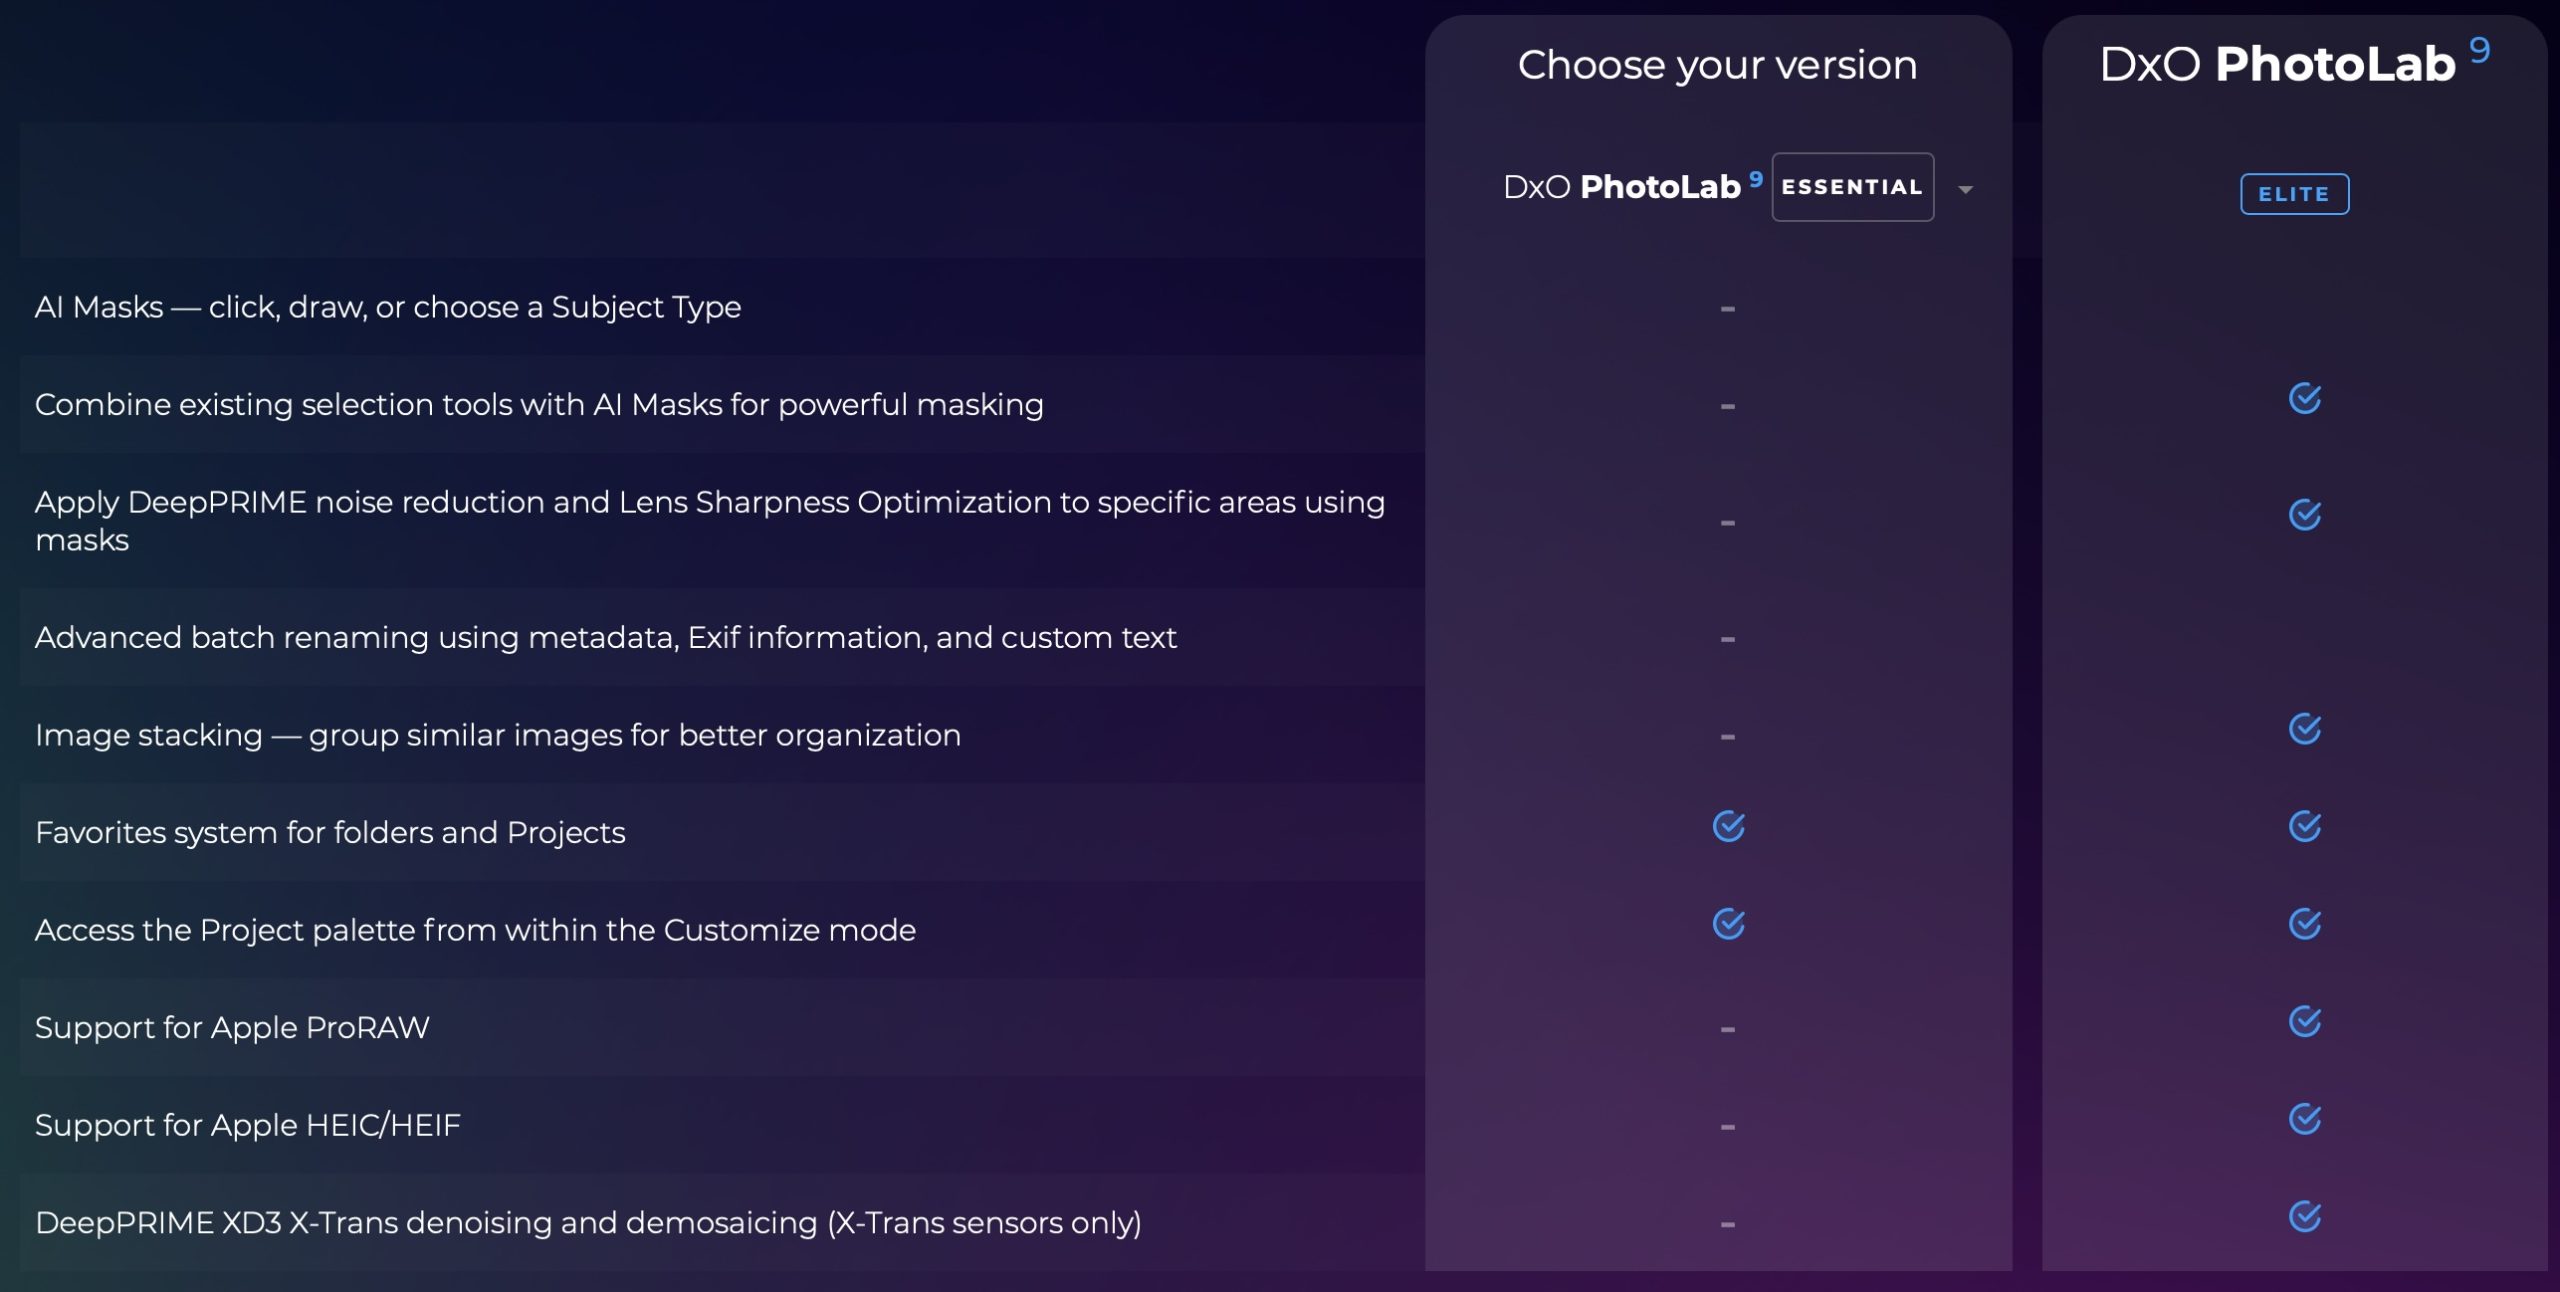
In the US, a Lightroom-only subscription is $12/month or $144 annually. Here in Canada, I’m paying $16/month or $192 annually. I see that the UK and Europe are on par at £12 and €15 respectively. For a standalone ’forever’ licence, PL9 Elite is USD $240 or CAD $336 (UK £220; EU €240). This is about 1 year and 8 months of Lightroom. To save some money, users could opt for the PL9 Essential Edition for USD $150. It has much of what I’ve written about, but I notice DxO doesn’t promote it, keeping it behind a specific link. Here’s a breakdown of the differences:
However, my Lightroom subscription isn’t just for Lightroom. It includes both Lightroom Classic and Lightroom CC, both the desktop version (LrD) and the mobile version (LrM), which I use on iPad. And, it includes 1TB of Adobe Cloud, Lightroom camera, a Portfolio website and Adobe fonts. I apologize for this is sounding like a TV ad!
I have come to rely on Lr on iPad far more than I ever expected. No, it’s not perfect and it’s down-right frustrating at times in not having some features which I and many others feel should be on a professional app. That being said, I find using a pencil/stylus to retouch and create masks completely intuitive. In fact, I’d go as far as to say that I dislike having to move to the laptop to finish things up or do things I can’t do on iPad, simply because the iPad experience is so intuitive.
OM-1 | 400mm (800mm efov) | ƒ8 @ 1/2500 | ISO 3200 | Lightroom for iPad
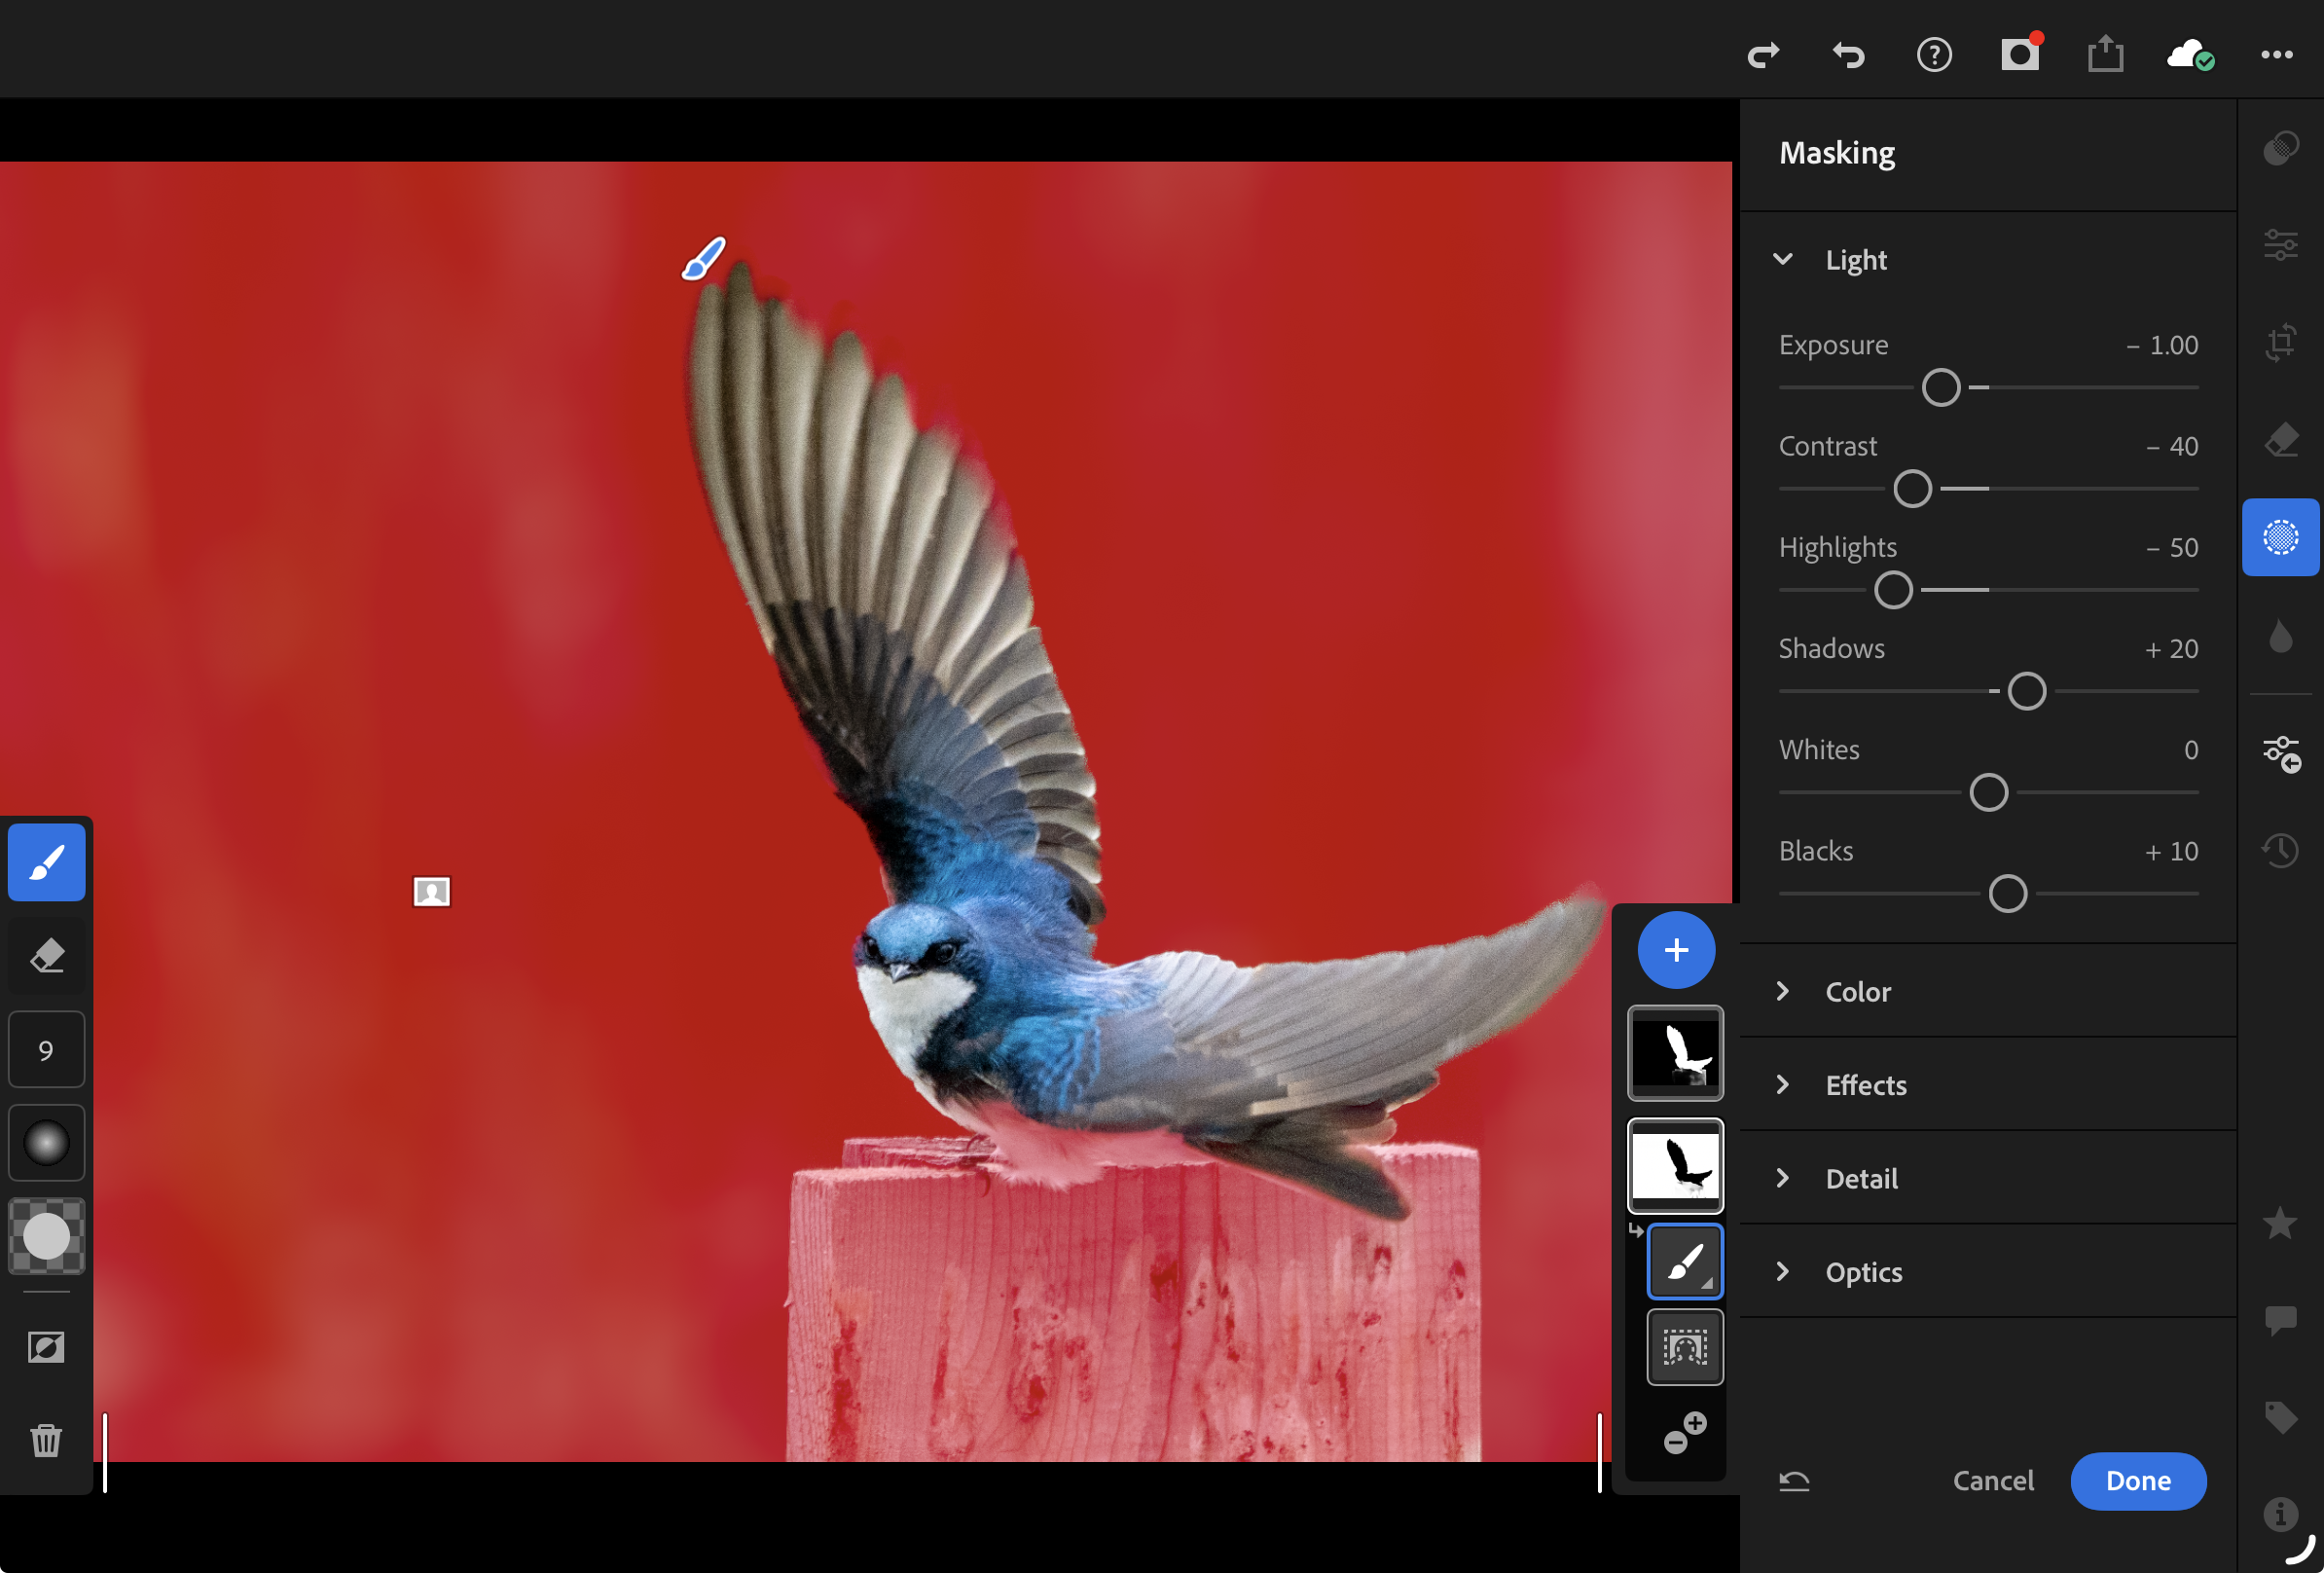
With iPad, not only are AI Background and AI Subject masking easy and lag-free, I can tweak each mask using brushes by drawing with a stylus, or my finger.
I also use the Adobe Cloud space. Having access to my photos anywhere and anytime I have internet is wonderfully appealing. I can post a ‘Friday Fave’ to Instagram from the waiting room of the doctor’s office. I am no longer tied to my laptop, nor am I tied to an external drive as well and a back-up of that external drive. Our docs are in the cloud with Google, Pages, and Office 365, why not our photos?
I know some have reservations about theft or photos being used for AI training, but not through Adobe Cloud. By the way, if you’re worried about it, then stop using Google Photos and check the user agreements for your social media accounts, not to mention all the scraping being done from popular online photo sites.
I also use Portfolio to run my website. At no extra cost. I can update it using an iPad or a laptop, from anywhere I have an internet connection. While Adobe Portfolio may not be as complete as SquareSpace, Wix or SmugMug, it’s adaptable to my needs, mostly professional-looking, and I’m not paying extra for it. The basic, lowest-priced monthly subscription for each of the website builders listed above is CAD $19, $21, and $17.50 respectively. Remember, I pay $16/month for Lightroom.
Lastly, for me to express fully the way I do monochrome photographs and to use Hue Masking, I would need to purchase the DxO FilmPack. That’s another USD $150 (CAD $210), though the two can be bundled for USD $310 (CAD $434). Add another USD $170 for the NIK Collection to allow me to print to the same standard as Lightroom. This equates to 2½ years’ worth of Lightroom. Currently, a PL9 upgrade is USD $120—almost the cost of a year of Lightroom —and don’t forget a FilmPack upgrade for another USD $90 and NIK collection upgrade for USD $100. That’s now $310. For an upgrade. Hmmm.
I think you can see where I’m headed with this.
Conclusion
Don’t get me wrong. DxO PhotoLab 9 is a great product. Its demosaic, denoise, and sharpening algorithms are cutting edge. AI masking is excellent and ahead of Lightroom in some respects, though not quite all. The lens corrections are precise, slightly better than Lightroom, as is the Geometry correction. The more I use PL9, the more I become accustomed to its rhythm. But, is this enough to make me ditch the subscription and switch?
It’s not like Lightroom isn’t without its faults: the Ai subject and background masks could use some fine-tuning; Geometry could use a Transform tool à la Photoshop; and there are inconsistencies in keyboard shortcuts between versions;
Considering the other aspects of PL9 editing that I’ve found don’t quite match up to the efficiency and ease of Lr—retouching, masking, colour adjustments, monochrome toning plus the GUI, the lag times, Library, the added cost of FilmPack, etc.—I can’t make the plunge. I know many photographers use PL9, but the more I read, the more I realize it’s really the raw file optimization they credit and some of the masks–and I agree. They are excellent components of PL9. However, I’m not convinced PL9+FilmPack is overall ‘better’ than my Lightroom subscription. Lastly, it’s a stretch to think DxO saves money over the Adobe subscription model, not unless you are willing to go years without an upgrade.
Believe me, I would so like to be able to remove myself from a subscription model, but DxO PL9 is not the app to cause me to switch. Sorry DxO. I was really hoping for a long and productive relationship with PL9. However, I will continue to use the part of DxO that works best, their raw file optimization in PureRAW 5, but from within the Lightroom ecosystem.
OM-1 | 400mm (800mm EFOV) | POL | ƒ8 @ 1/160 | ISO 3200 | PhotoLab 9
Readers are sharing their thoughts on this review in our Forum, check out the conversation here.


Elevate Your Vision


Read this story and all the best stories on The Luminous Landscape
The author has made this story available to Luminous Landscape members only. Upgrade to get instant access to this story and other benefits available only to members.
Why choose us?
Luminous-Landscape is a membership site. Our website contains over 5300 articles on almost every topic, camera, lens and printer you can imagine. Our membership model is simple, just $2 a month ($24.00 USD a year). This $24 gains you access to a wealth of information including all our past and future video tutorials on such topics as Lightroom, Capture One, Printing, file management and dozens of interviews and travel videos.
- New Articles every few days
- All original content found nowhere else on the web
- No Pop Up Google Sense ads – Our advertisers are photo related
- Download/stream video to any device
- NEW videos monthly
- Top well-known photographer contributors
- Posts from industry leaders
- Speciality Photography Workshops
- Mobile device scalable
- Exclusive video interviews
- Special vendor offers for members
- Hands On Product reviews
- FREE – User Forum. One of the most read user forums on the internet
- Access to our community Buy and Sell pages; for members only.
You may also like