Sony Packs A Lot Into A Small Camera
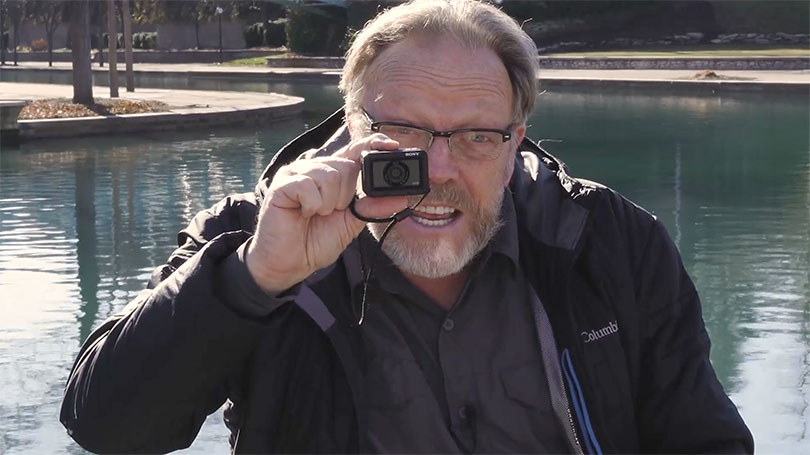
Sony is at it again, this time introducing the RX0. It’s kind of an oddball camera with regard to what it is meant to do. Sony took all of the good features of a Sony camera, specifically the RX100, and miniaturized it. It’s a fixed lens camera at 24mm (equivalent) with an f/4 aperture.
My first thought was that this camera was going to be a GoPro killer. I was wrong – it’s in a different class altogether. The RX0 has a 1 inch 21 mp stacked CMOS sensor which is a lot bigger than the GoPro’s.
Take a look at the video below to get an idea of what the RX0 is all about. There is a second video showing the video capabilities.
The RX0 Video
Sony RX0 Video Sample
The following is a video made on the Sony RX0 by Luminous-Landscape videographer, Micahel Durr.
Specifications:
Sensor: 1 x 1″ CMOS
Backside Illumination: Yes
Color Filter: Bayer
Sensor Resolution: 21 MP
Effective Pixels: 15.3 MP (Video)
Focal Length: 7.7mm 35mm-Equivalent Focal Length 24mm
Maximum Aperture: f/4
Lens Elements: 6
Minimum Focusing Distance: 20.0″ / 50.8 cm
Fixed Focus: None
Recording System: NTSC/PAL
Recording Media: microSD/HC/XC (128 GB Maximum)
Video Format
1920 x 1080p at 24, 25, 30, 50, 60 fps (50 Mb/s XAVC S)
Slow Motion Mode
1000 fps Recorded at 1920 x 1080p
960 fps Recorded at 1920 x 1080p
500 fps Recorded at 1920 x 1080p
480 fps Recorded at 1920 x 1080p
250 fps Recorded at 1920 x 1080p
240 fps Recorded at 1920 x 1080p
Still Image Resolution RAW: 21 Megapixel JPEG: 21 Megapixel
Display Type: LCD
Touchscreen: No
Screen Size: 1.5″
Shutter Speed: 1/4 – 1/32000 Second (Photo, Video)
Photo ISO Range: 125 – 12,800 (Auto)
Video ISO Range: 125 – 12,800 (Auto)
Exposure Metering: Center-Weighted, Multi, Spot
Shooting Modes: High-Speed Movie, Intelligent Auto, M (Manual), Movie, Program Auto, Superior Auto
Burst Photo: 16 Photos / 1 Second
Buffer/Continuous Shooting: Up to 5.5 fps
Scene Modes Preset: Yes Custom: Yes
Shockproof Rating: 6.6′ / 2.0 m
Waterproof Depth Rating: 33.0′ / 10.0 m (Camera)
IP Rating: IP68
White Balance Modes: 3000K 5500K Auto Cloudy Cool White Daylight Fluorescent (Day White) Incandescent Shade Underwater Warm White
Wi-Fi: Yes
Tripod Mount: 1/4″ – 20
Outputs: 1 x Micro-HDMI (Type-D)
Microphone Input: Yes
Battery: Rechargeable Lithium-Ion Battery Pack
Operating Temperature: 32 to 104°F / 0 to 40°C
Dimensions: (W x H x D). 2.4 x 1.6 x 1.2″ / 61.0 x 40.6 x 30.5 mm
Weight: 3.4 oz / 96.4 g
Packaging Info
Package Weight: 0.8 lb
Box Dimensions (LxWxH): 6.15 x 4.7 x 3.65″
Hands On
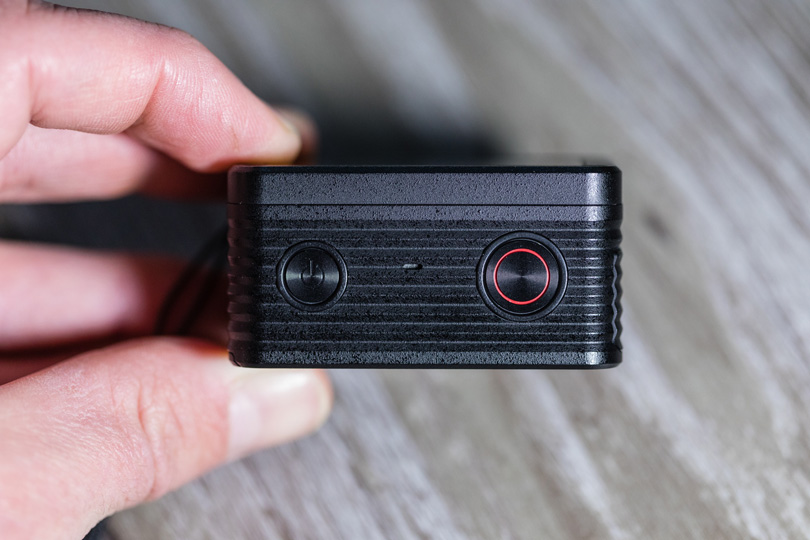

There is no question whatsoever that when you pick this camera, you will know it is built like a tank. It’s one solid little camera.
For safety’s sake, I attached the wrist strap. This camera is so small that I was afraid I would drop it. It would most certainly survive a fall, but I’m not one for testing camera drops. It just frightens me.
This camera couldn’t be simpler to operate except for the menus and tiny buttons. We’ll get to that in a minute. On top of the camera are two buttons. One is a power button and the other is the shutter release. This will either take a photo or start and end video capture.
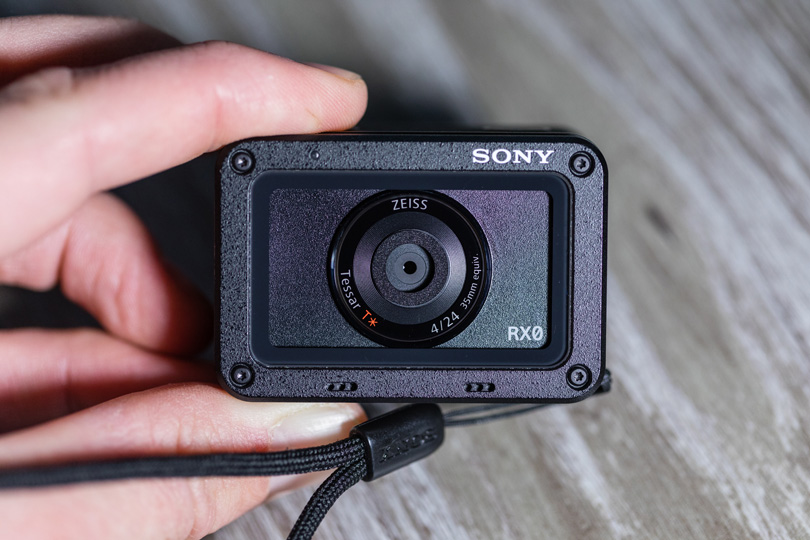

The front has a solid built frame with a glass cover. There is a Zeiss 24mm (equiv.) lens behind the glass and two openings for the microphone.


The bottom has a standard tripod female threaded opening.


The right side of the camera (when looking at it from the back) has a spring-loaded, weatherproof sealed door where the very small NP-BJ1 battery snaps into place. The size is small and, as I’ll mention below, it doesn’t power the camera for long. To open the door, you use your thumbnail and it pops open. You need to push a bit when closing the door to make sure it snaps tight. The battery compartment has a spring-loaded door that flips open to reveal a very small chiclet-type battery. The door has an obvious large rubber seal on it that keeps it weather-sealed. I have immersed this camera in our fishtank as well as the canal. You can see this in the video.


The rear of the camera has another door as well as the screen and navigation and function buttons. Behind the door is a micro-HDMI output, USB connection, Micro-SD card, and a microphone jack. The door is a weak point in my opinion as it is attached to the camera with a very thin plastic cord. It’s meant to be able to be detached. This spells disaster in my book since I know I would lose it.


Operational Experience
The camera is very easy to use, sort of.
The two buttons on the top are made so you can operate the camera quickly once you have your shooting mode selected and a few other things. One button turns the camera on and the other is the shutter release button or video start and finish button.


The camera powers up and is ready to go almost instantly. If you are used to other Sony displays, then what you see will be familiar to you. By pushing the upper right button you can scroll through the different display options. These are essentially a choice of different amounts of data about shooting being displayed.
Here’s where things get tricky – the display is very small. For me, I need to get right on top of the screen to read any of the information being displayed. The menus on the RX0 are similar to the kind on the larger Sonys. Thus, the letters are really small and hard to read from any distance. Sony should have redesigned the mentor, made the words larger, and allowed scrolling. Luckily, after you set most menus, you don’t need to come back to them too often.


There are a large number of features that can be customized. Many of these can be quickly accessed by using the FN button. Once again the setting and use of menus is much like the Sony Big Brother cameras.
Sony was very clever with the assignment of buttons and you can get the hang of them very quickly. On the larger cameras, there is a multi-function dial or joystick that can be used to navigate the different camera functions as well as the menu selection. Since real estate on this camera is minimal, Sony had to call in double duty for some buttons.
The buttons are tiny, and I mean really tiny. I have large fingers and I found that the buttons are spaced out enough so that I don’t hit two buttons at once, but it is close. Let’s look at the buttons on the right side of the display. You have a top and down navigation button as well as a button with a white dot on it. This is the selection button. The up navigation button also doubles as a display button and will cycle through the various data displays while in shooting mode. The down button doubles as the play button. By pushing it, you are taken into play mode.
The bottom row of menus has the menu button, which allows you to access the main menu. You navigate through the menus with the up and down buttons as well as the left and right arrow buttons. The bottom row also has the left and right navigation buttons. The right button also does double-time as the button to access the FN menu or, as I call it, the quick menu. This is a small two-row set of icons where you can select common tasks without having to dig deep into the main menu. These selections are customizable so that you can set them up to fit the way you’ll be working with this camera.


In essence, this is a really simple camera to operate. You can select how you want the AF to work. There is Single-shot AF, Preset Focus and Manual Focus. To use Manual Focus, you tap the set focus using the select button. Then a scale appears on the display and you can use the right and left arrows to adjust focus distance or use the up and down buttons to step through focus position. You will get a magnified view and I keep focus peaking turned on. The combination of the two really helps.


For almost everything, I leave it in wide AF mode and the camera does a pretty good job of catching focus.
My videographer Michael and I tried out a number of different video and still shoots and found the camera to be super simple to use and quick. I’ll point out that while it can do some good action cam work, it is not a GoPro. The GoPro 6 offers 4K video, a very simple interface, and a wider lens.
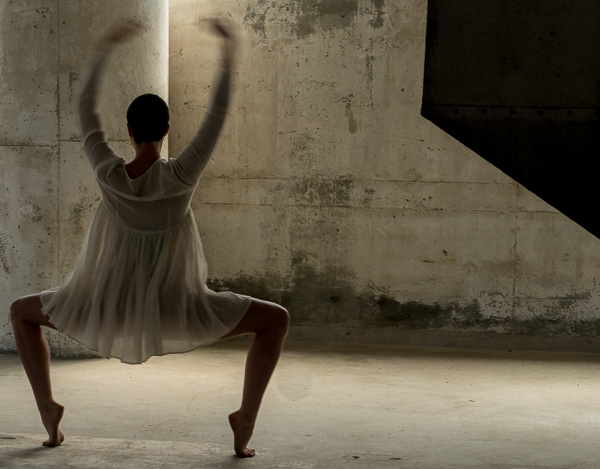
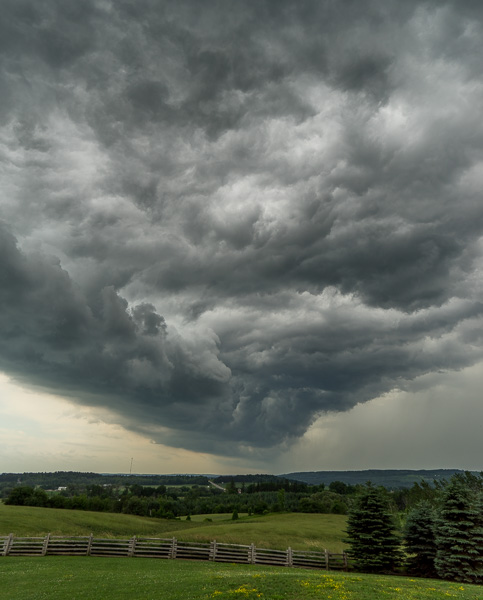
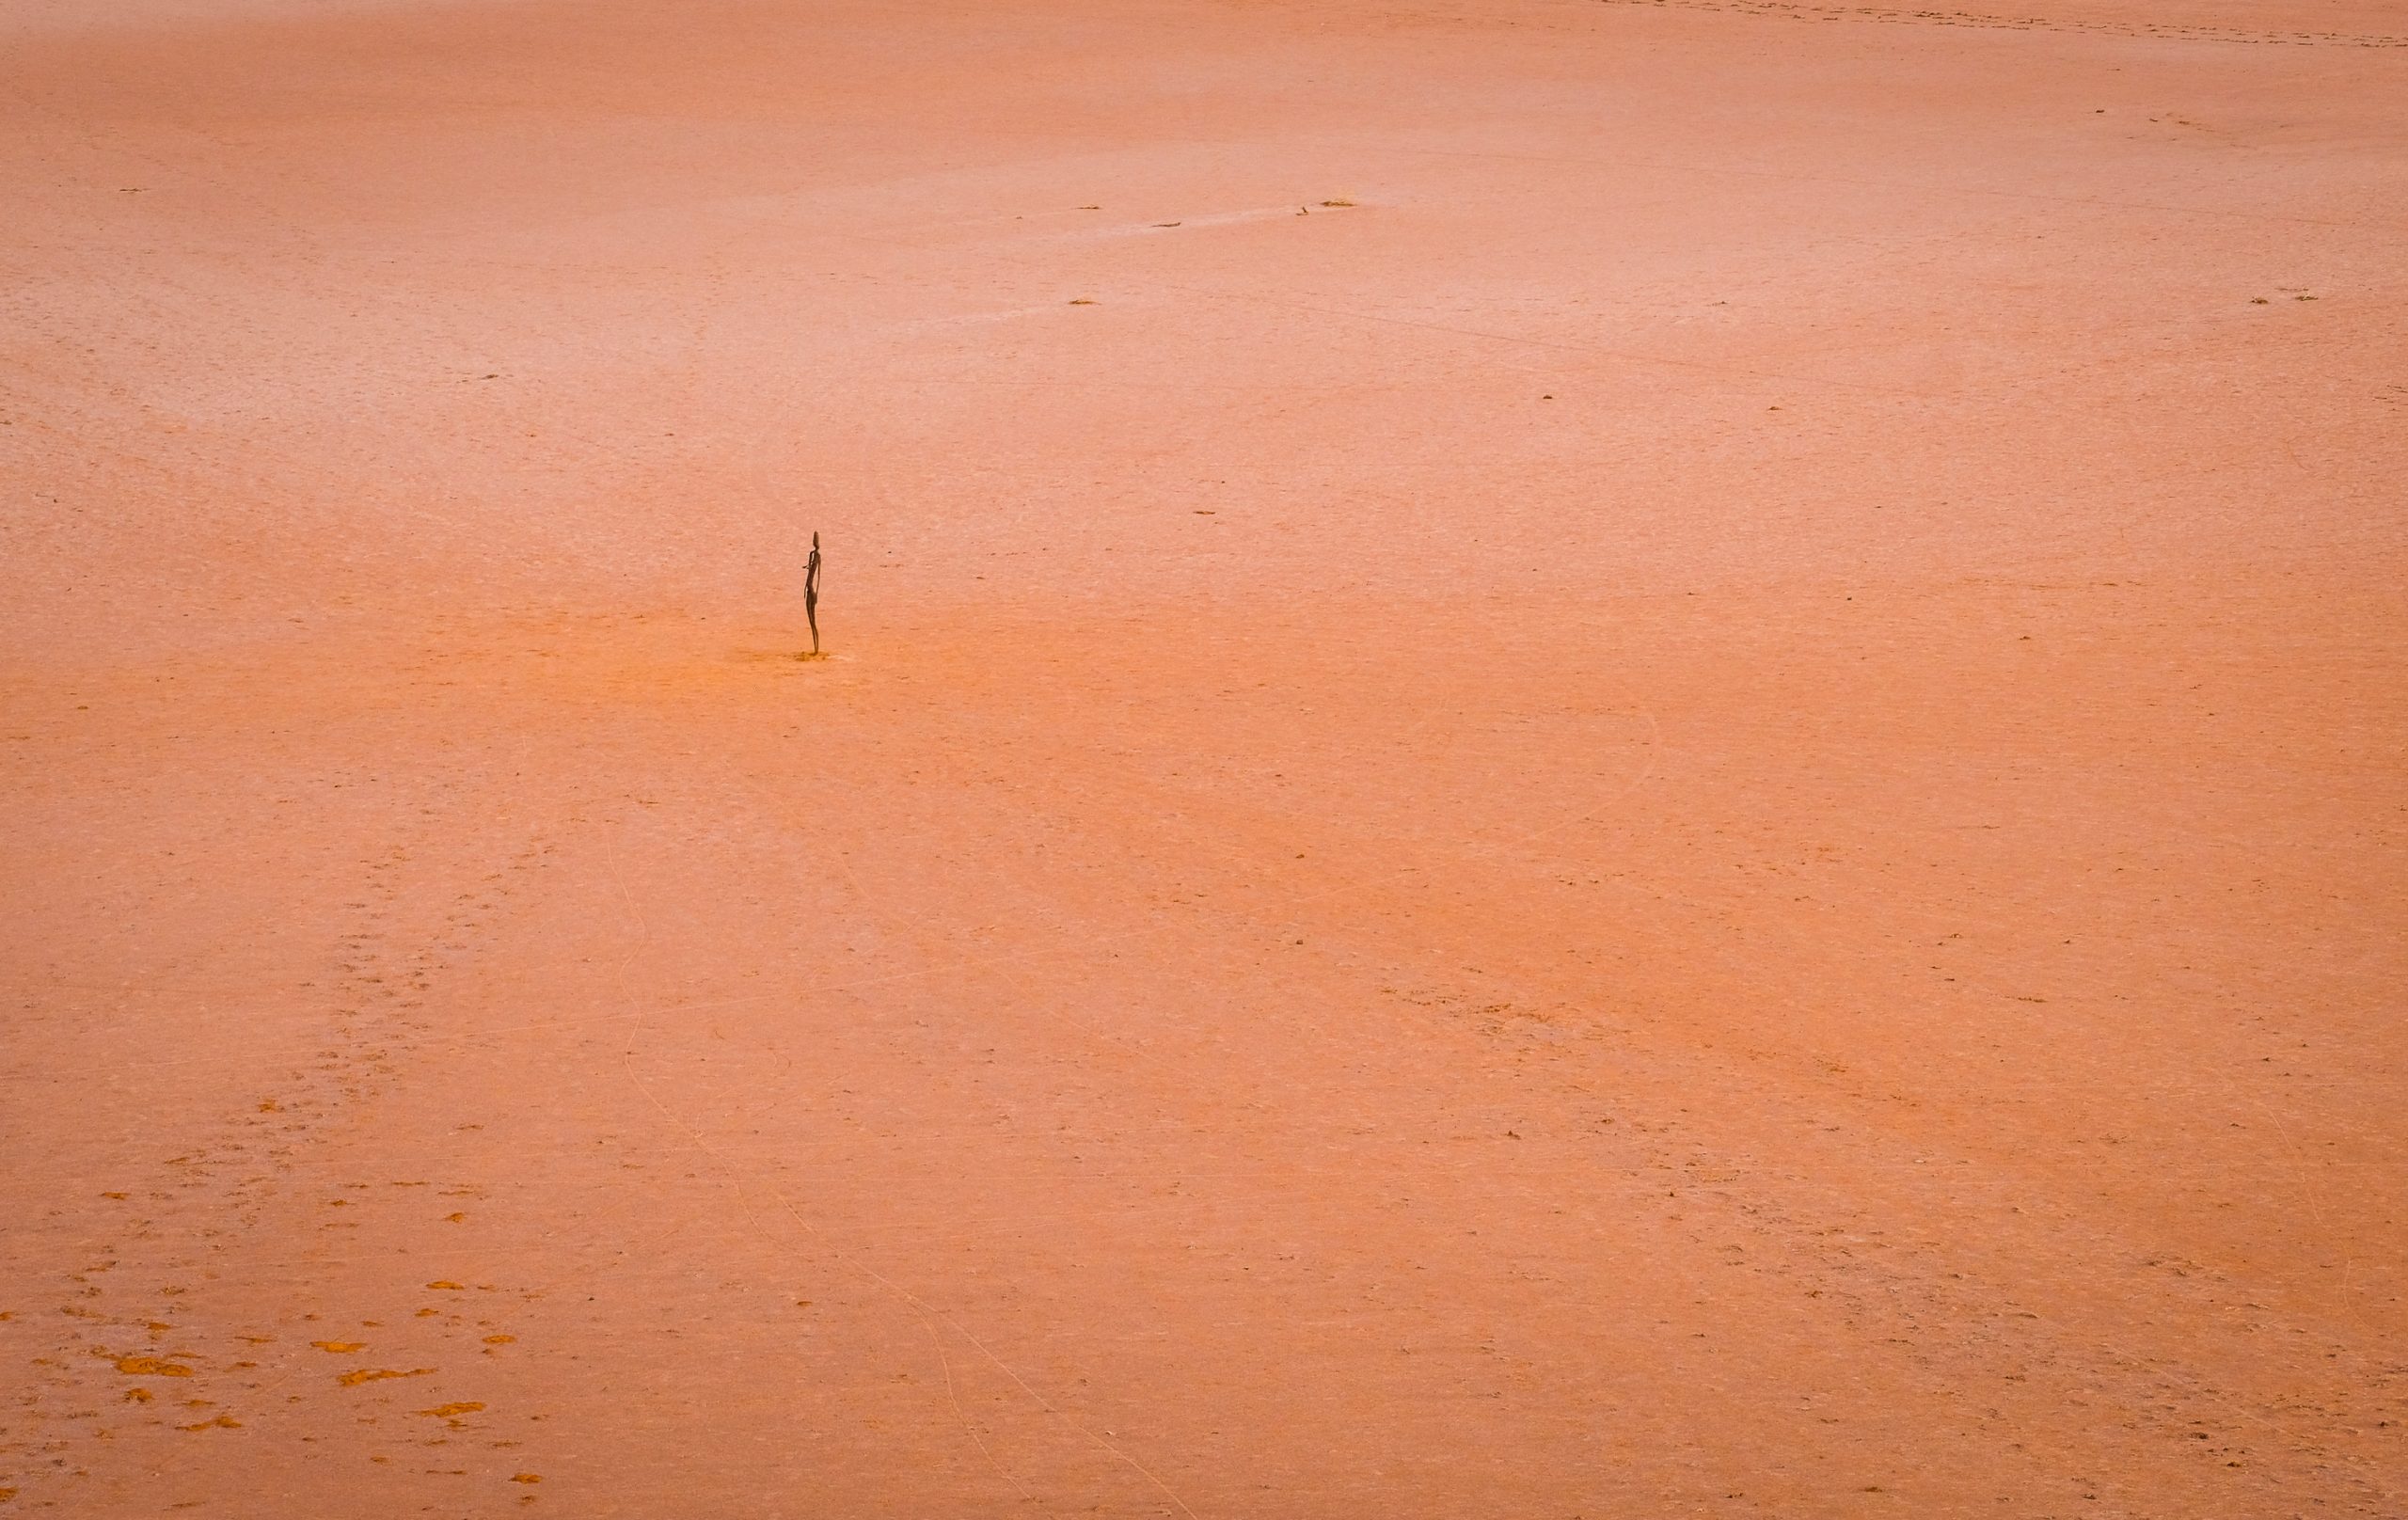
The images coming off this camera are pretty nice, especially because you can shoot RAW and work the images in your RAW processor. On the video above, we cut in segments done with the RX0 so you could see them. The audio is nothing to write home about, but it works.
Final Thoughts
I ended up purchasing this camera. We’d like to try using it in video mode when shooting stills with a larger camera. It’s a good B roll camera. It’s also so small that you can keep it in your pocket and pull it out whenever it is needed.
Sony has developed a number of add-ons for the RX0 so that it can be used in a more robust video workflow environment. You can control multiple cameras using a mobile phone. Essentially, you set up one camera and others connect to it. This is good if you want to capture video from multiple angles or stills.
You can also add a Sony CCB-WD1 Wired Control Box for RX0 Camera and, with the use of your PC, control up to 100 RX0 cameras for effects like bullet time and other effects.


There’s an underwater housing rated to over 300 feet deep.


Considering the very small battery size, you can expect to get about 240 images per battery and about 35 minutes of video record time.
The price point for the camera at 698.00 may seem kind of steep, but it has many of the same features as the larger Sony, such as similar menu systems and the ability to shoot RAW and video (but no 4K). This camera is clearly made to be part of the Sony Eco system and it integrates well. Sony has some impressive video samples on their website of what this camera can do when connected with other RX0s.
For my needs, this camera will find its place. It’s simple to use and built to take a beating. It’s well-sealed and won’t have any issues in most wet conditions. It’s easy to set up and use. The menus and screen are minuscule, though, and it’s very hard to use in daylight conditions.
One of the real benefits is the option to pair it with your phone and control it there. You can see the image on a larger screen and the process is pretty easy once you get the hang of it. Essentially, you download the app, turn the app on, scan the barcode on the display of the camera, and pair the devices. From there, it is pretty intuitive. Connectivity is going to be the next big thing with all cameras. Hopefully, it will be truly easy and flawless.
If you are looking for a small, very rugged camera and an okay price for B roll or still captures under extreme conditions then the RX0 may be for you. One of the things you can count on Sony doing, though, is improving the product in the next generation. They certainly have proven that they listen to their customers on that front. So, I hope they make a wider view camera with a larger screen and menus that are easier to see and work. For now, I find I am carrying this camera in my pocket quite often and using it a lot.
The Sony RX0 is available from B&H Photo and Amazon


