


I read an article lately that was entitled – “Why Camera Manufacturers Are No Longer Relevant”. We can’t deny the fact that the latest smartphone cameras have made some remarkable achievements in developing a decent image quality, especially if images are only being used on social media sites. There has been a lot of innovative algorithms developed that create images that look similar to those from a DSLR on screen, yet have you ever tried printing photos from your smartphone, only to be disappointed with the results?
There are a lot of factors that affect how well smartphone or camera images will print. So, before we get into the steps to getting colors right when printing, let’s look (in Sections 1 and 2 below) at a few important steps needed to capture the image correctly before the printing stage. Many thanks to Mark Segal who provided advice for this article. Mark’s been making photographs for the past six decades, he’s an author, educator and communicator in several fields and has a great knowledge in the inkjet printing area.
The first two sections below do not necessarily affect color accuracy, but they can make a difference to overall image quality.
Perhaps needless to say: getting colour right is usually essential for successful colour photography. Digital imaging has made this more controllable and more accessible than ever before in the history of photographic technology, but also requires us to learn something about managing and editing colour properly. This can be approached at different levels of ease or complexity, depending on your requirements and taste. The main point of this very brief overview into a vast subject is that you have choices whether to start at an elementary automated level where most of the work is done for you under the hood, or to move into processes and procedures over which you exercise more control and may get better results, but need to learn more and experiment more.
Because all devices see and process colour differently, one way or another these devices, whether cameras, monitors, scanners or printers, need to be profiled in order that the colour management system in your computer knows how to correctly process the data needed to make your prints. The devices all have manufacturer-supplied profiles for doing this, and over the years they have been performing better and better, to an extent that you can rely on more or less automated processes, or choose to intervene and customize.
- File Formats and Resolution
An image file format describes how data related to the image will be stored and most importantly, how much data will be retained. Data can be stored in compressed and uncompressed format. Each format has its advantages and disadvantages. Image types such a TIFF are great for printing while JPG or PNG are best for web. As a photographer you probably shoot in Raw or Jpeg, or sometimes both. And then you usually edit the image in Photoshop, Adobe Camera Raw or Lightroom. Then you save your image. What do you do? Do you save as a PSD, Tiff or Jpeg?
The amount of control you can exercise over your colour depends firstly on the file format you select in the camera. JPEG format is meant for transmitting photos over networks and showing on screens. It sheds a lot of the original data your camera captured, not recoverable. In this format, the camera processes the appearance of the photo and your scope for further manual editing remains but is much reduced. If you select your camera’s raw format, you subsequently have the freedom to save the photo in different formats for different purposes.
When using JPEG, I would always use the highest quality setting for saving the file. The choice is yours but for print I would use a TIFF file format.
You will want to save your work as a Photoshop PSD or a TIFF file when you have many layers that you want to preserve. These formats allow for uncompressed saving with no loss of data and are preferred for high quality prints – especially large ones.

What is resolution? Well, image resolution in digital photography has a technical metric: “pixels per inch (ppi)” of image dimensions. Higher resolution doesn’t necessarily mean sharper photographs – that depends also very much on lenses, sensors and focusing. So, what is a good resolution for printing a photo? We generally aim for something in the range of 300 to 360 pixels per inch for regular photographs printed in Canon, HP or Epson photographic printers. The total pixel dimensions will determine the linear image dimensions you can have at those resolution values. But one can also resample the images in an image editor in order to change linear dimensions at a given resolution.
So how big can I print my photos? This can easily be measured in Photoshop or similar programs. For example, I have a Canon 6D full frame 20.2MP camera that I shoot with. When I shoot in RAW file format, it creates a 57.1M file size. If I were to create an 300ppi image, that would give me a 12×18″ print at 300ppi. Depending on the image, I might at times work with a 200ppi file size, so in this case I would get a 18×27″ print at 200ppi sent to the printer driver; note that if you send more or less resolution to the printer than the printer’s “native resolution” calls for, the print process will resample your file on the fly to match this native resolution . When printing large images, the quality of the photo itself and the pixel dimensions count.
Be aware that the scenes you are photographing normally have much more tonal range than your camera sensor can capture. When making the photograph, watch the in-camera histogram for evidence of possible highlight or shadow clipping. If it appears to be happening, you may change the composition of the photo, change the exposure, or make several exposures for the highlights, midtones and shadows and then blend them in your image editor. Good algorithms within or apart from Photoshop and Lightroom exist for doing this.
- 1.Image Capture and Camera Profiles
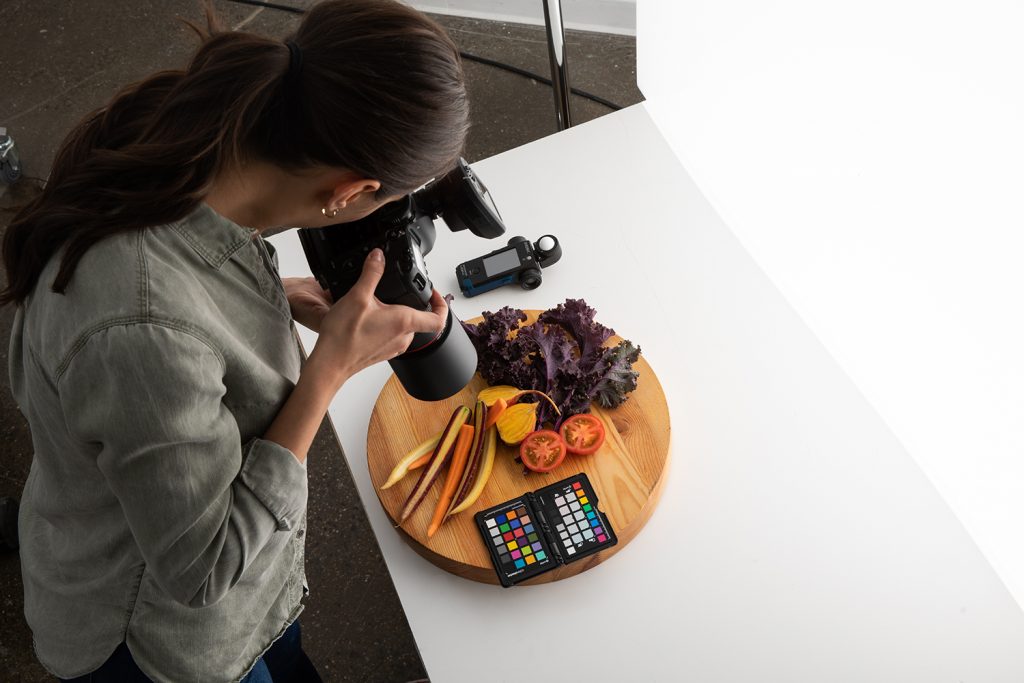
Just beyond the image capture stage, photographers looking for possible improvement of colour accuracy may opt for creating their own camera profiles for interpreting raw files in their raw file image editors; an advantage of taking this extra step is that it characterises your particular camera. X-Rite makes a product called ColorChecker Passport, often used for this purpose, in conjunction with the software needed to make the profile.
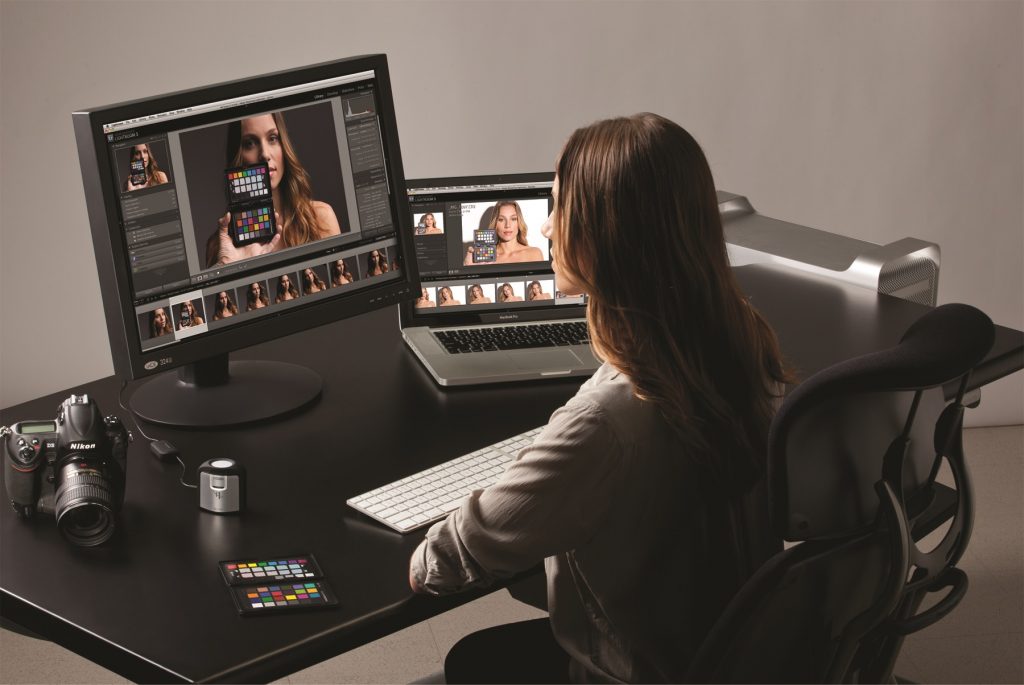
- Calibrating Your Monitor
“Softproofing” is a way of seeing on your monitor approximately how the photograph will look once it emerges from the printer; it’s a practice that really helps minimize disappointment with results and expensive waste. One of the most important steps in soft proofing and printing photos accurately is to have a high enough quality monitor that can be properly calibrated and profiled; the monitor is your only insight into your photo until it emerges from the printer. A monitor profile characterizes how your monitor perceives colour and allows the colour management system of your computer to deliver more accurate colour to the display. There are several software packages that you can use to calibrate basic parameters for your monitor (such as white point, black point, contrast ratio, brightness) and then with that calibration in hand, create a profile consistent with the calibration parameters. These packages include X-Rite i1Display Pro or X-Rite ColorMunki , but there are others as well. That said, if you prefer to start-off more simply, you can begin with using the monitor ‘s in-built colour management, and you may want to at least adjust the brightness of your monitor to better portray the kind of light reflectance you can expect from a paper print; this is one of the most important ways of assuring that your prints won’t emerge looking too dark. Also, it’s helpful to view photographs on a monitor in a dimly lit room in order to minimize the impacts of distraction and the appearance of diluted colour from too much ambient light hitting the display; there is an appropriate balance to be struck between the levels of monitor brightness and ambient light. If you find that this level of management isn’t meeting your requirements or expectations, you may want to go the route described above creating a custom monitor profile. - Tweaking Your Photo Image Before Print
Images straight out of the camera can often use a bit of a tweak. No matter how careful a photographer is in setting up the exposure and composition, there are often a few tweaks needed. Some photographers prefer Adobe Photoshop and some prefer Lightroom to do this. While both programs can be used to edit images, Lightroom has a workflow solution as well. I won’t get into the comparison of the two programs, but either will work. The first thing I always do is check my histograms to make sure my highlights and shadows have good definition. Your camera images could be great and the lighting set just right, but the reality is that unedited photos rarely produce great prints in the end. If your prints come out too dark, you probably still have your monitor brightness set too high. The image captured goes through many stages before it’s printed. From the lens to the sensor, through the software processing, some of these steps can soften or degrade your image. So, sharpening your images can improve your print, though sharpening if done right won’t affect colour accuracy one way or another. One of my favorite set of PS filters is from NIK. Images can always be improved with the correct level of sharpening. Sharpener Pro is a photo editing plugin offering two stages of sharpening. The first stage is RAW Pre-Sharpener, a tool to extract the correct level of detail from a photo. The second stage is Output Sharpening, which can adjust and image for its intended destination, whether it’s a printer or a screen. There are a number of ways to approach image sharpening, but NIK is worth investigating. - Colour Management Using Correct Printer Profiles
Canon, HP and Epson offer a type of turn-key solution, especially when using their media. Canon, HP and Epson have built-in profiles for correctly printing their own media and they have developed their printer drivers over the years to accommodate 3rd party media as well. Using their papers and printer profiles do provide a turn-key solution producing good quality prints right out of the box. You access this route in your editing application and the printer driver by letting “printer manage colour”. If you feel you need yet better results from your printer, then you would let the image editing application manage colour and create or have created custom profiles for your printer paper combinations. It’s not within the scope of this article to go into the details of making or using such profiles or custom profiles, but there are numerous articles that have been written on the subject, which are easily found on both Luminous-Landscape.com and PhotoPXL.com. If you need to use a custom media profile, there are many companies that provide this service on-line. Alternatively, you can invest in X-Rite (or other) professional color management software and hardware. - Print Quality is Determined by Media Choice
One of the reasons I like to print at home is that I can experiment with a large range of media types that are available today. There isn’t just one “best” paper, it really comes down to how you think it suits the image, what you like and how it looks and feels to you. If you get hold of a good media supplier, they should be able to provide sample packs from manufactures such as Canon, HP, Epson, Moab, Red River, Hahnemühle and so on. Get yourself a good test target and see the difference each media makes. The Outback Photo website (http://www.outbackphoto.com/printinginsights/pi049/essay.html) provides a fine print target for this purpose, but there are others as well. - Choosing the right printer
There are quite a range of inkjet printers on the market today and some office type printers may give you a nice-looking image when printed on photo media, but not all inkjet printers are created equally. The most usual and accessible brands on the market today are from Canon, HP and Epson. All of these manufacturers can make fine prints and all have their pros and cons. If you are looking at Canon, then you’ll want to consider the Canon imagePrograf photo printers starting with the 17” wide Pro1000 and going all the way up to 60” imagePrograf 6100. The Epson photo printers start with the 17” SureColor P800 and going all the way up to 64” Epson SureColor P20000. All three manufacturers also offer 24” and 44” models.
About Peter Dulis
Having had the privilege of working with Canon Canada for 14 years, I’ve had a chance to meet & work with some incredible photographers and printing experts. Their stories and experiences have changed the way I look at things. Photography isn’t just about making photographs; it’s about choosing a life of curiosity, exploration, wonder, and immersing yourself in the world around you.
- Get more tips & techniques at- https://photographyadventures.ca/newsletter-sign-up/
Peter Dulis
April 2020


Elevate Your Vision


You may also like


