I created this guide for a friend of mine who’s going on a trip to Utah. She’s exploring and hiking through canyons, wanting to capture her experiences but also take great pictures along the way.
If you’re heading out with the Sony RX1RII to explore Utah’s breathtaking landscapes, or you or a friend is just beginning their photography journey, here are a few straightforward tips to help capture the magic of trip.
Let the camera do the hard work while you focus on seeing the world, experiencing the moment, and embracing the beauty around you.
Initial Camera Setup
- Extra Batteries: Bring extra batteries as the RX1RII is known for its relatively short battery life.
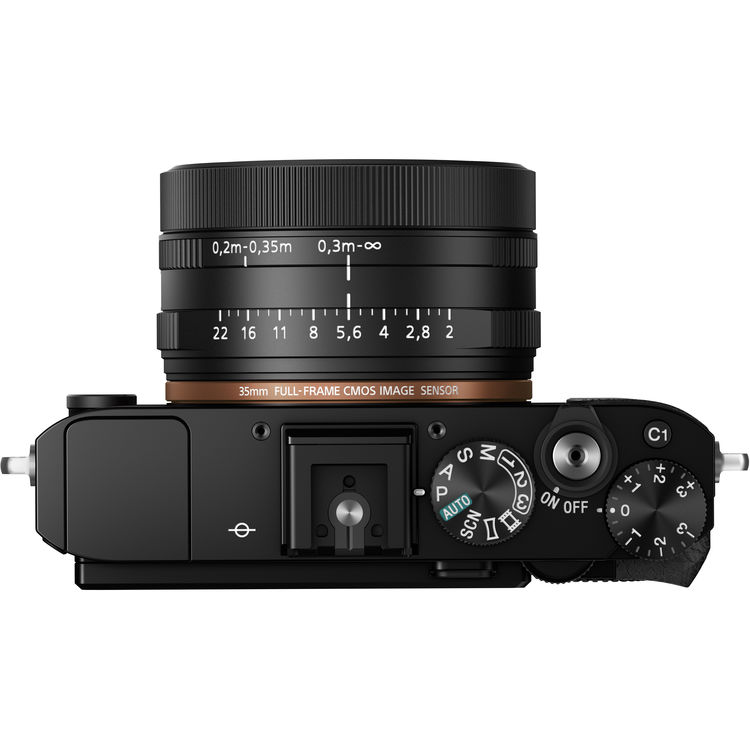
- Exposure Dial: On the top of the camera, there’s a dial marked with “+1” and “-1”. Set this to zero for balanced exposure—no need to adjust it further for now. Sometimes it can move, so double-check every so often before shooting.
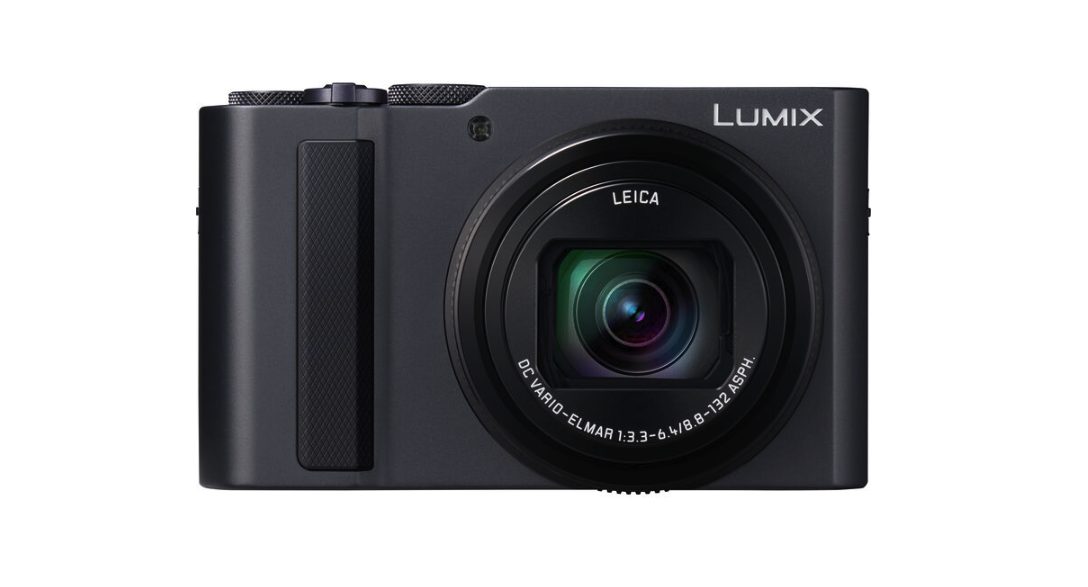
- Power and Shutter: The shutter button is the silver one on top. Below that, you’ll find the switch to power on or off.
- Scene Selection: Use the SCN mode on the top dial. I know…somewhat of a “hot take” but I think simplifying is a good way to get great pictures for a beginner. Use the dial by your left thumb to scroll through modes. Let the camera help by picking a scene that matches your conditions:
- Sunset for those golden evening shots.
- Portrait for people shots.
- Landscape for sweeping vistas.
- Night for shooting after dark.
Suggestion for Intermediates: Aperture Priority Mode (A)
After getting comfortable with the Scene Modes, I suggest focusing on Aperture Priority (A) mode. This allows you to be more mindful of depth of field and focus planes, controlling what’s in focus and what’s blurred. It’s a great step toward understanding how different aperture settings affect your shots while still letting the camera handle other settings.
- Auto Mode: Don’t be afraid to set it to Auto. If all else fails, it’s good to capture what the camera is suggesting. It’s a good way to get started, not feel overwhelmed by the technical, and let the camera find the right balance for you.
Essential Composition Tips
- Scout & SEE Locations: Walk around to find unique angles—use leading lines like paths or rock formations.
- You Make the Composition: The RX1R has a fixed lens, meaning you’ll need to move yourself closer or further away from your subject to compose the shot. This is a “normal” perspective lens, which is great for capturing scenes as the human eye sees them. Use this to your advantage—be intentional about your distance and angles to create the composition you want. You move to zoom.
- Foreground Elements: Add depth to your shots by framing your subject with rocks, plants, or any interesting features nearby.
- Patience Pays: Wait for the right light or fewer crowds—sometimes that’s the difference between an ordinary and an extraordinary shot.
Lighting and Timing
- Golden Hour: The best light is often considered at sunrise or sunset— richer, ever changing, and more colorful.
- Angles: Experiment with different perspectives—shoot low to emphasize foreground textures or high to show sweeping scenes.
Must-See Spots in Utah
These places are on my bucketlist!
- Mesa Arch (Canyonlands): Classic sunrise spot. Use a wide-angle lens to capture the sun peeking through the arch.
- Delicate Arch (Arches National Park): Visit at sunset for the best lighting.
- Green River Overlook (Canyonlands): Perfect for capturing expansive landscapes during the golden hour.
Reflective Shots
Utah has lots of opportunities for reflection photography—pools after rain, streams, or calm rivers.
- Get Low: Position the camera close to the water for more dramatic reflections.
- Polarizing Filter: A polarizer can help manage reflections by reducing glare—rotate it until you see the desired effect. Forgot to rent that! But we should have it in the kit.
- Full Reflection: Aim to include the complete reflection of the subject for a balanced composition.
Scene Modes Breakdown
Since they’re just starting out, I’m suggesting using the Scene Modes on the Sony RX1RII to make capturing the beauty of the world as simple as possible. My thoughts – let the camera do the technical work so they can focus on the experience and really see what’s around them. Here’s a detailed summary of what the camera is doing in each mode:
- Portrait Mode: The camera uses a wide aperture (lower f-number like f/2) to create a shallow depth of field, which means your subject stays sharp while the background blurs. This makes the subject stand out—ideal for people shots.
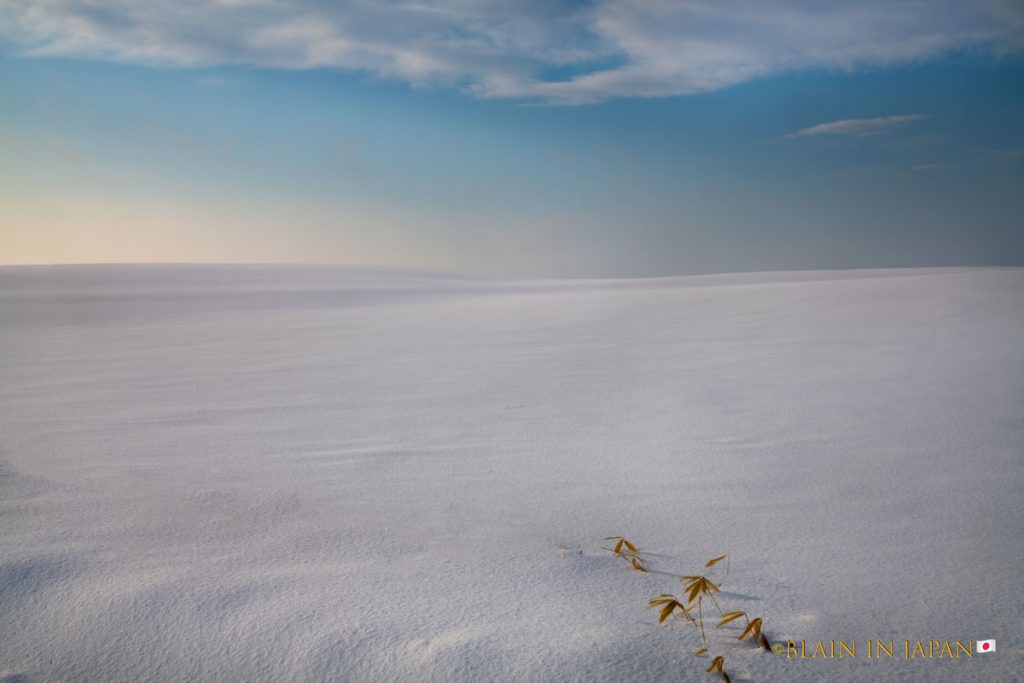
- Landscape Mode: The camera selects a smaller aperture (higher f-number like f/8) to keep both the foreground and background in focus. This is perfect for capturing the sharp detail of Utah’s wide mountain views and dramatic landscapes.
- Night Scene Mode: The camera keeps the shutter open longer to allow more light in, which helps capture cityscapes or starry skies. A tripod is recommended to keep the shot steady and avoid blur from camera shake.
- Macro Mode: The camera adjusts focus to be very close to the subject, which is ideal for capturing fine details of plants or textures up close. To get into Macro Mode, rotate the front ring on the lens to the macro setting. This allows the lens to focus at very close distances, perfect for getting beautiful detail shots like the textures of sandstone or desert flowers. If you can’t focus when taking a shot, it’s usually because the lens is in the wrong mode—just rotate the front ring to switch modes.
- Sweep Panorama: In this mode, the camera takes a series of shots as you move it across the scene and then stitches them together into a wide panoramic photo. This is great for expansive views—just hold the camera steady and sweep across smoothly.
Handling Focus
On the front of the camera, there’s a focus mode dial. I’ve set it to Continuous AF (C) as it seems to make sense for capturing moments on the go, especially while hiking and exploring. Just keep in mind it might drain the battery faster, so I suggest turning it off when not needed.
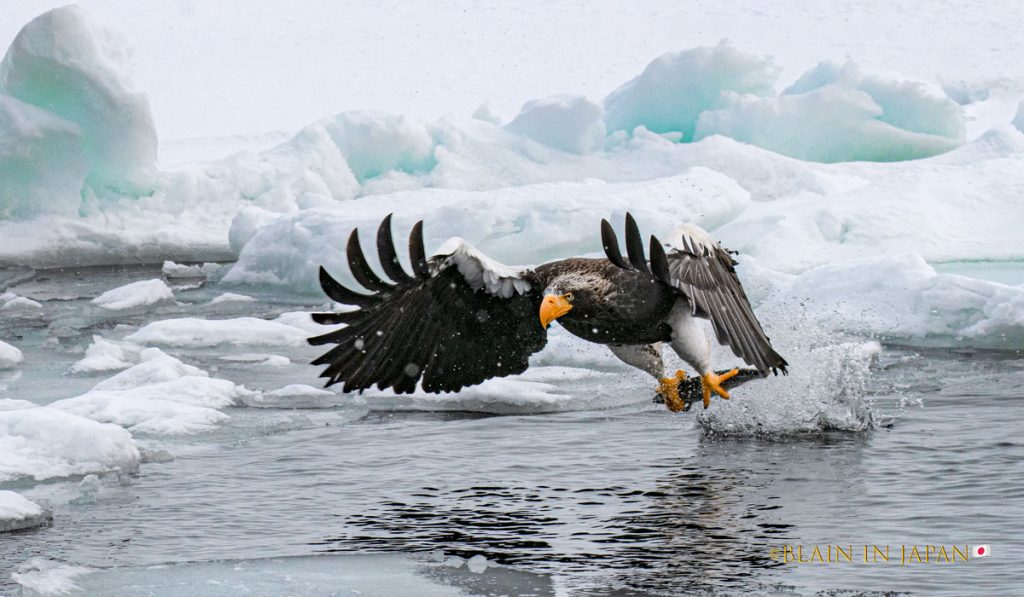
- C (Continuous AF): Good for tracking moving subjects—use this for wildlife or anything in motion.
- S (Single-shot AF): Best for stationary subjects—compose, lock focus, and shoot.
- DMF (Direct Manual Focus): After the autofocus, you can fine-tune manually—useful for tricky subjects.
- MF (Manual Focus): Full control if you prefer doing everything by hand.
Final Thoughts
As Dorothea Lange once said, ‘The camera is an instrument that teaches people how to see without a camera.’ Use these simple settings and techniques, let the camera handle the technicalities, and focus on immersing yourself in the beauty around you.
If there are any tips you’d like to contribute about this camera, location, or beginners approach check out our forum or reach out to us at [email protected].

Elevate Your Vision


Read this story and all the best stories on The Luminous Landscape
The author has made this story available to Luminous Landscape members only. Upgrade to get instant access to this story and other benefits available only to members.
Why choose us?
Luminous-Landscape is a membership site. Our website contains over 5300 articles on almost every topic, camera, lens and printer you can imagine. Our membership model is simple, just $2 a month ($24.00 USD a year). This $24 gains you access to a wealth of information including all our past and future video tutorials on such topics as Lightroom, Capture One, Printing, file management and dozens of interviews and travel videos.
- New Articles every few days
- All original content found nowhere else on the web
- No Pop Up Google Sense ads – Our advertisers are photo related
- Download/stream video to any device
- NEW videos monthly
- Top well-known photographer contributors
- Posts from industry leaders
- Speciality Photography Workshops
- Mobile device scalable
- Exclusive video interviews
- Special vendor offers for members
- Hands On Product reviews
- FREE – User Forum. One of the most read user forums on the internet
- Access to our community Buy and Sell pages; for members only.
You may also like