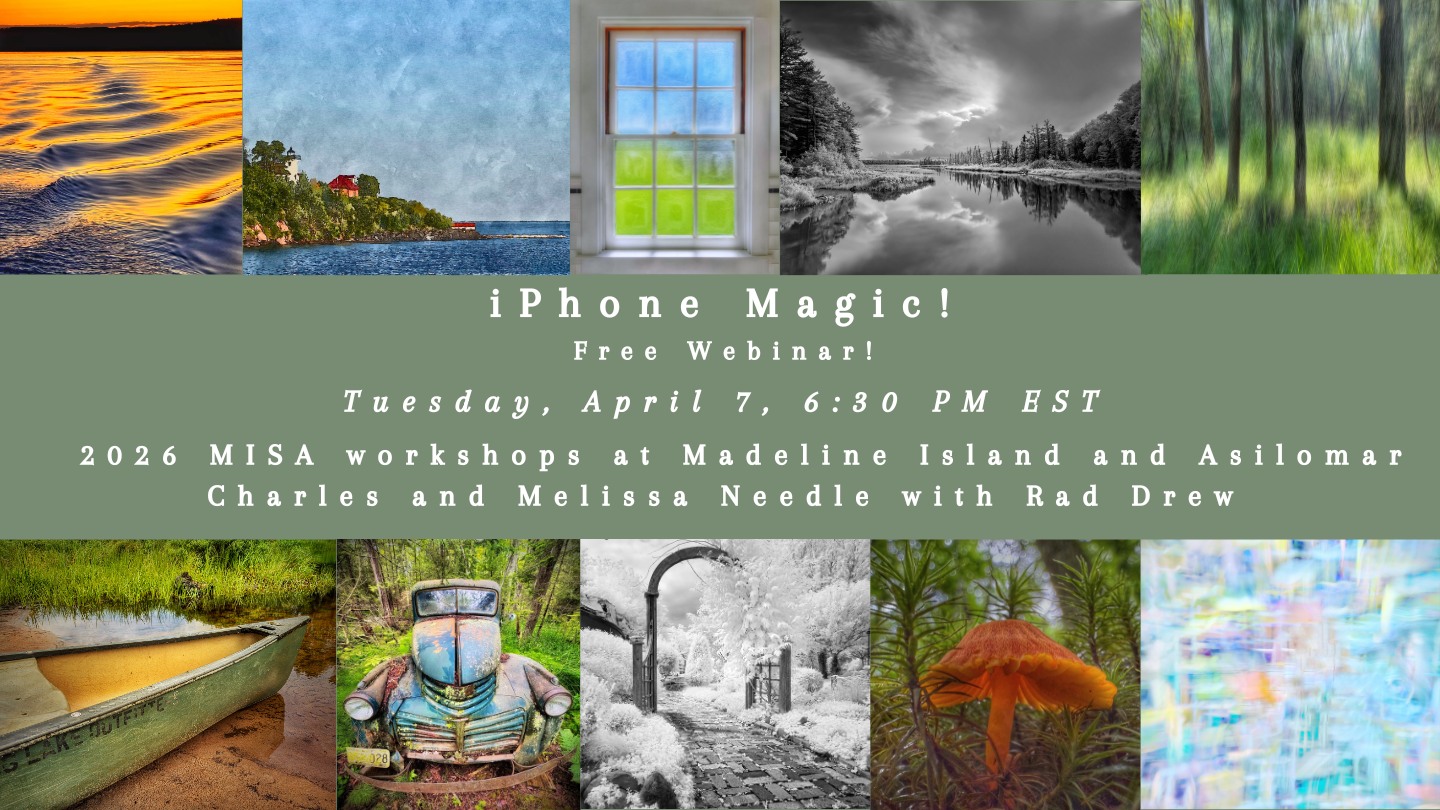


By: Ashok Viswanathan – FFIP, EFIAP.PPSA
Cyanotype is one of the earliest printing processes, dating from 1842 by Sir John Herschel, shortly
after the discovery of photography. It was the first permanent printing process and has a small
following even today. It is easy to do and the results are beautiful and long-lasting. It was first used
by Anna Atkins who used the technique to document botanical specimens to make a book. It was a
popular process for a short time and then died as other newer processes were invented.
Cyanotype prints are made using large format negatives that are contact printed to a paper coated
with UV-sensitive chemicals. It can be exposed using sunlight or a UV light source of 10-50W.
Exposures are by trial and error, but if using a UV light source it’s possible to establish a base
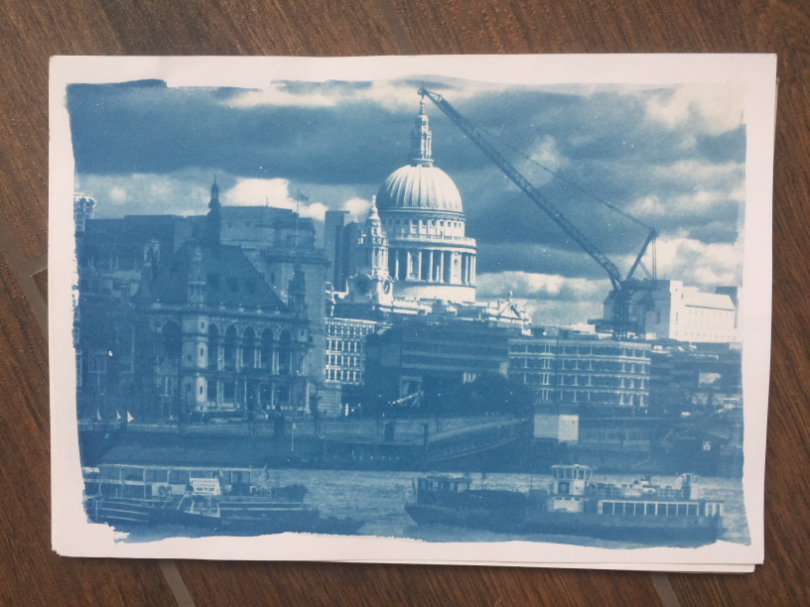
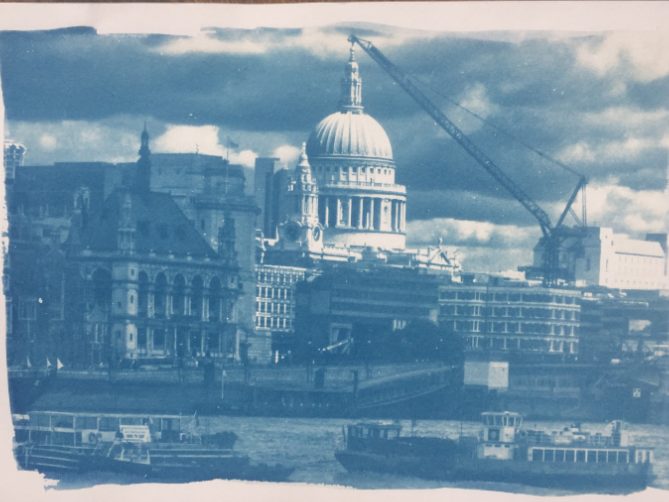
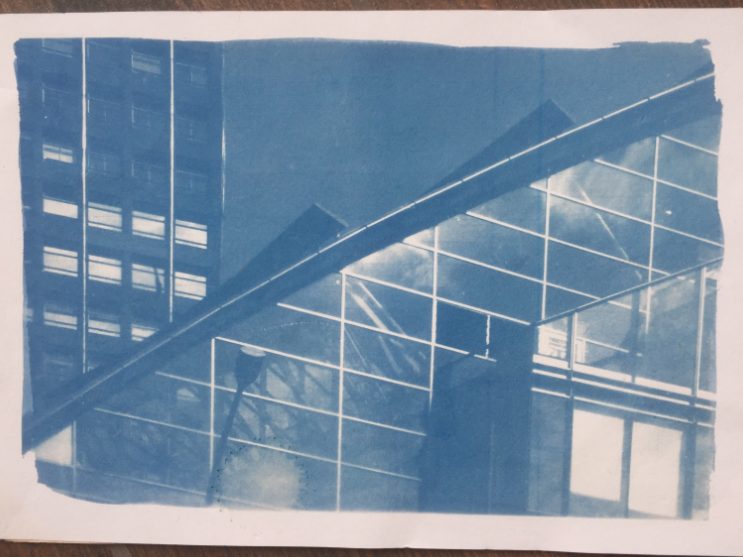
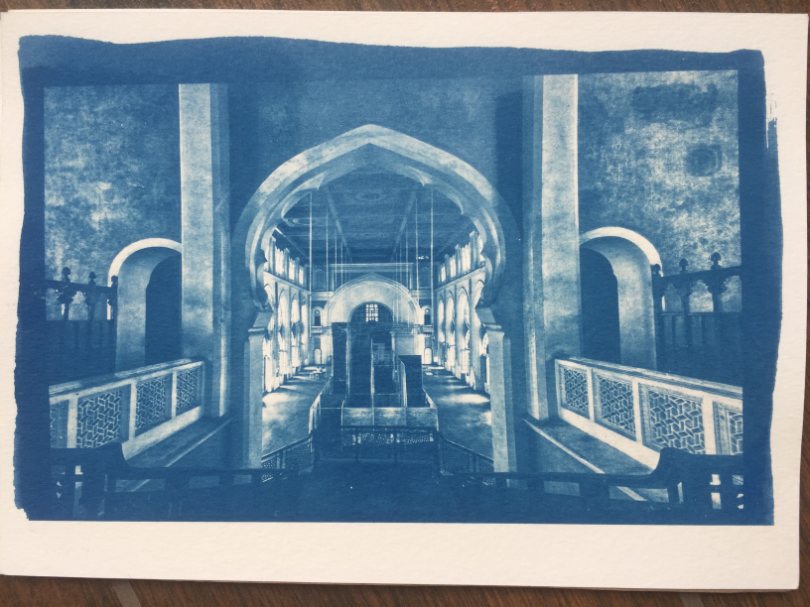
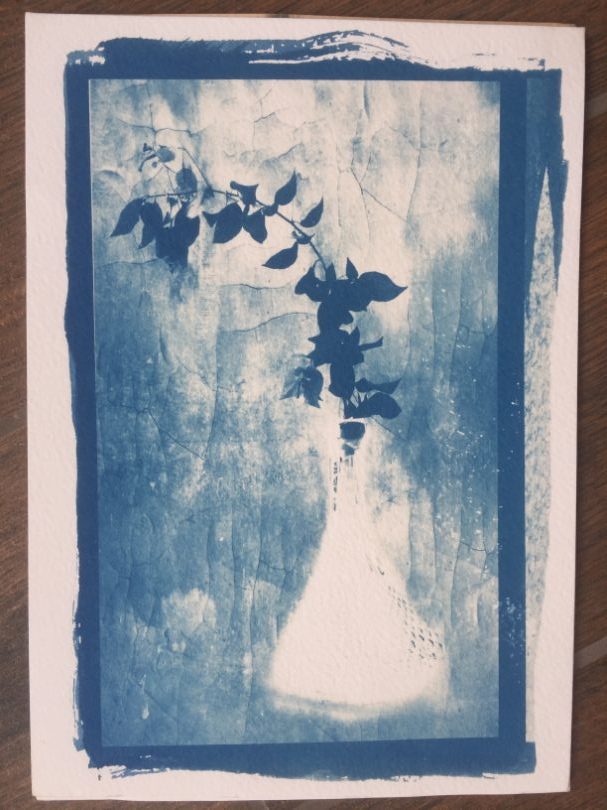
exposure and then adjust for the negative density. The resultant print is bright blue or darker shades
depending on the exposure. There is no “correct” exposure and the right exposure is the one that
gives you a print you like.
You first need a foam brush. These are cheap and can be found online or in hardware or art supply stores. A contact frame is essential. Ready-made ones are available but I use a simple wooden board with a heavy glass sheet that has the edges smooth and held in place with clips at the edges. This gives good contact between the negative and coated paper. It’s recommended to use a heavy 300 gsm watercolor paper so that it does not fall apart in the water wash. However, you can try different papers and even printing on cloth. Popular applications have been decorative table covers and lampshades.
The Cyanotype chemistry is available in kits that come in two parts: A and B. You need to mix
equal quantities of each, then coat the paper evenly from left to right and top to bottom. There should
not be any free-flowing liquid on the paper. If you like a white border, then coat the paper leaving
about an inch all around. It can be dried naturally in a dark area or quickly using a hair dryer. I simply leave them in an old paper box in a table drawer for an hour or so to dry. The chemistry is sensitive to UV
light so avoid daylight if possible. It’s best to work in a subdued room light or after sunset when
there is no daylight.
Chemistry
Part A
10 gms ferric ammonium citrate (green) in 50 ml water
Part B
4 gms potassium ferricyanide in 50 ml water
WARNING:
NEVER ADD ACID TO POTASSIUM FERRICYANIDE AS IT WILL GIVE OFF A DEADLY
CYANIDE GASS. MAKE SURE YOU DO NOT HAVE ANY SORT OF ACID IN THE AREA
WHERE YOU WORK.
Store in LABELED separate brown bottles and mix in equal quantities just before use. Once mixed they
do not last long, so just use small quantities enough for the number of sheets you want to coat.
The last thing you need are large format internegatives. You can make these by sizing your digital
image to the required size. Sharpen and convert to monochrome in PS, Affinity, or NIK, and flip horizontally. They can be printed on Pictorio or Permajet inkjet film with quality setting “good”.
Printing Process
The printing process is easy. Simply lay the negative with the printed side in contact with the coated
paper and place the glass sheet on top. Fix clips on the edges to ensure good contact. Typically
exposures are 10 to 30 minutes depending on the UV source you use. Wash in a tray of water to
remove all the unused yellow chemistry…this usually takes 3-5 minutes. Once done hang up to dry. The cyanotype will darken on drying and in a day will gain in blue color. The intensity of the blue depends
on the exposure duration. If you are looking for instant gratification, dip the print in a tray of
water to which a teaspoon of hydrogen peroxide is added. The print will deepen in color instantly.
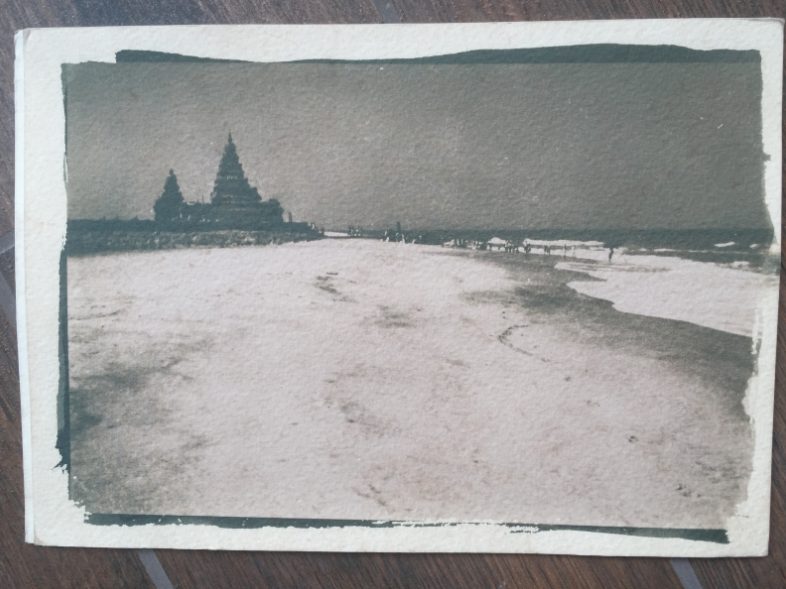
If you wish to take it further, then you can try toning the print in Tea (not green tea), Coffee, or red
wine. Make a 1-liter solution of a large amount of tea or coffee…use about 5 tea bags or 4-5 spoons of
instant coffee. Mix in hot water and allow to cool before use. You can soak and agitate the print
in this and watch it turn brown, grey or whatever color you wish depending on the solution used
for toning. Give it a quick water wash when you are done toning. The white edges will also change
color, so if you want them to stay then matte the print using a cut-out to display the image. Light toning can also give you a split-tone effect where the highlights are white and the shadows change color.
Amazon.com: The cost is between $18-$50 USD depending on what you get in the kit and where you live. The basic chemistry is about $18-$20 USD and should be enough to last a long time. The chemicals last
about 2-3 years if stored well.
https://www.jacquardproducts.com/cyanotype-set/
https://www.bostick-sullivan.com/product-category/alternative-process-kits/cyanotype-process/
Give cyanotypes a try… they are easy and fun!
Thank you to Ashok again for sharing his knowledge of cyanotype prints with us! If you would like to try them yourself and need supplies, new Luminous Landscape partner Bostick & Sullivan is offering LuLa members a 10% discount with promo code Luminous10.


Elevate Your Vision


Read this story and all the best stories on The Luminous Landscape
The author has made this story available to Luminous Landscape members only. Upgrade to get instant access to this story and other benefits available only to members.
Why choose us?
Luminous-Landscape is a membership site. Our website contains over 5300 articles on almost every topic, camera, lens and printer you can imagine. Our membership model is simple, just $2 a month ($24.00 USD a year). This $24 gains you access to a wealth of information including all our past and future video tutorials on such topics as Lightroom, Capture One, Printing, file management and dozens of interviews and travel videos.
- New Articles every few days
- All original content found nowhere else on the web
- No Pop Up Google Sense ads – Our advertisers are photo related
- Download/stream video to any device
- NEW videos monthly
- Top well-known photographer contributors
- Posts from industry leaders
- Speciality Photography Workshops
- Mobile device scalable
- Exclusive video interviews
- Special vendor offers for members
- Hands On Product reviews
- FREE – User Forum. One of the most read user forums on the internet
- Access to our community Buy and Sell pages; for members only.
You may also like