Long-time Lula member, Ashok Viswanthan, kindly offered to share his approach and methods for alternative photography processes. I hope you enjoy his detailed “how-to” for the Van Dyke Brown technique as well as some of the lovely photographs he has produced. If you’re interested in trying this and need supplies, see the end of the article for a 10% off discount offer for Lula members from our newest partner – Bostick & Sullivan.
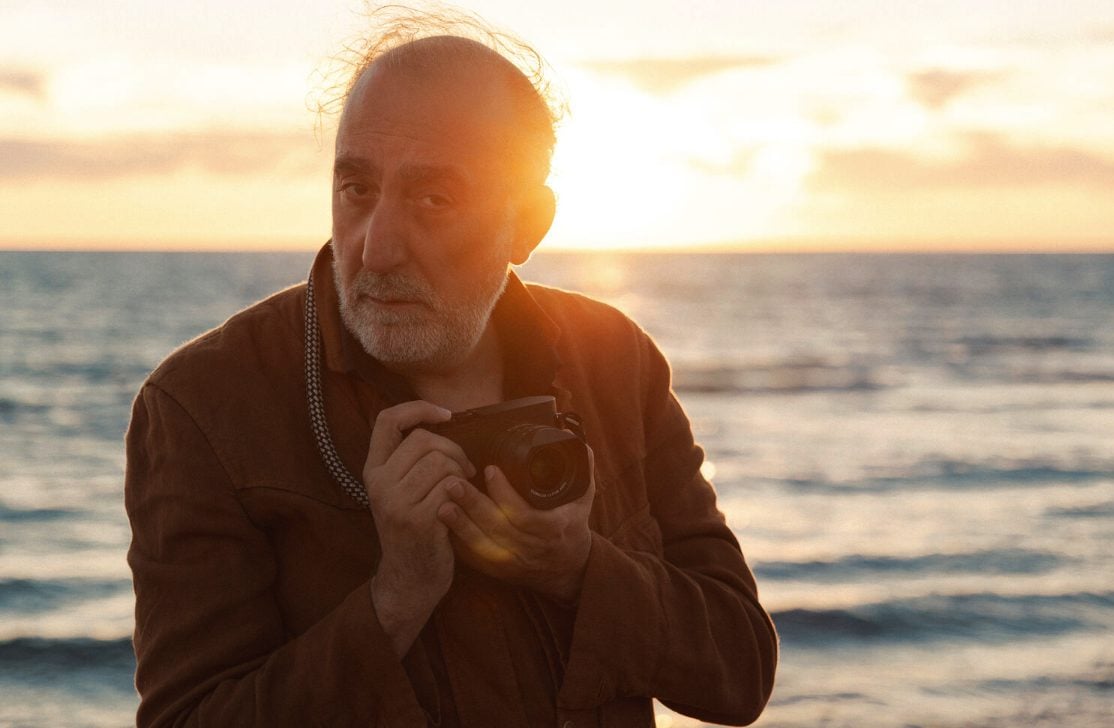
Ashok Viswanathan, an accomplished photographer and senior management professional in a global shipping company, has blended his love for travel and photography seamlessly. Beginning his photographic journey in the early 1970s with a medium format Zeiss Ikon Super Ikonta, he progressed to Nikon systems before embracing digital photography in 2003 with a Nikon D100. His transition to mirrorless cameras saw him adopt the Fuji X-Pro1, alongside his continued use of film cameras like the Rolleiflex 3.5 and Hasselblad 500 CM.
Now retired, Viswanathan dedicates his time to honing his skills and exploring historical photographic techniques like Cyanotypes, Gum bichromate, Gum oil, and Bromoil. His images have been showcased in international exhibitions across 35 countries, winning awards and featuring in numerous publications.
He is affiliated with esteemed photographic societies like the Photographic Society of Madras, Youth Photographic Society Bangalore, the Federation of India Photography, Photographic Society of America, and the Royal Photographic Society U.K.
The Van Dyke Brown process
by Ashok Viswanathan FFIP, EFIAP, PPSA
The Van Dyke Brown technique originated in Germany in 1895 and so named because the final print is a rich brown colour. Essentially, it is a Print Out process where a light sensitive paper is coated with chemicals, allowed to dry in darkness and then contact printed with a negative using UV light.
You can make your own chemistry using the formula or buy a ready made kit which obviously is more expensive. The cost is mainly due to the high silver nitrate prices.
Formula
Solution A
Ferric Ammonium Citrate 9.0 gm
Distilled Water 33.0 ml
Solution B
Tartaric Acid 1.5 gm
Distilled Water 33.0 ml
Solution C
Silver Nitrate 3.8 gm
Distilled Water 33.0 ml
Mix each solution separately in subdued light – once combined it becomes light sensitive and so you need to work in a darkroom with dim red light. Combine Solutions A and B and slowly add C while stirring. Pour the sensitizer in a brown bottle and let it age for a few days before using. Keep it stored in a dark place. Sensitizer will stay for a year or so if stored in darkness.
As this is a contact printing process, you will need a printing frame to sandwich the negative and the coated paper. Ready made printing frames are available but I made my own from a smooth piece of wood and a sheet of heavy glass whose edges have been smoothened out. This will keep the negative flat and in close contact with the paper. Use four clips at the edges to ensure good contact. Check that the glass is not coated to resist UV transmission.
The light source is a UV lamp. Several ready made ones are available in wattage of 10-50. Alternatively daylight is a good option although its difficult to be consistent with exposures. Daylight UV varies and a passing cloud can upset your exposures. Test exposures will establish your base time typically 4-10 minutes depending on the wattage of the lamp and distance from the paper.
Before you start to print you need to make a few large format negatives. I print basically in two sizes i.e. A4 or A5. I make A4 negatives on Inkjet film and have used Pictorio or Permajet. If i make A5 prints then i have two images on a sheet of film. It makes for easier handling and economy. As someone said….”small is beautiful”.
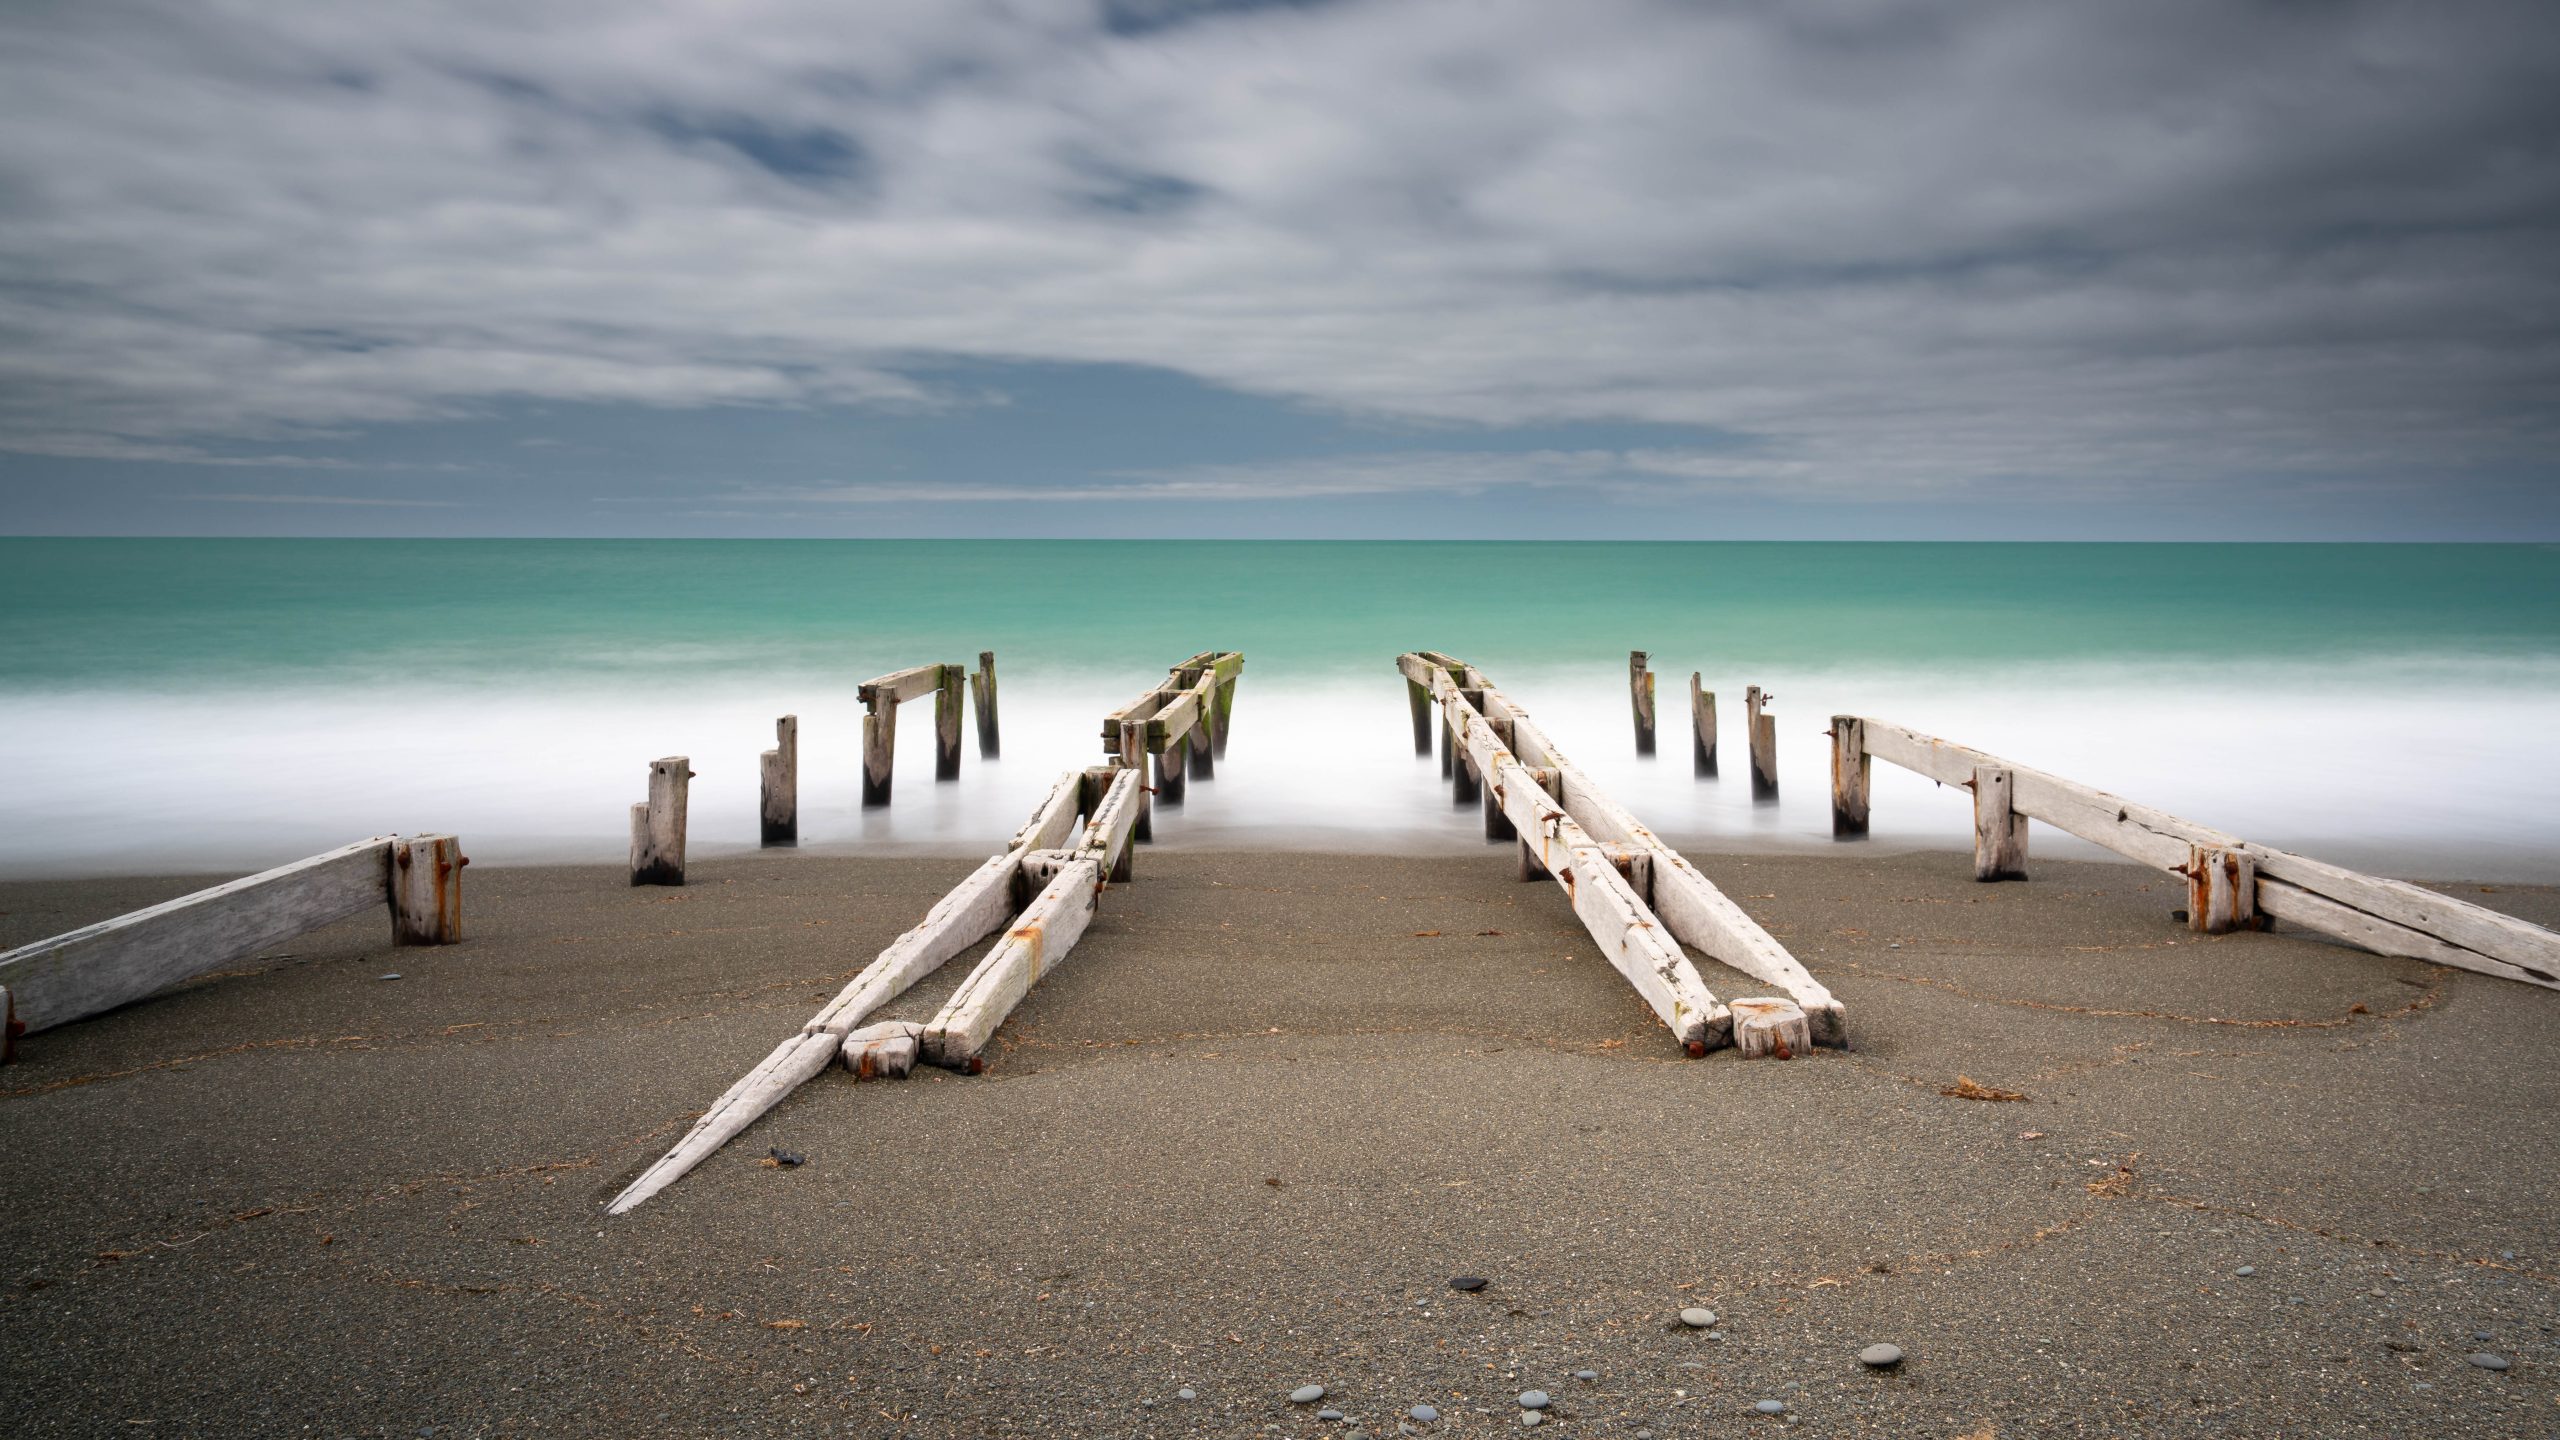
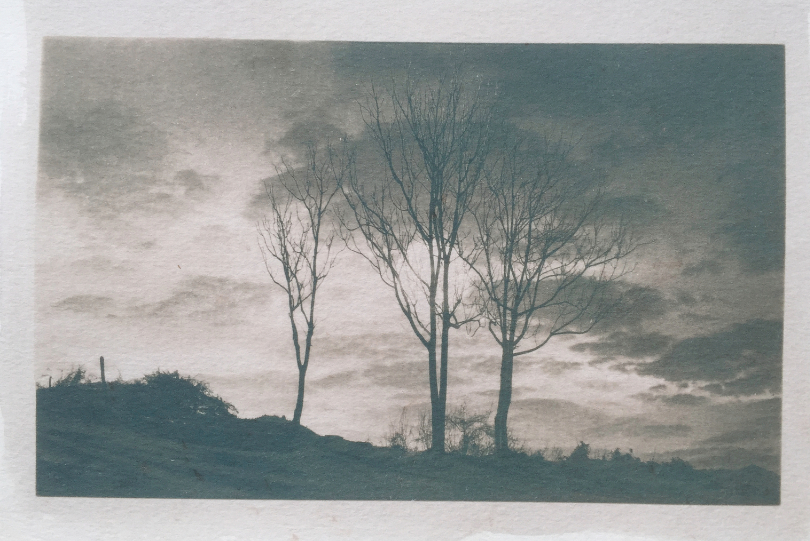
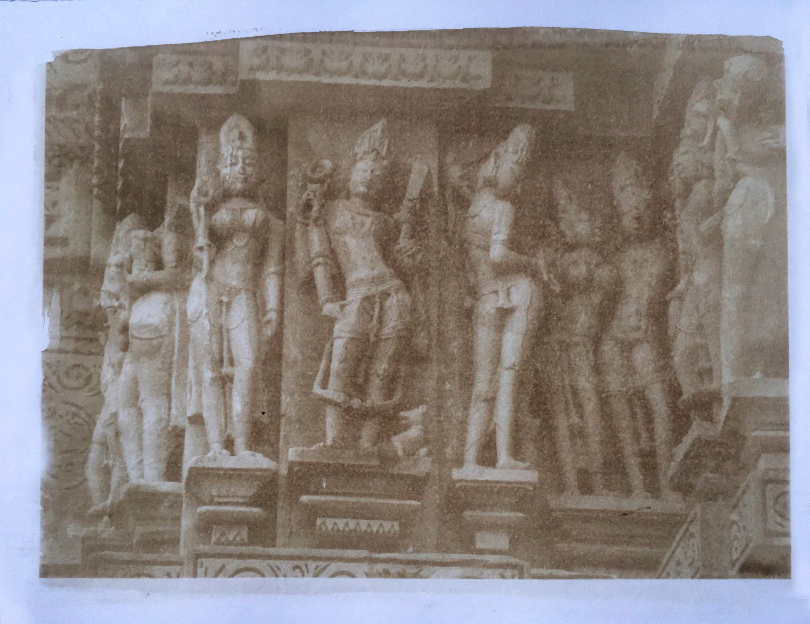
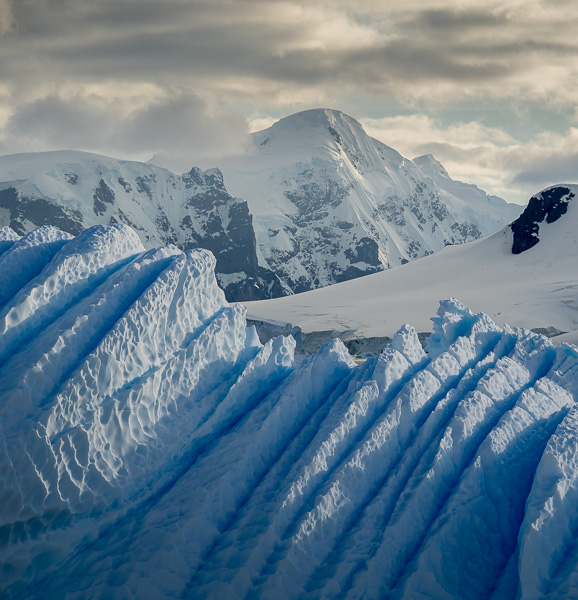
Making a digital negative is simple. Select a subject with strong lines such as sculpture, buildings, portraits or landscape. Crop to size and adjust levels, contrast and brightness. Avoid images with too much contrast. Softer low contrast images seem to work better. Once you are happy, convert to monochrome in PS, Affinity or NIK – invert and remember to flip the image horizontally in order that the final print will be the right way round. There is no limit to the size of the print. The size of your printer will determine the maximum negative size you can make. I use an Epson L130 basic printer with quality set to “good” to make the internegatives.
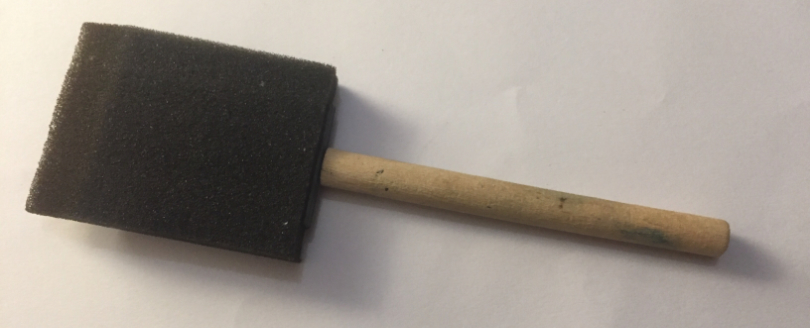
Use a good water colour paper ideally 300 gsm smooth surface, so that the paper does fall apart in the wash. Take a little chemistry and using a foam brush gently coat the paper uniformly from left to right and top to bottom. You may like to leave a uncoated border so you get a nice white border on the print. There should be no free flowing liquid on the paper surface.
Allow the paper to dry in darkness. This should take about 30 minutes or so. Processing is simple. Wash in plain water for 5 minutes to get rid of the unused chemicals. Then fix in a plain 10% hypo solution for 5-6 minutes and wash again for 10 minutes. Hang up to dry. A 10% hypo is 100 gms of crystals in 900 cc of water. Once dissolved top up to make a liter.
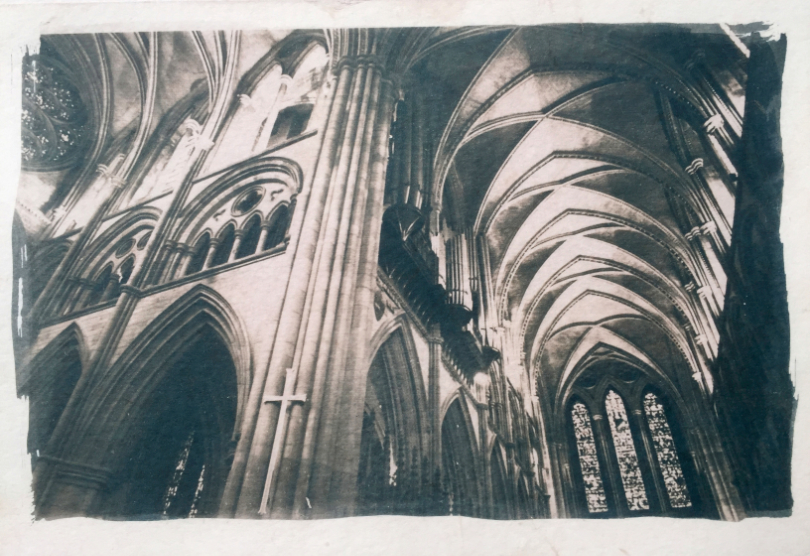
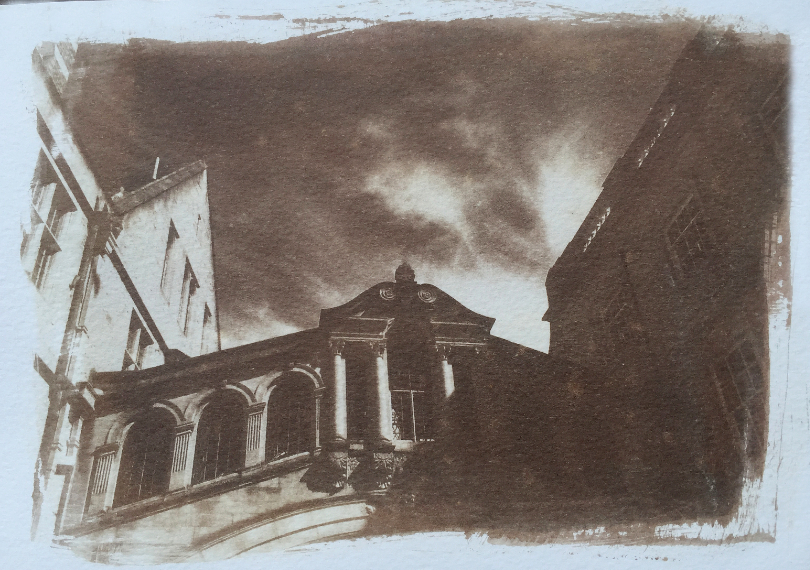
Be aware that when you finish exposing the paper, it will have a lovely golden image. This is temporary. When you wash it goes away and in the fixer the print will fade a little. On drying the image returns as a strong brown tone. Correct exposure will give you a variation in the brown tones and even almost white highlights. The prints are stable and will last several decades, similar to normal silver bromide prints.
The final result is a beautiful and unusual print that deserves to be mounted and framed.
Thank you for sharing your process, Ashok! If you’re interested in trying the Van Dyke process and need supplies, new Luminous Landscape partner Bostick & Sullivan is offering Lula members a 10% discount with promo code Luminous10.
As always, please share your thoughts and work on the Lula forum.

Elevate Your Vision


Read this story and all the best stories on The Luminous Landscape
The author has made this story available to Luminous Landscape members only. Upgrade to get instant access to this story and other benefits available only to members.
Why choose us?
Luminous-Landscape is a membership site. Our website contains over 5300 articles on almost every topic, camera, lens and printer you can imagine. Our membership model is simple, just $2 a month ($24.00 USD a year). This $24 gains you access to a wealth of information including all our past and future video tutorials on such topics as Lightroom, Capture One, Printing, file management and dozens of interviews and travel videos.
- New Articles every few days
- All original content found nowhere else on the web
- No Pop Up Google Sense ads – Our advertisers are photo related
- Download/stream video to any device
- NEW videos monthly
- Top well-known photographer contributors
- Posts from industry leaders
- Speciality Photography Workshops
- Mobile device scalable
- Exclusive video interviews
- Special vendor offers for members
- Hands On Product reviews
- FREE – User Forum. One of the most read user forums on the internet
- Access to our community Buy and Sell pages; for members only.
You may also like