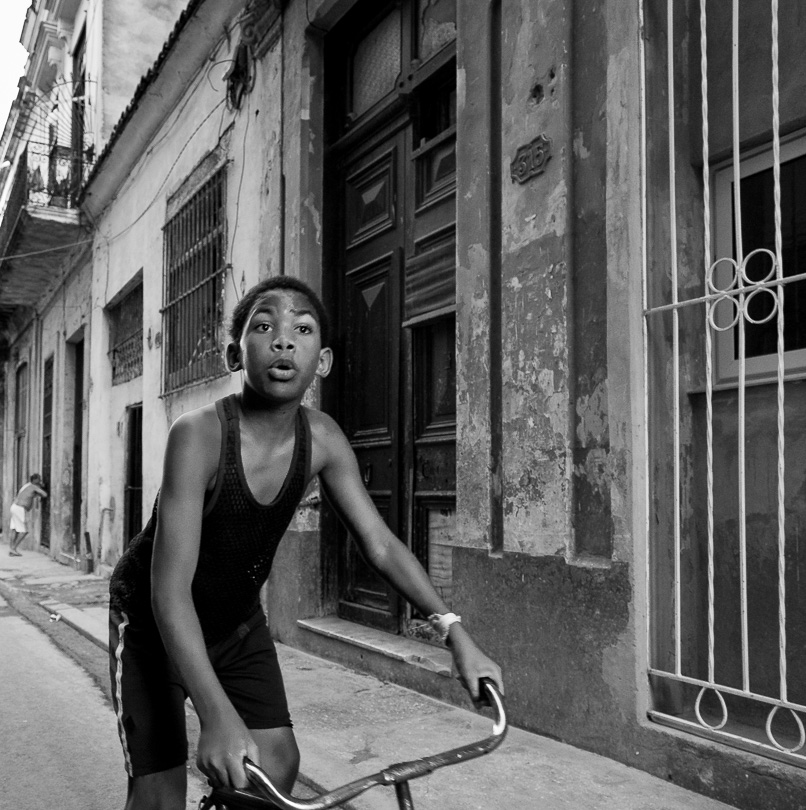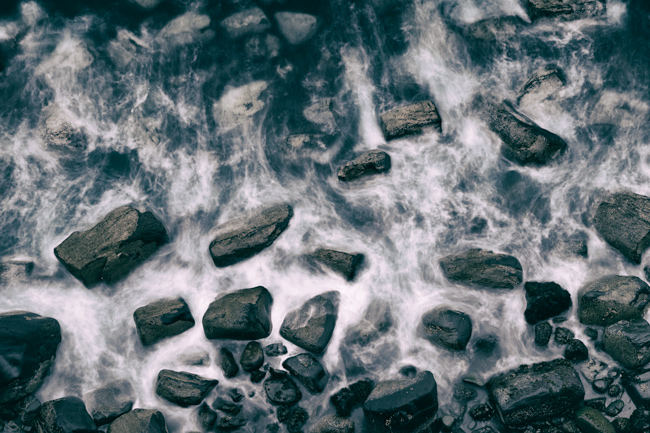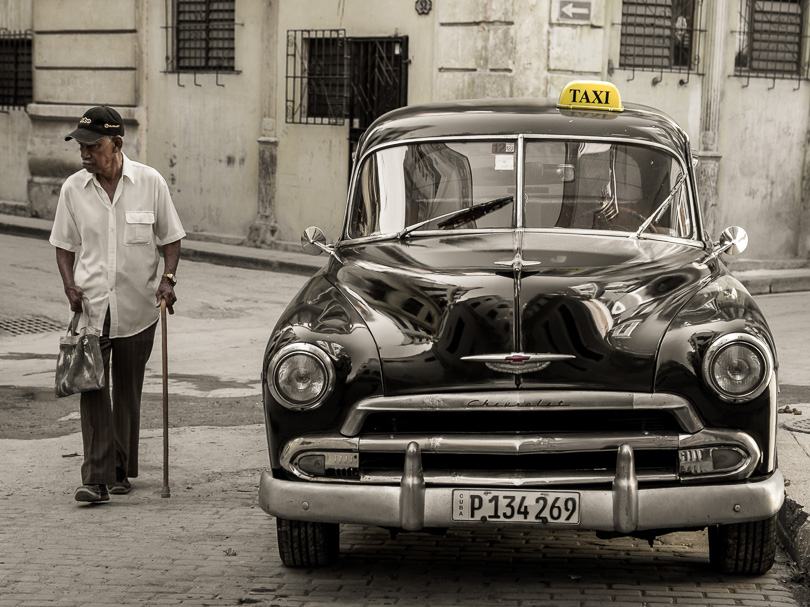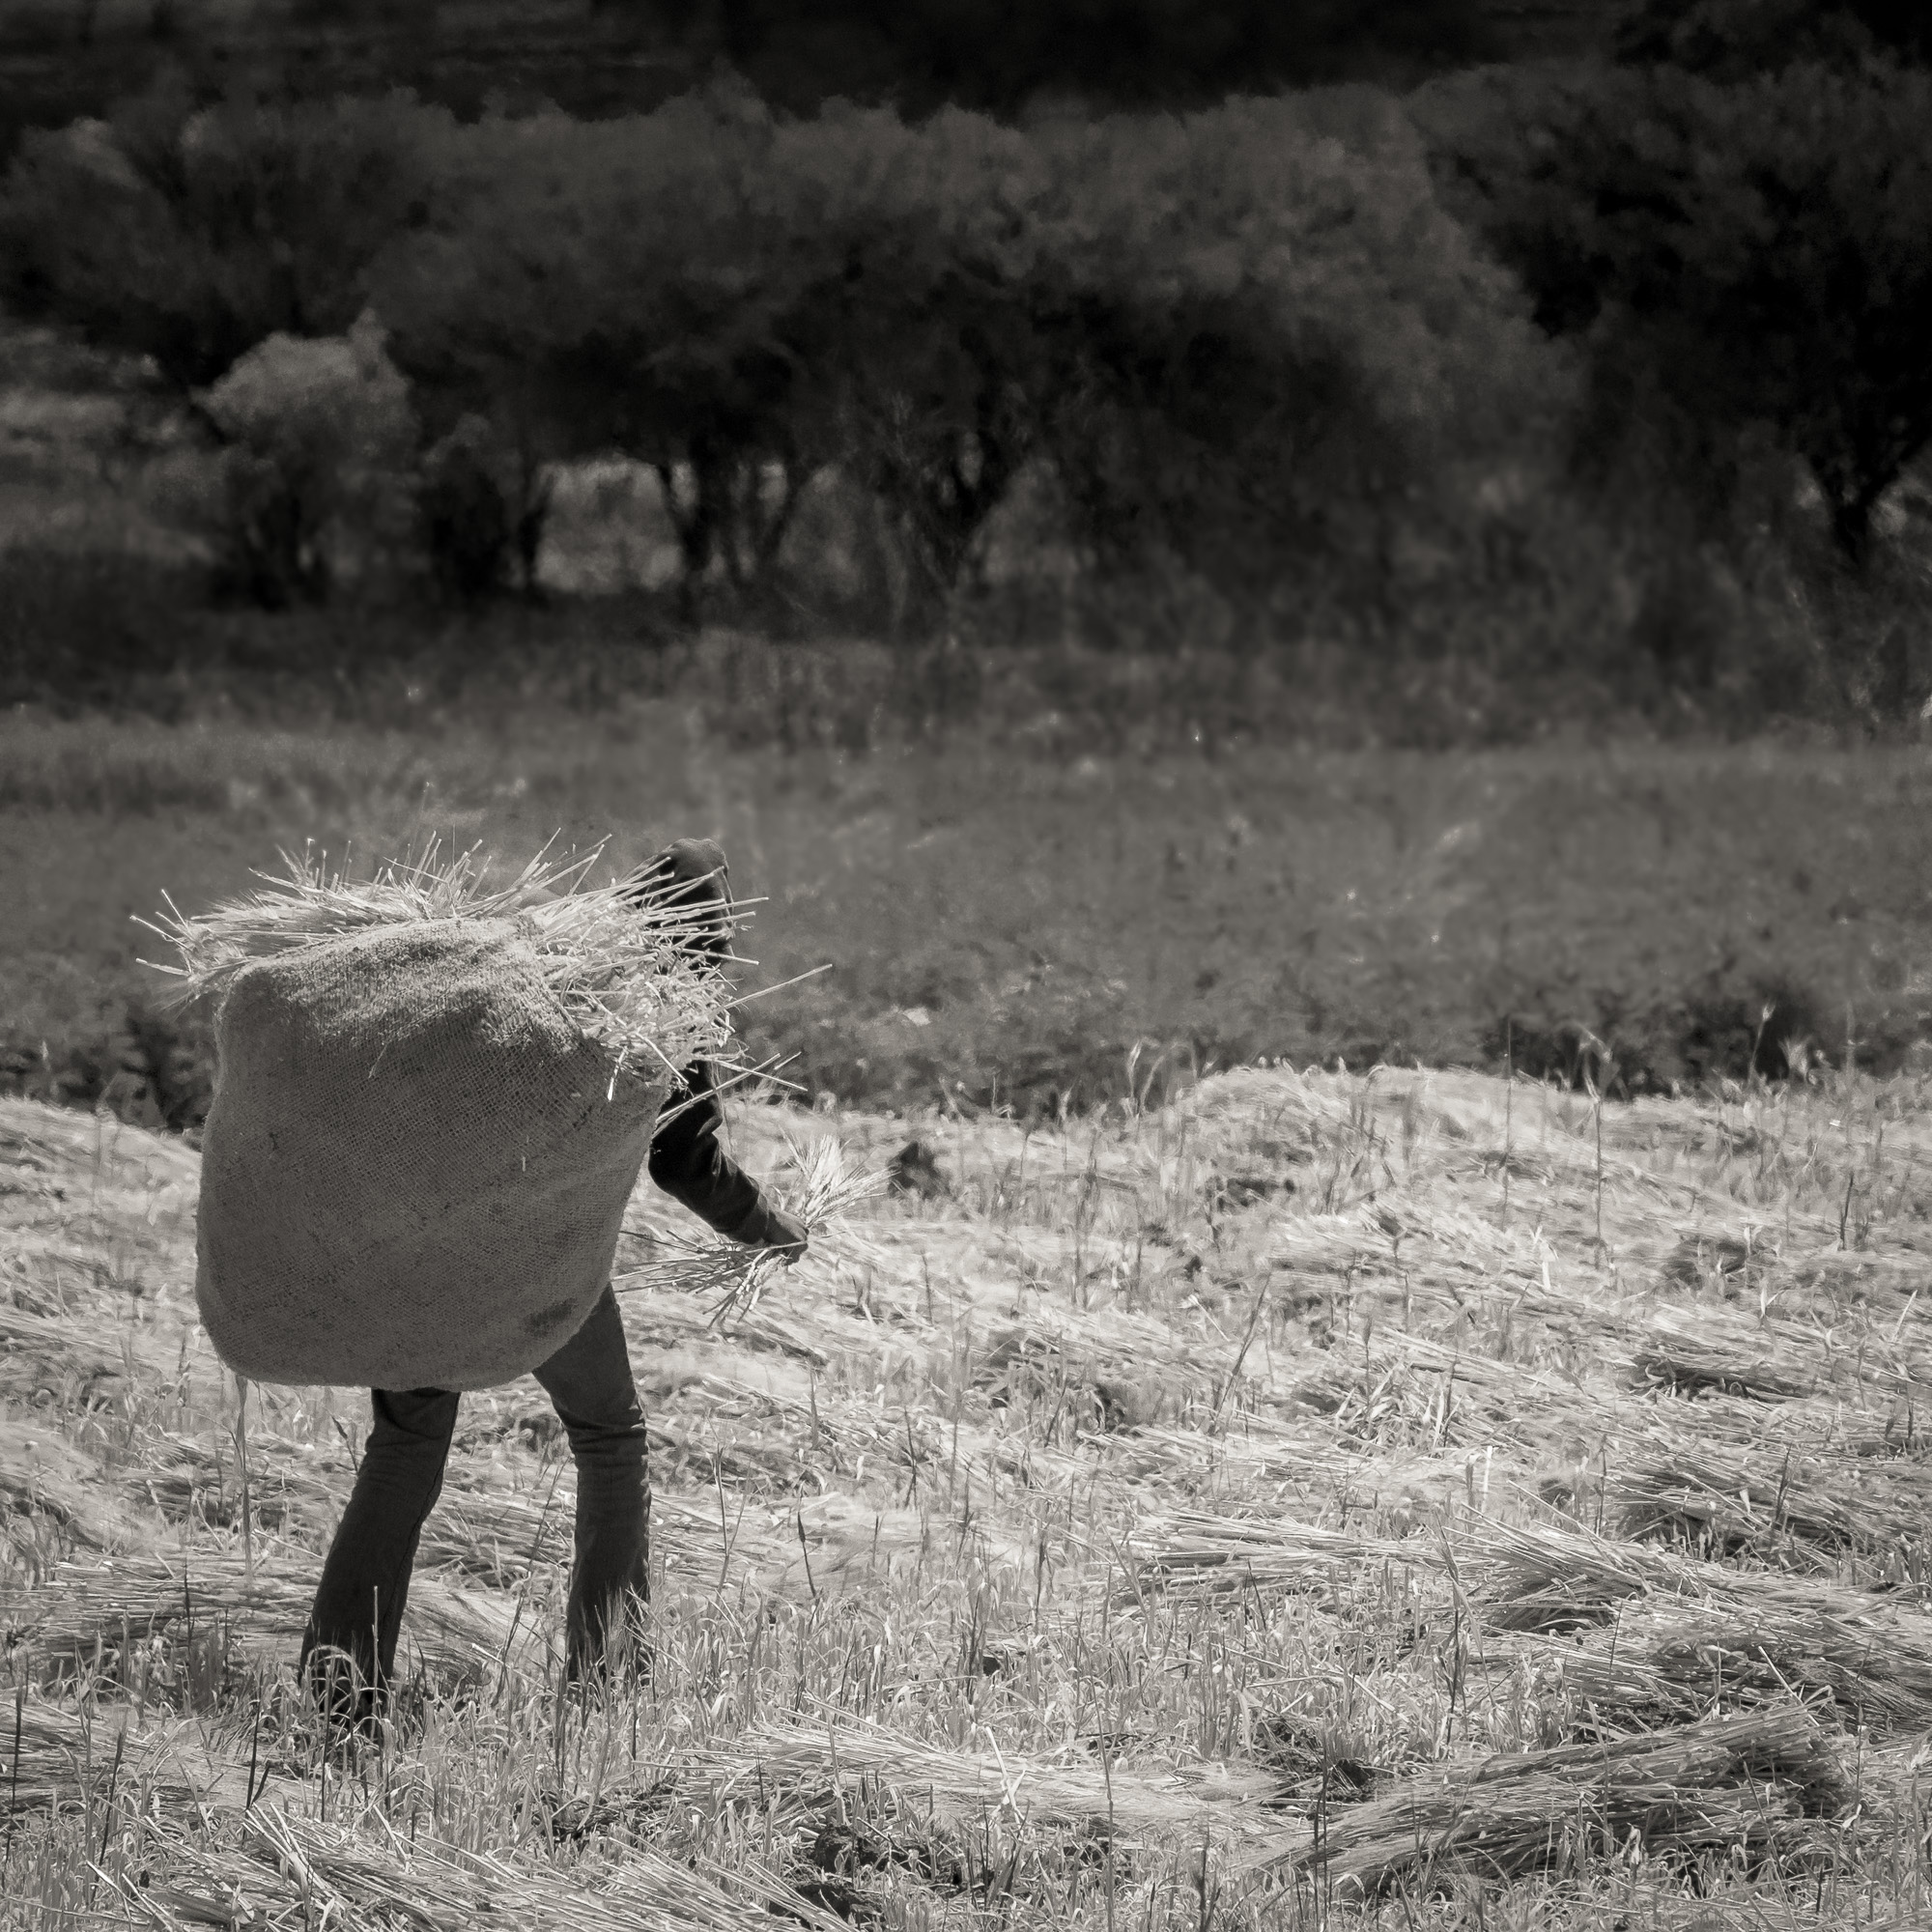

My first serious experience with photography was in the 70s shooting for newspapers, so everything was done in black-and-white. I also cut my photographic teeth on the work of Walker Evans, Imogene Cunningham, Diane Arbus, Cartier Bresson, and Edward Weston, all famous for their black and white images.
Today I enjoy the b&w work of contemporary photographers, Cole Thompson, Clyde Butcher, and Duane Michaels, and I’m always influenced by the work of my friends, Arthur Ransome, John Barclay, Tony Sweet, and Cuban Photographer, Ramsés Batista. I encourage you to look at their work.
Although I also enjoy Fuji mirrorless “big boy” cameras, the mobile phone and various apps, provide great tools for creating stunning b&w images.
Some of my favorite apps include:
- Dramatic Black and White (iPhone and Android)
- Noir (iPhone)
- Simply B&W (iPhone)
- Snapseed (iPhone and Android)
- Provoke (iPhone)
To me, the images that look best in B&W are those with strong graphic lines, and scenes that have nothing in them that betrays the time in history.
On a recent trip to Cuba, I found myself exploring scenes in black and white, partly because we were making portraits of men and women in their 80s and 90s and it seemed fitting. There’s also something fun about portraying scenes with old architecture and farms in B&W. It’s fun to let our imagination go, looking at a photo we know was made today, but allowing ourselves to believe that it was taken in another time. So much of what we see in Cuba does appear to be from another time, often making B&W a wonderful choice.
Most of the images below were photographed in color with the iPhone’s native app, and then converted to black and white with various apps. Sometimes, to see the scene in b&w as I’m composing the frame, I will change the settings on the iPhone’s native camera to b&w. This is just a way to show the image in b&w on the back of the phone’s screen when you compose the image. You can always change it back to color if you wish, just as you can shoot in color and change to B&W after the image is recorded.
To change the view to B&W when shooting with the native camera, tap the three overlapping circles in the upper right of the camera interface as shown in the image below.
A row of thumbnail filters appears across the bottom of the camera interface. The three thumbnails at the end of the row are the black and white types available to select – Silvertone, Mono, and Noir. Choose the thumbnail with the b&w you want to see while you’re making your photo. If you want a different tone, or even a color, later, you can change to any of the other colors in the list after you’ve made the image.


Here are a few favorite images, some of which I made on this last Cuba trip with my iPhone XS Max. I’ve indicated which apps I used. Maybe you’ll give them a try!
You might also enjoy my blog post from last year on the fun app, Provoke.


This image of a man making charcoal, with the smoke and textures, begged to be a b&w image! I recorded this with the iPhone XS Max native camera, then processed it in SnapSeed, using SnapSeed’s Black and White tool. SnapSeed’s B&W tool provides six pre-sets, a set of colored filters, and adjusters for brightness, contrast, and grain.


During a session with a model in a studio with studio lighting, I made this image in color with the iPhone XS Max and processed it initially in SnapSeed. I then opened it in Dramatic Black and White and used the app’s Spotlight feature to highlight the areas of the image to which I wanted to draw the viewer’s eye. I used the Spotlight feature to create an irregular vignette around the image.


This image was also made with the iPhone XS Max and the native camera. I processed it initially in color in SnapSeed and then took it into Dramatic Black and White. One of the sliders in this app allows you to adjust the B&W Strength. Moving this slider on a continuum from no color to full color will allow you to leave just the amount of color you want in the image. I also used the Spotlight tool in Dramatic Black and White to add multiple spotlights to create a patchwork of light on the scene. Each spotlight you add can be adjusted to increase its intensity, allowing for a lot of control in shaping the light in the image.


This image was also created in color with the iPhone XS Max and the Native camera. I ran it through my standard workflow in SnapSeed before taking it into Dramatic Black and White. After making the adjustments I liked in Dramatic Black and White, I opened it in the app, Formulas(*), and selected a filter with a border and a slight sepia tone. I finished it off with the app Enlight, where I added a 20% Glow found in the Painting collection in the Enlight app.
(*Formulas and the companion app, Stackables, sadly are no longer available or supported. If you have them, they continue to work, so enjoy them while they last.)


This image was made with the iPhone X while the subject was illuminated with a hand-held LED light source directed as fill for his face. The image displays a narrow depth of field created by the Portrait Feature of the iPhone X’s native camera. The image was converted to B&W using SnapSeed’s B&W tool, then processed with SnapsSeed’s Portrait tool which allows for face spotlighting, skin smoothing, and eye clarity. This image was recognized in the 2017 Mobile Photography Awards.


This image is a favorite taken in 2014 with what was probably an iPhone 5. I processed it with the app Simply B&W. Part of what I like about Simply B&W is that it is, well, simple! It has a variety of filters and allows for film type choices. This was made with the Tri-X film and a yellow filter. It was recognized in one of the early Mobile Photography Awards.


This image, another from a studio session, along with the two nudes below, were made with the iPhone XS Max and the native camera. I processed them in SnapSeed then took them into the app, Noir. This is a quirky little app with six presets to start from, and four color tones for mood, and three adjustment wheels for light and contrast. It’s about as simple as it gets, but that’s what I like about it. I like the variety of results that can be achieved with Noir.


Each of the three portraits below was processed in about the same way. They were all shot in color with the iPhone XS Max native camera. Only the third image was done with Portrait mode, as evidenced by the shallow depth of field in the image. I processed them all in SnapSeed then took them into Dramatic Black and White where I could soften the sharpness with the Soften/Sharpen slider there. After completing edits in Dramatic Black and White, I took each image back into SnapSeed to add a “frame” to make room for my signature. To create a frame, use the Expand tool in SnapSeed. Select the color extension you want (black or white) and then, use the two-finger spread gesture. As you move your two fingers, a frame or extension will appear and it will be the same size on all sides. Once you have the frame the size you like, take one finger and drag the bottom frame edge down to make it larger to allow for the signature.


The two images of the cars, below, were both created with the camera app, Provoke. Provoke creates b&w and color, but I prefer the black and white. It allows you to select from an array of film types. You can select a film type before you make the image, but you can always change it later. I like the high contrast the app produces for a unique look. (See my blog post, Featured iPhone App: Provoke for a more detailed look at this fun little app.)


This portrait of the old farmer is another great example of the results that can be achieved with the iPhone XS Max’s Portrait Mode in combination with SnapSeed’s Portrait editor.


This image was shot in color, then, I used the iPhone camera editor to set the depth of field to f/1.4 and selected the Studio Light option for good fill light on his face. Then, using SnapSeed’s Portrait tool, I slightly increased the light on the face, smoothed the skin a bit, and bumped up (just a little) the eye clarity to about 35. The eye clarity feature is tremendous for bringing out the highlights in the eyes, especially if you’ve managed to get some nice catch light to begin with, but you must be careful. It’s easy to overdo it in the eye clarity department. After making the adjustments to his face and eyes, I converted the image to b&w using SnapSeed’s b&w tool. Finally, I used SnapSeed’s Vignette tool to darken the somewhat bright background, drawing attention to the man’s face. The guy, by the way, is Modesto, and he’s 102 years old. We took him away from his work sorting a variety of beans to make his portrait.
This image of two Cuban girls in Vinales Valley was created with the Portrait Mode in the iPhone XS Max.


After recording the image, I used the edit tool in the camera roll to select the Stage Light Mono lighting option, which dropped the background out completely and turned the image to b&w. I then took it into SnapSeed where I used the Portrait tool to adjust the light on the girls’ faces, smooth skin slightly, and adjust the eye clarity to bring out the catch lights in the eyes. As a final touch, I added a white frame with SnapSeed’s Expand tool, as described earlier in this post. The Native Camera’s portrait mode along with SnapSeeds portrait editing tool, is a fantastic combination for processing portraits!
Questions or comments? Email me here!
Visit my website, www.RadDrewPhotography.com
Sign up for my monthly Newsletter for Photography News and Information.
Subscribe to my YouTube Channel for How I Did It!™ Video Tutorials
Rad Drew
May 2019
Read this story and all the best stories on The Luminous Landscape
The author has made this story available to Luminous Landscape members only. Upgrade to get instant access to this story and other benefits available only to members.
Why choose us?
Luminous-Landscape is a membership site. Our website contains over 5300 articles on almost every topic, camera, lens and printer you can imagine. Our membership model is simple, just $2 a month ($24.00 USD a year). This $24 gains you access to a wealth of information including all our past and future video tutorials on such topics as Lightroom, Capture One, Printing, file management and dozens of interviews and travel videos.
- New Articles every few days
- All original content found nowhere else on the web
- No Pop Up Google Sense ads – Our advertisers are photo related
- Download/stream video to any device
- NEW videos monthly
- Top well-known photographer contributors
- Posts from industry leaders
- Speciality Photography Workshops
- Mobile device scalable
- Exclusive video interviews
- Special vendor offers for members
- Hands On Product reviews
- FREE – User Forum. One of the most read user forums on the internet
- Access to our community Buy and Sell pages; for members only.


