


There is no shortage of tricks for food photography on the internet. You can watch someone screw a pizza to a cutting board or learn about unicorn cheese. But if you are looking for practical advice on how to improve the quality of your food photography, read these five tricks.
Use A Tripod
I have been a commercial photographer and a food photography professor for years. The best piece of advice that I can give any photographer, and especially food photographers, is to use a tripod.
The biggest benefit of using a quality tripod is camera stability that leads to sharper photos. Keeping the camera in one spot allows you to change the composition of your photo one piece at a time. This gives you more freedom since you don’t have to worry about changing your angle after you recompose the elements of your shot. Having a stable platform to shoot from also allows you to focus stack when you need extra depth of field. It allows you to composite, too, so if you need to add or remove elements, you are free to do so.
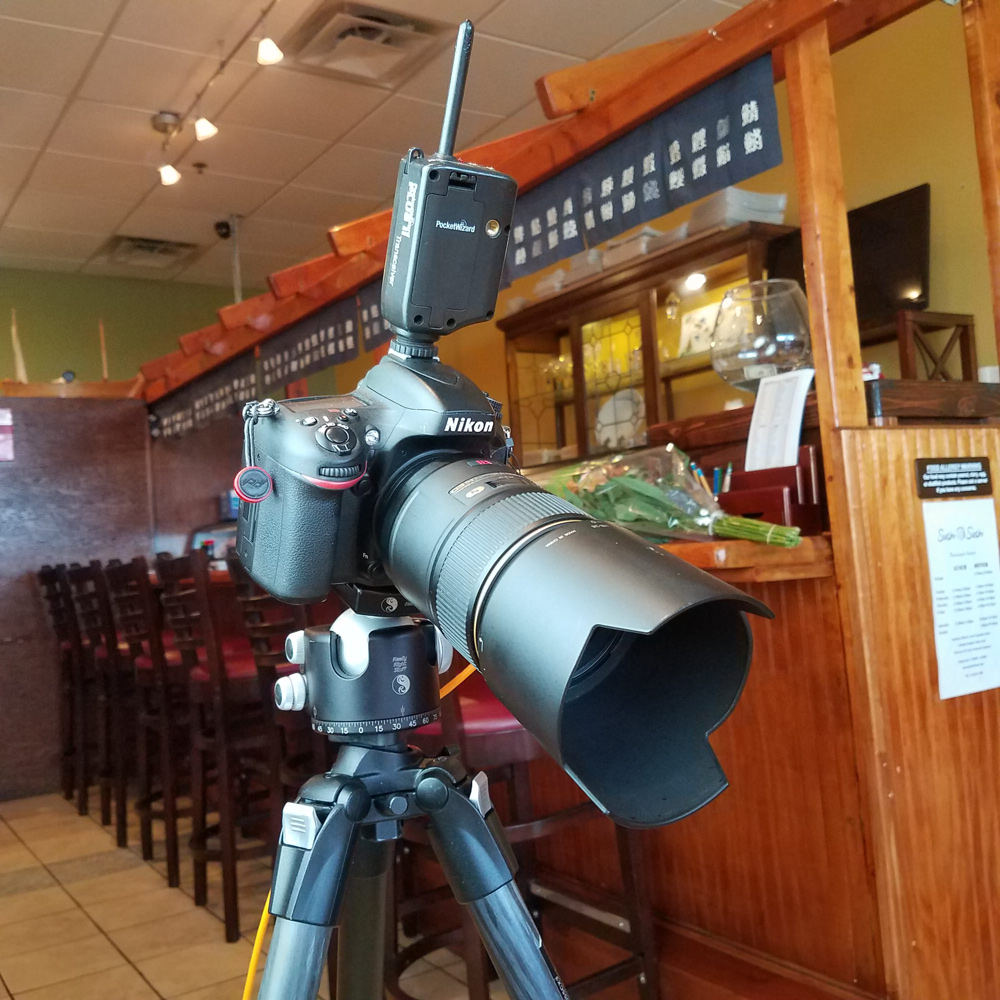
The key to using a tripod is finding one that you like to use. The biggest deterrent photographers face in using a tripod is difficulty adjusting the components. This can cause the head to droop which makes framing more difficult instead of easier. The solution is to spend a little more money on a tripod setup that is well built.
My tripod setup is the Manfrotto 055 CX Pro 3 and a Really Right Stuff BH55 ball head. This combination is enough to hold most camera setups stable. I have found that most quality tripods by Gitzo, Really Right Stuff, and Manfrotto should be more than capable for most photographers.
Use Natural Light
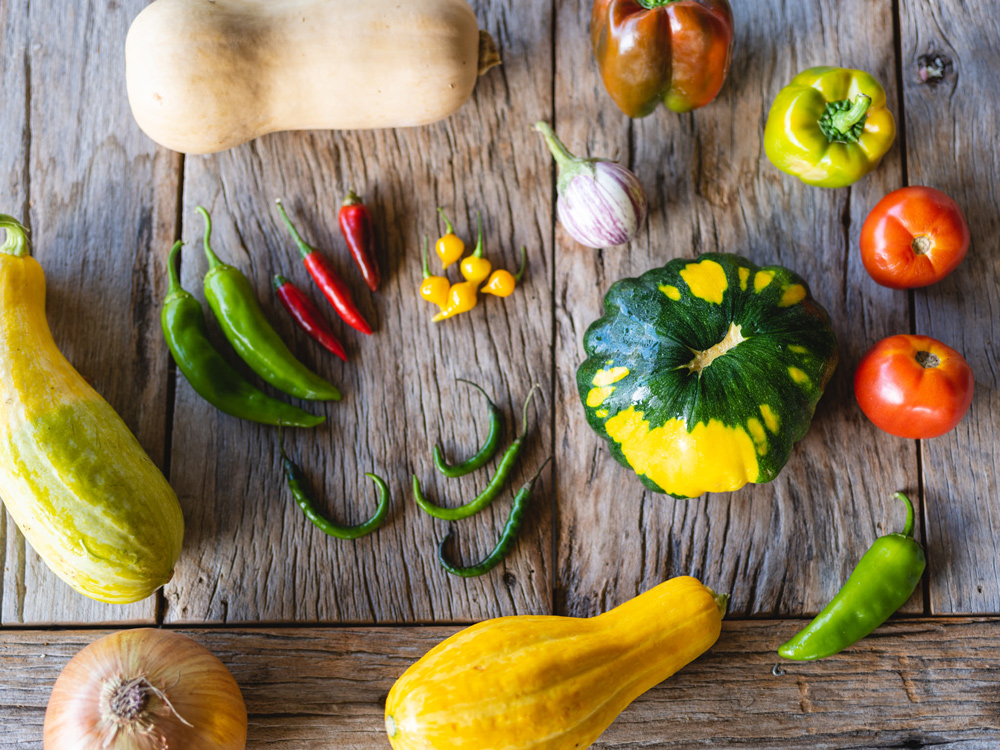
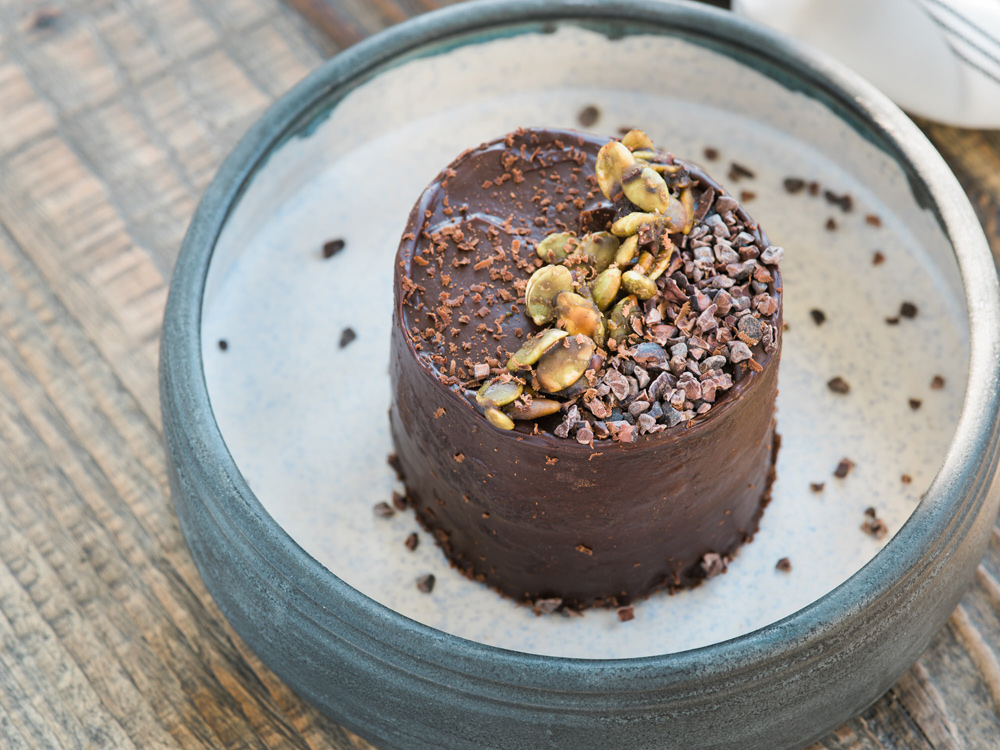
It does not get better than natural light. I have a studio that has natural light that floods the studio most of the day. Anytime that I have just a few food items to shoot, I go for natural light every time. With natural light, the light will always be full spectrum. I recommend natural light for everyone that is getting started with food photography. Sure, there are a ton of reasons to use artificial light for food photography, the biggest being consistency. But, if you are just getting started, or only have a few foods to photograph, natural light is best.
There are two types of natural light that we are looking for in food photography. The first is soft light. I like to use north light windows and shoot just outside of the direct light when I am using soft light. Soft light is perfect for most food photography. If you are trying to create the popular light and airy look, soft light is the way to go.
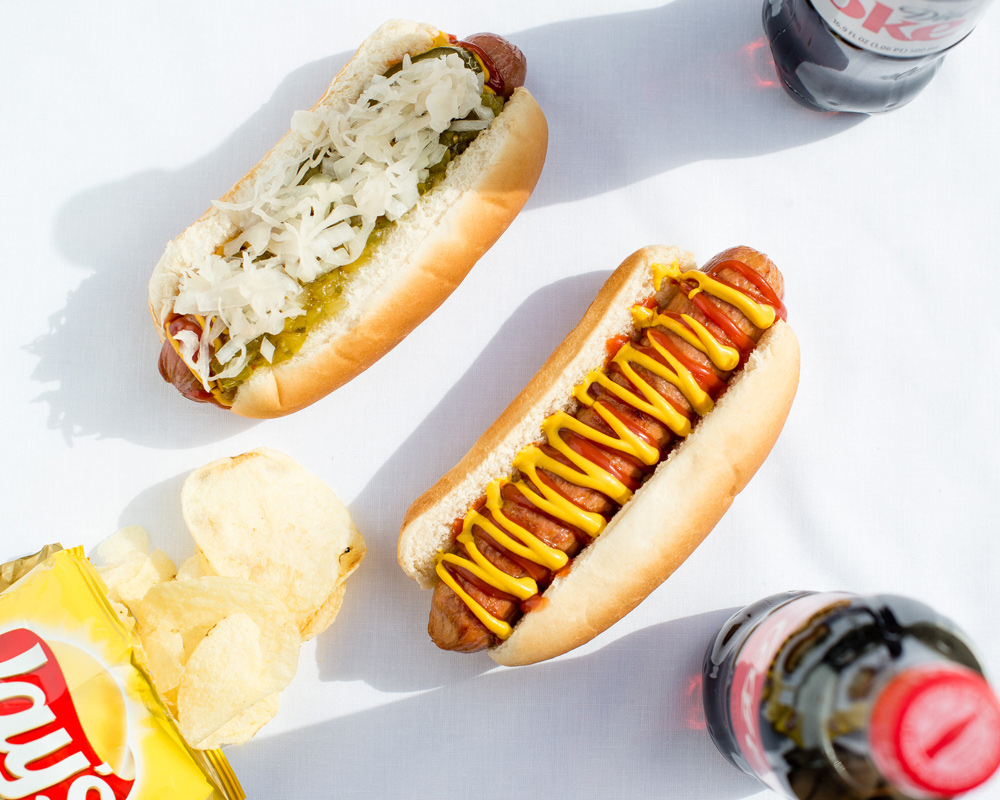
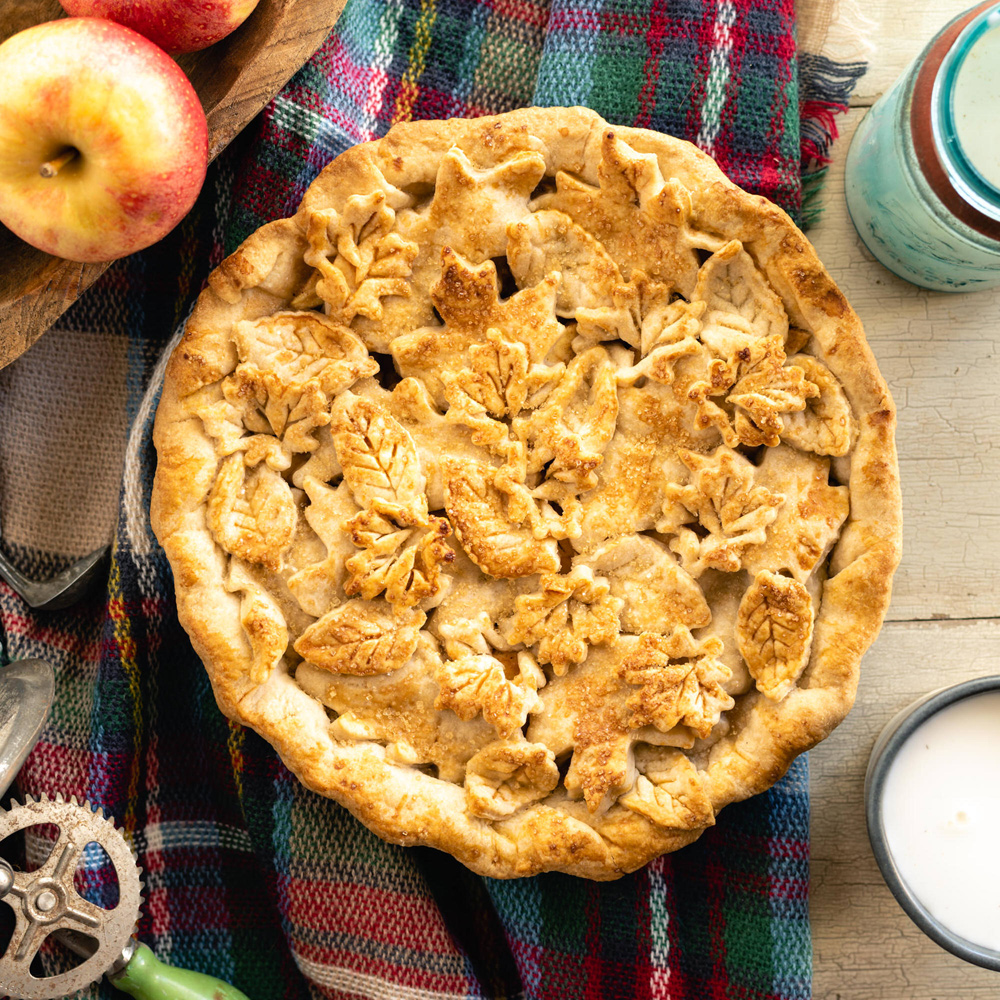
The second type of natural light that I like to use for food photography is hard light. For hard light, I am generally looking for east or west-facing windows without overhangs close to sunset or sunrise. I like to shoot directly in the light to give my subject hard fall-off shadows. I like my light to come in from the right side of the frame. I typically will place my subject so that the light will rake across the food from the back right and leave a shadow in the front left of the photo.
Soften The Natural Light
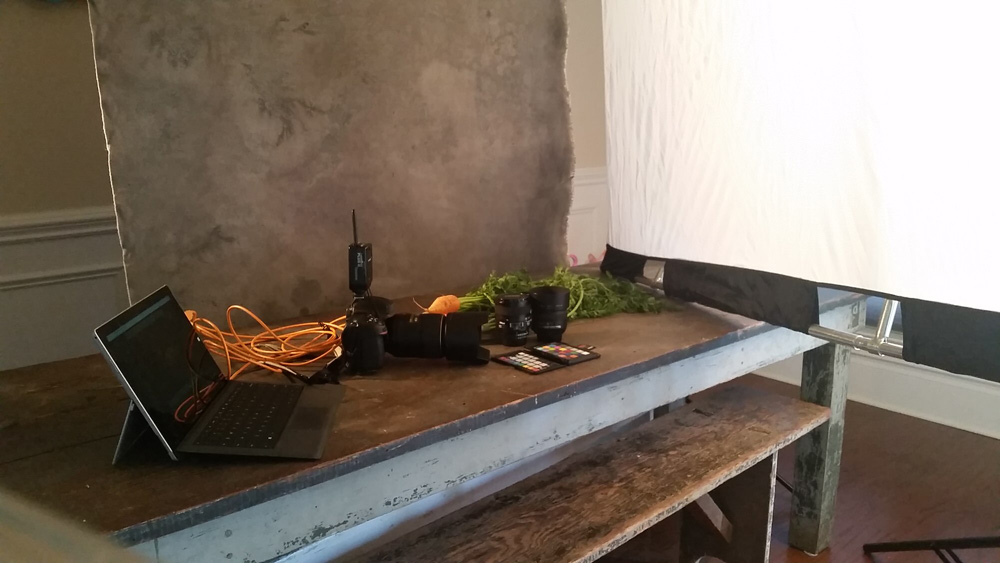
Sometimes you must soften your light. The easiest way to do this is with a simple 5 in 1 reflector with the diffusion. Sometimes, even the soft light coming through a window is not soft enough and you need a bigger light source. To fix this problem, you can put some diffusion between the window and your subject. You can use tracing paper, white bedsheets, or actual diffusion material like Savage Translum.
Bounce The Natural Light
Many times, a single light source without some bounce reflection will give you too much contrast. Without adding a bounce card, one side of your image will be in darkness. To correct that, you can use a simple white piece of poster board. In a pinch, I will stand the poster board up with an a-clamp. If I have more time and a bigger set, I will attach the poster board to a c-stand with a wall plate.
Keep It Real
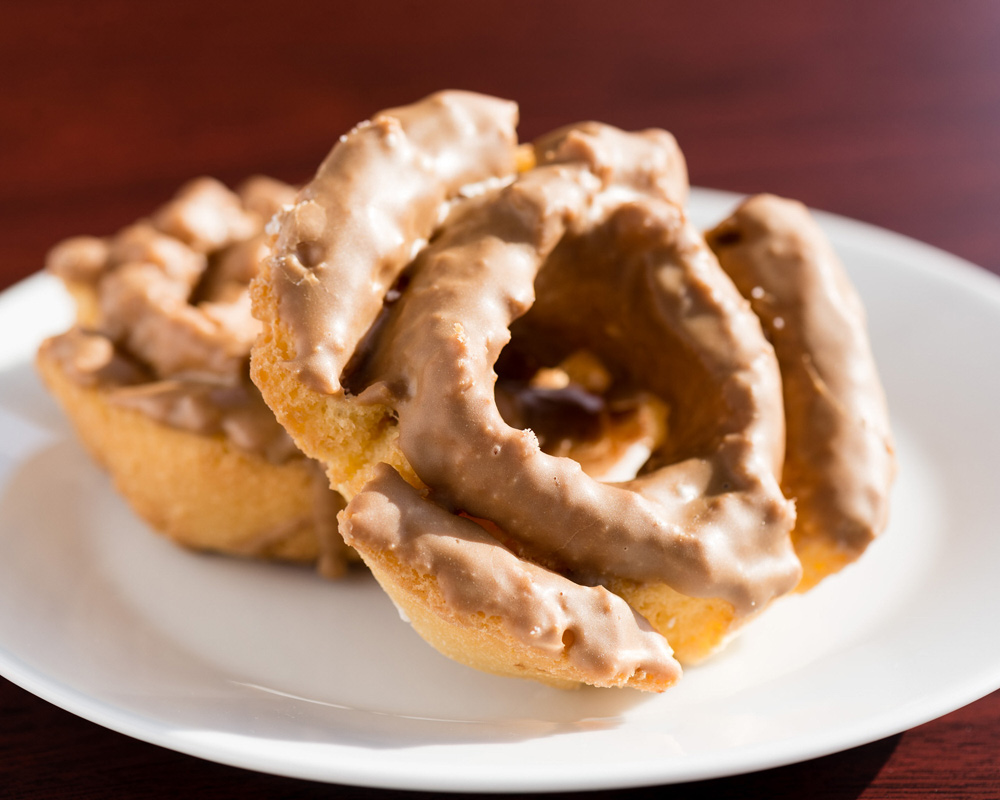
This is the hardest part. These days, when everyone is spilling their tricks for food photography, it is hard to “keep it real.” Many photographers out there are faking it. The key to success in this industry is using real products and making them look their best without faking it. This means that we will often cook 5 burgers instead of just the hero burger. It means that we will quickly replace ice cream as it melts instead of using powdered sugar and icing. I will go to the greatest lengths possible to use real food. Being authentic is key.
These are the most important things you can do to make your food photography authentic and beautiful. If you want to take your food photography to the next level, use a tripod, try natural light, diffuse the light, add some bounce and keep it real.
Nick Bumgardner is a food, beverage and product photographer based out of Nashville, TN. Nick also works as a food photography and Lightroom instructor at Nossi College of Art.
Visit Nick’s Website
Find Nick on Instagram
Find Nick on Facebook
Find Nick on Twitter
Nick Bumgardner
October 2019


Elevate Your Vision


Read this story and all the best stories on The Luminous Landscape
The author has made this story available to Luminous Landscape members only. Upgrade to get instant access to this story and other benefits available only to members.
Why choose us?
Luminous-Landscape is a membership site. Our website contains over 5300 articles on almost every topic, camera, lens and printer you can imagine. Our membership model is simple, just $2 a month ($24.00 USD a year). This $24 gains you access to a wealth of information including all our past and future video tutorials on such topics as Lightroom, Capture One, Printing, file management and dozens of interviews and travel videos.
- New Articles every few days
- All original content found nowhere else on the web
- No Pop Up Google Sense ads – Our advertisers are photo related
- Download/stream video to any device
- NEW videos monthly
- Top well-known photographer contributors
- Posts from industry leaders
- Speciality Photography Workshops
- Mobile device scalable
- Exclusive video interviews
- Special vendor offers for members
- Hands On Product reviews
- FREE – User Forum. One of the most read user forums on the internet
- Access to our community Buy and Sell pages; for members only.
You may also like