Digital image processing is still new enough for most people that no matter how much we read, experiment and work at it, there seems to be an endless amount to learn. This is particularly true as regards Photoshop, that invaluable tool yet also bottomless pit of a time sink. But every now and then a little tidbit comes along that makes ones work either easier or better, and this one, which I callLocal Contrast Enhancement— is one of the best that I’ve seen in a while.
I learned of it fromThomas Knoll, a member of a couple of my workshops during 2003, and not-incidently, the original author ofAdobe PhotoshopandCamera RAW. Thomas says that he certainly didn’t develop the technique, but I haven’t yet seen or read about it anywhere else, though it appears to have been around for a while. (Below are links to sites contain this and similar techniques that have been brought to my attention since first publication).
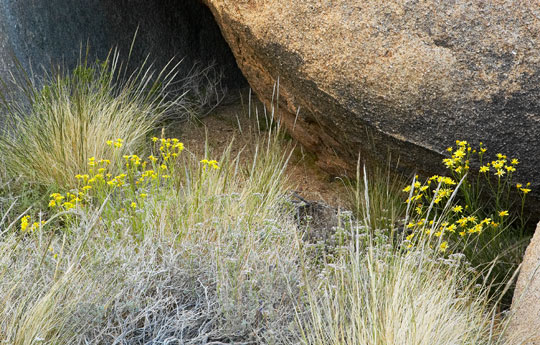
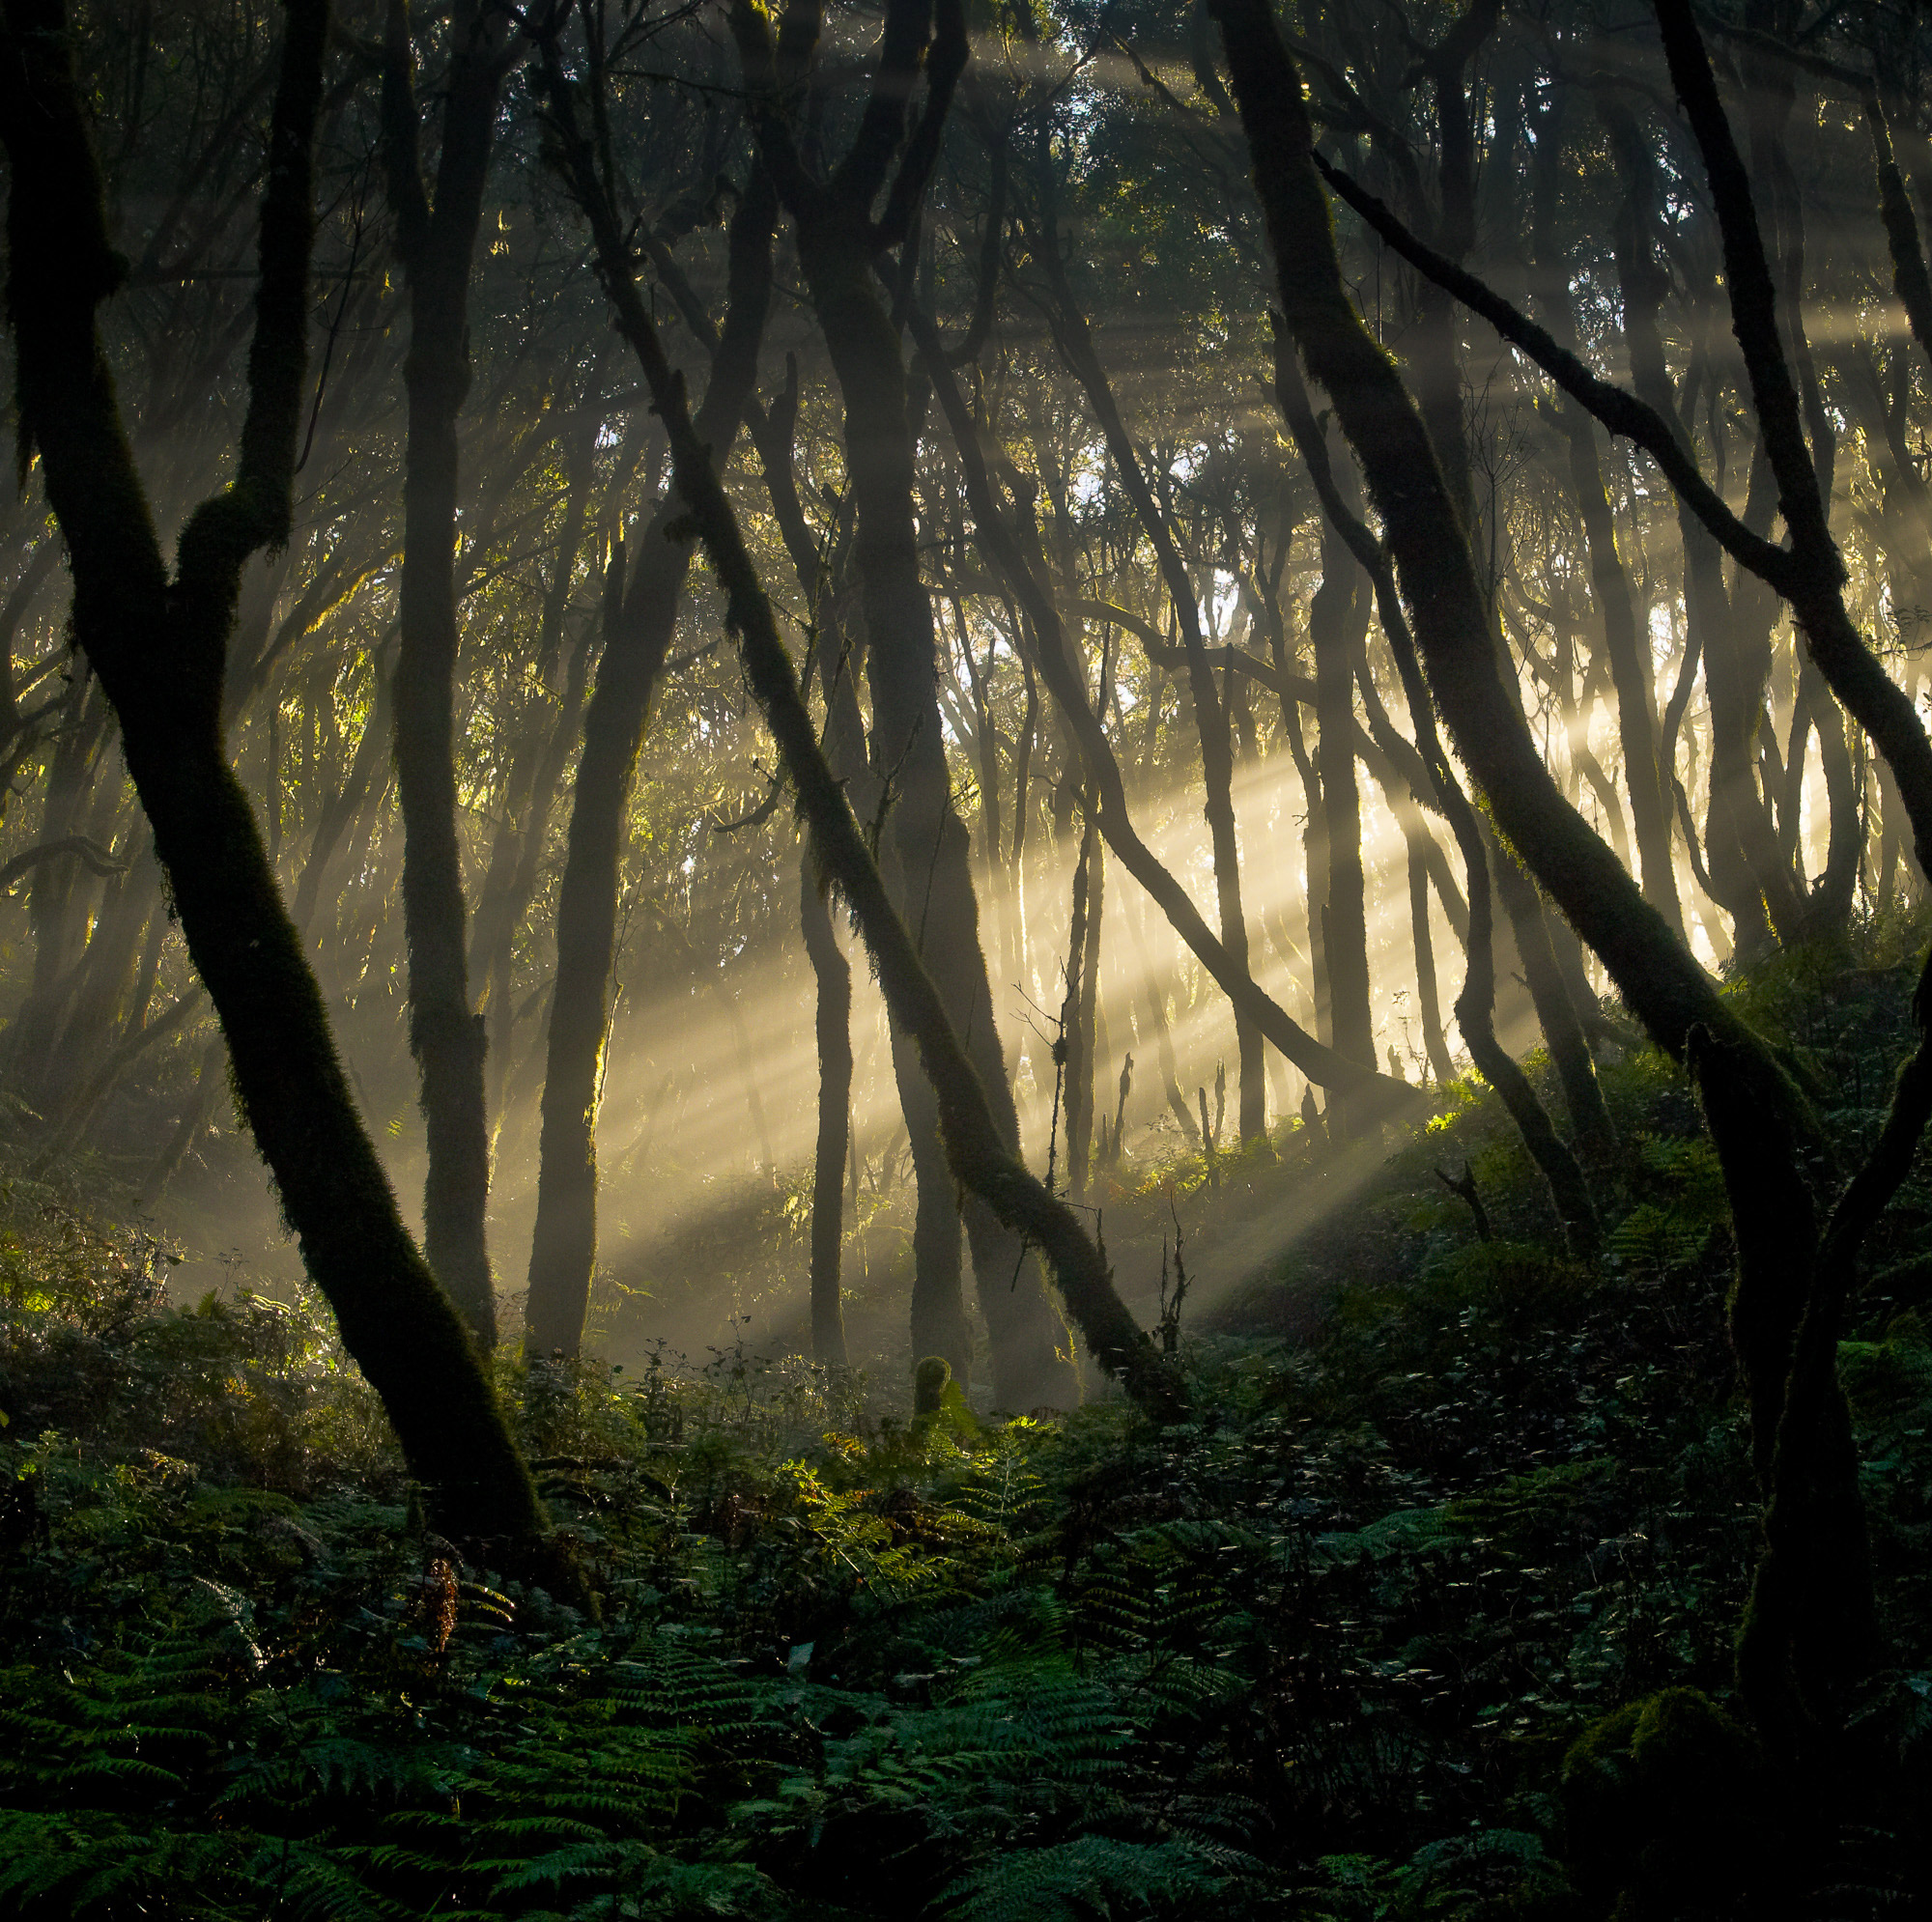
Grasses. Mt. Whitney — May, 2003
Canon 1Ds with 28-70mm f/2.8L @ ISO 400
The Problem
The real world has a much greater dynamic range than does a photographic print. By this I’m referring to the range of brightness encountered — from the brightest non-specular highlights in a scene to the deepest shadows. This can be as much as 8 stops, while a typical print on, say, matte paper may only be able to display a 5.5 stops range.
Trying to stuff 8 stops into 5.5 stops means that something has to give, and invariably it’s the shadow areas. They’ll likely be completely lost in a sea of black. But if you try and match the scene’s black level to that of the print you’ll end up reducing the contrast of the image across the entire dynamic range.
One solution is to apply an S-Curve to the image, where you compress the dynamic range both in the highlights and in the shadows so as to provide a greater percentage of the available dynamic range to the mid-tones to which the human eye is more sensitive. But if you do this, while you end up with images containing enough mid-tone contrast, they may lack tonal detail in the shadows and highlights.
The Solution — Yes, sometimes there is a free lunch.
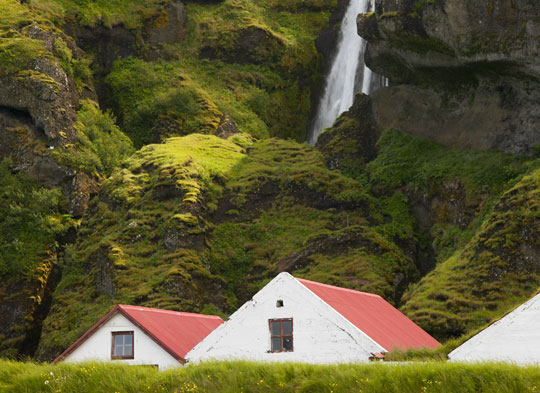
Crofts and Waterfall. Iceland — July, 2003
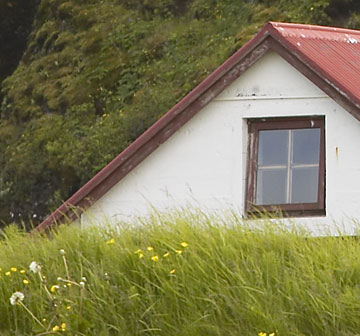
Canon 1Ds with 70-200mm f/2.8L IS lens @ ISO 200
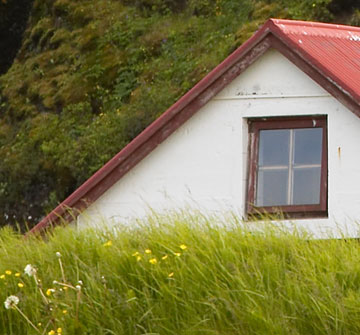
Detail — prior to Local Contrast EnhancementDetail — after Local Contrast Enhancement
There is a simple yet elegant fix for this, and surprisingly it is done by using theUnsharp Maskfilter. Here’s how to do it, and why it works…
Think about the way that the eye takes in a wide dynamic range scene. As we look at it we are constantly jumping from area to area, and as we do so our eyes are adapting to the brightness requirements of the subject. Without going into the physiology of it, this is indeed happening at a more fundamental level than simply the eye’s iris opening and closing.
It turns out though that the eye and brain care more about small scale contrast than large scale contrast. Large scale contrast is that between significant light and dark areas in the image. Small scale or “local contrast” is that between much smaller adjacent areas in the image. Improve this and you’ve made the shadow and highlight areas (where contrast is most compressed) appear broader.
Try the following setting using theUnsharp Maskfilter in Photoshop:
Amount — 20%
Radius — 50
Threshold — 0
TheRadiussetting is the dividing line between the small scale and large scale contrast differences.Amountis the amount by which you are increasing the small scale differences, and theThresholdis set at zero to minimize artifacts. (This is done as a seperate step from whetever settings you may use within Unsharp Mask for your normal image sharpening).
That’s it. Try it. Try changingRadiusandAmountto see what differences this makes. UseUndoor theHistory Paletteto jump backwards and forwards to see what the effect does. Look at images on-screen at 100% as well as filling the screen. Make prints with and without.
Note that this is a subtle effect. Don’t expect it jump out and bite you. You wouldn’t want this in any event. But when you look at prints side by side, with and without, I think you’ll be amazed as well as pleased with the results.
Thanks Thomas!
Similar Approaches
Here’sa linkfeaturing the same concept.
Andanother(see the bottom of the page).


Elevate Your Vision


Read this story and all the best stories on The Luminous Landscape
The author has made this story available to Luminous Landscape members only. Upgrade to get instant access to this story and other benefits available only to members.
Why choose us?
Luminous-Landscape is a membership site. Our website contains over 5300 articles on almost every topic, camera, lens and printer you can imagine. Our membership model is simple, just $2 a month ($24.00 USD a year). This $24 gains you access to a wealth of information including all our past and future video tutorials on such topics as Lightroom, Capture One, Printing, file management and dozens of interviews and travel videos.
- New Articles every few days
- All original content found nowhere else on the web
- No Pop Up Google Sense ads – Our advertisers are photo related
- Download/stream video to any device
- NEW videos monthly
- Top well-known photographer contributors
- Posts from industry leaders
- Speciality Photography Workshops
- Mobile device scalable
- Exclusive video interviews
- Special vendor offers for members
- Hands On Product reviews
- FREE – User Forum. One of the most read user forums on the internet
- Access to our community Buy and Sell pages; for members only.
You may also like