Glacier NP was my last opportunity during this leg of our trip to find and photograph wildlife, though by then I had few illusions about the prospects. The main reason was that we were staying in nearby Whitefish, MT rather than in the park, as a grandson and his wife recently moved there. Though not far from the West Glacier entrance, navigating through the park relied heavily on Going to the Sun Road, which is narrow and winding with steep drop-offs. Under normal conditions, it is slow-going. This time the huge crowds made this drive painfully long: so much so that I preferred to exit the Park at Saint Mary Lake to the east, even though it added over 150 miles and three hours to the trip. The all-day driving experience on these roads was okay for one day, not for two or three.
Limiting our time in the park to one day instead of three or four was not our original plan. But, as stated in Part I, even the best plans must change as conditions on the ground dictate. We made it a point to stop at Logan Pass at the top of Going to the Sun Road to take one of the most beautiful hikes in America: from the Visitor Center to the Hidden Lake Overlook.
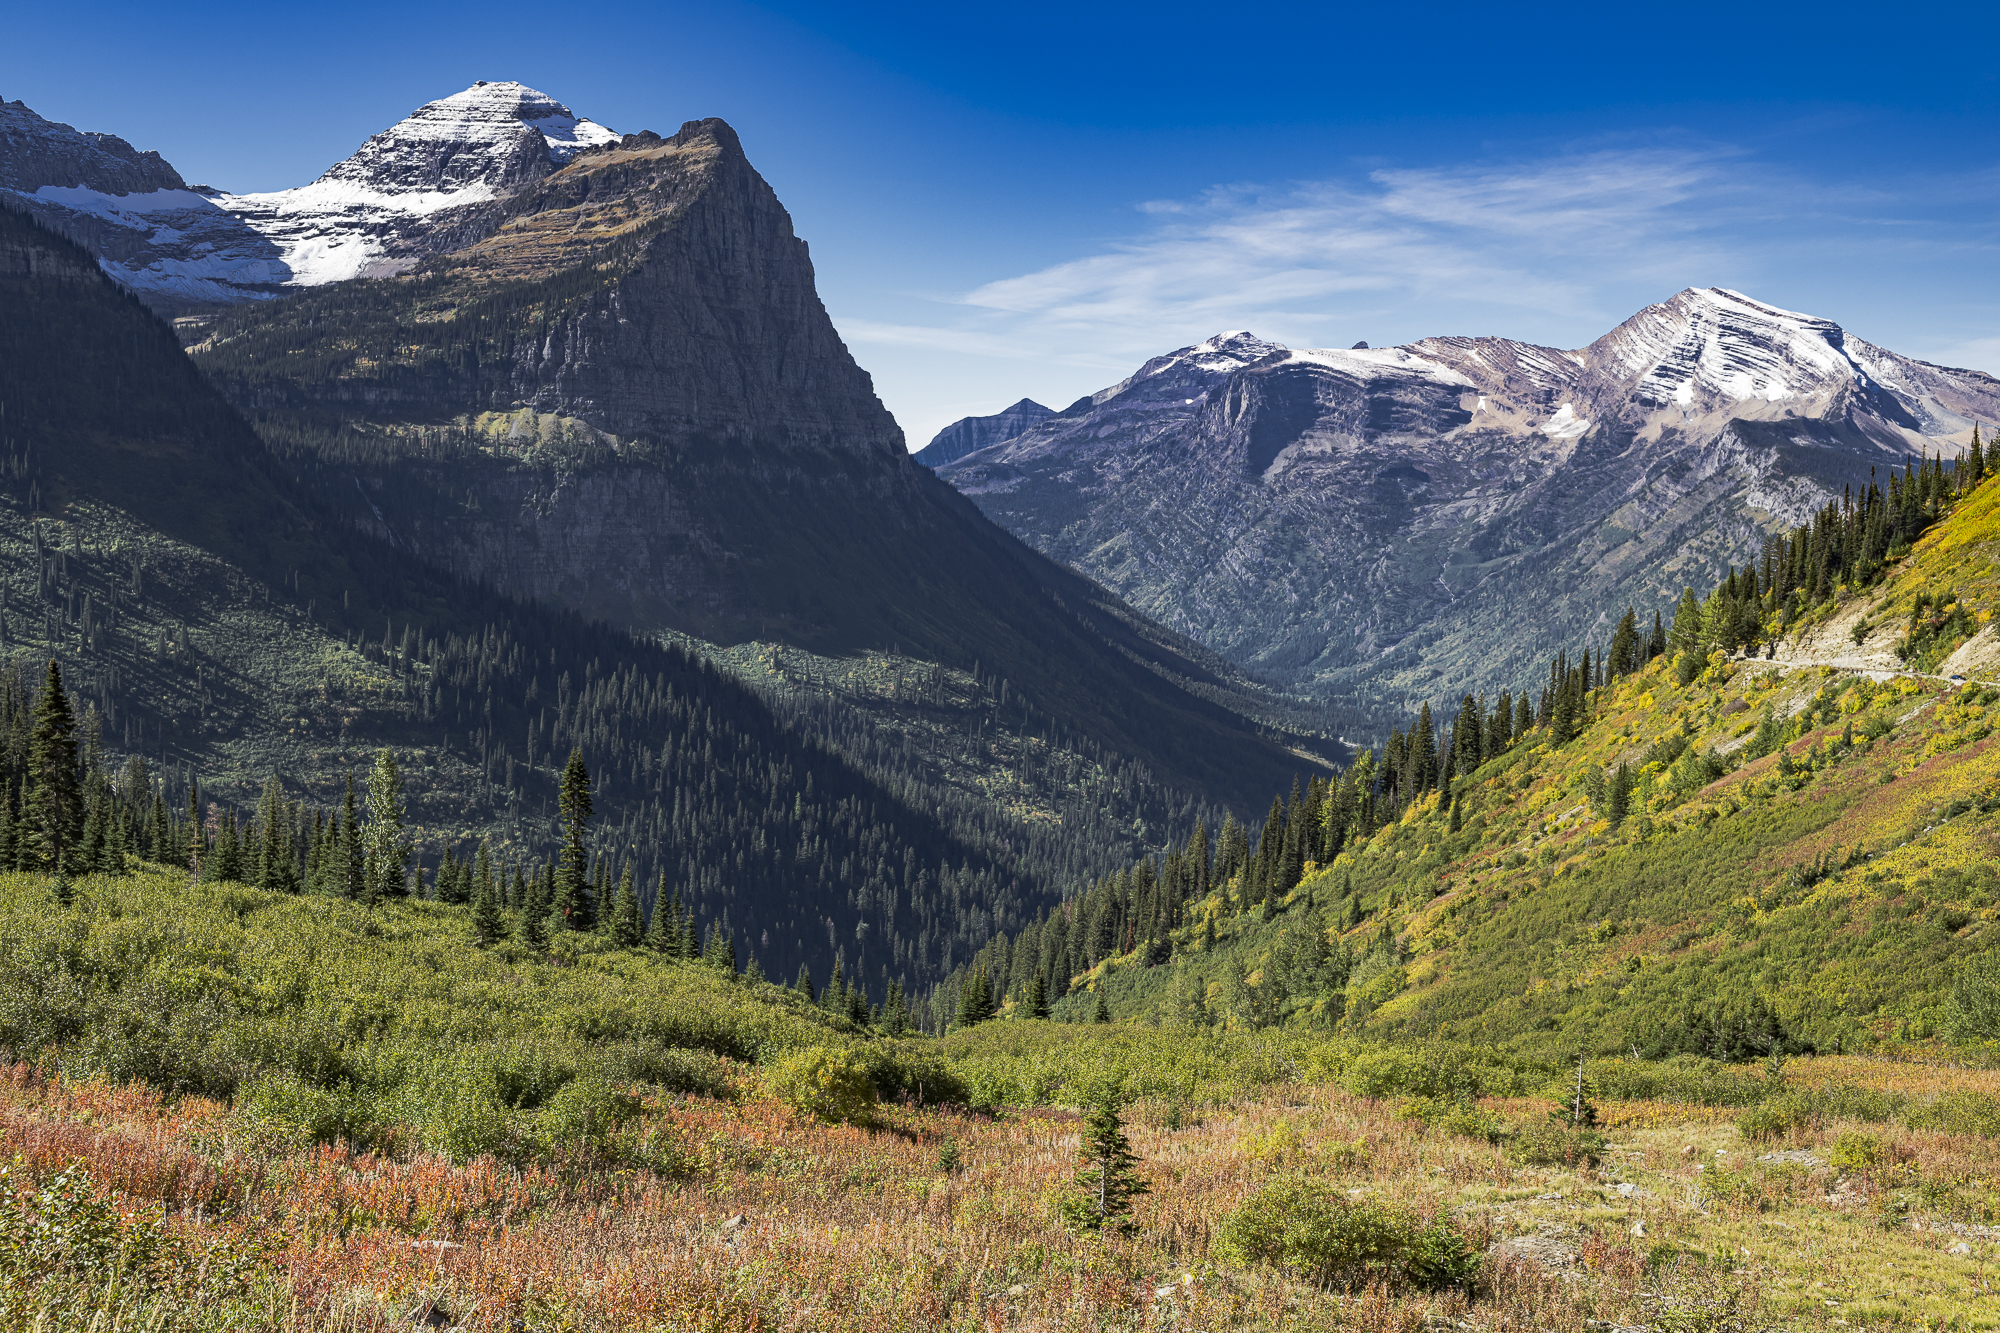
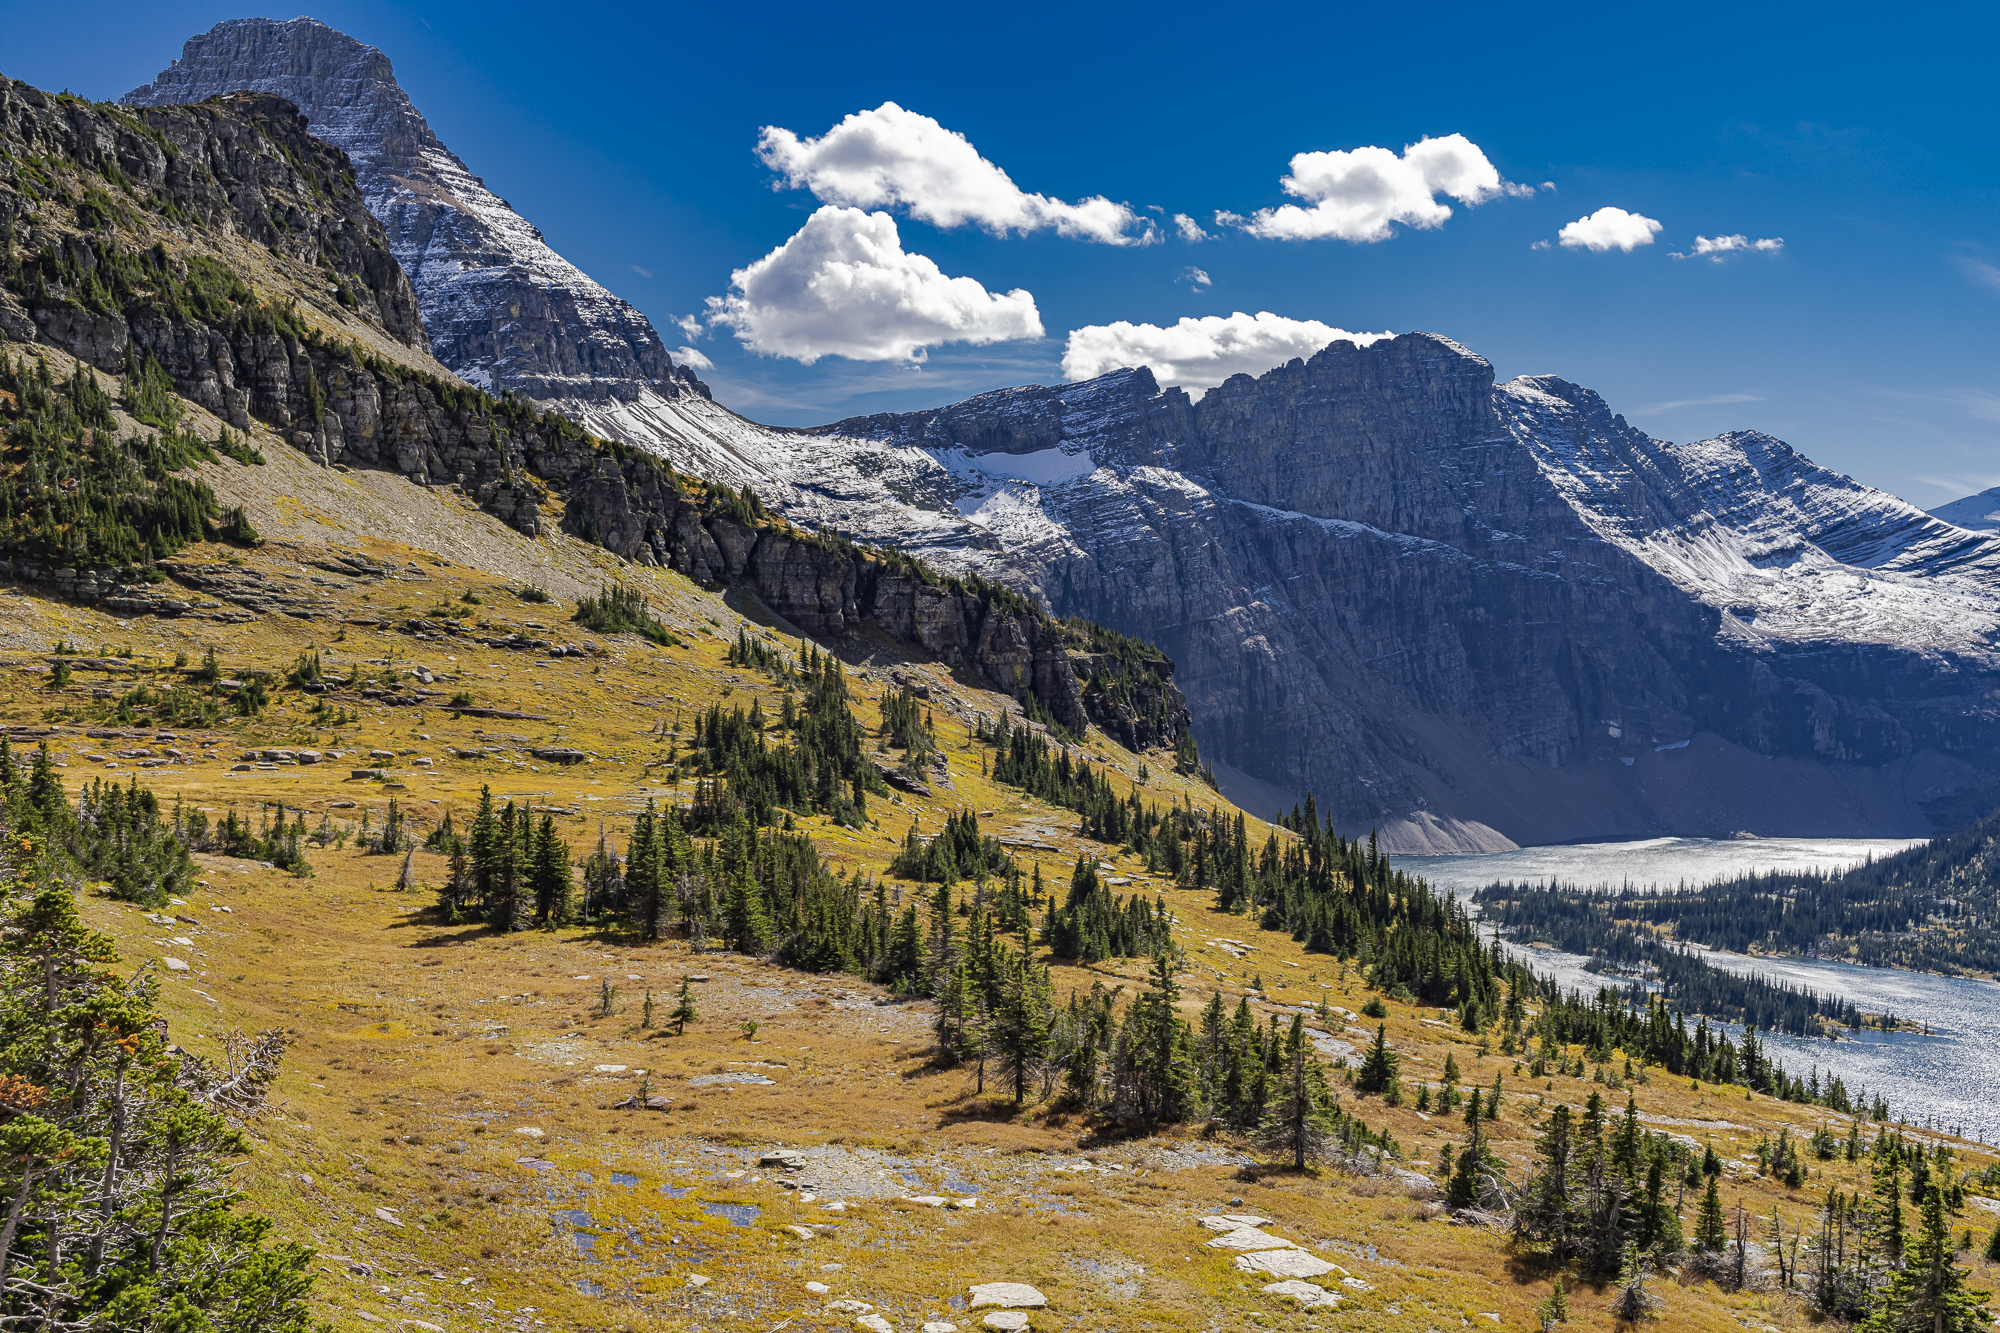
During past visits, we had always seen Bighorn Sheep and a few Mountain Goats close-up at this location. They never seemed to mind a few people here and there. But, as in the other parks, this time was different. We saw hundreds of people and cars waiting half-an-hour for a parking space in a sizeable lot. We didn’t see a single animal except for pet dogs. Fortunately, the hike was just as scenic as ever. Starting with the opening image above, taken from a turnout a mile from the Visitor Center entrance, the views were uniformly spectacular.
The mountains of Glacier NP and neighboring Waterton Park in Canada represent 1.6 billion years of geological transition. Formed from many sedimentary layers in a vast inland sea, the sediments slowly fused into layered stone. More than a billion years later, these layers were forced upward by huge tectonic forces that formed the entire Rocky Mountain chain. Because the northern part of this chain had been thickly layered sea floor, the mountains of Waterton-Glacier that we see today are distinctly layered in contrast with more uniform granitic rock visible in most of the lower Rockies. Over more millions of years, many of the major peaks of Glacier NP have steadily eroded, and more recently been carved by glaciers, to become classic pyramidal forms with triangular sides.
I photographed a number of these mountains and enjoyed discovering their names and elevations with the help of detailed maps. The opening image of this Part III shows Mt. Oberlin, which still retains a sizable glacier. The glaciers in Glacier NP are holdovers from previous Ice Ages within the last 20,000 years when these mountains were almost entirely covered with snow and ice. Now, in the last stages of retreat from the last Ice Age, there is very little glacier left except in the deepest pockets of these peaks, including the one in the above image. The snow on the peak itself is from a snowfall a day or two earlier. Mount Oberlin has a peak elevation of 8179 feet.
Most of the mountains in Glacier NP have elevations from 8600 to 9600 feet, while at least four peaks within the park have elevations of 10,000 to 10,466 feet (Mounts Siyeh, Jackson, Stimson and Cleveland). This sounds small compared with the Colorado “fourteeners”. However, they still tower over nearby towns which stand 3,000 to 3,100 feet above sea level.
The following image was also taken from Going to the Sun Road and shows Mount Gould in the background. This mountain is well known for its regular pyramidal shape visible from other vantage points.
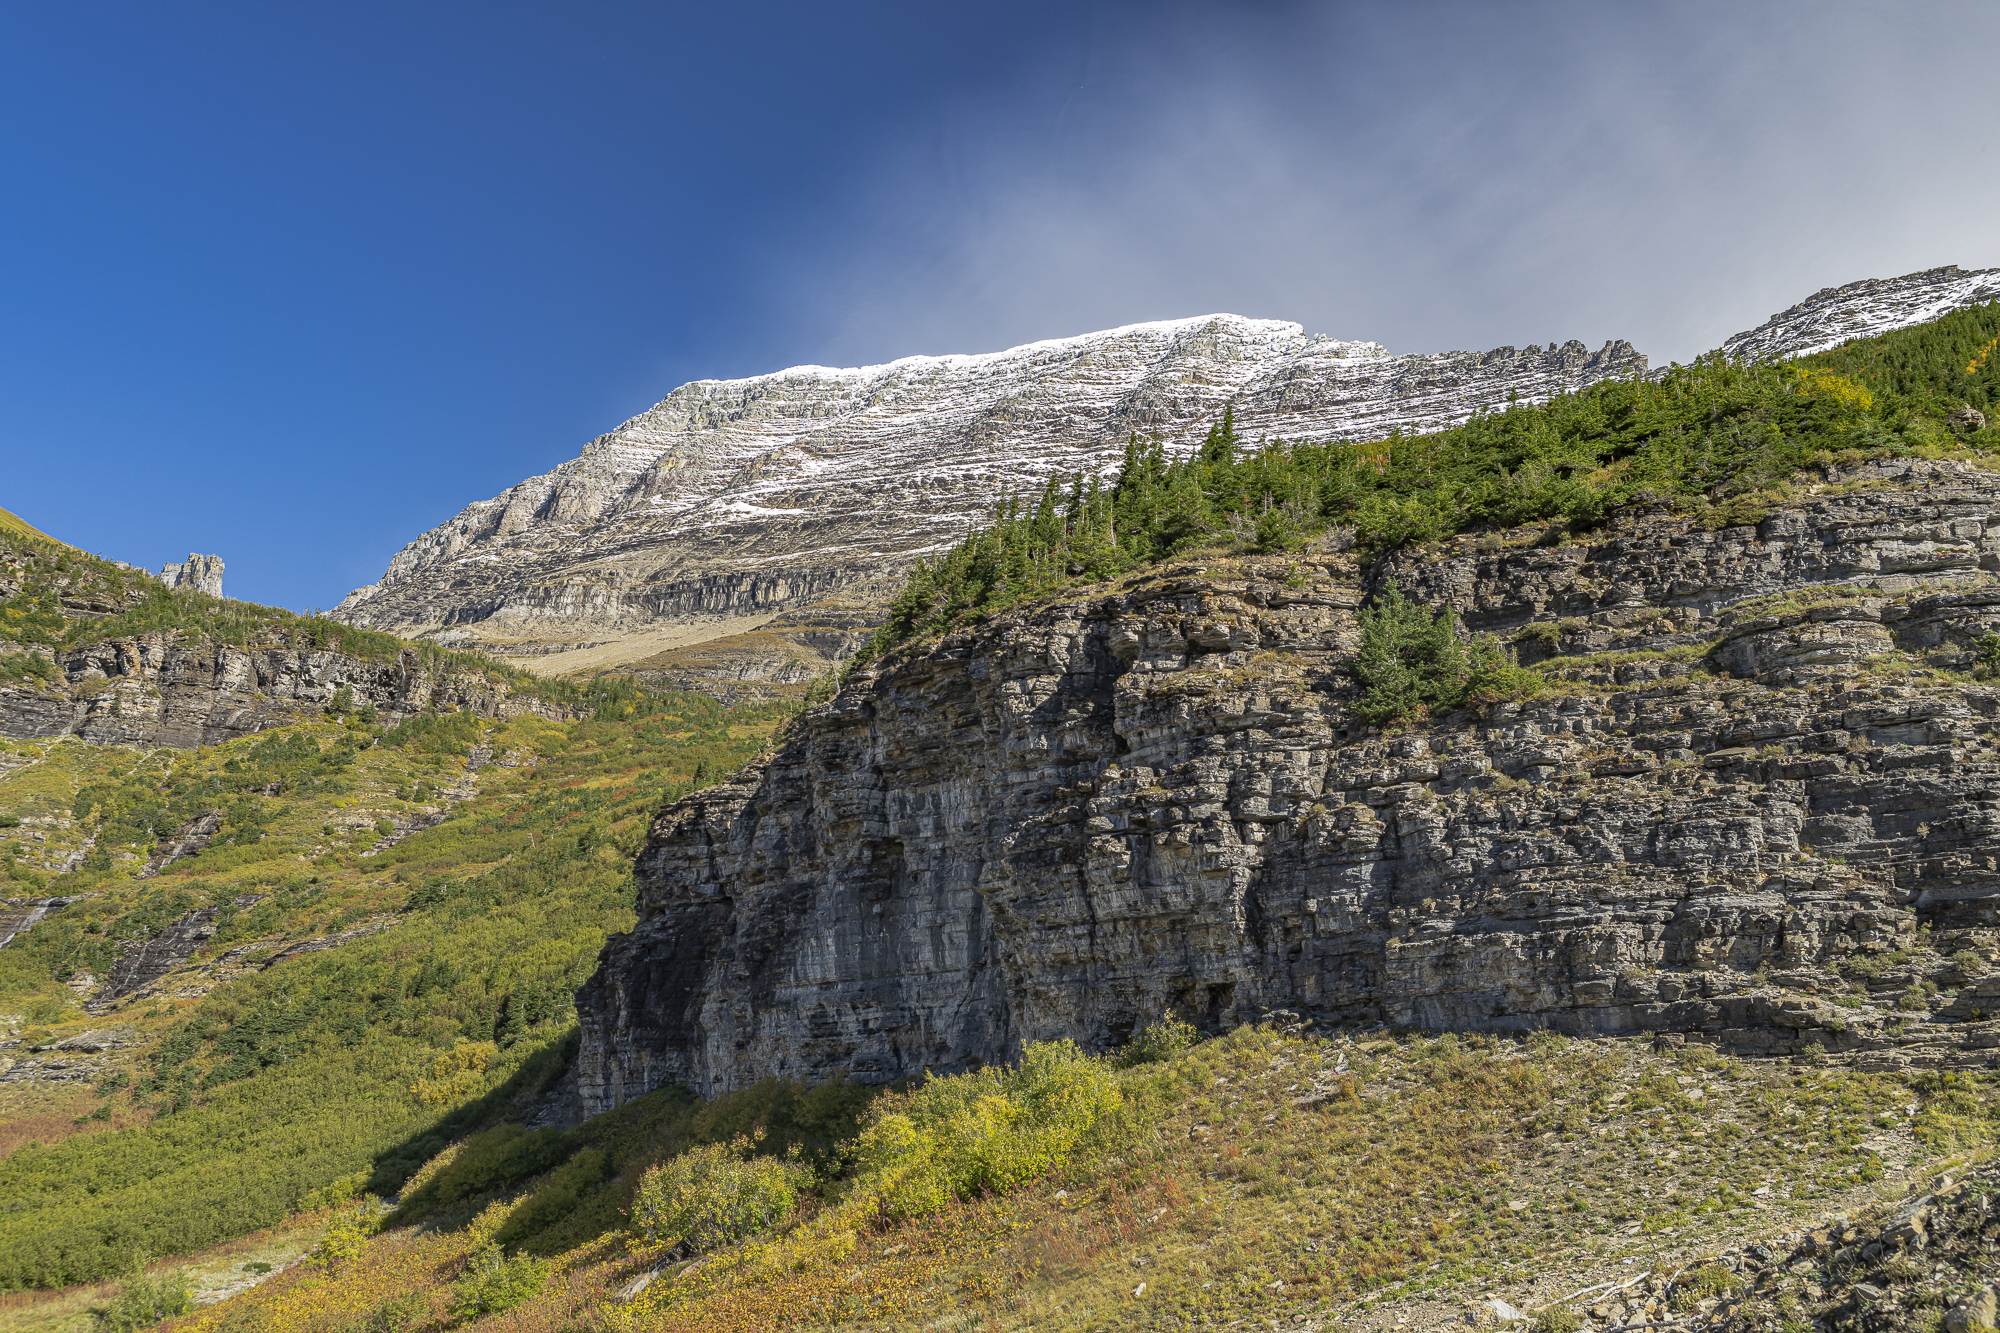
A better view of Mt. Gould can be seen from the Hidden Lake Trail at Logan Pass.
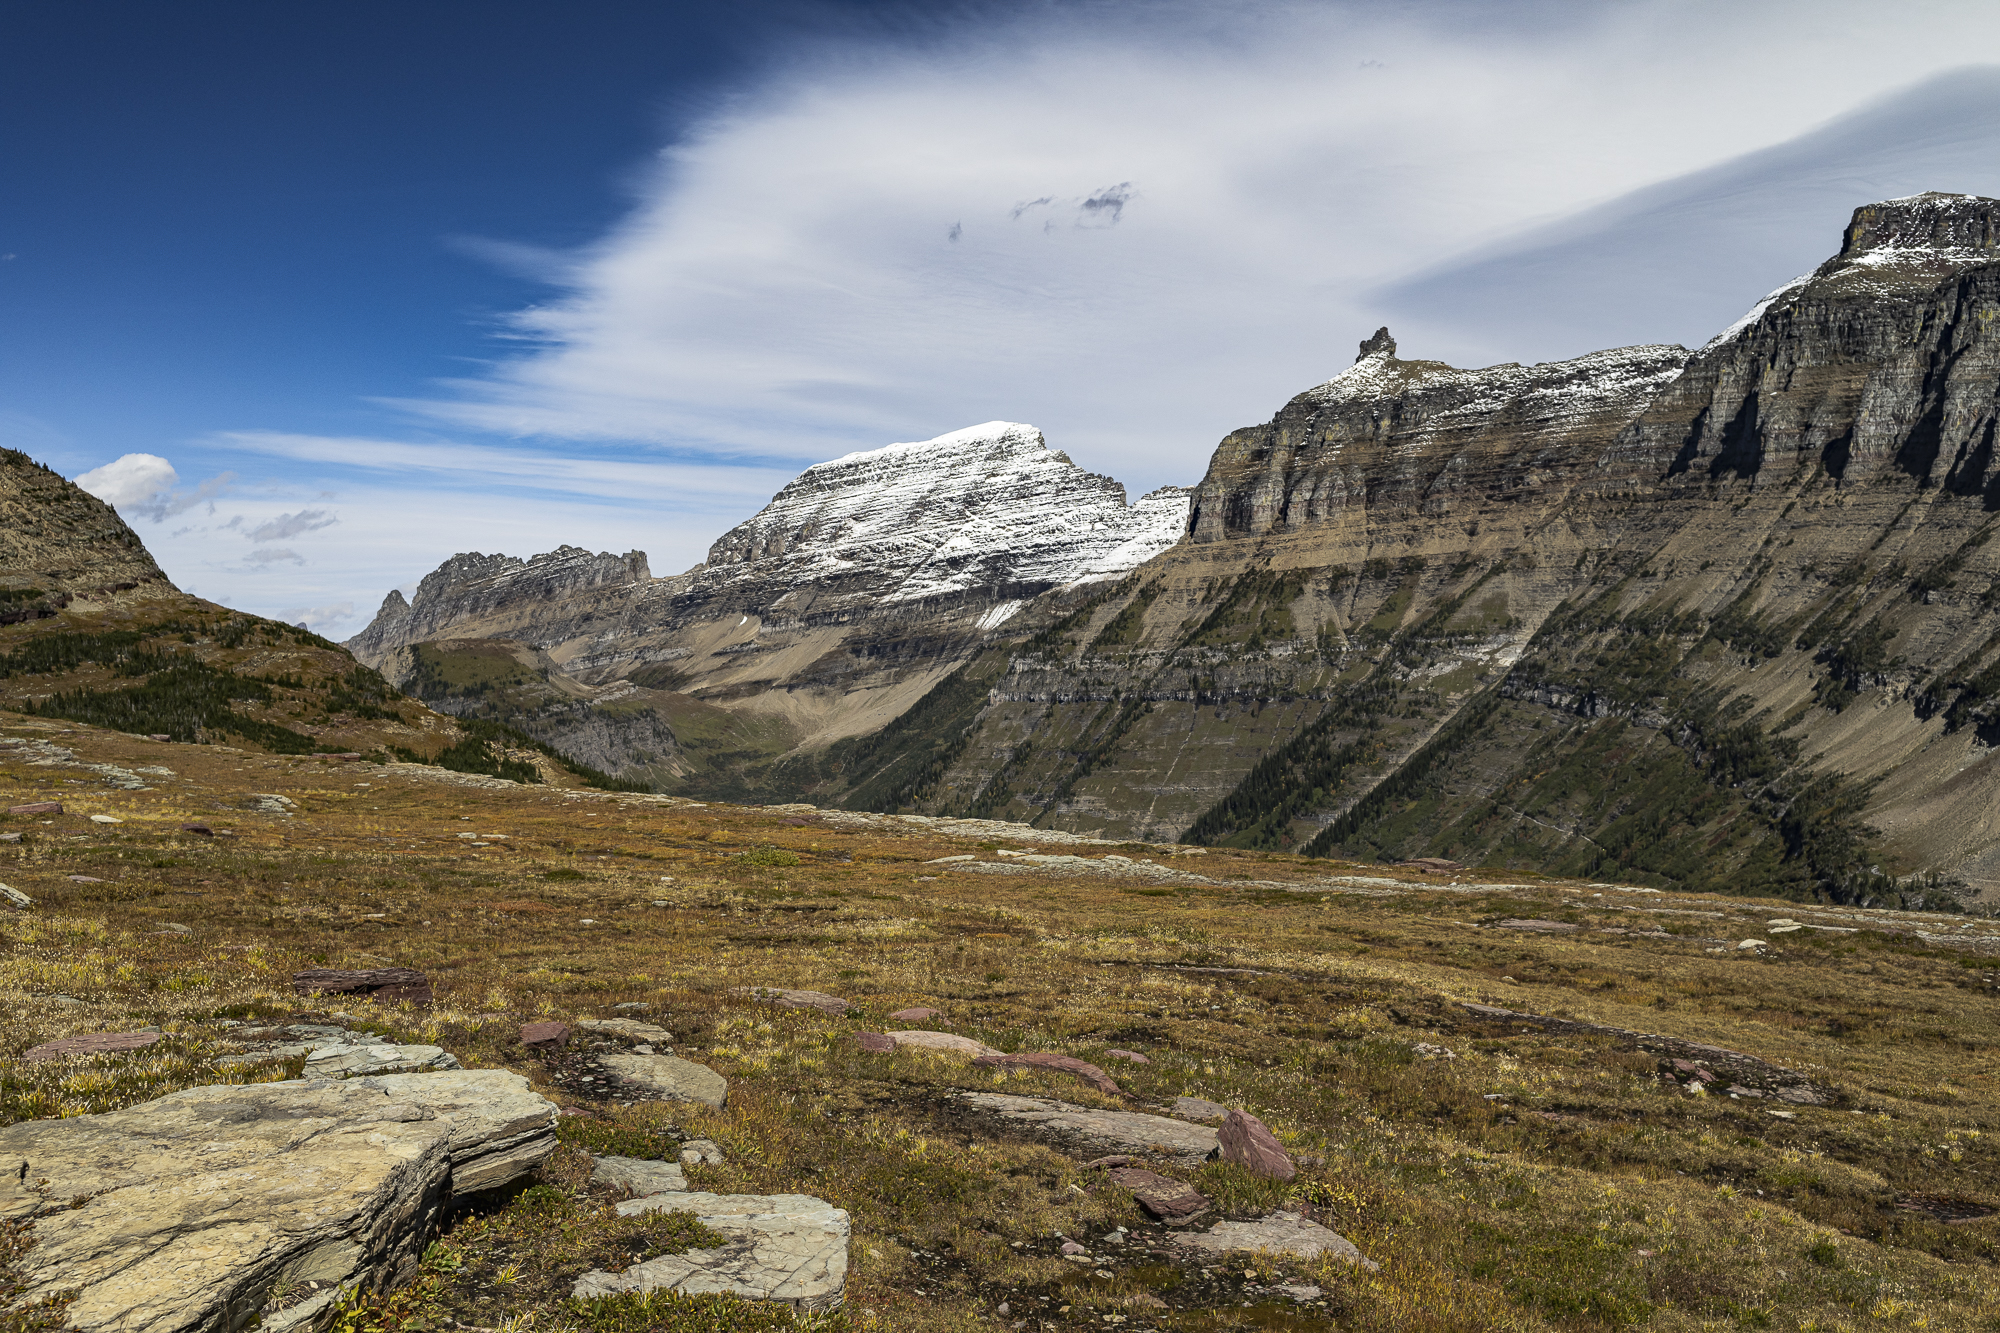
About a quarter of the way along toward Hidden Lake Overlook, you can see Going-to-the-Sun Mountain in a beautiful setting. The saucer-shaped clouds in the following image are called lenticular clouds and are shaped by high windshear commonly present in mountain areas.

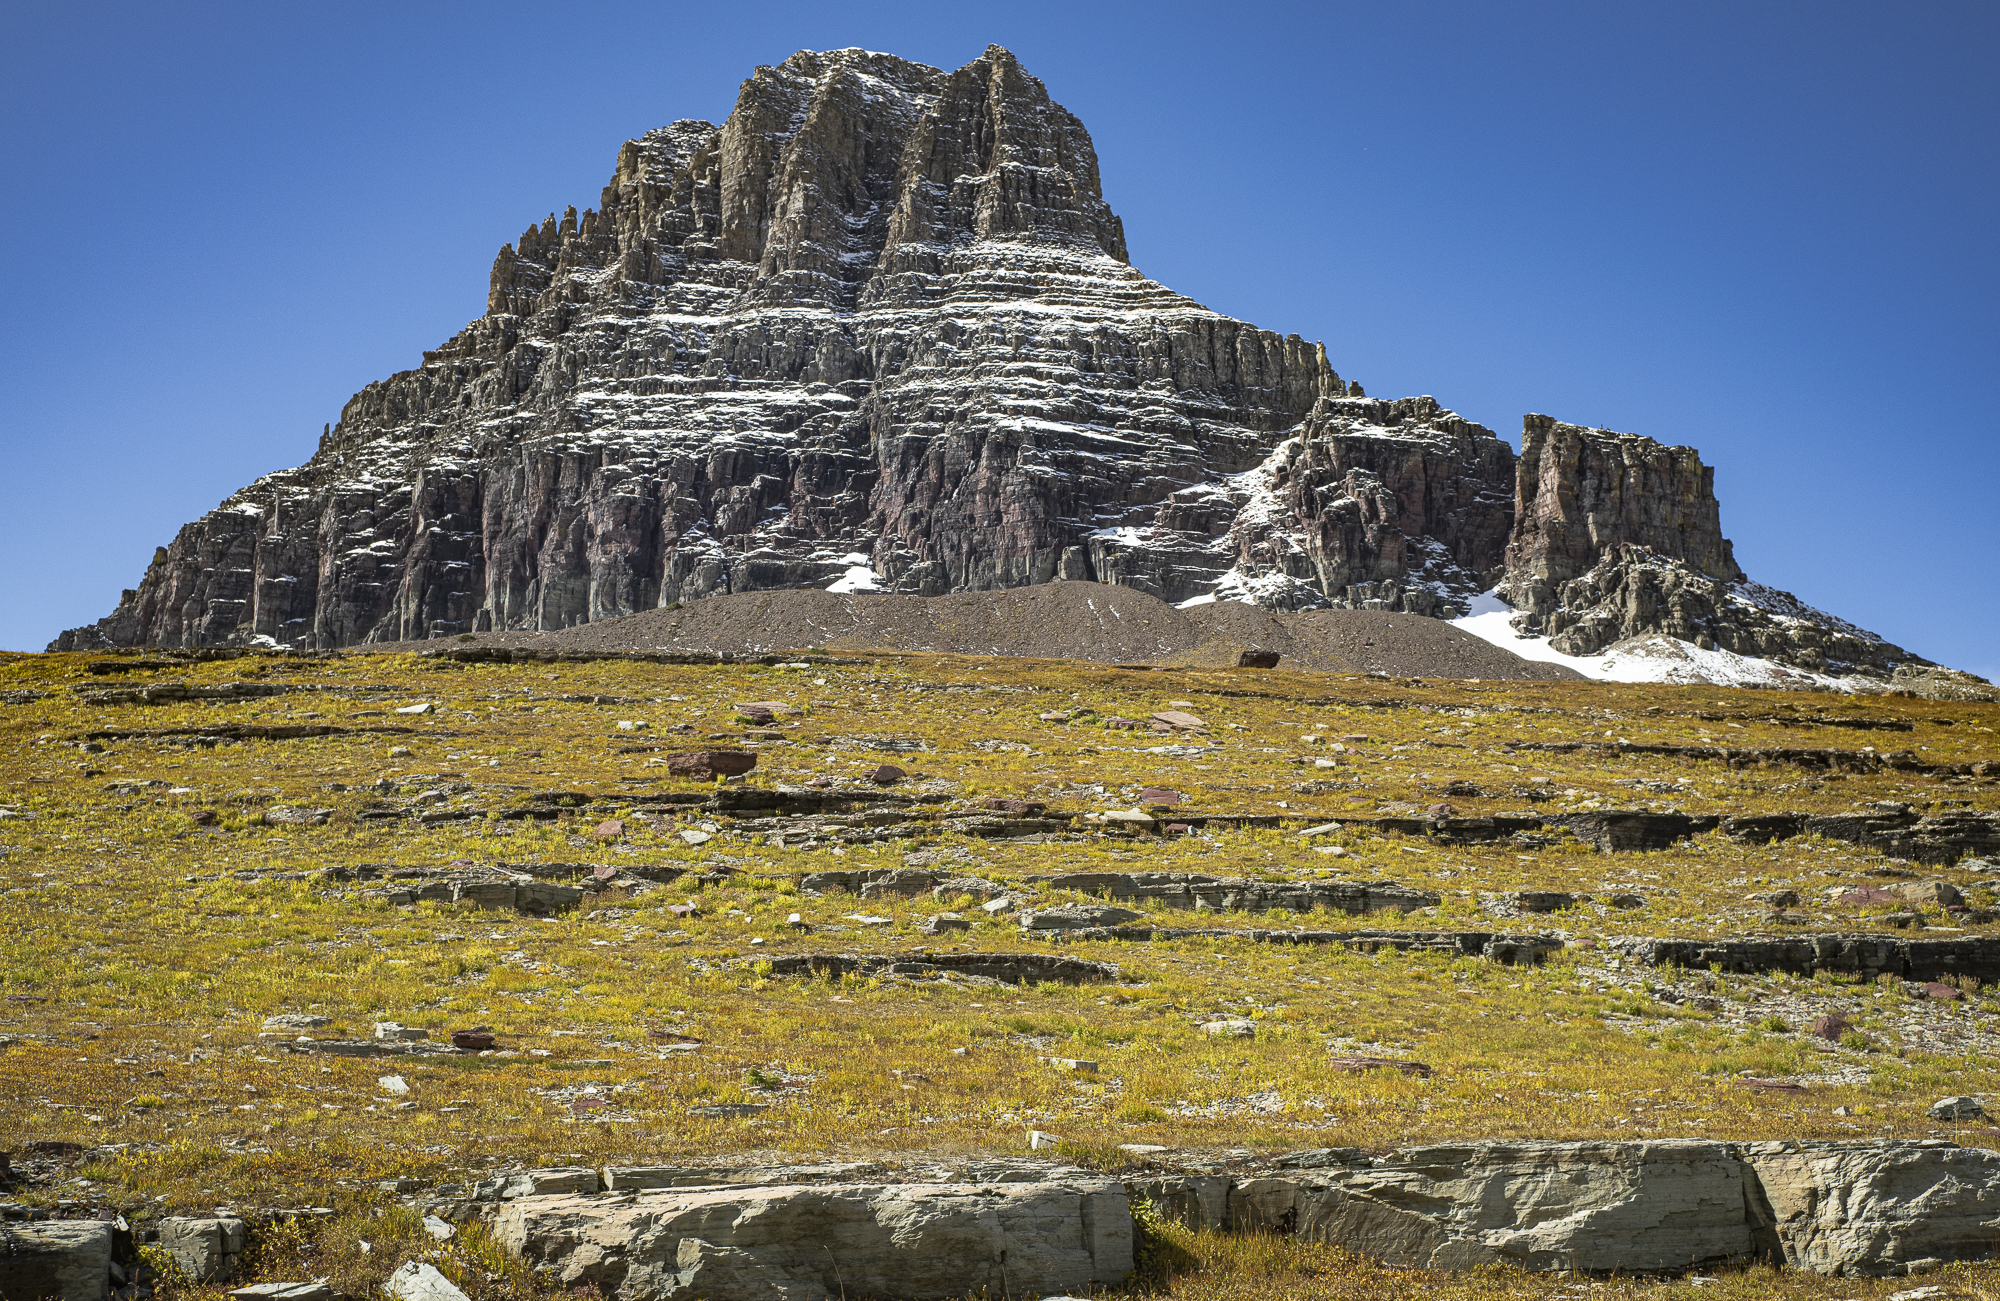
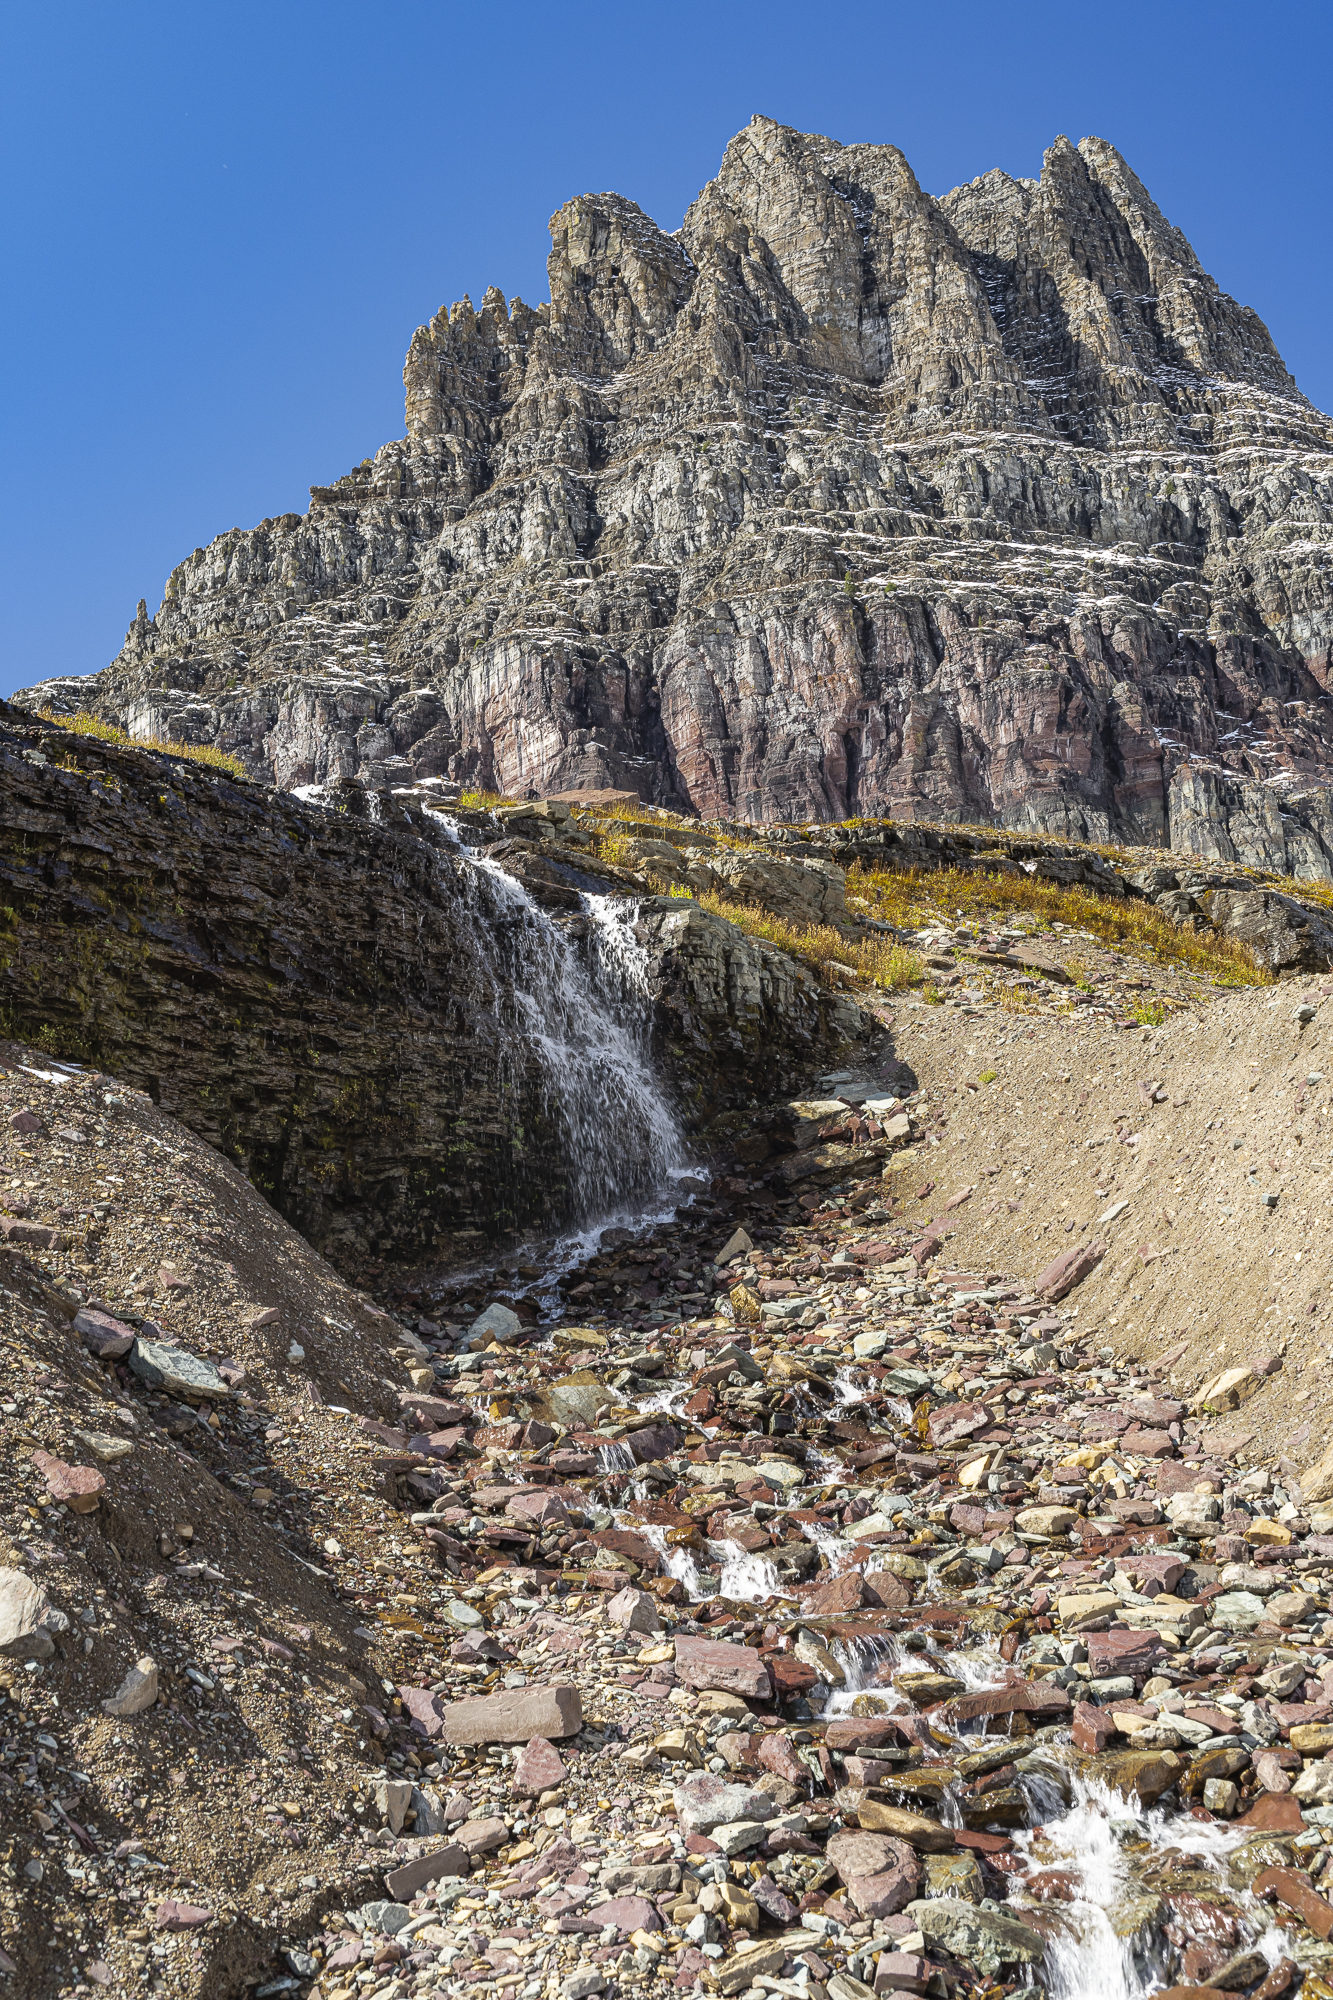
Hidden Lake Trail passes by Clements Mountain on the right. It is highly weathered and stands at 8,760 feet. The features of this mountain become more interesting as the perspective changes as you keep moving along the trail. The next three images demonstrate that. The last image shows a small waterfall fed by snowmelt from the previous day’s snowfall.

Hidden Lake Trail from the Logan Pass Visitor Center to the Hidden Lake Overlook and back is a 3-mile round trip with an elevation gain of 450 feet. It’s a pleasant moderate hike unless you’re not yet used to hiking at 7,000 feet. I didn’t find it taxing even with 20 pounds of equipment in my backpack. That included my Sony 200-600mm lens, just in case I spotted a Grizzly. (But, not on this trip! Not even so much as a Bighorn Sheep or Mountain Goat.)
I didn’t mind carrying unnecessary equipment, as the landscape photography was great. Yes, I would have felt more carefree if I only carried my camera and 35mm lens. But there is a price to be paid for always being prepared. Most photographers reading this know exactly what I mean, particularly us older guys.
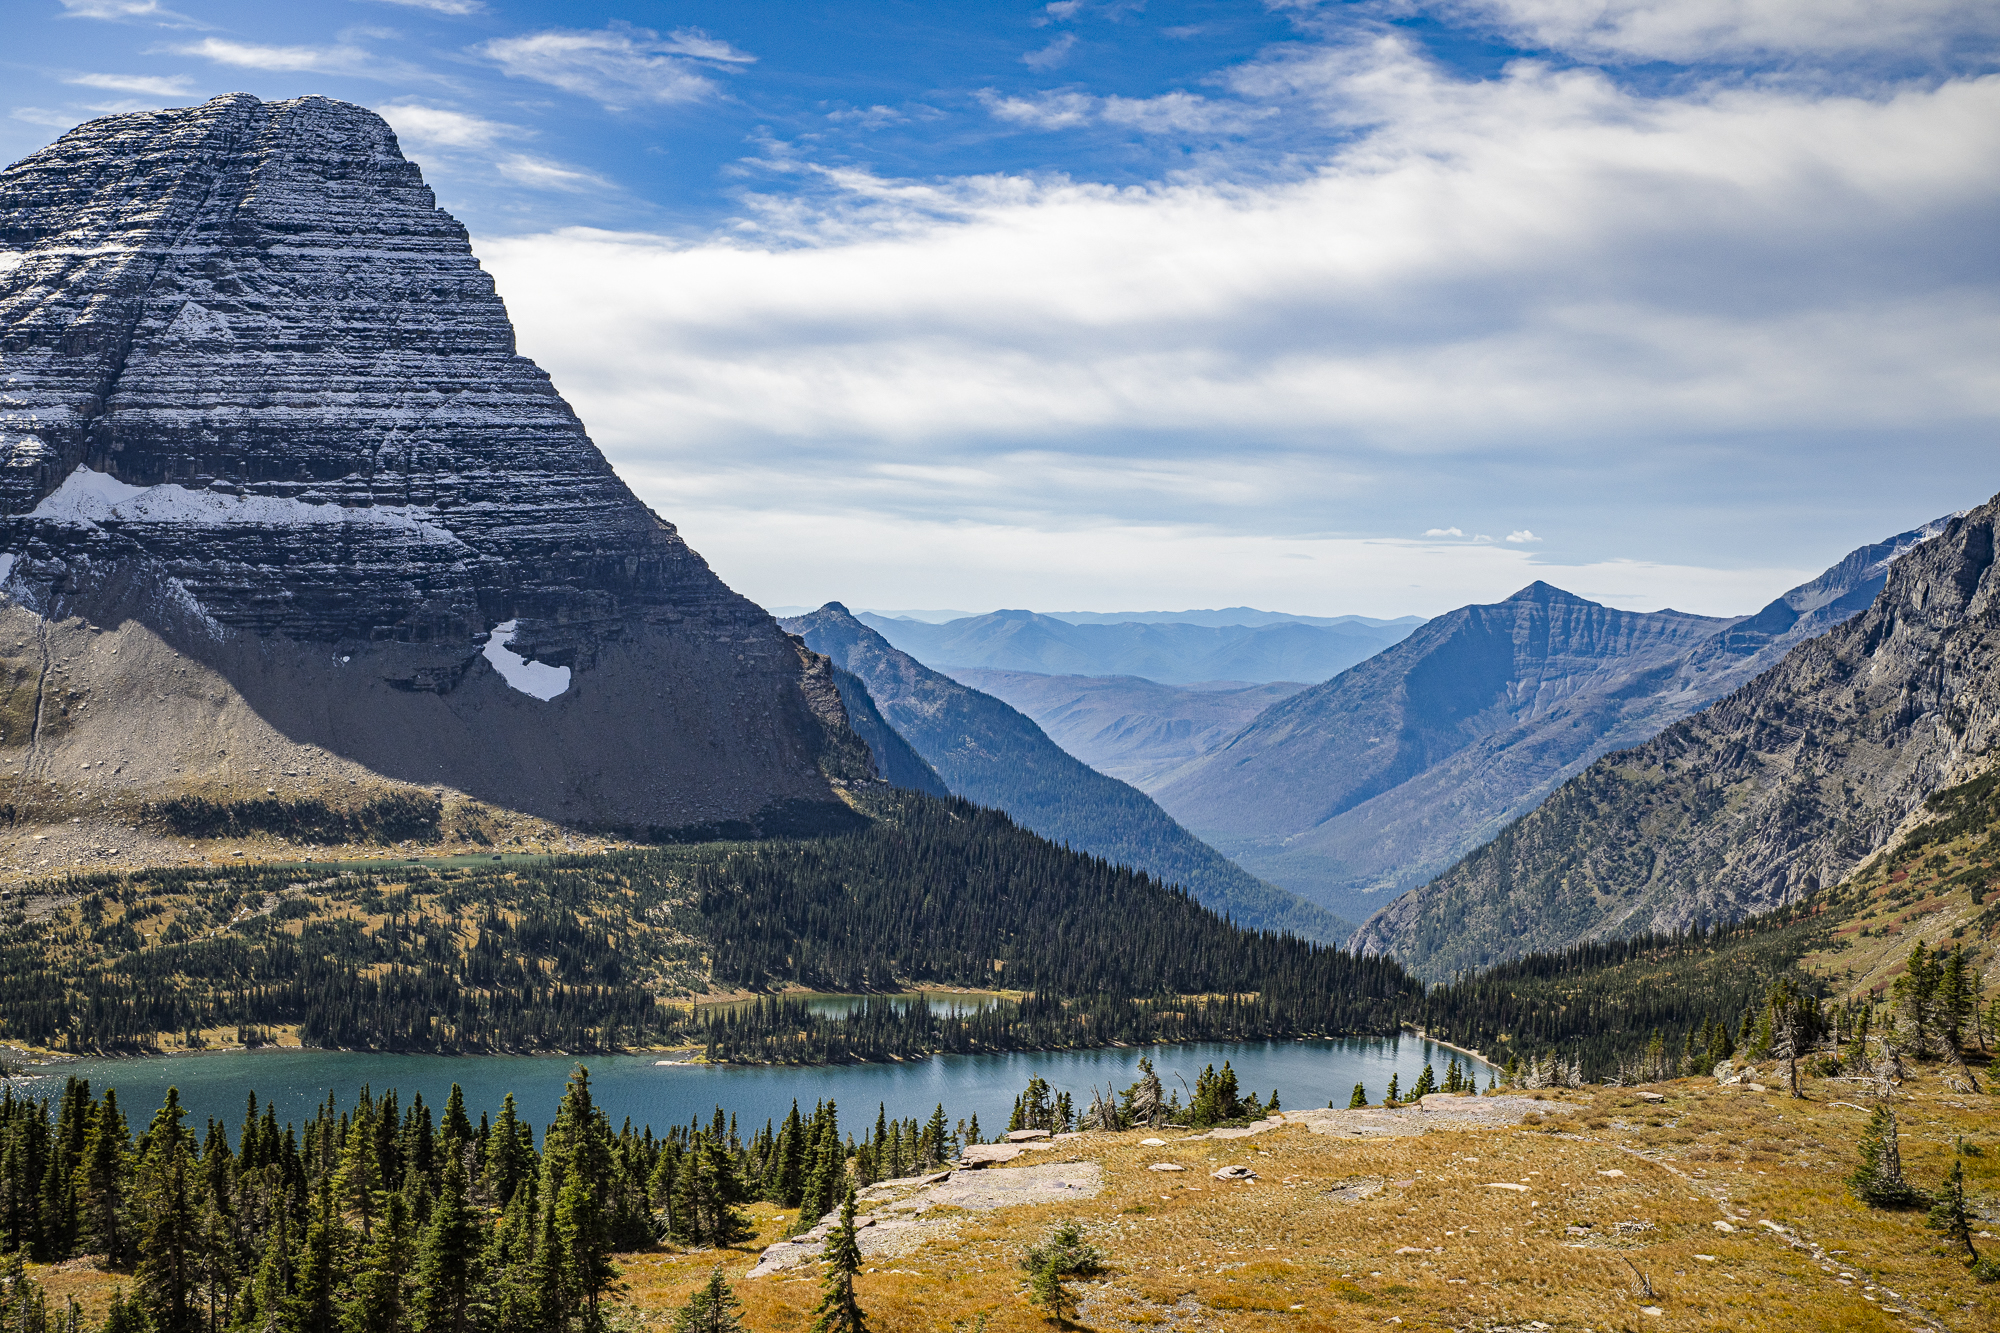
Well, the view of Hidden Lake and Bearhat Mountain is definitely worth the effort. The following image is the classic one that everyone takes and no one can blame them.
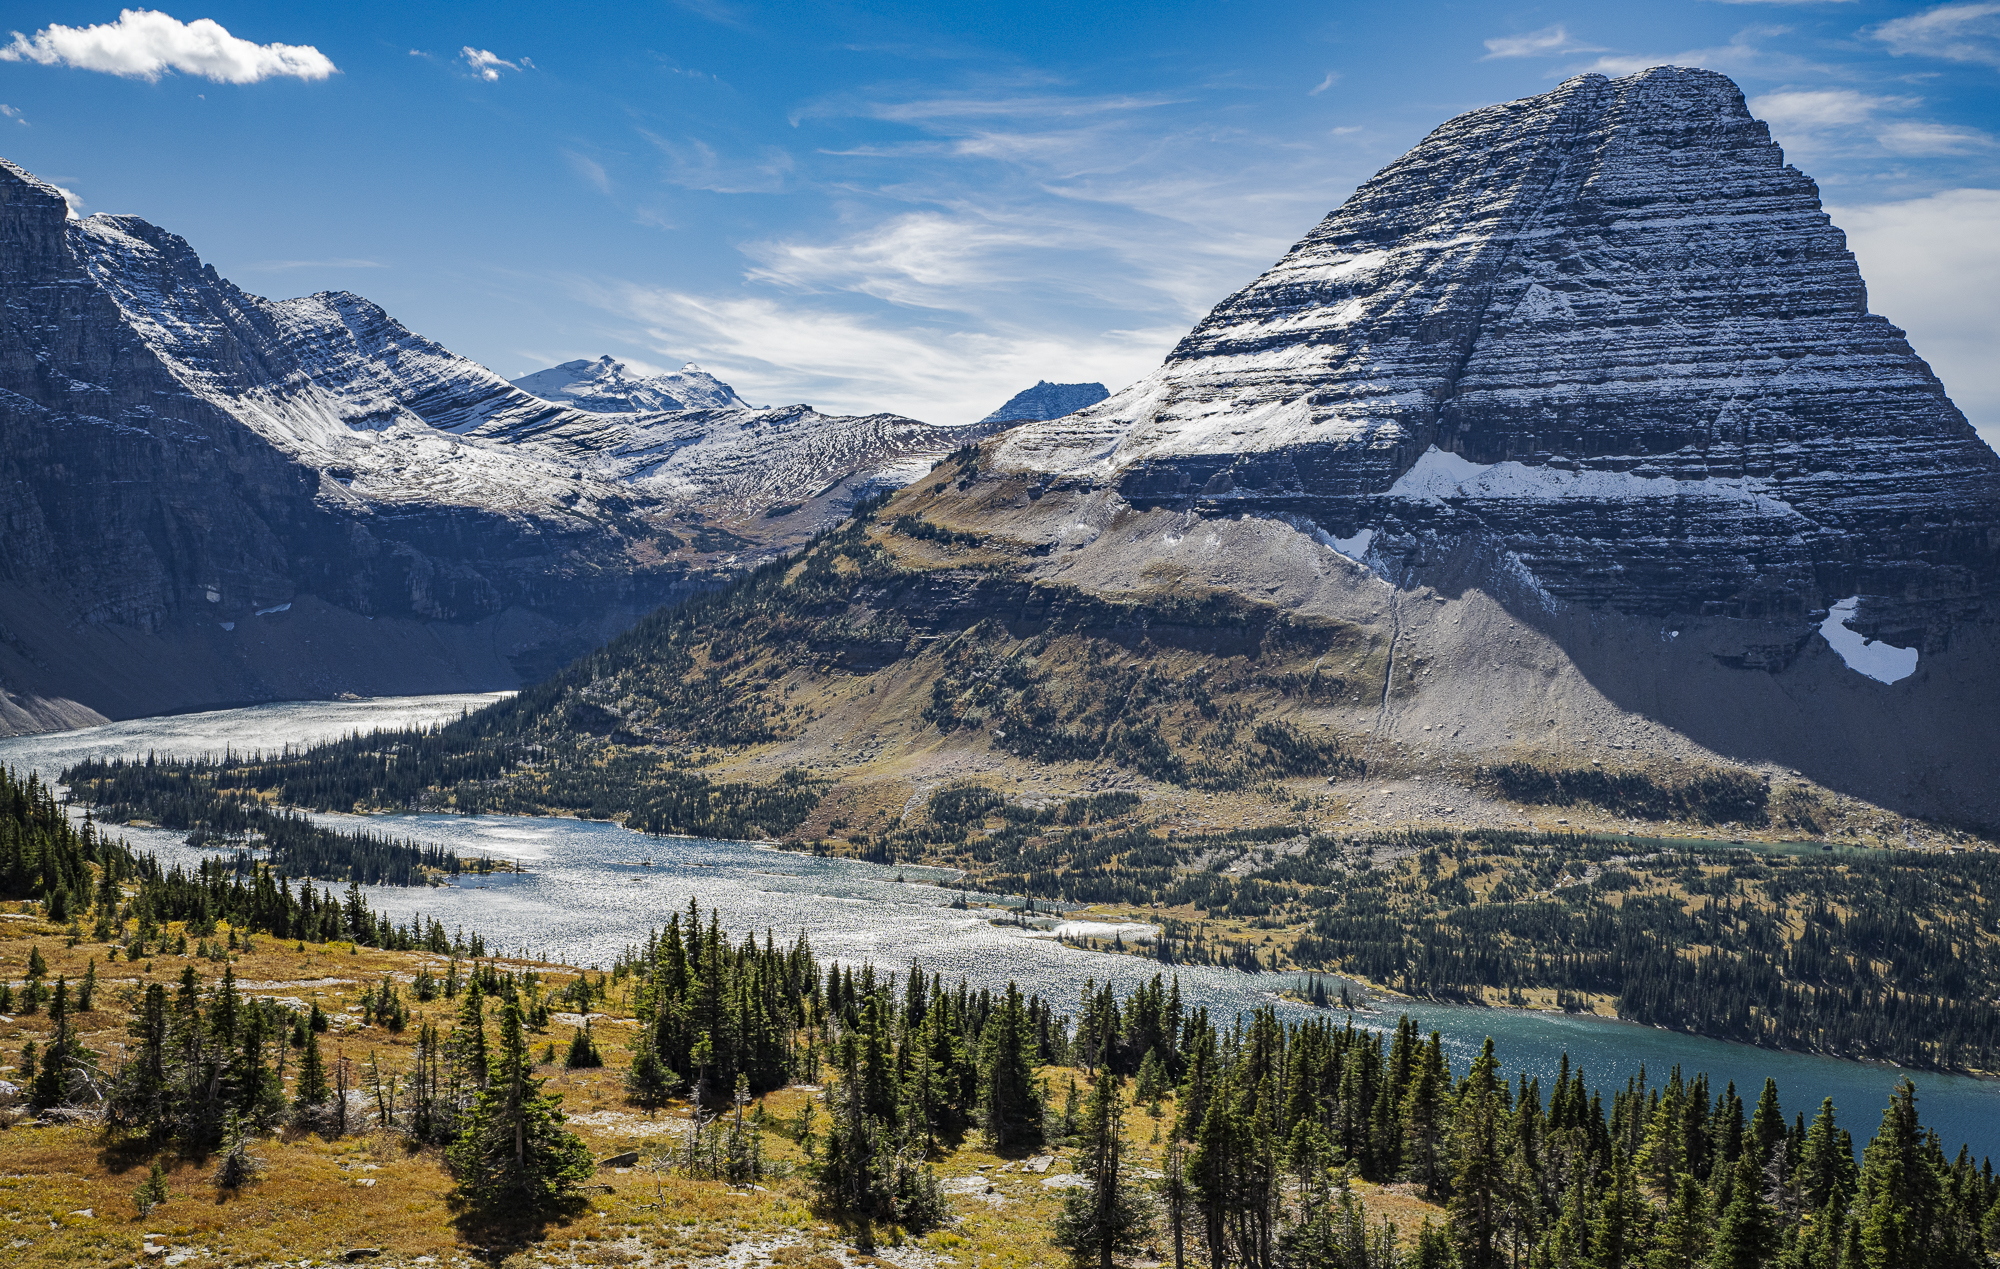
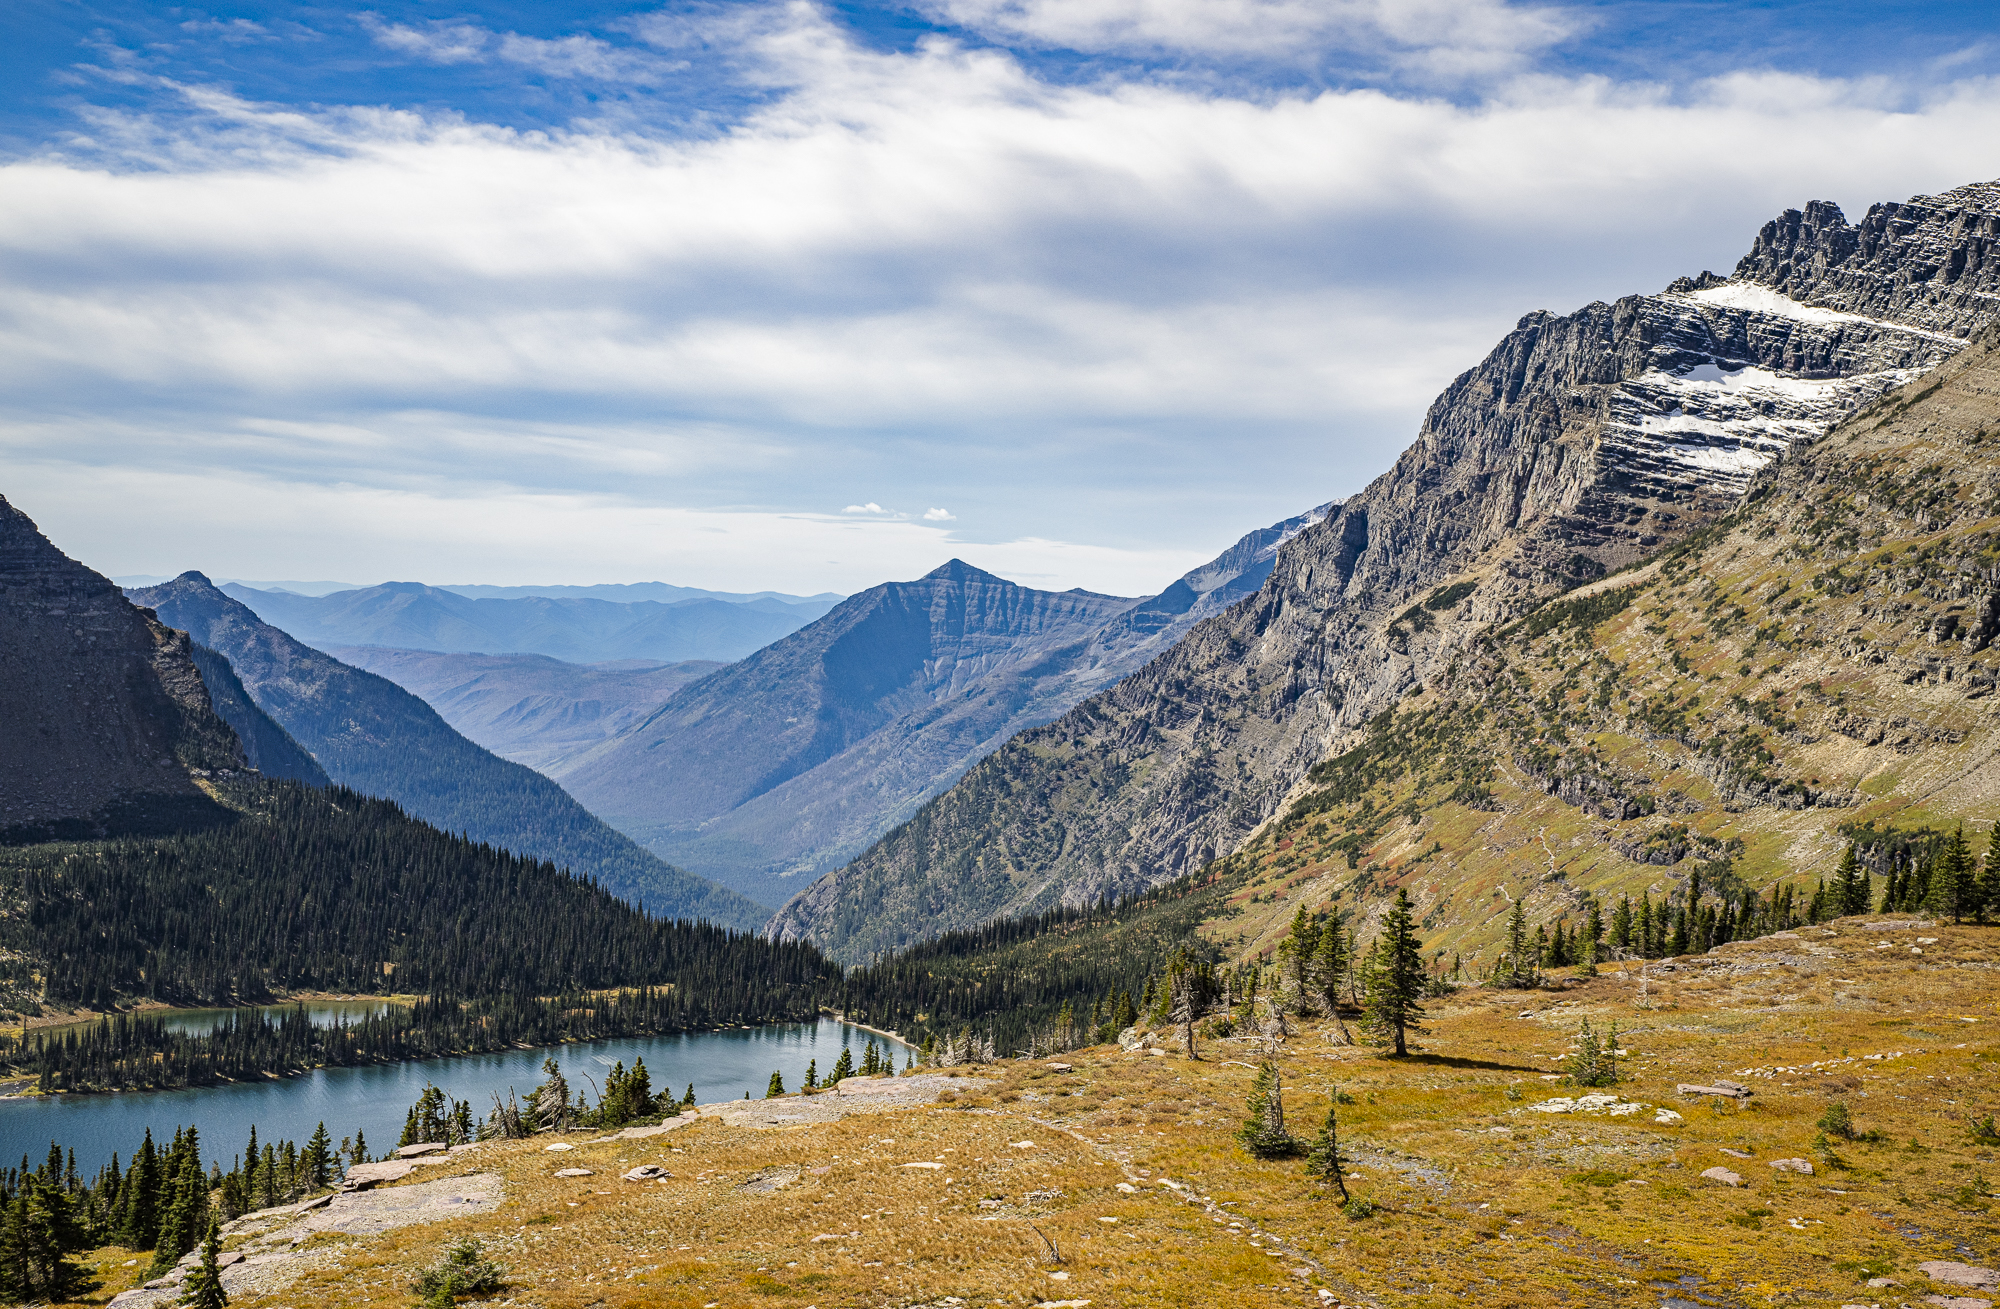
Of course, I didn’t take that hike just for one image. I thought it would be worth including more of the terrain on the left and took a series of shots to create three stitched panoramas, shown below.
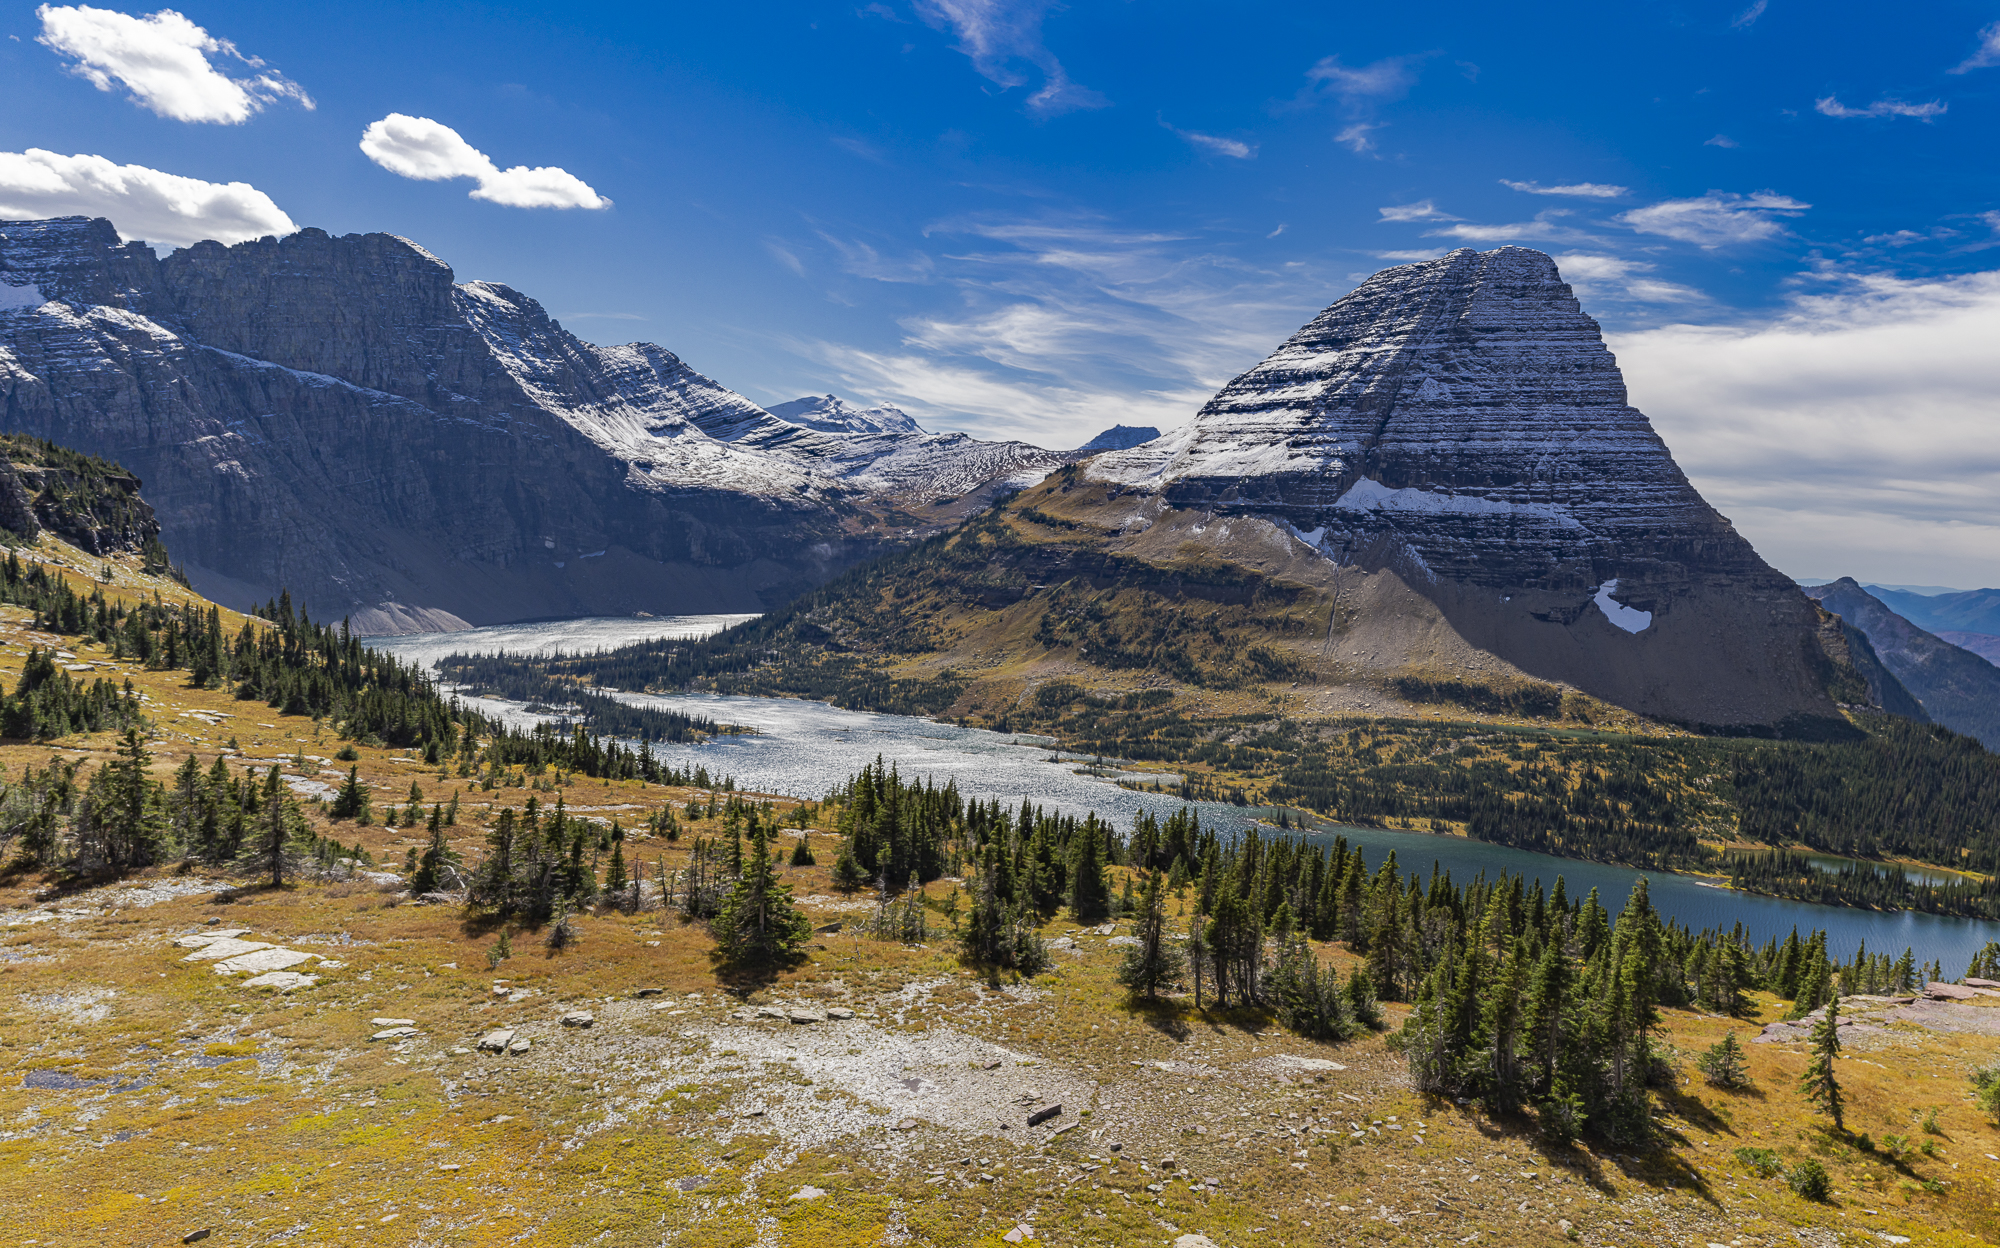
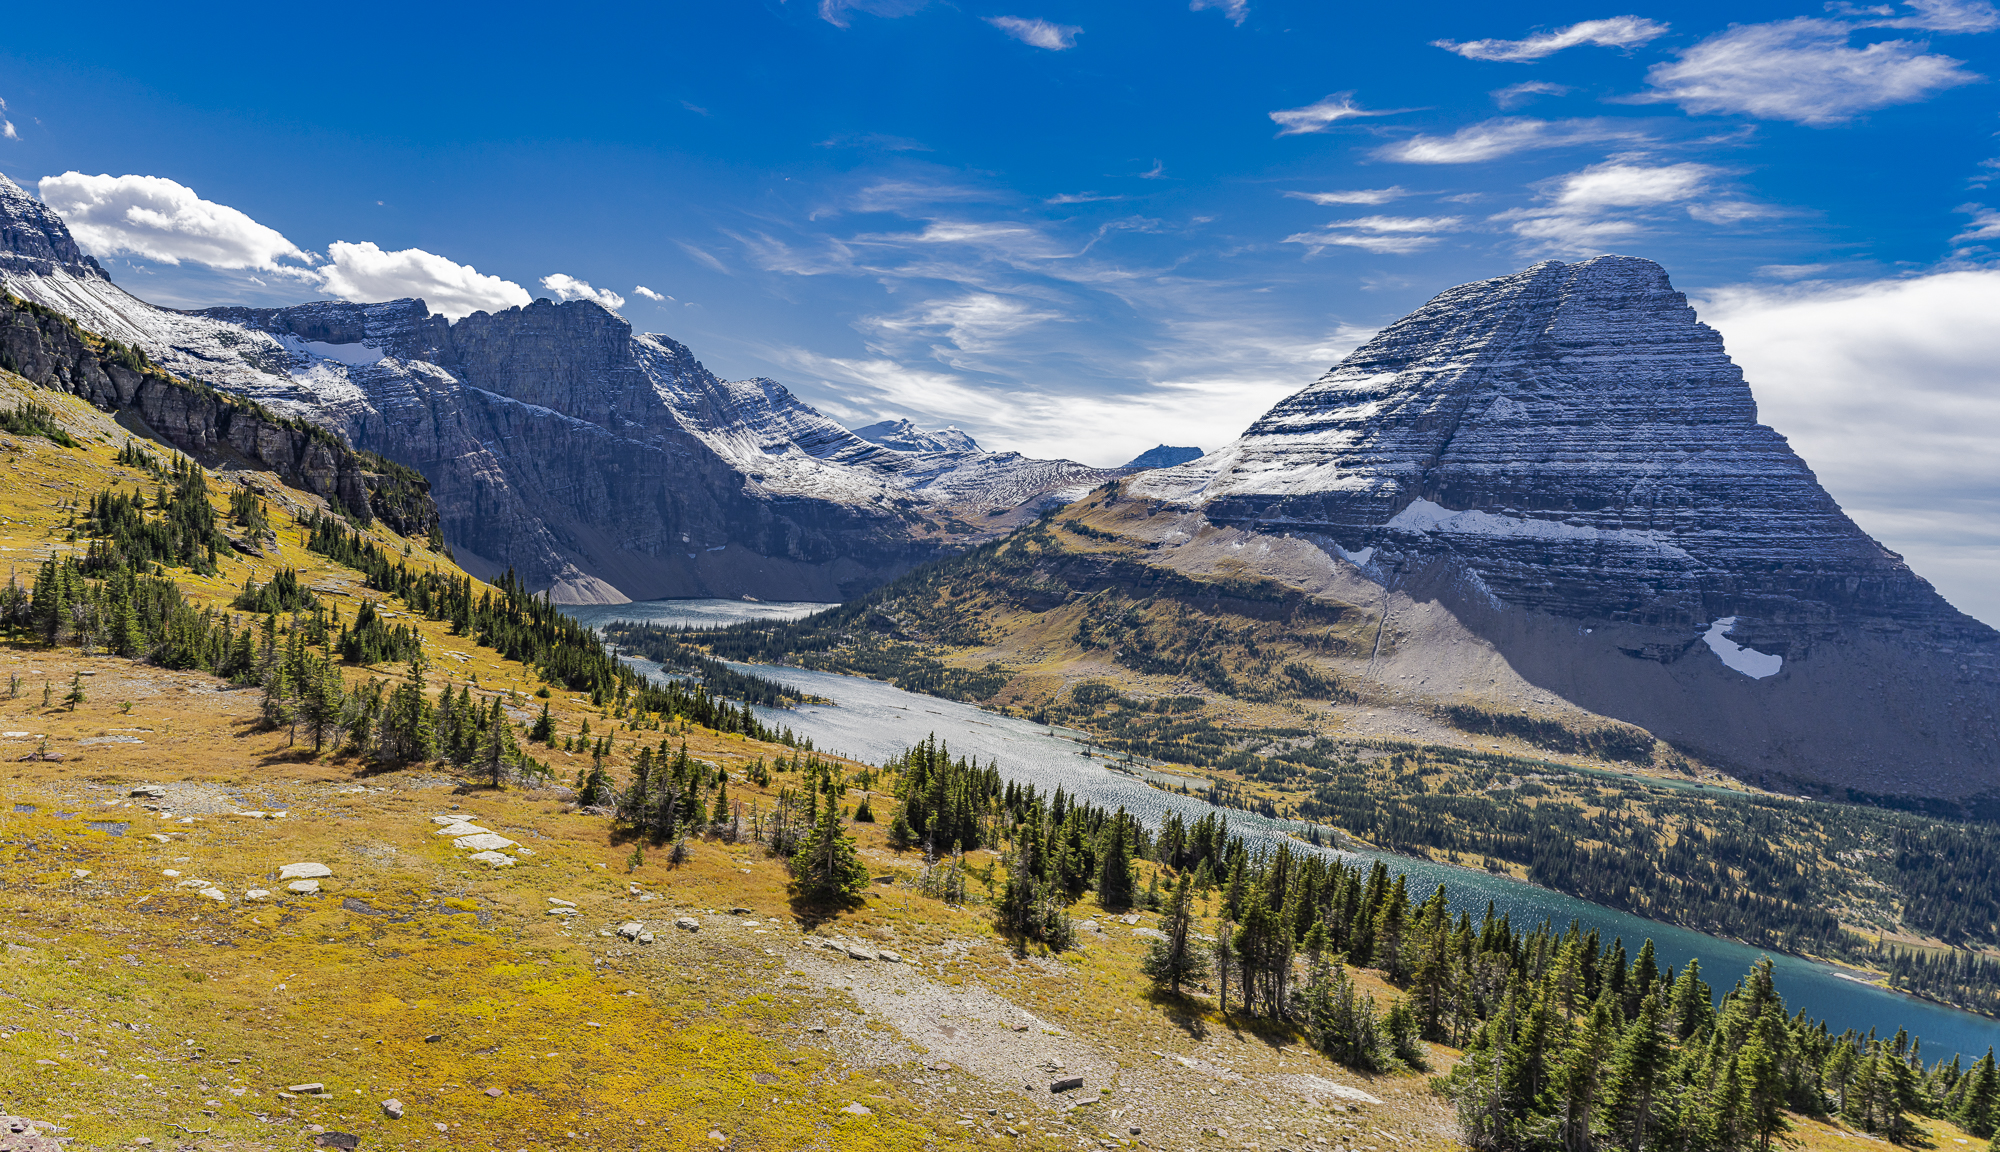
I liked the first two because of the increased emphasis on the foreground. The third image shows Mount Reynolds on the left, which is quite dynamic. Had I taken my 50mm lens I would have made a wider panorama to include both Mt. Reynolds and Bearhat Mountain. However, making a stitched panorama from segments shot with wide angle lenses results in substantial p222erspective distortion at the far ends, which would have shown Bearhat a lot smaller than Mt. Reynolds. Still, I like this image a lot; and the four clouds came along just at the right time.
In any case, I wasn’t done with Bearhat yet. There was still another view off to the right to photograph.
The last image taken from the overlook captures part of Mount Cannon on the right and the lower portion of Hidden Lake toward the beginning of Hidden Creek.
Seeing and capturing these scenes made me forget about the missing wildlife. We spent the next four days visiting with our grandkids and experiencing Whitefish like locals. I thought my photography was finished for this trip, as we would be driving through Idaho, Utah and Northern Arizona on our way home with little opportunity to stop.
I was about to be pleasantly surprised!
Be sure to read Part IV to see some of the best images taken on this field trip!
Harvey Stearn
November 2021
Elevate Your Vision


Read this story and all the best stories on The Luminous Landscape
The author has made this story available to Luminous Landscape members only. Upgrade to get instant access to this story and other benefits available only to members.
Why choose us?
Luminous-Landscape is a membership site. Our website contains over 5300 articles on almost every topic, camera, lens and printer you can imagine. Our membership model is simple, just $2 a month ($24.00 USD a year). This $24 gains you access to a wealth of information including all our past and future video tutorials on such topics as Lightroom, Capture One, Printing, file management and dozens of interviews and travel videos.
- New Articles every few days
- All original content found nowhere else on the web
- No Pop Up Google Sense ads – Our advertisers are photo related
- Download/stream video to any device
- NEW videos monthly
- Top well-known photographer contributors
- Posts from industry leaders
- Speciality Photography Workshops
- Mobile device scalable
- Exclusive video interviews
- Special vendor offers for members
- Hands On Product reviews
- FREE – User Forum. One of the most read user forums on the internet
- Access to our community Buy and Sell pages; for members only.
You may also like