


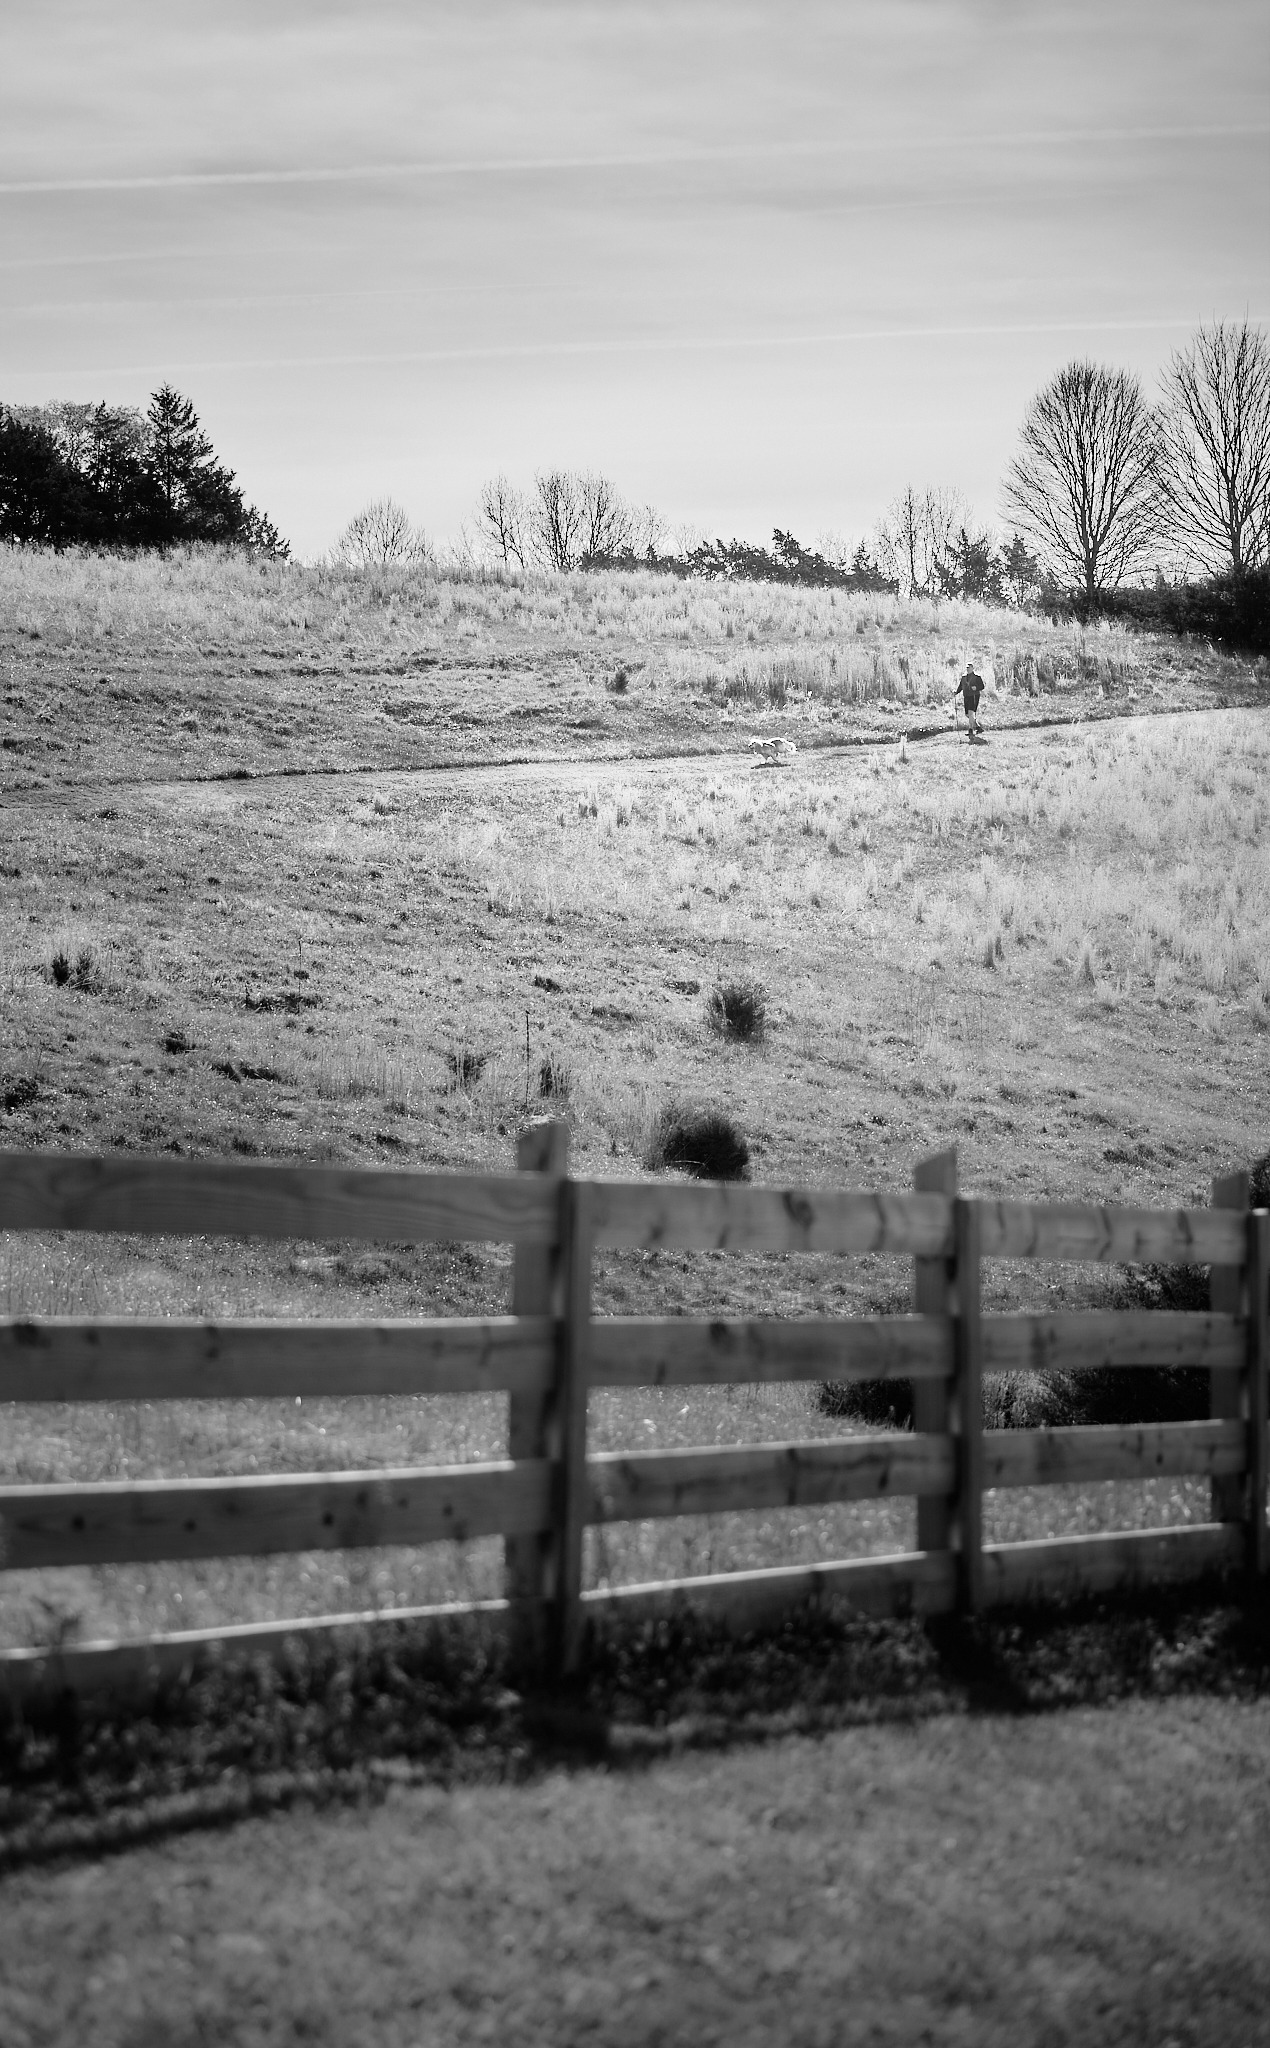
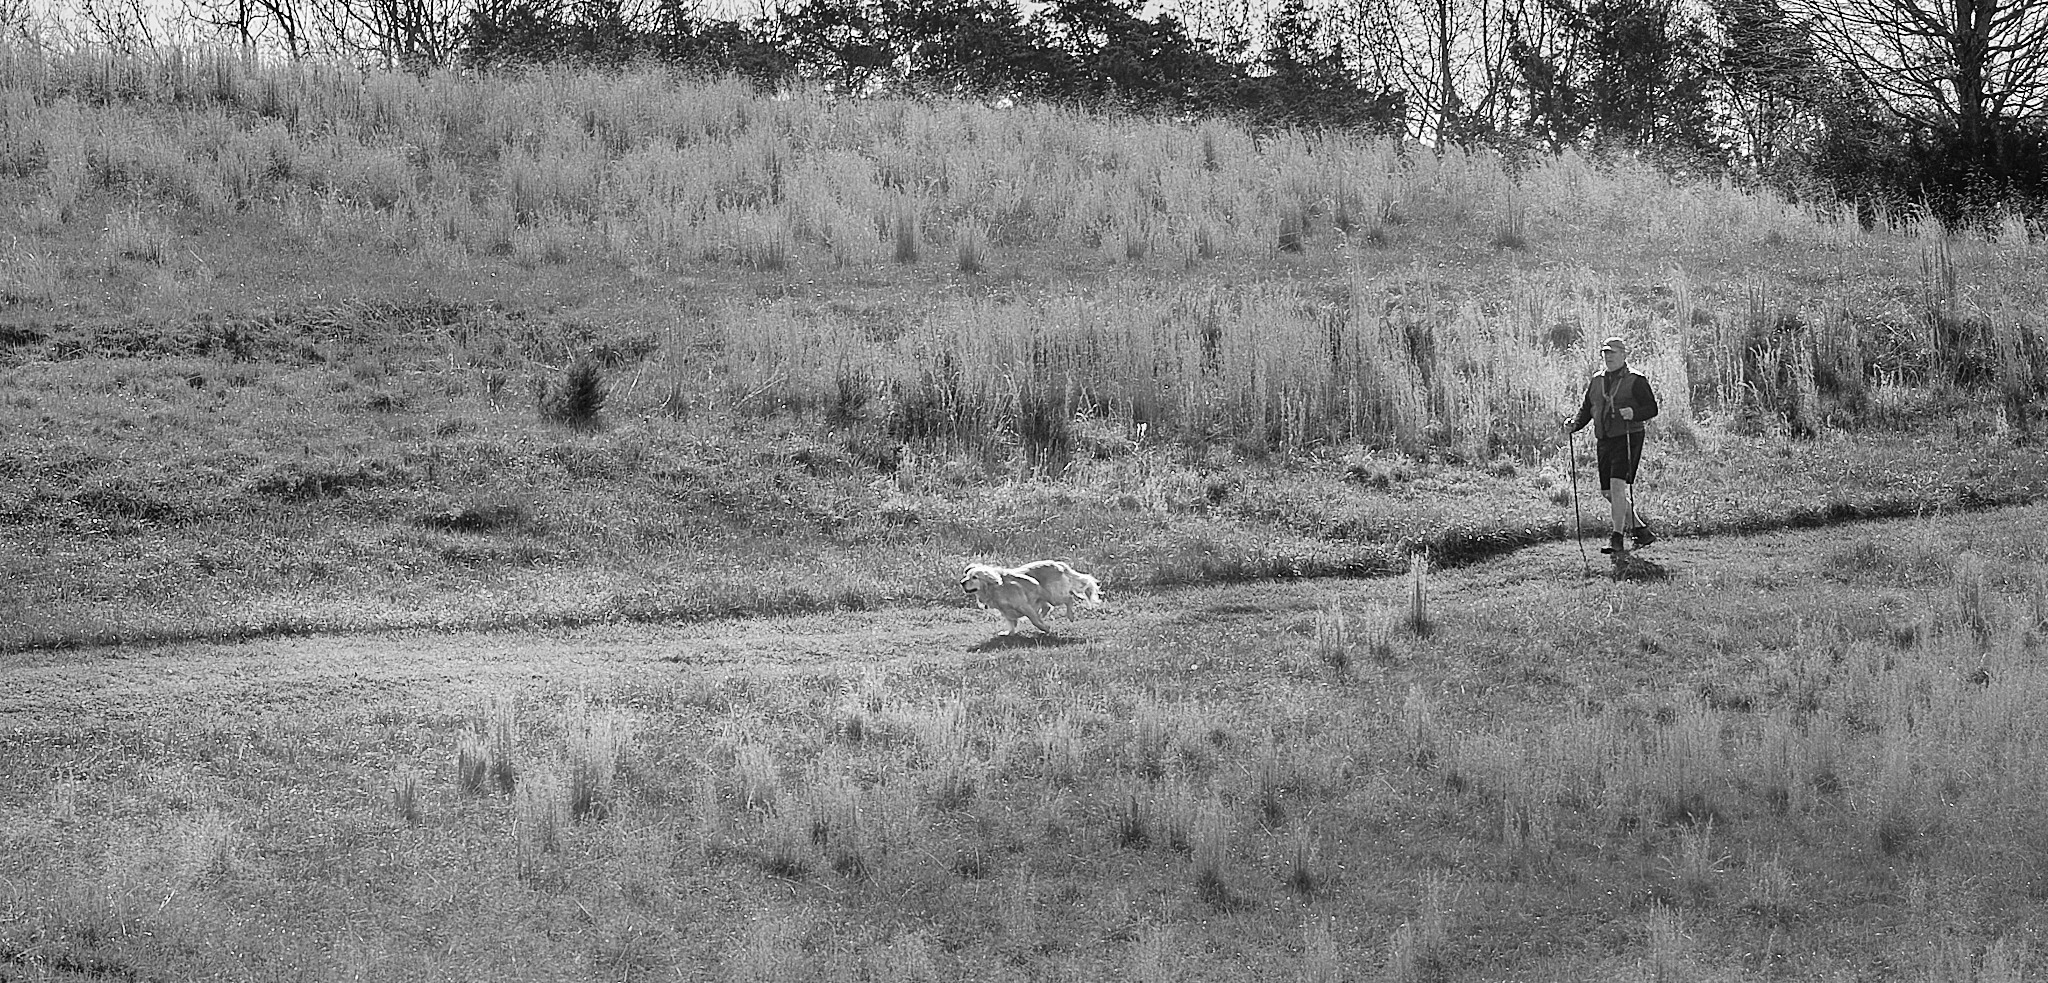
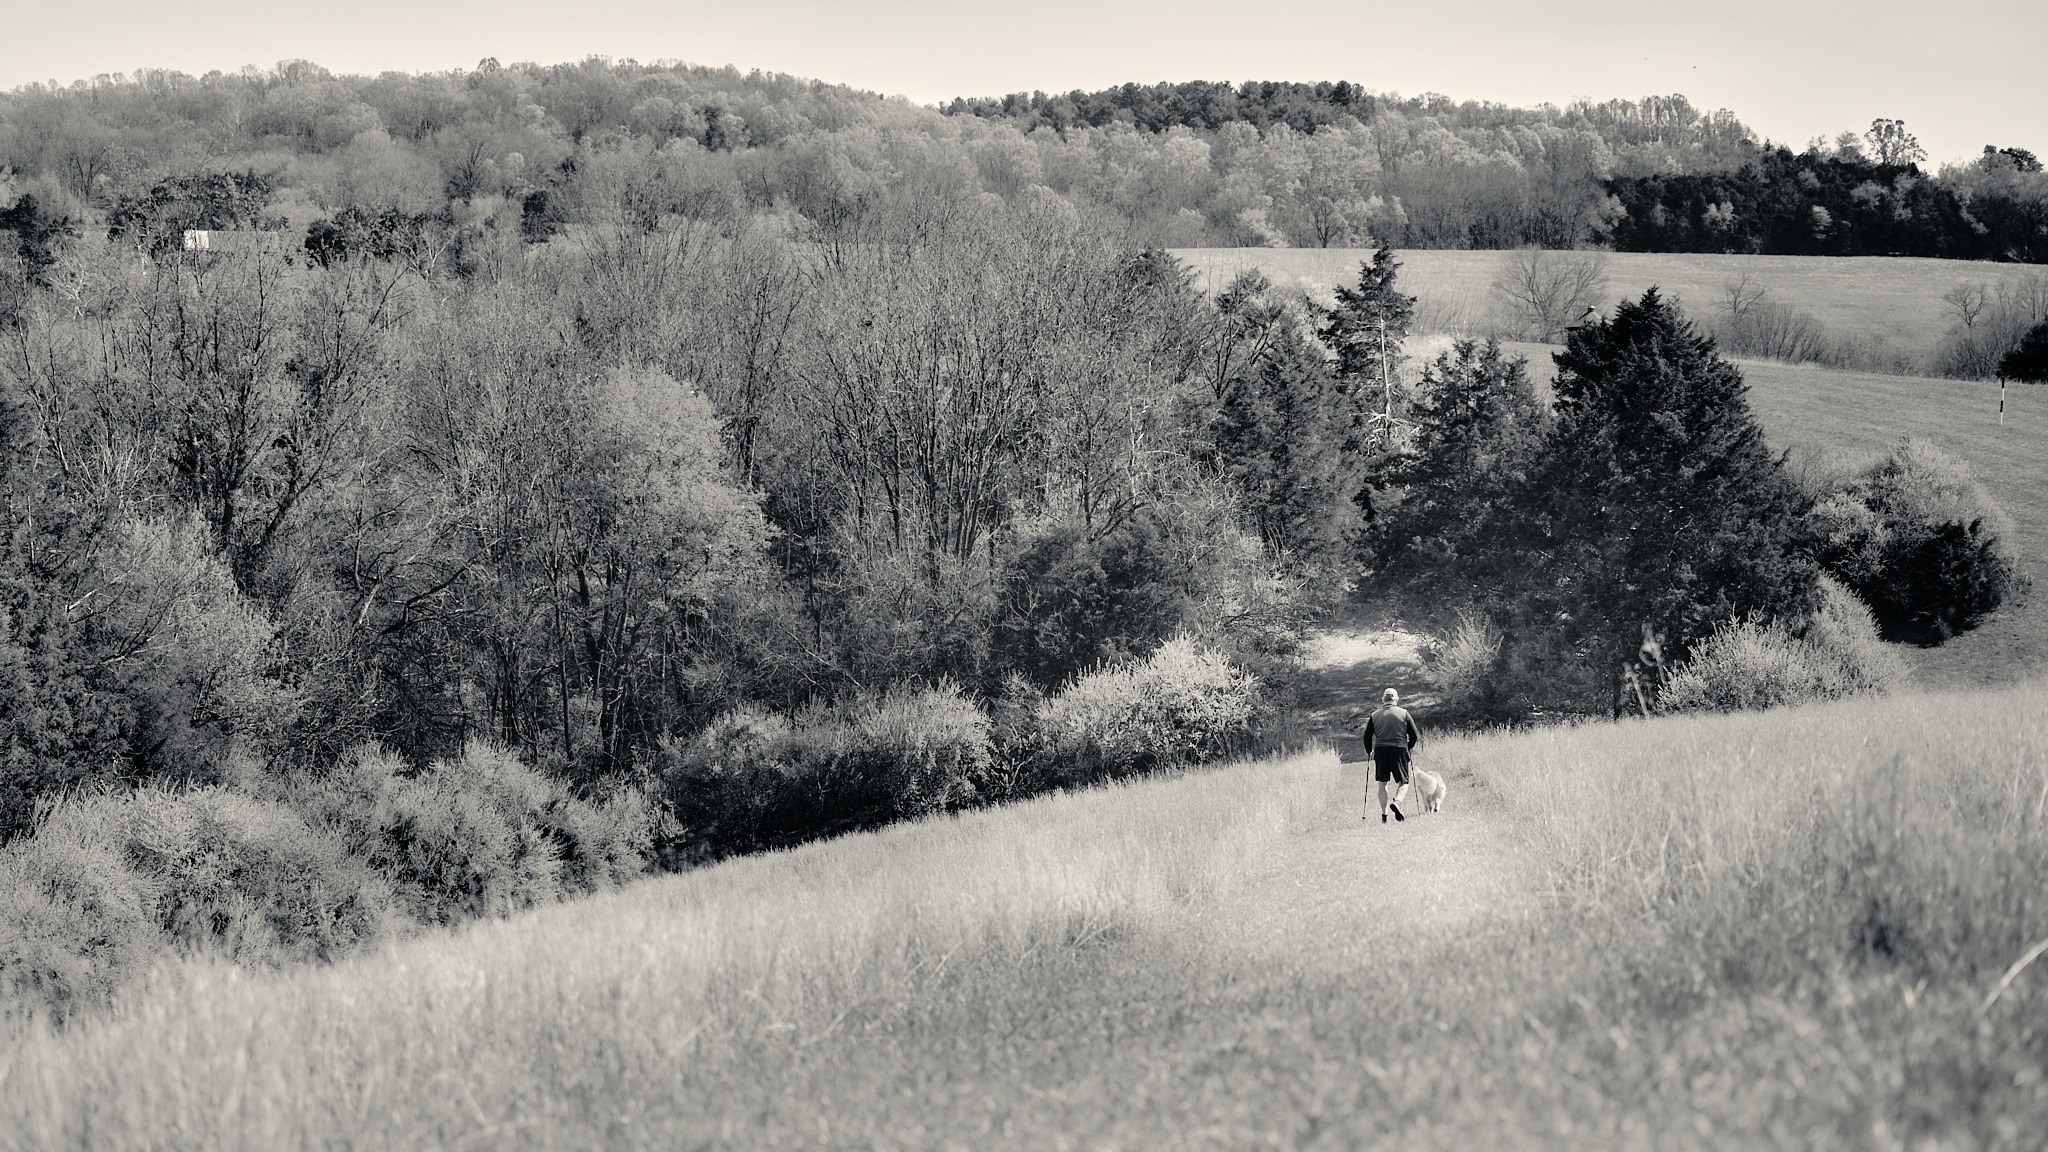
There’s something about committing to a full day of wandering with your camera. No errands, no half-measures – just you, your gear, and a plan to roam from 9am until the last light fades – eyes open.
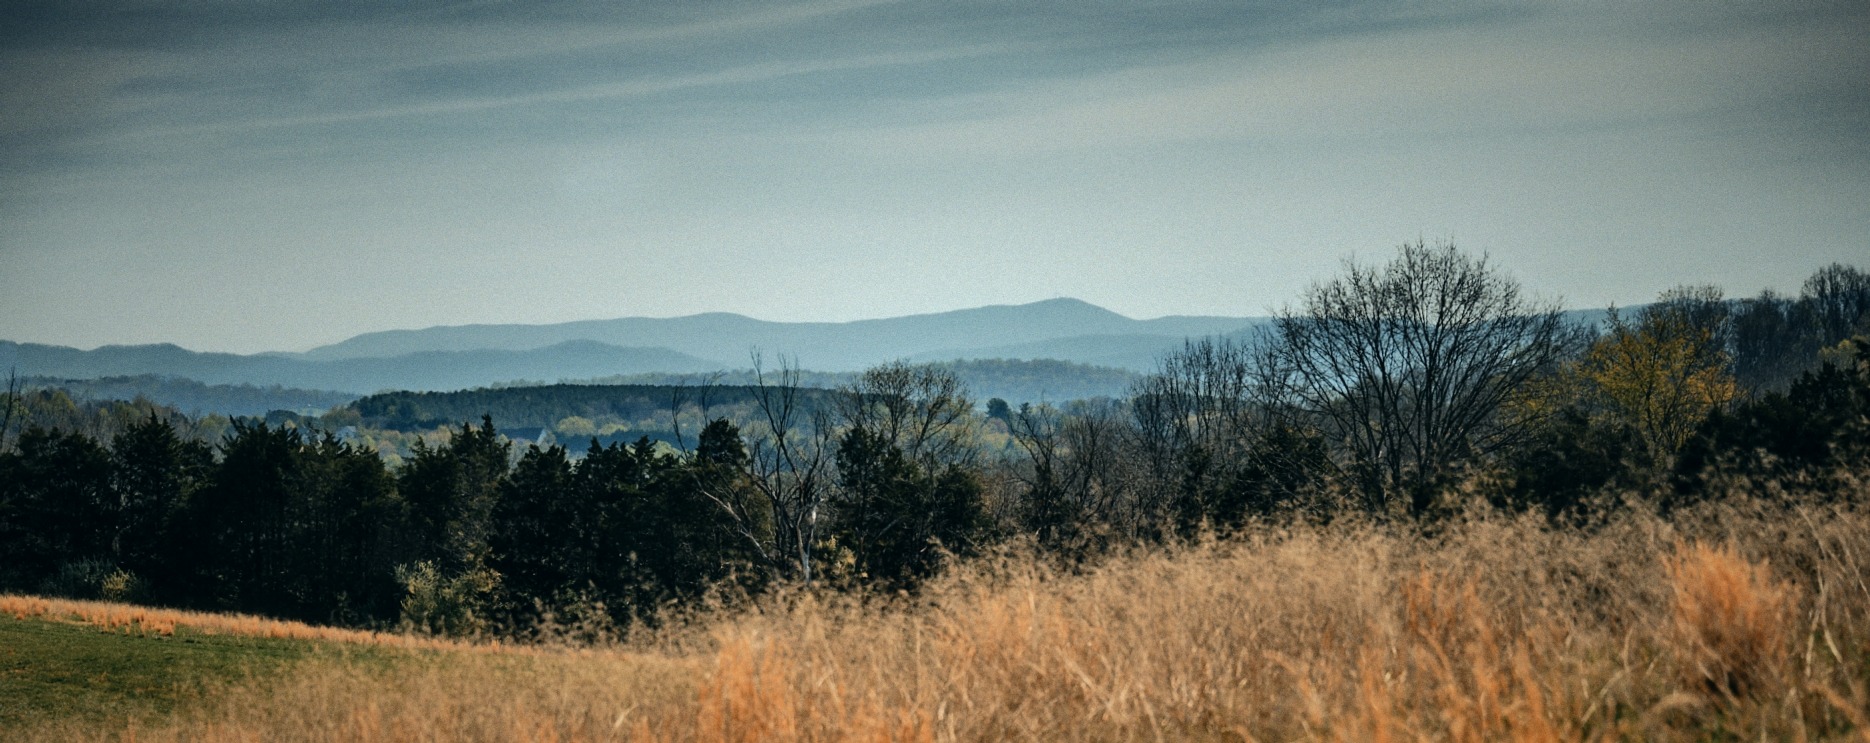
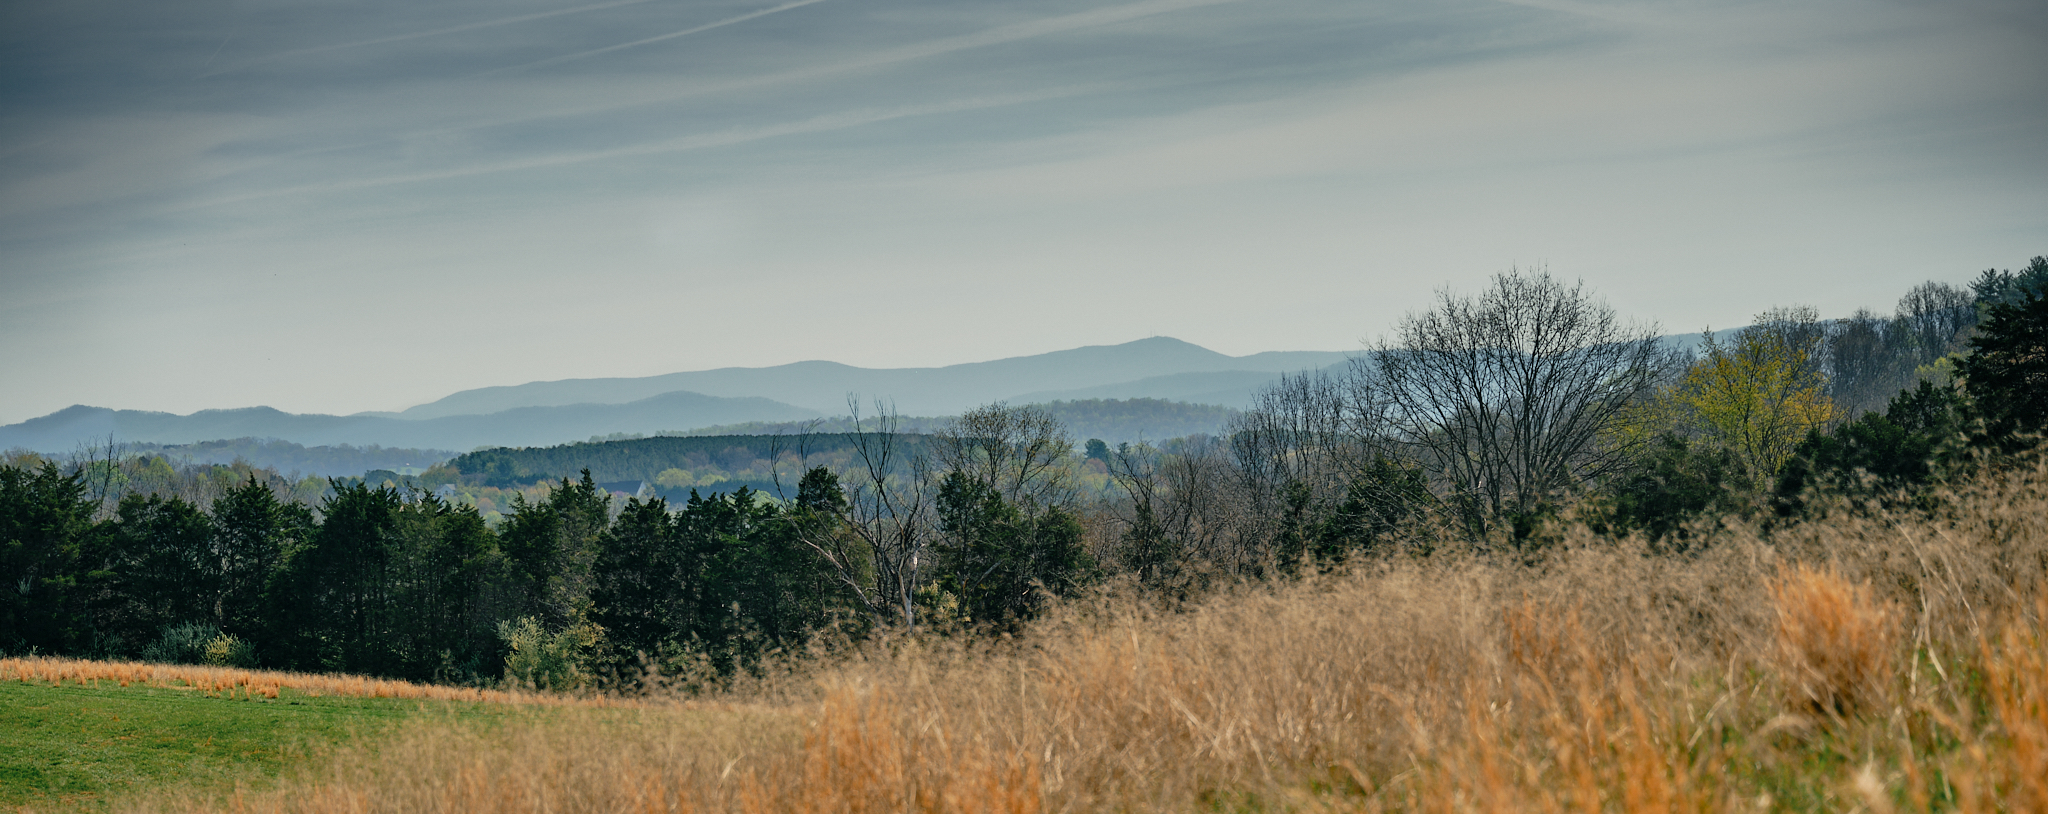
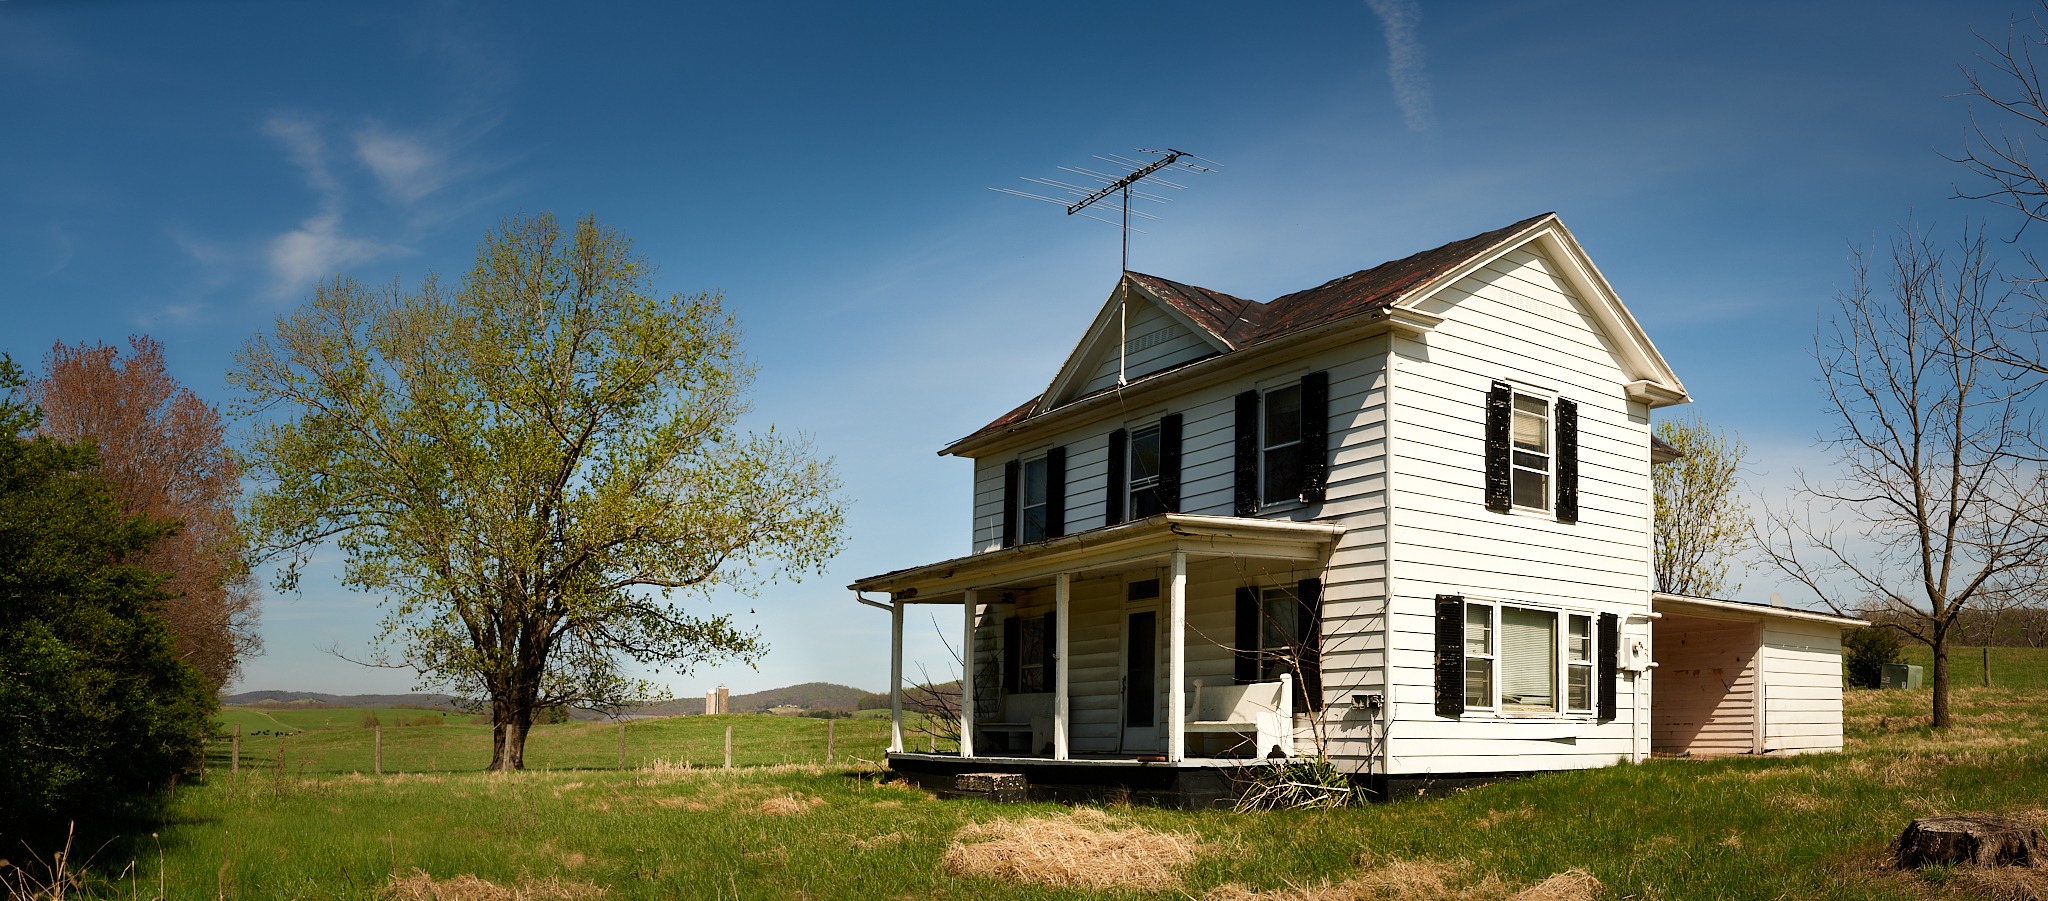
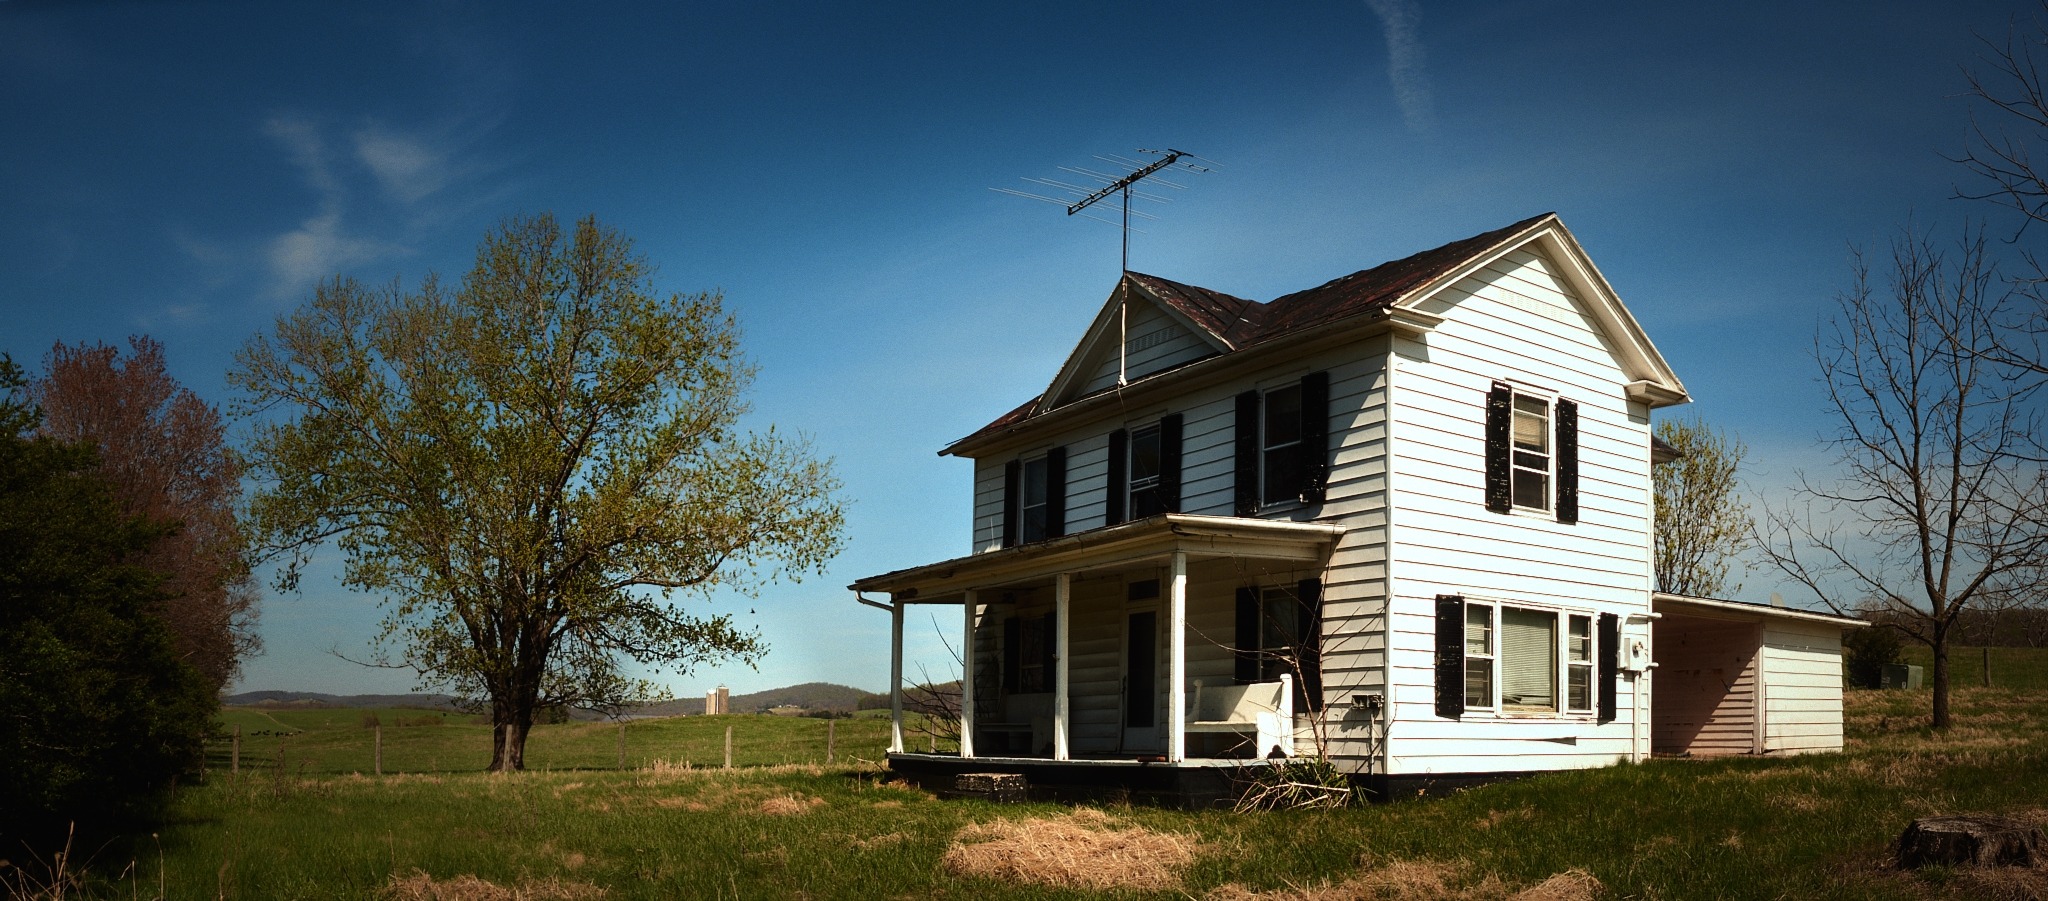
That was the goal when I headed out into the farmlands of Virginia, riding the back roads until I found trails cutting through meadows and fields I hadn’t been before. The GFX 100S was on my shoulder with the 45-100 and the TTI 90mm Macro in tow. Heavy, yes. Worth it, absolutely.
I packed my trusty REI backpack well over 20 years old, and inside it I relied on the peak design cube to organize and protect the gear in the field.
This day was about making images. It was also about figuring out where I stand with the software I’m using to process them – and getting comfortable with a new tool on my desk, the XP-Pen Deco v3 tablet.
There are so many software options out there right now – with lots of capabilities.
So many programs compete for your attention, your workflow, and your monthly subscription budget. I wanted to spend real time with each one bringing it through my typical process and let you know about what I found and what suited me.
Why Medium Format – and Why It Changes How You See
Before we get into software, let me say something about why I enjoy shooting medium format.
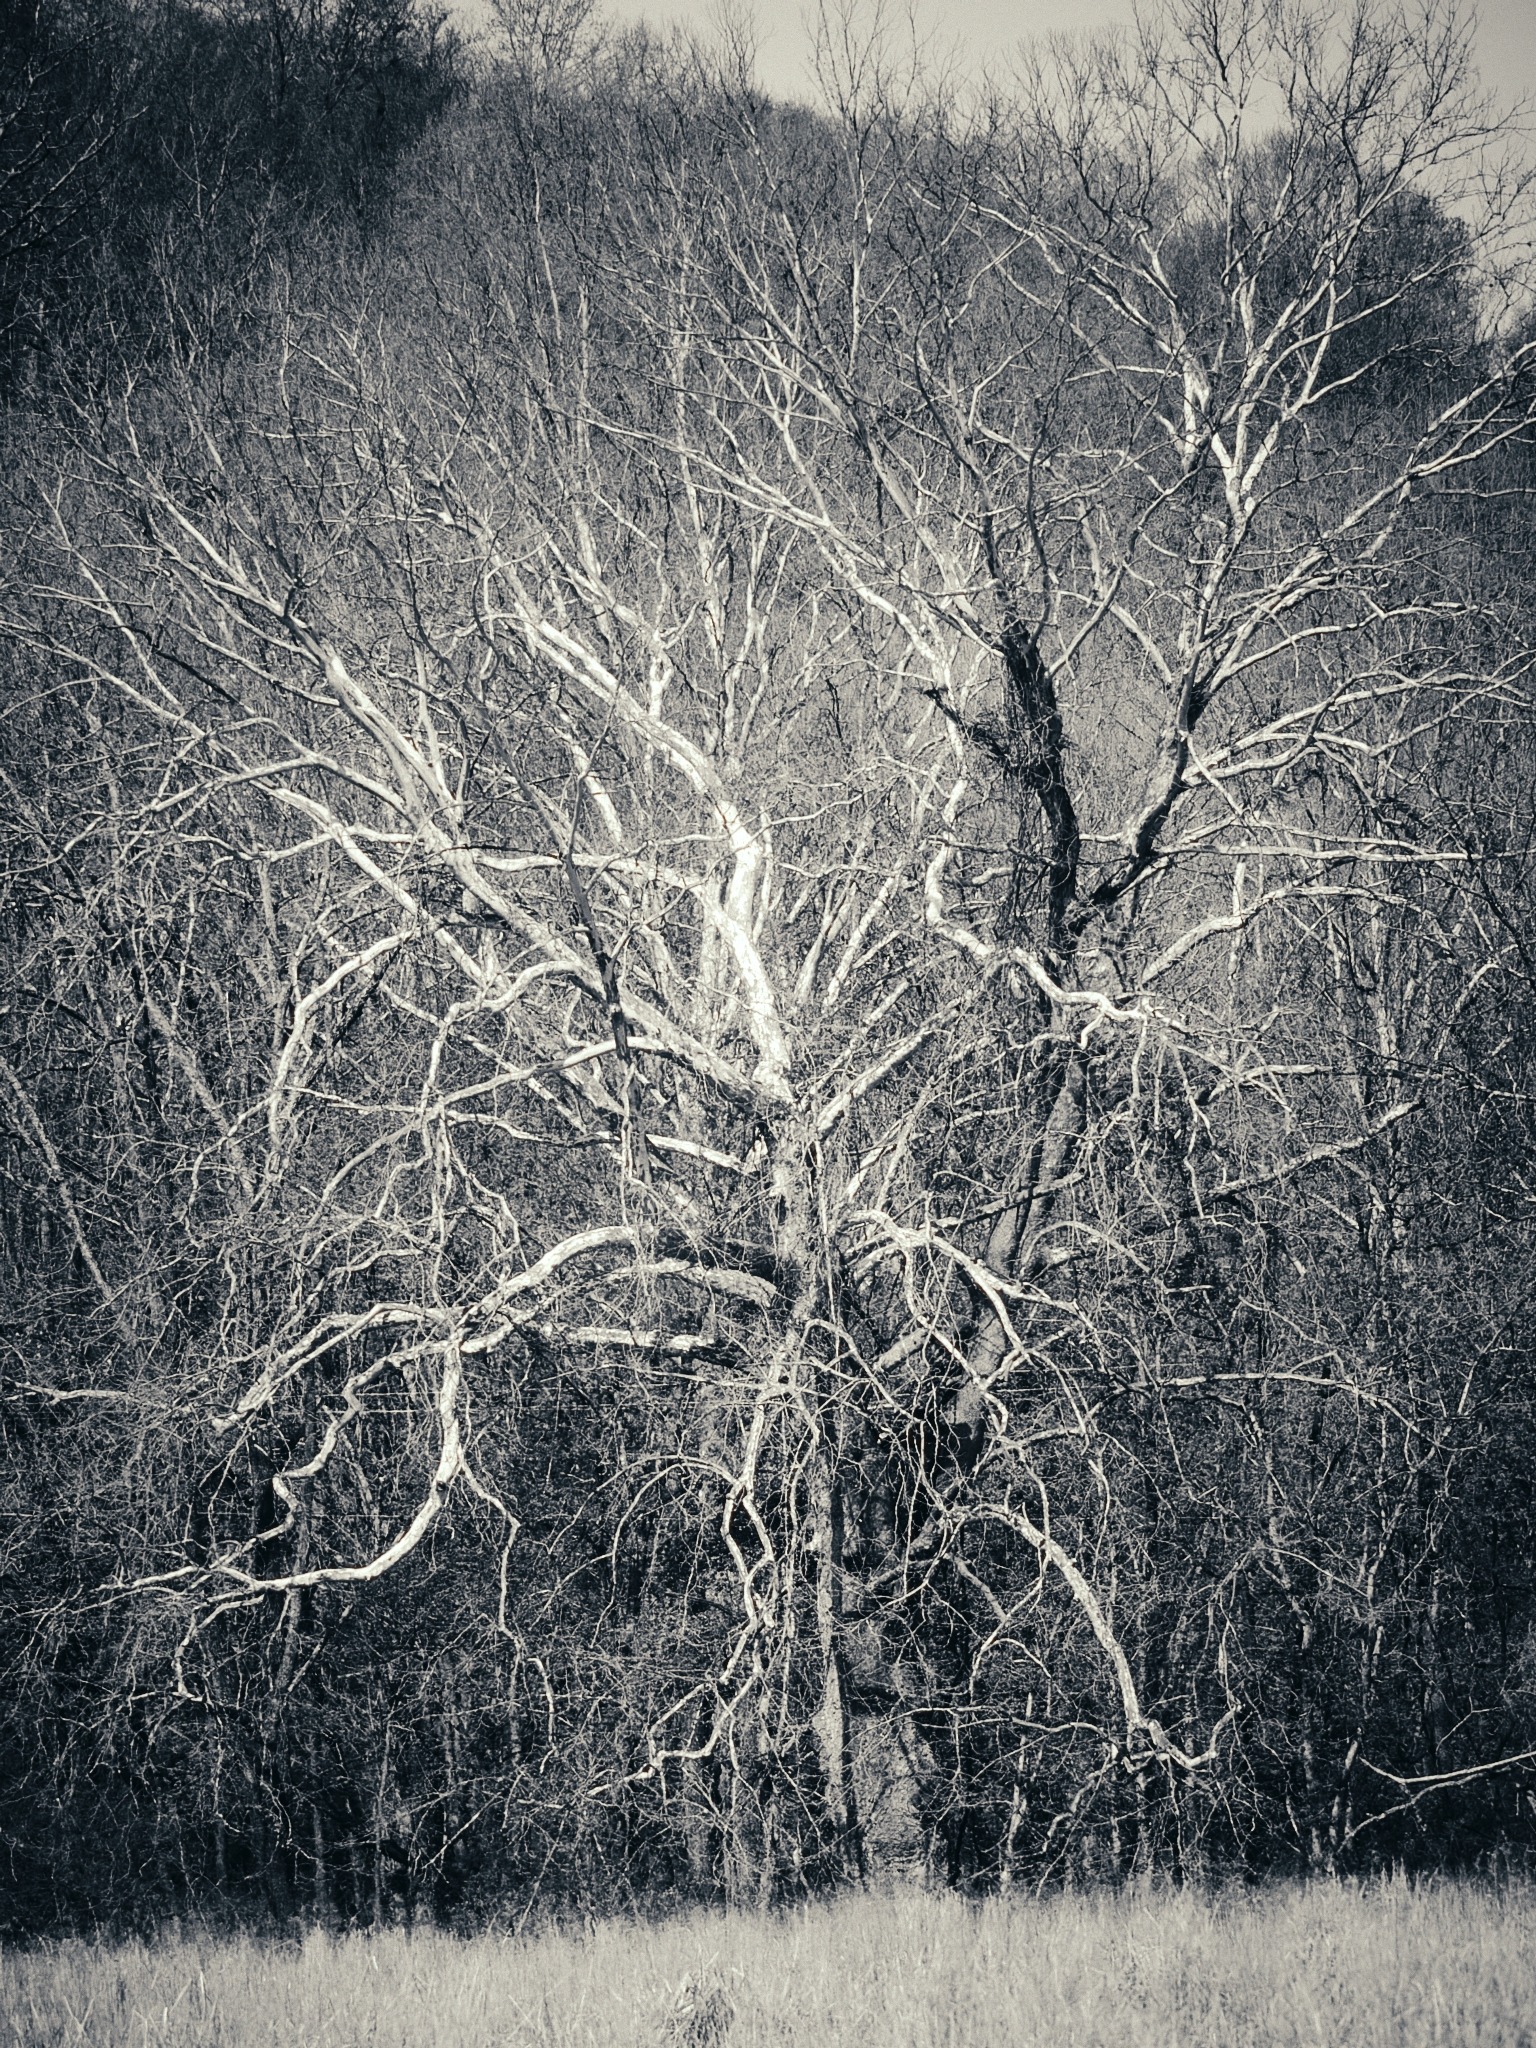
I’ve been thinking about doing a project around the “ Big/Small” of life – the notion that we are simultaneously enormous and super tiny in this universe. We travel across landscapes and feel the scale of everything around us, but if we zoom in close enough – we are just another part of the life happening everywhere.
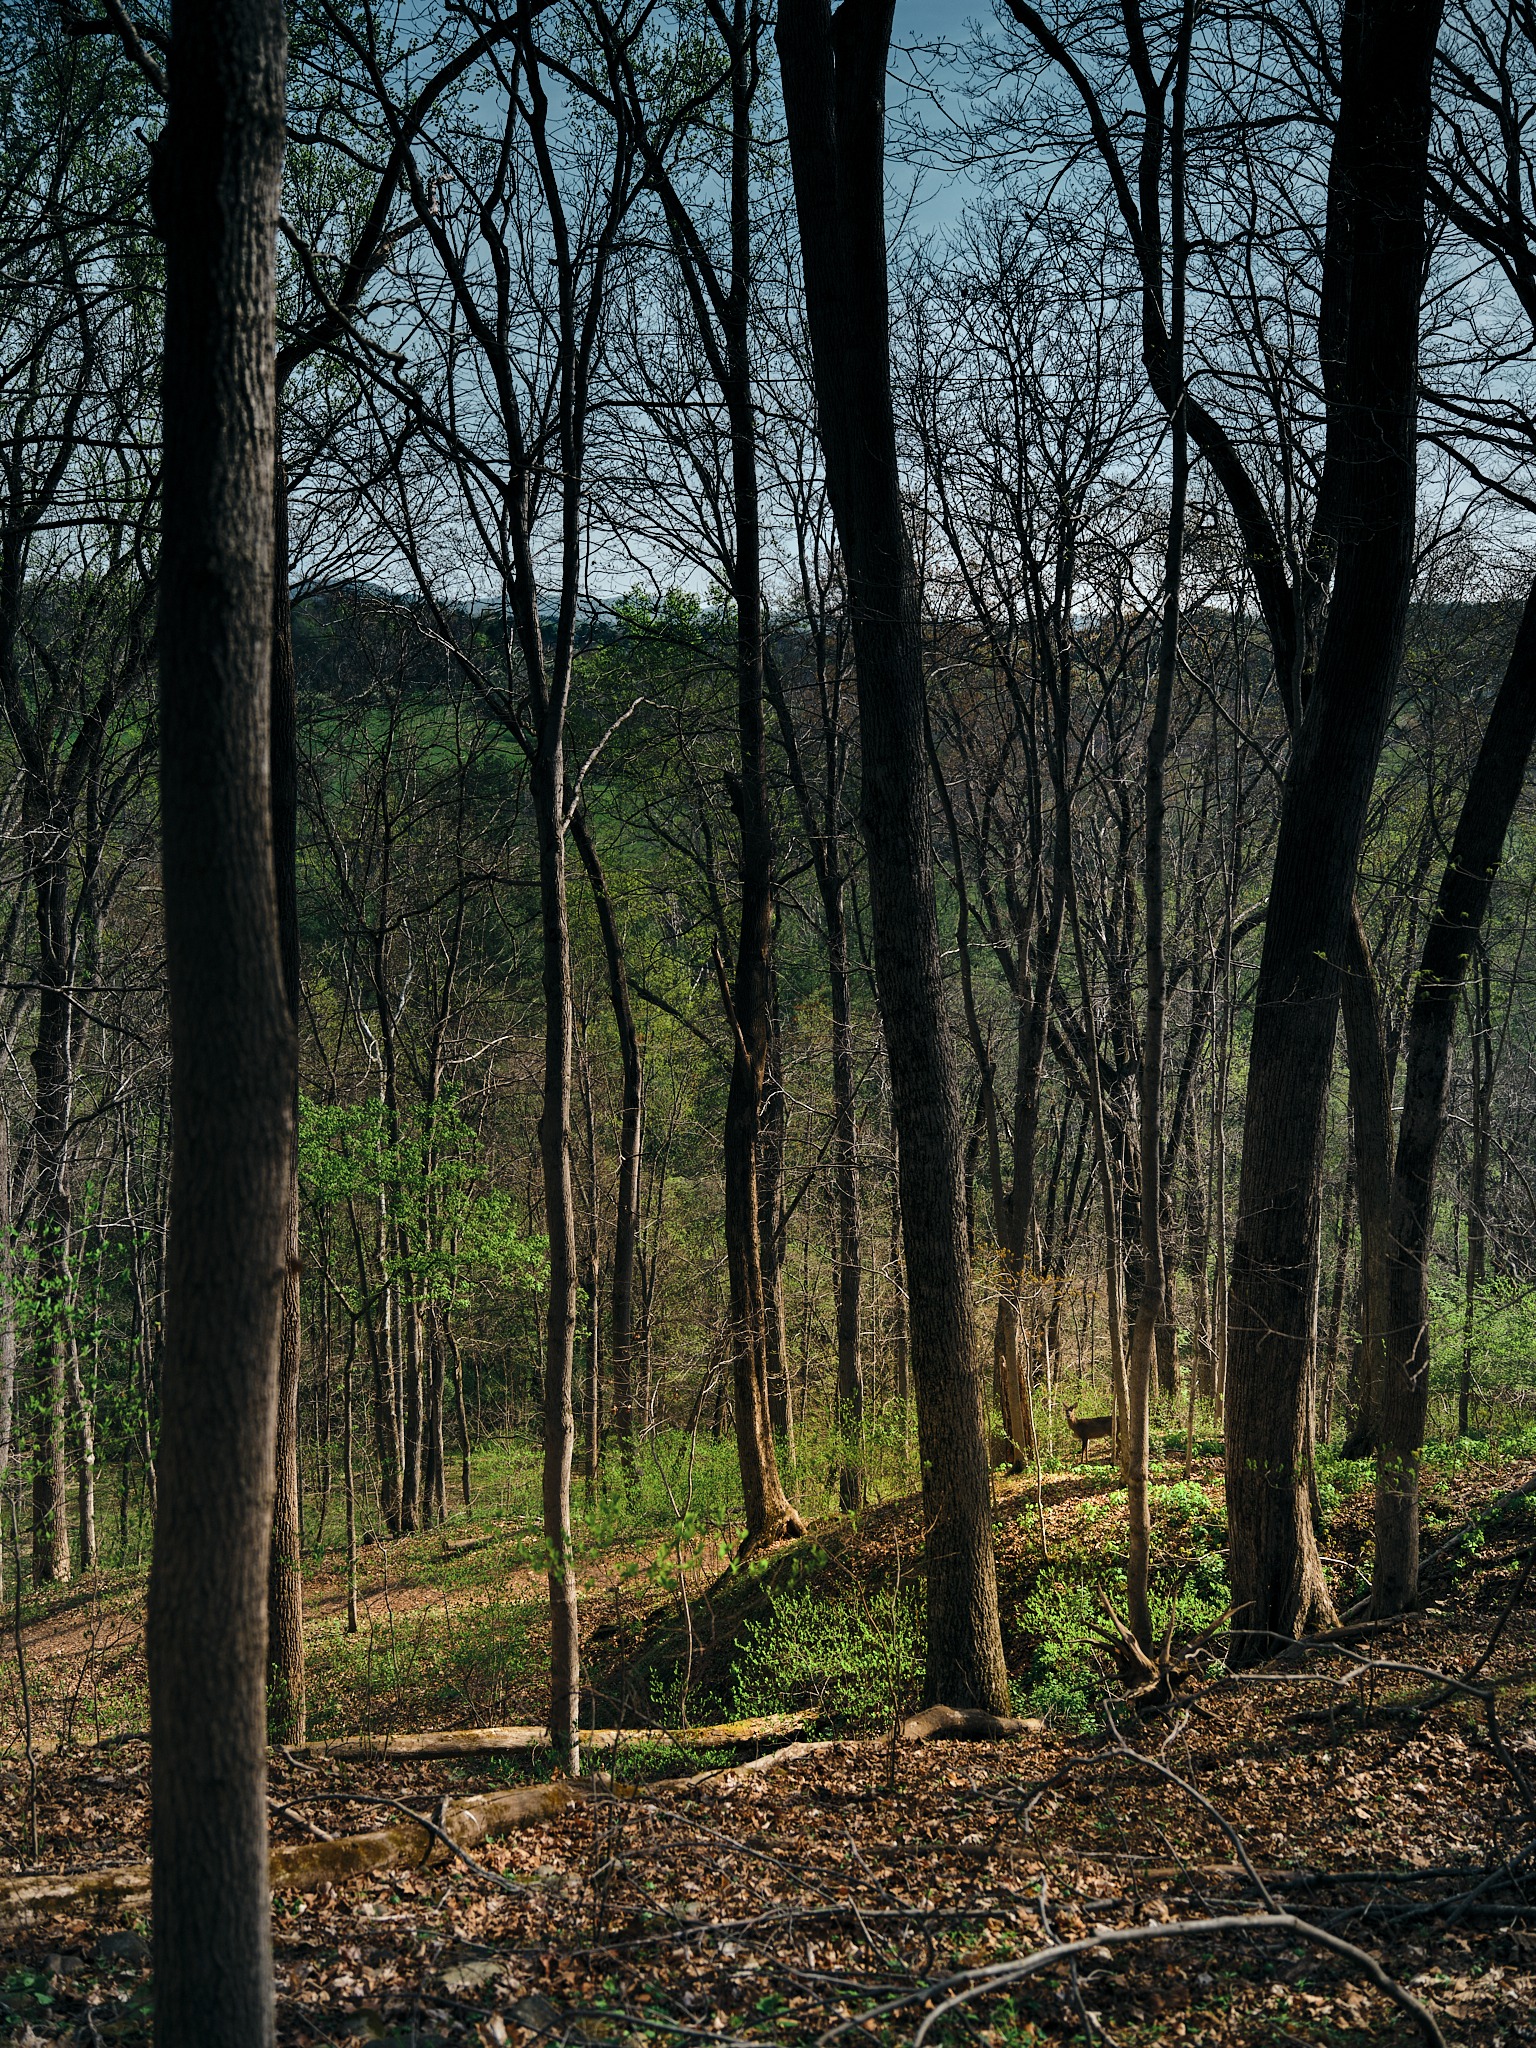
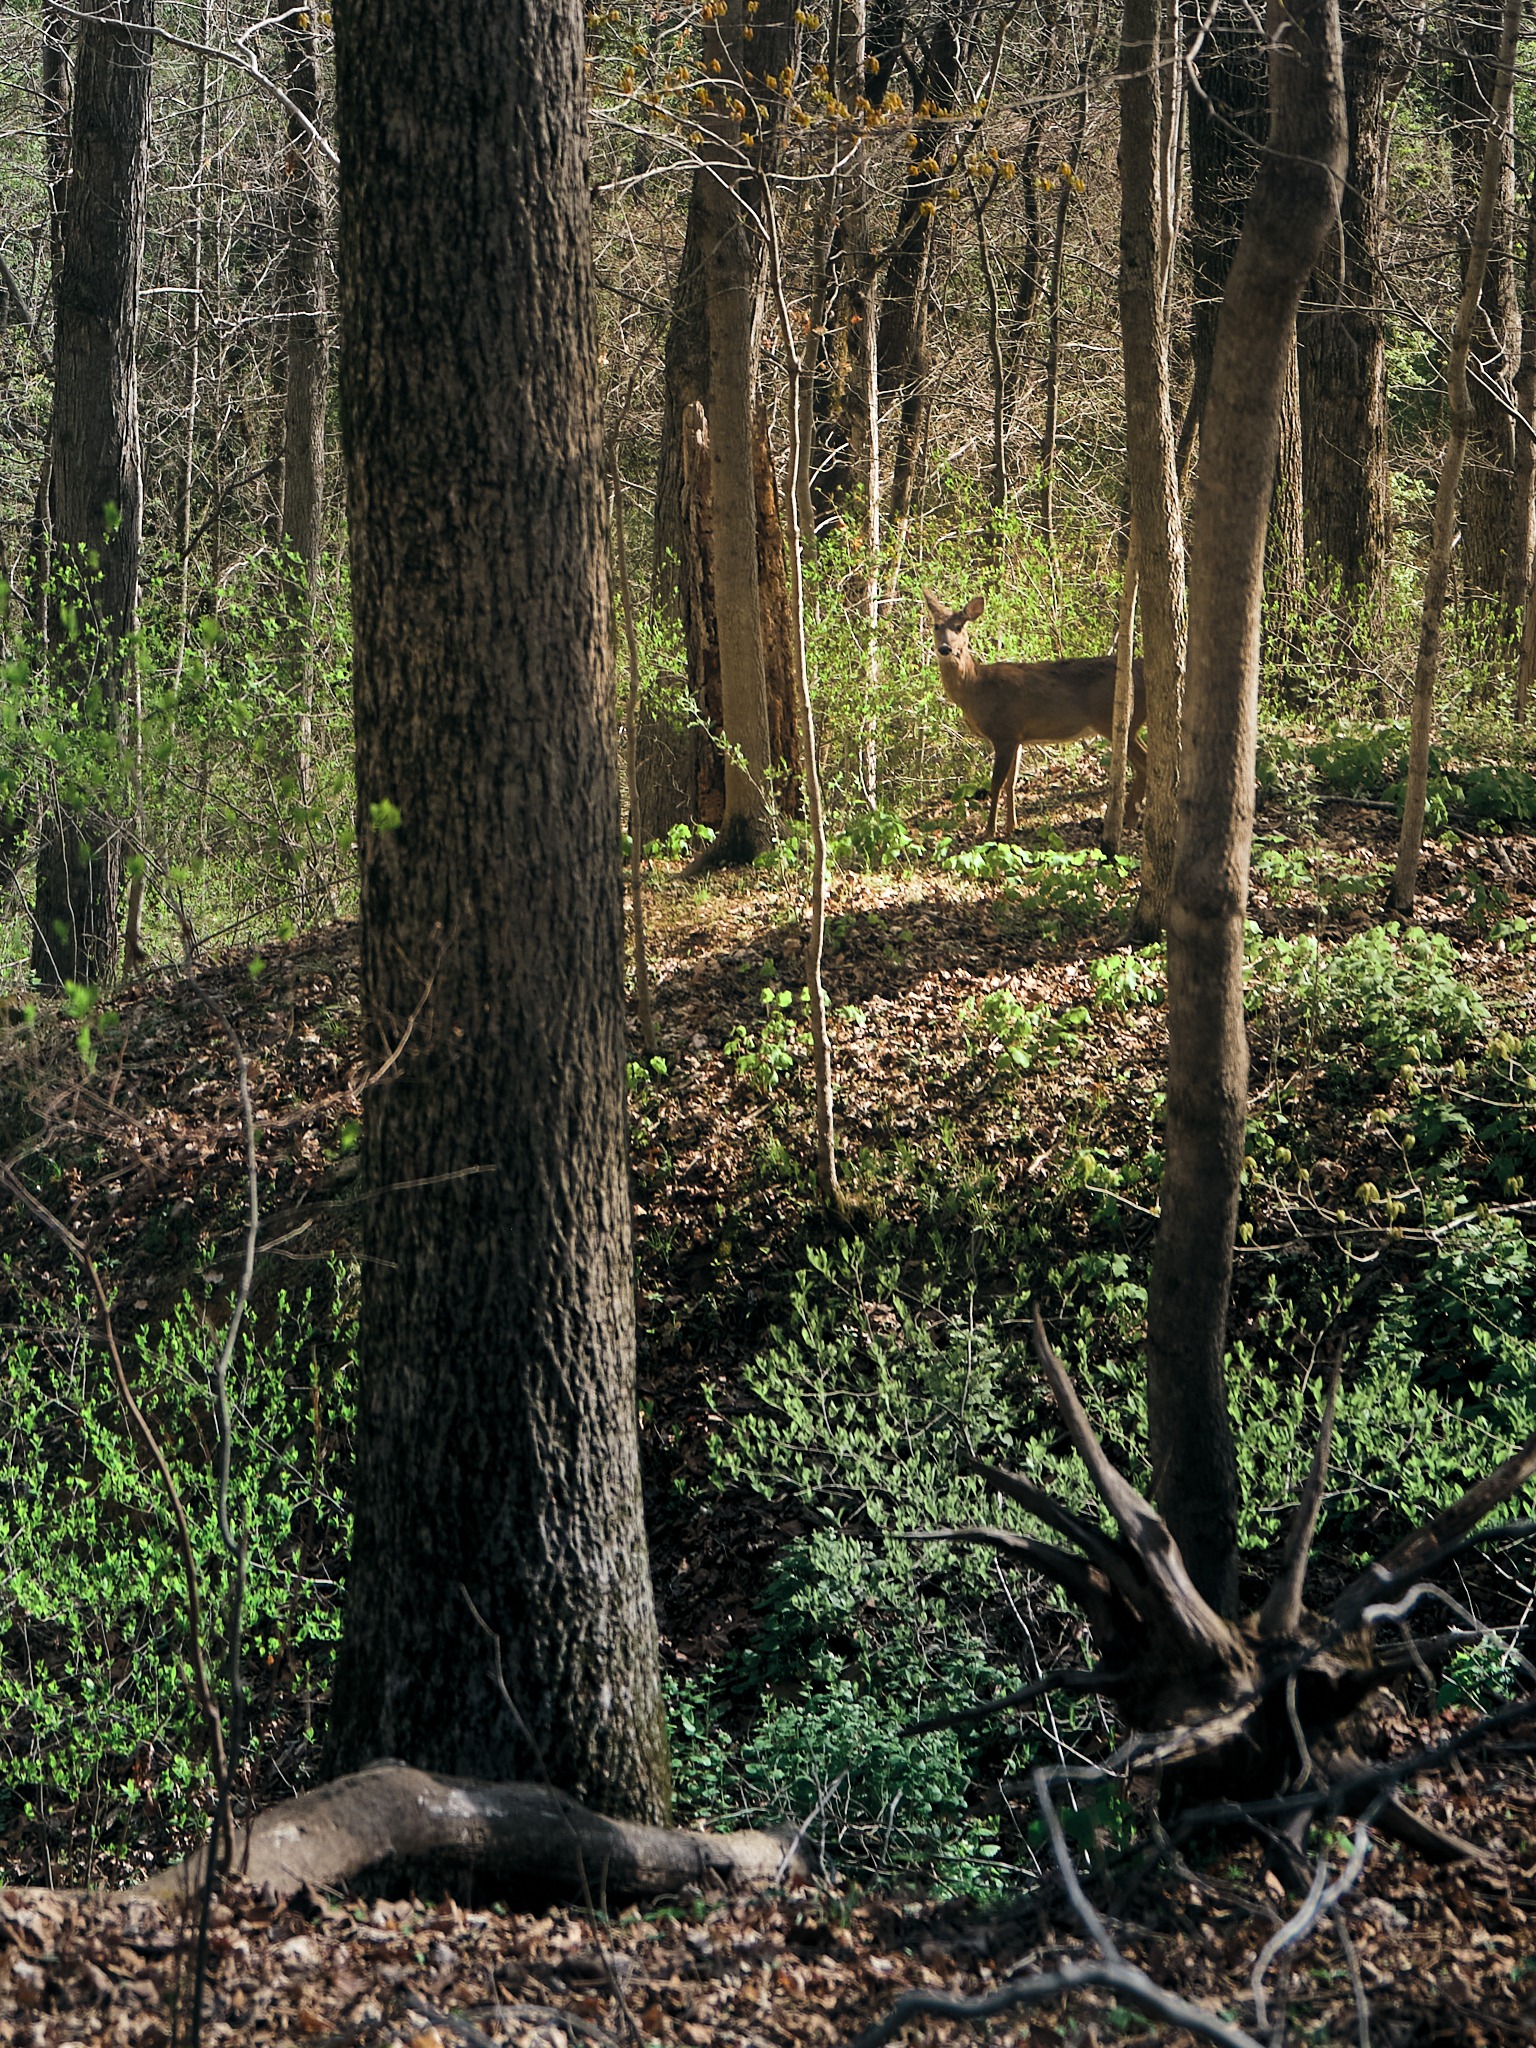
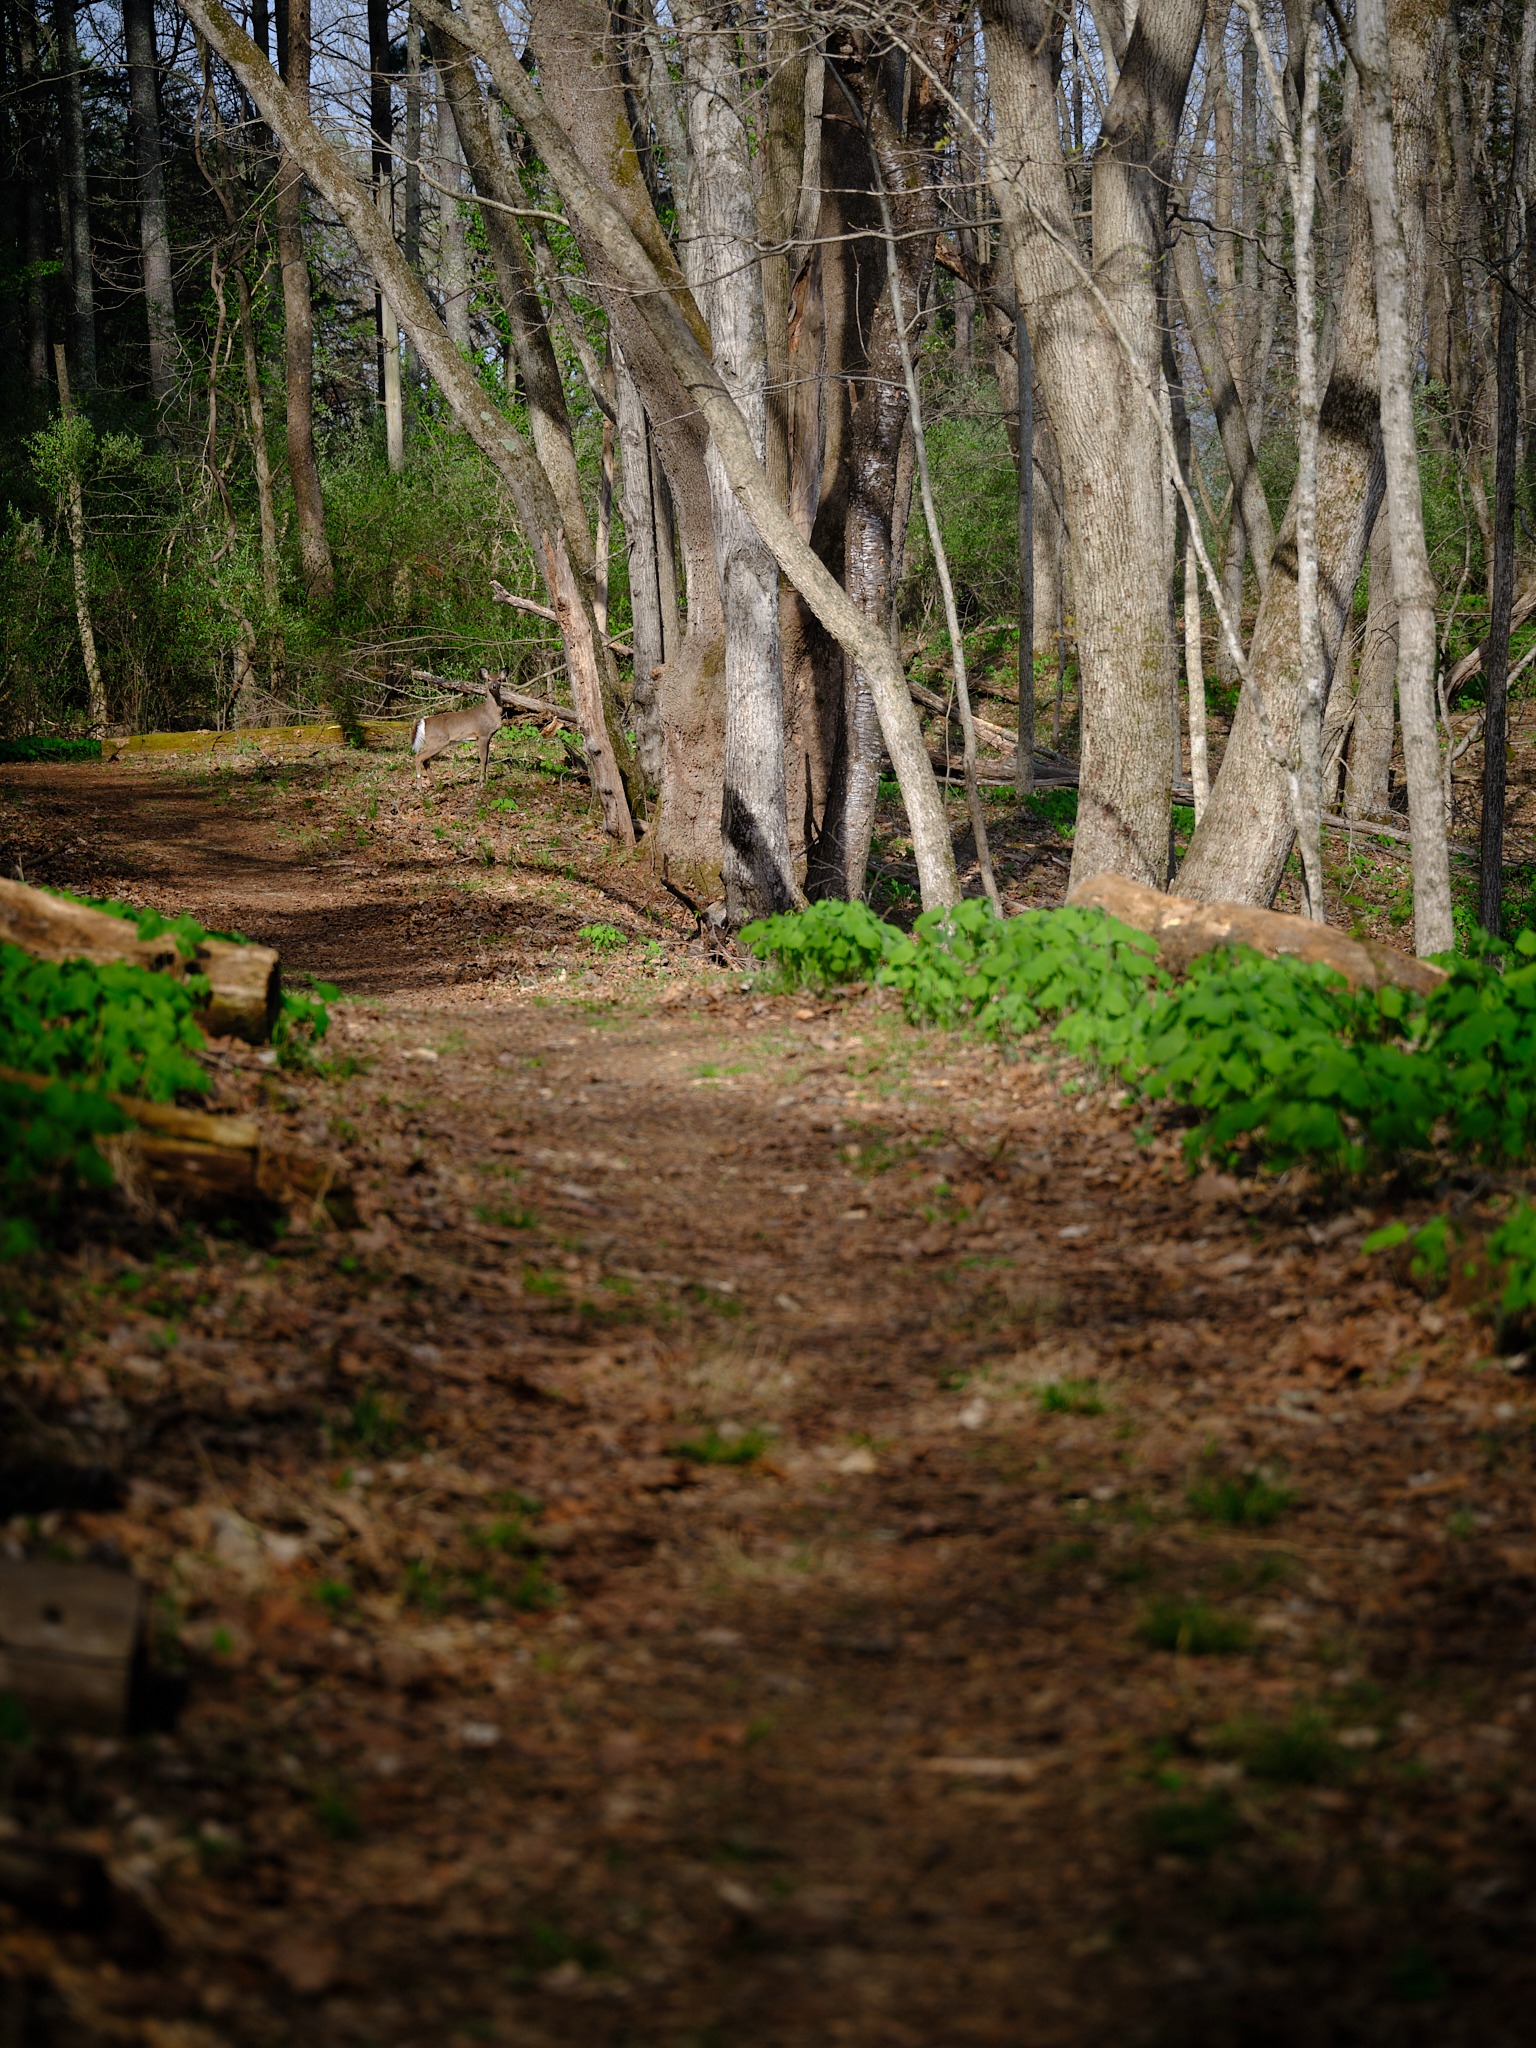
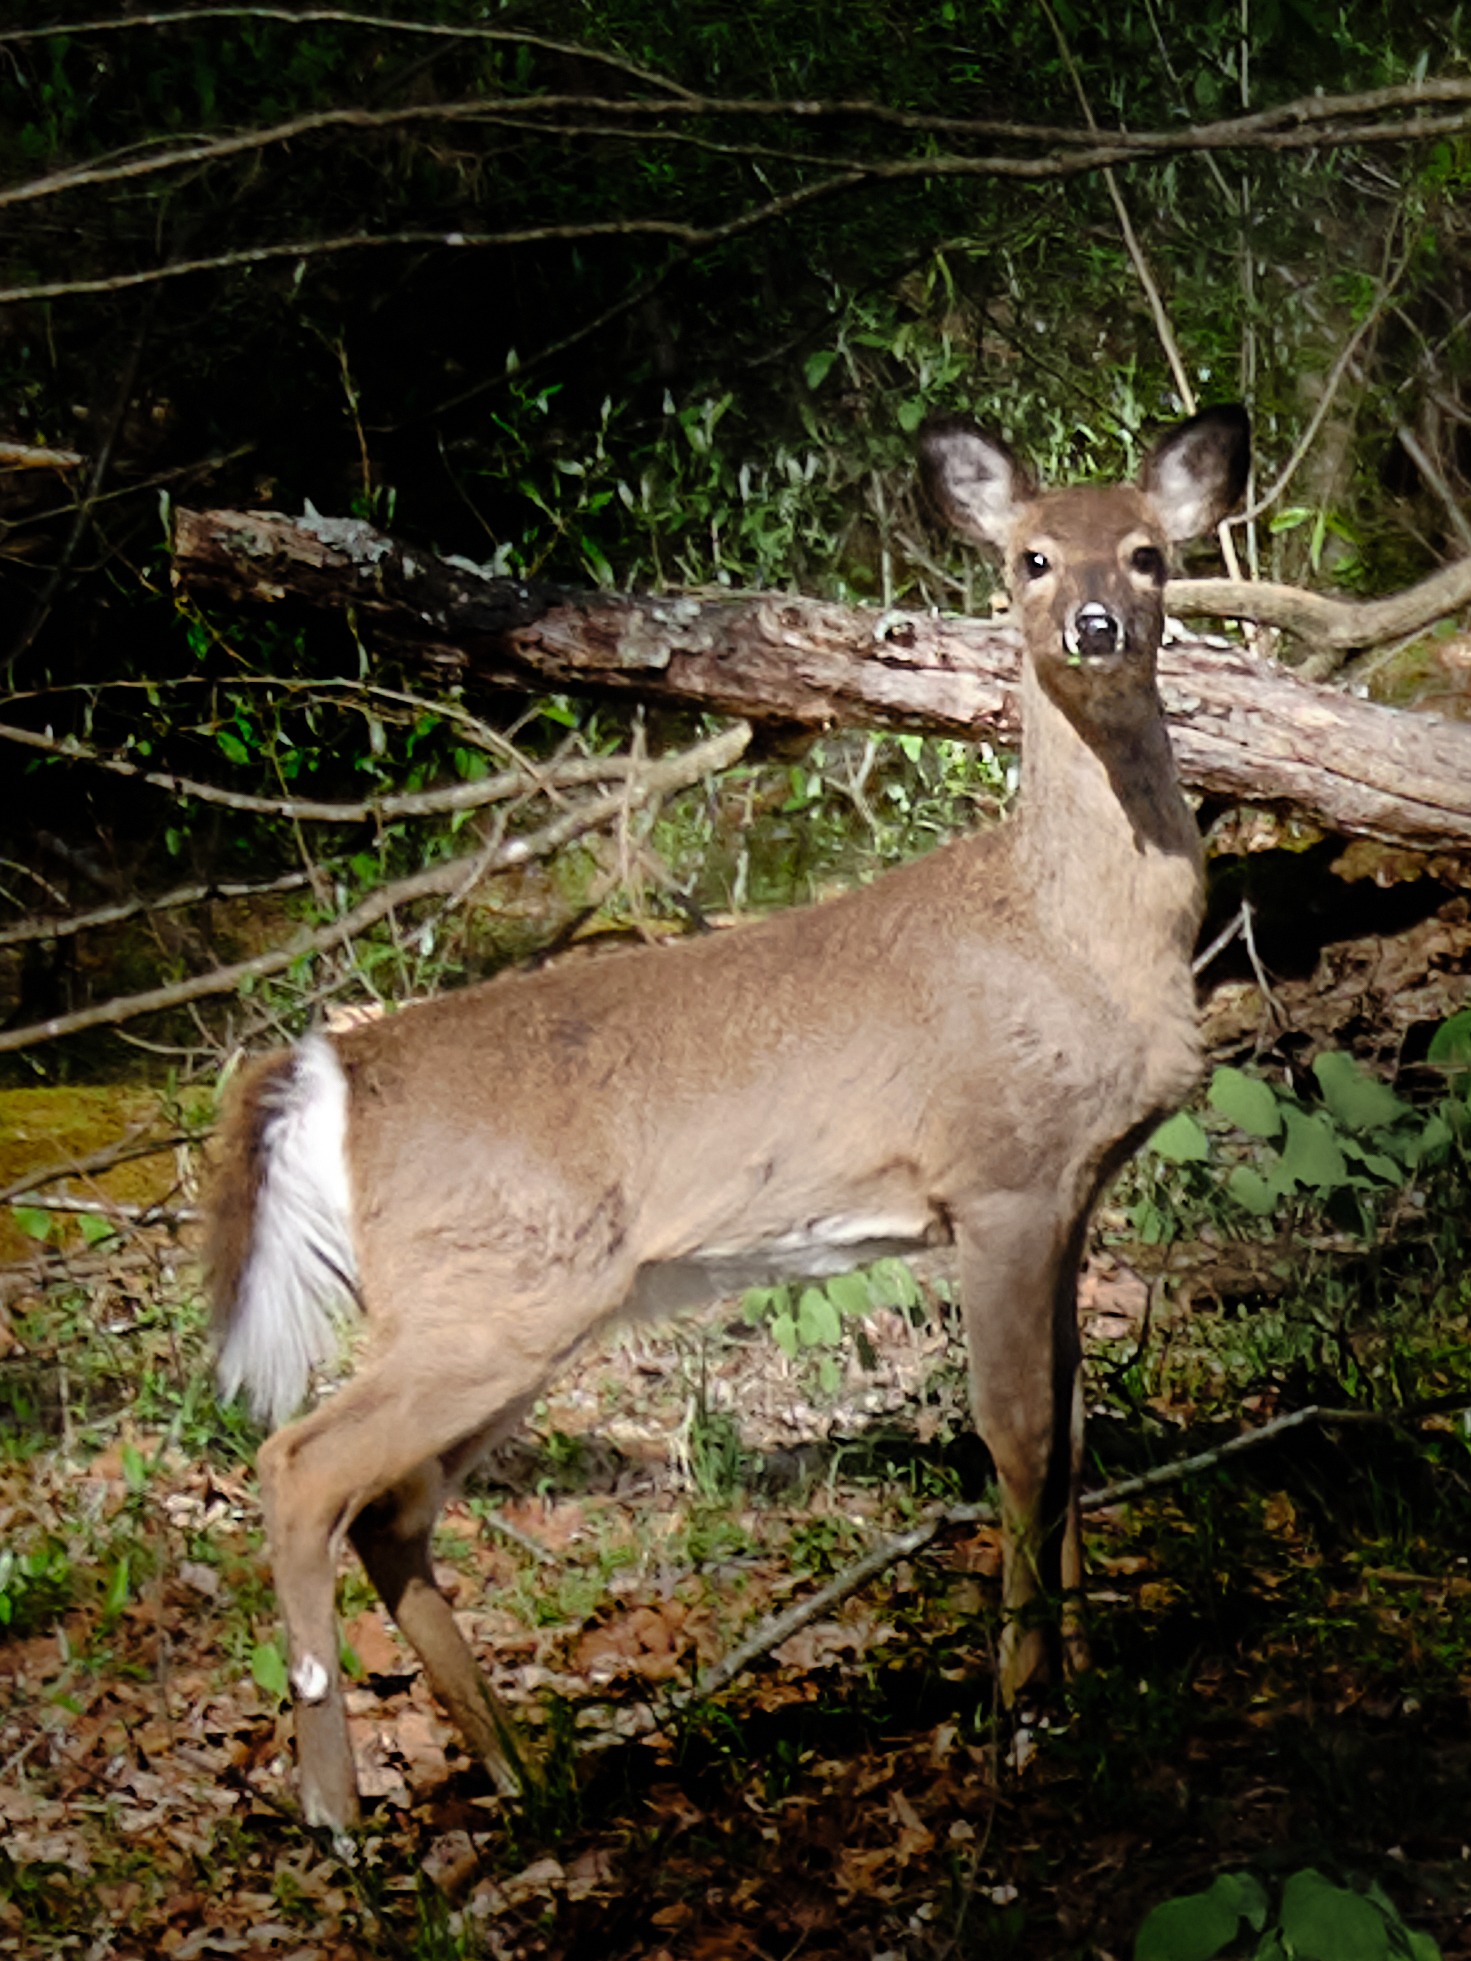
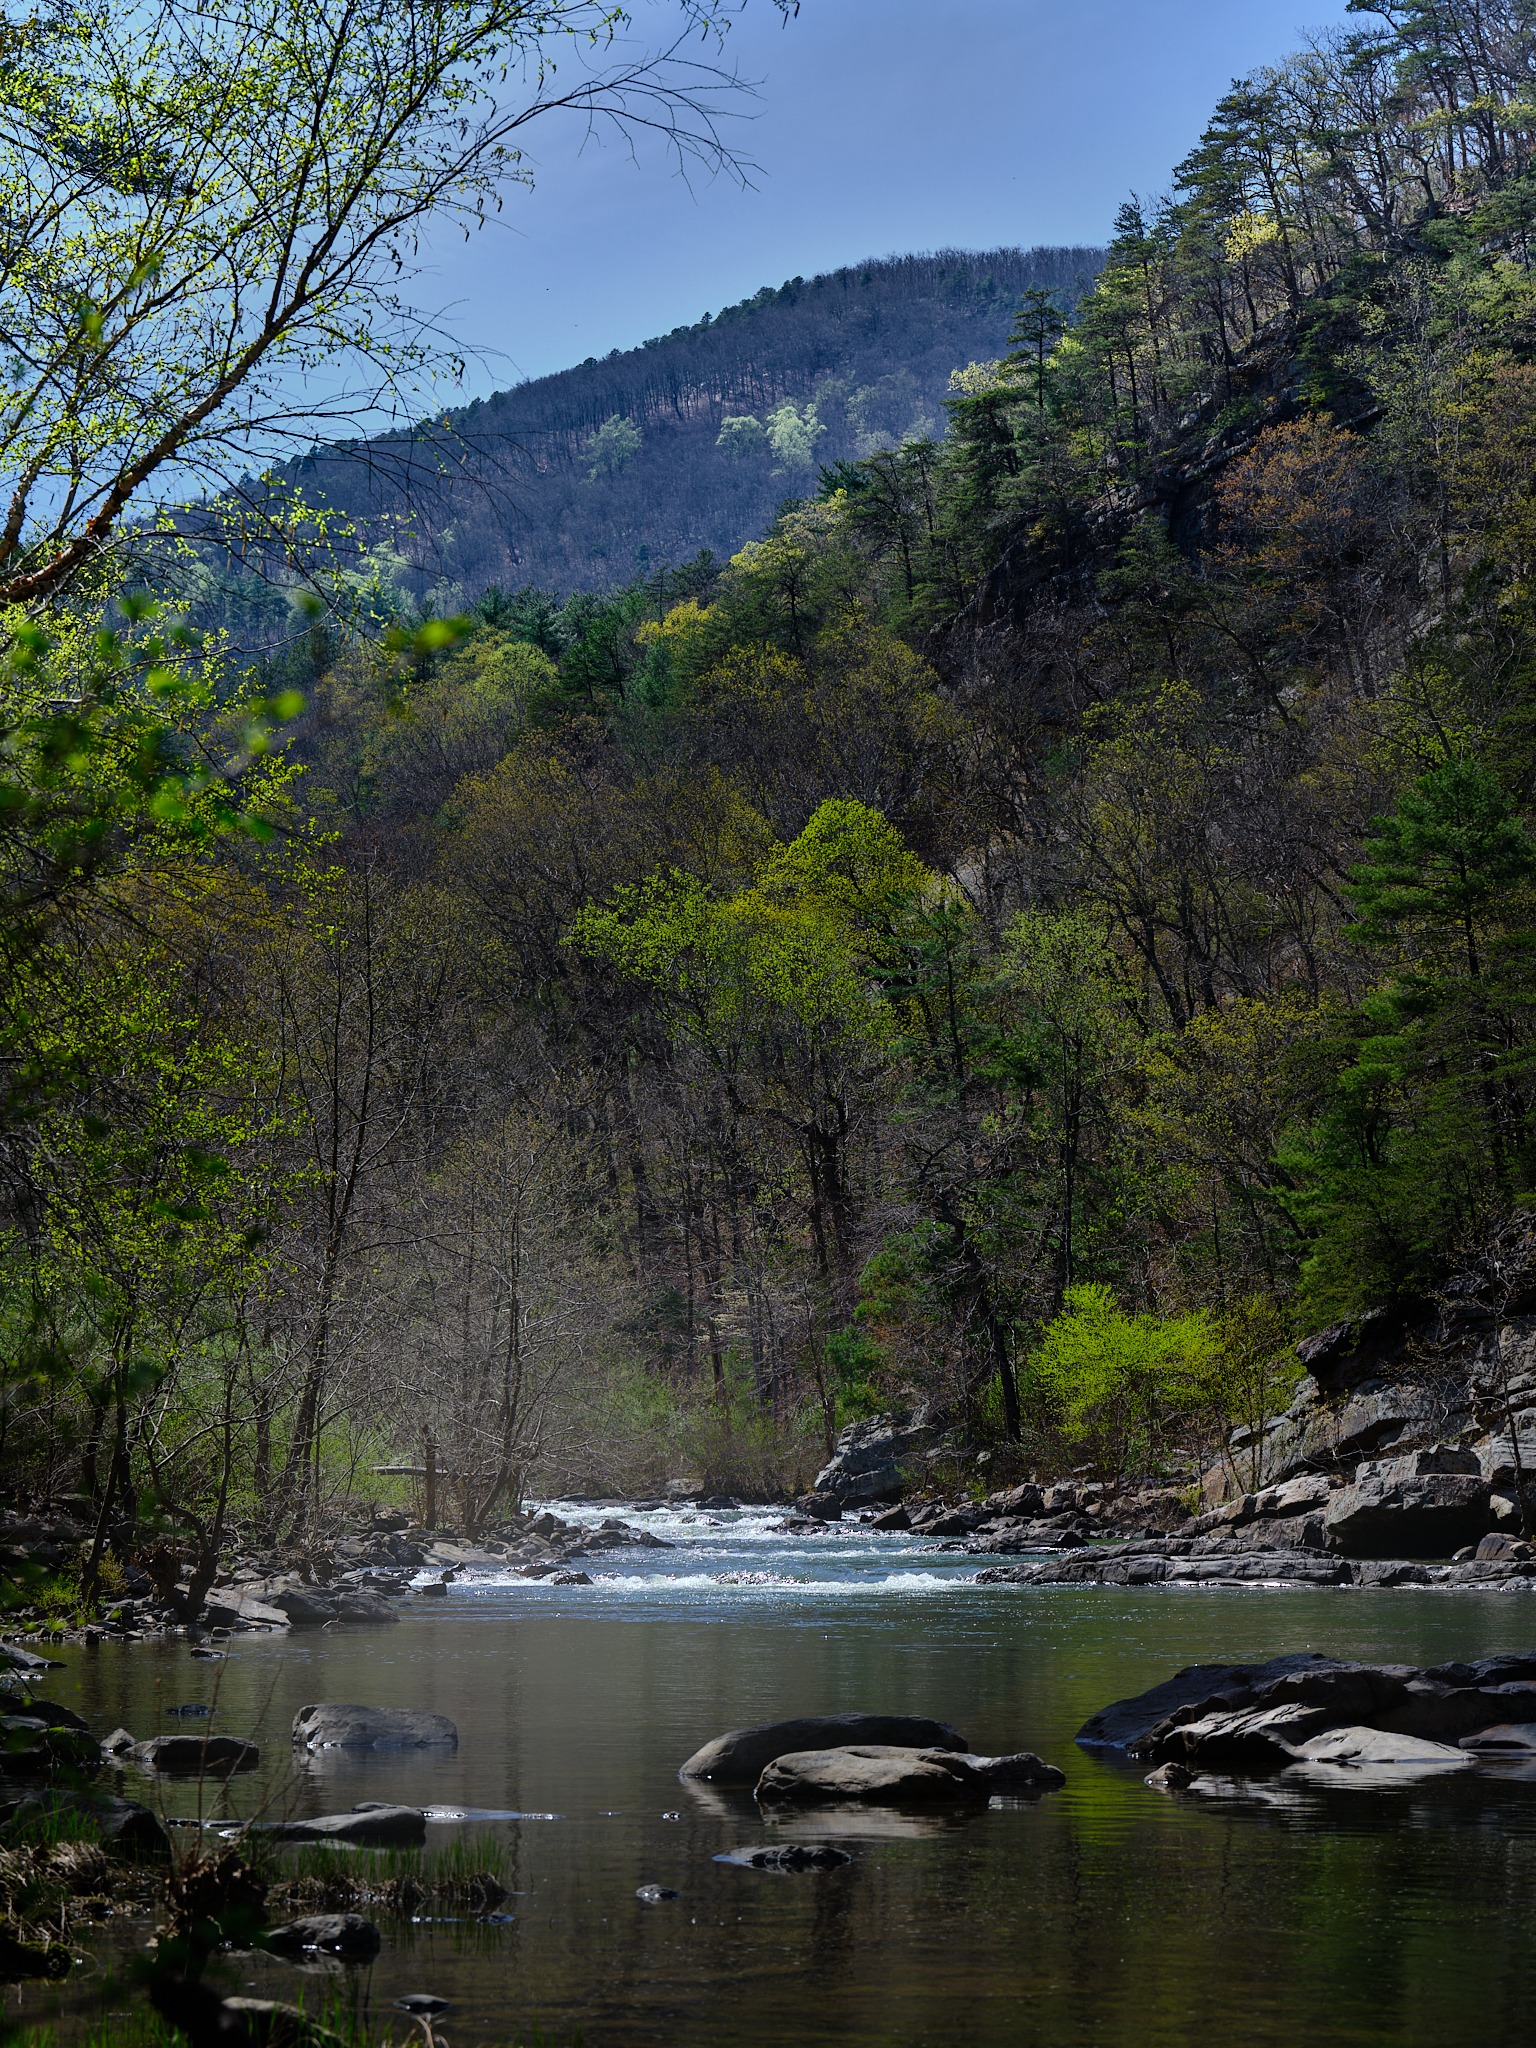
A dandelion in a Virginia meadow. A deer standing still in the forrest hoping not to be seen. The patch of light glowing the river rapids.
Medium format forces that intention – it seems to capture everything.
The GFX 100S , B.O.B. as I like to call him – is short for “big ole brick”. He’s big to carry around. It’s a commitment. When you come to accept hanging out with B.O.B.- you’re committed- and that choice usually pays off.
When you’re lugging around that camera through your photography journey – You’re LOOKING. Really looking.
The image quality gives you something to work with that smaller formats can’t match in post production. Ok – fine they do now with a little Topaz. But – there’s a discovery in what I can see after the fact that I couldn’t see on the day.
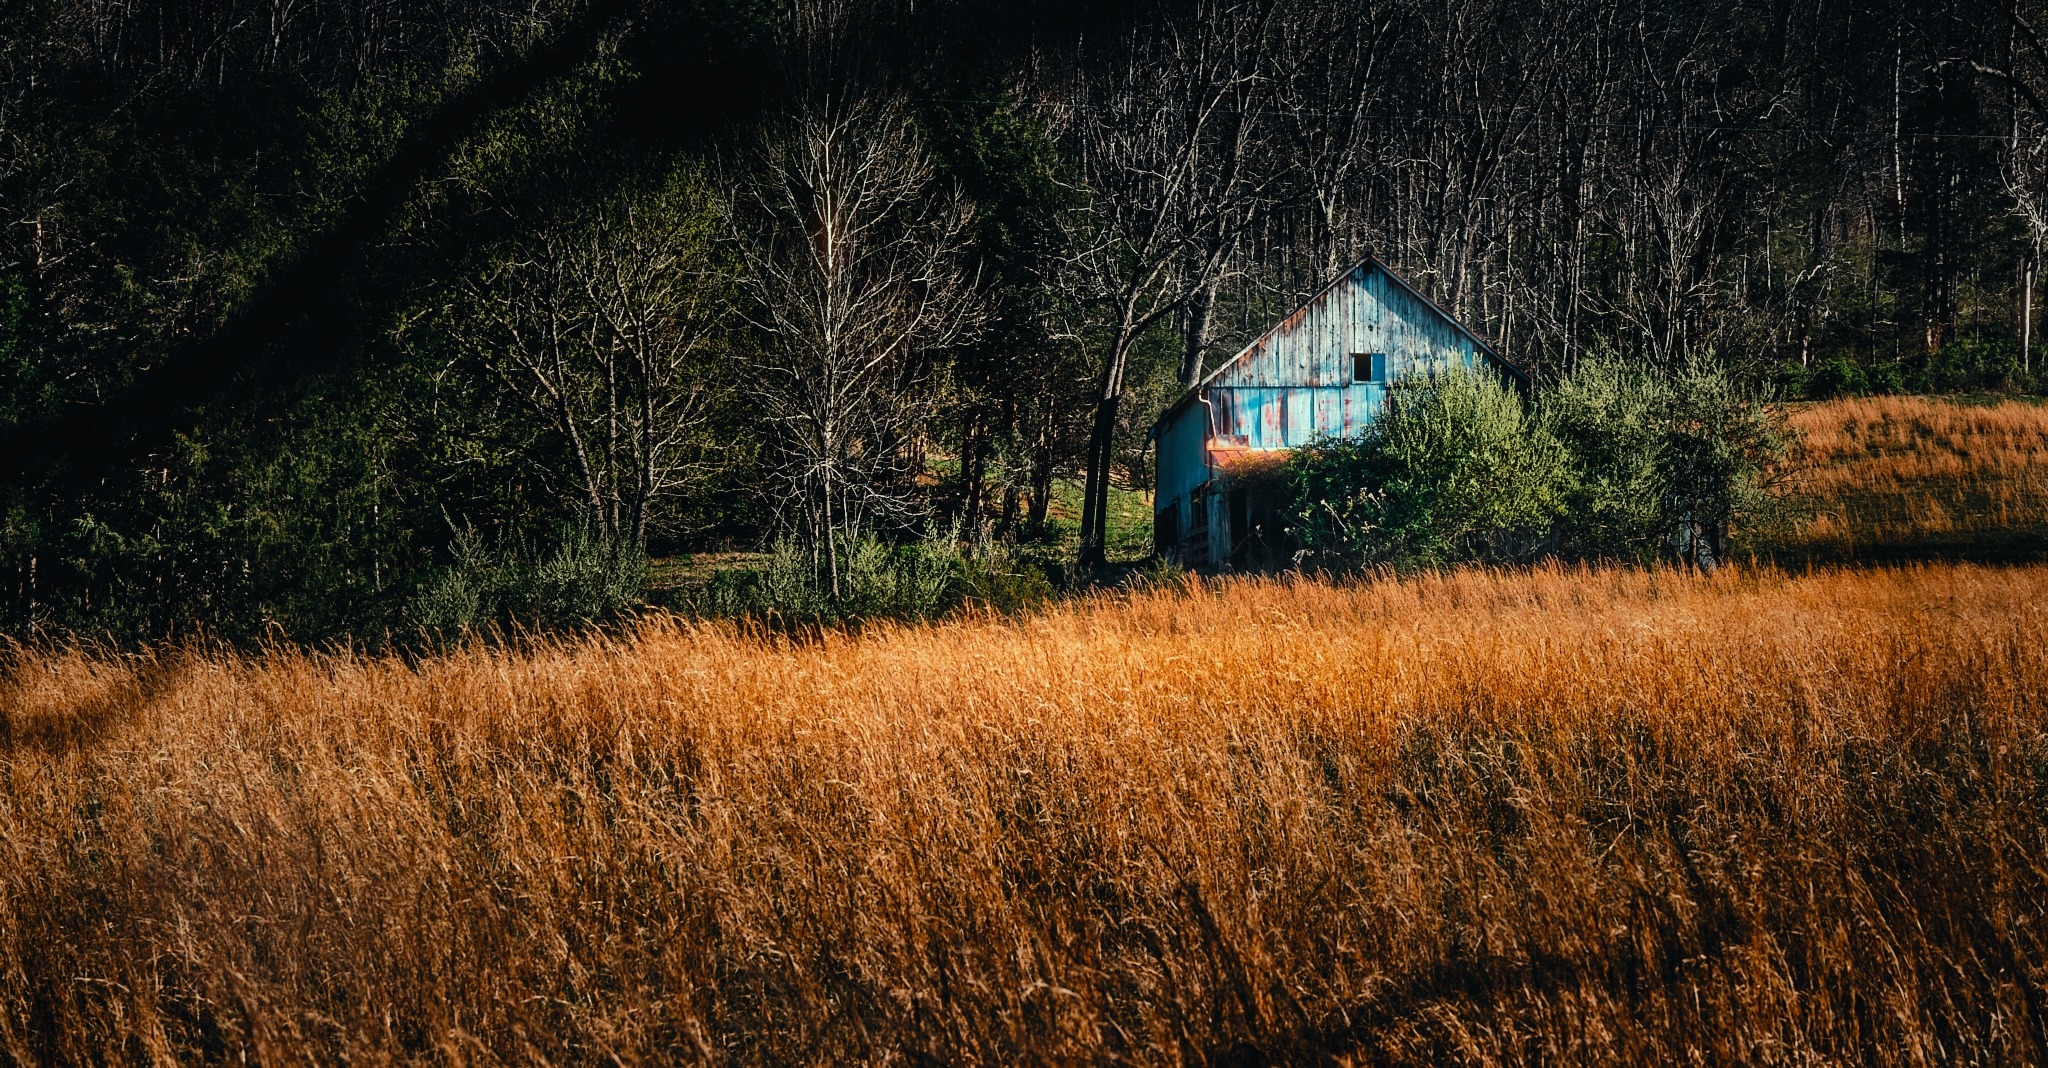
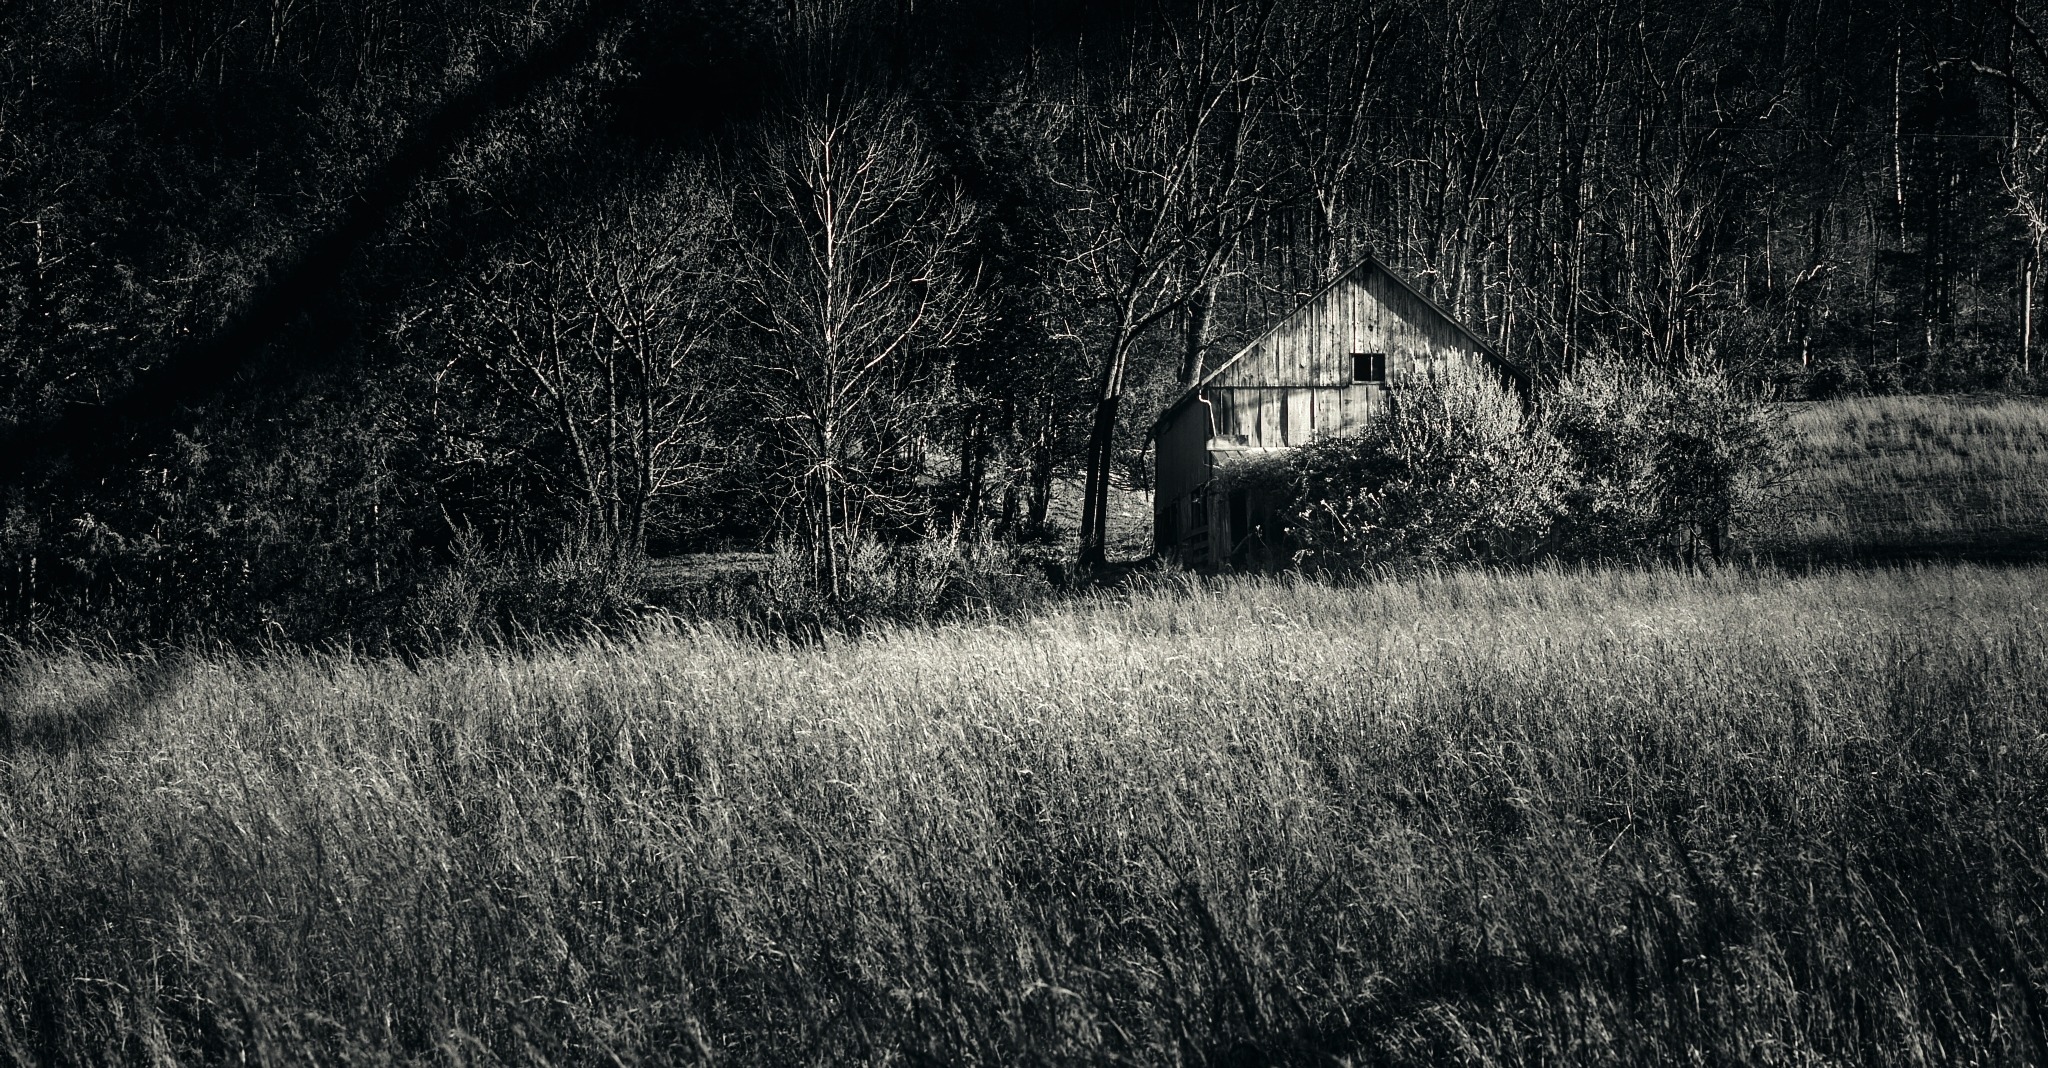
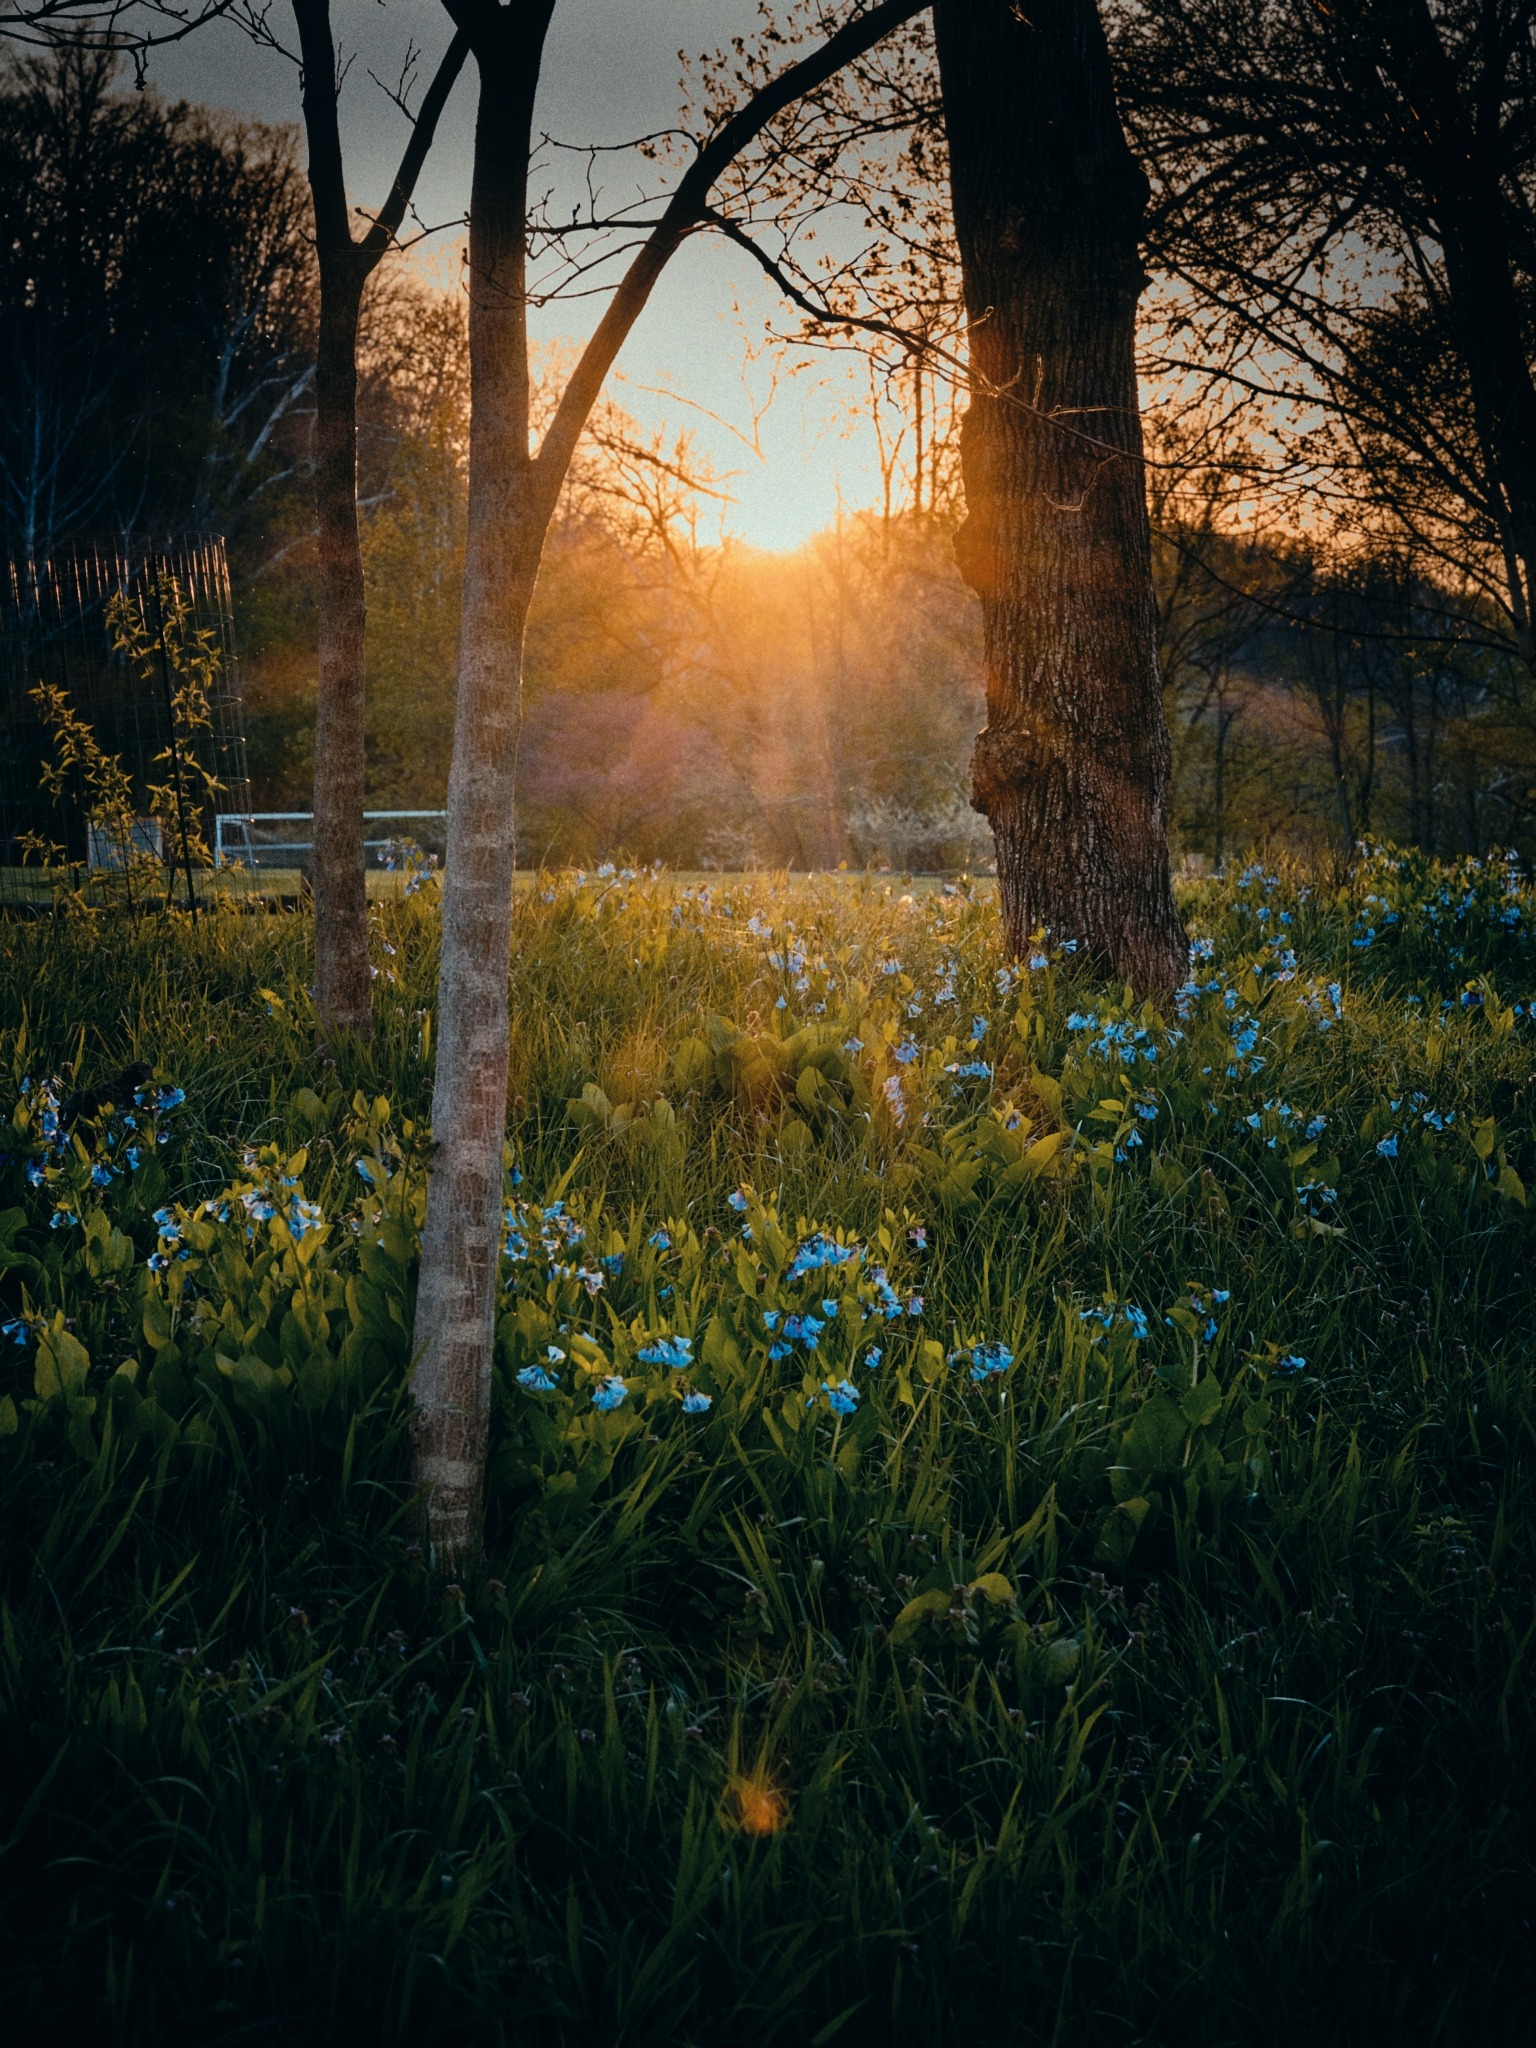
When the day was done – the images needed some serious editing tools. I shot mostly during midday and missed the spot I wanted to get to by sunset. The images would need some help.
I wanted to crop, paint, color – to see and feel what I captured on the day. So let’s talk about what I found.
The Pen Tablet – XP-Pen Deco v3
I’ll admit I wasn’t sure about this. I’ve been a mouse-and-keyboard editor for a long time, and the idea of switching to a pen felt like a fun learning experience. I haven’t used a pen tablet in many years, probably when HDR layering first became popular. It was time to find another one.
I got some wonderful recommendations from the LuLa community. I ended up here – mainly because of price and functionality.
Getting comfortable with the pen in Capture One took a few minutes, but once I was in, the pressure-sensitive brush work opened the ability to paint edits into an image the way you’d naturally move your hand. Subtle. Organic. You’re not clicking through sliders – you’re “brushing” and touching the image. It was easy to play with brush stroke size and opacity with just a button on the pen (programmed for right click).
I had lots of fun “dodging and burning” and saturating/desaturating certain elements.
That said, I had a finding worth sharing:
- The pressure sensitivity was actually too responsive for what I needed – small variations in hand pressure created inconsistent results
- Dialing back and limiting the flow and opacity instead, then painting over the same area multiple times, produced a much better blend – softer, more controlled, more natural
- That approach worked beautifully in Capture One’s built-in style brushes – adding a little haze to a corner, pulling detail into shadows, applying a soft flare to a specific part of the frame
What I missed was the brush variety. Capture One’s brush selection is functional but limited to a circular pattern – no horizontal stroke styles, no airbrush or spray paint behavior like you’d find in Photoshop. If you want that kind of expressive brush work, you’ll need a different tool in the chain. Not a big deal at all since for the most part I was “dodging and burning.” More on that in a moment.
One strange moment: the XP-Pen software asked if I’d allow it to screen record. No thank you.
Capture One – Still the Starting Spot (for me)
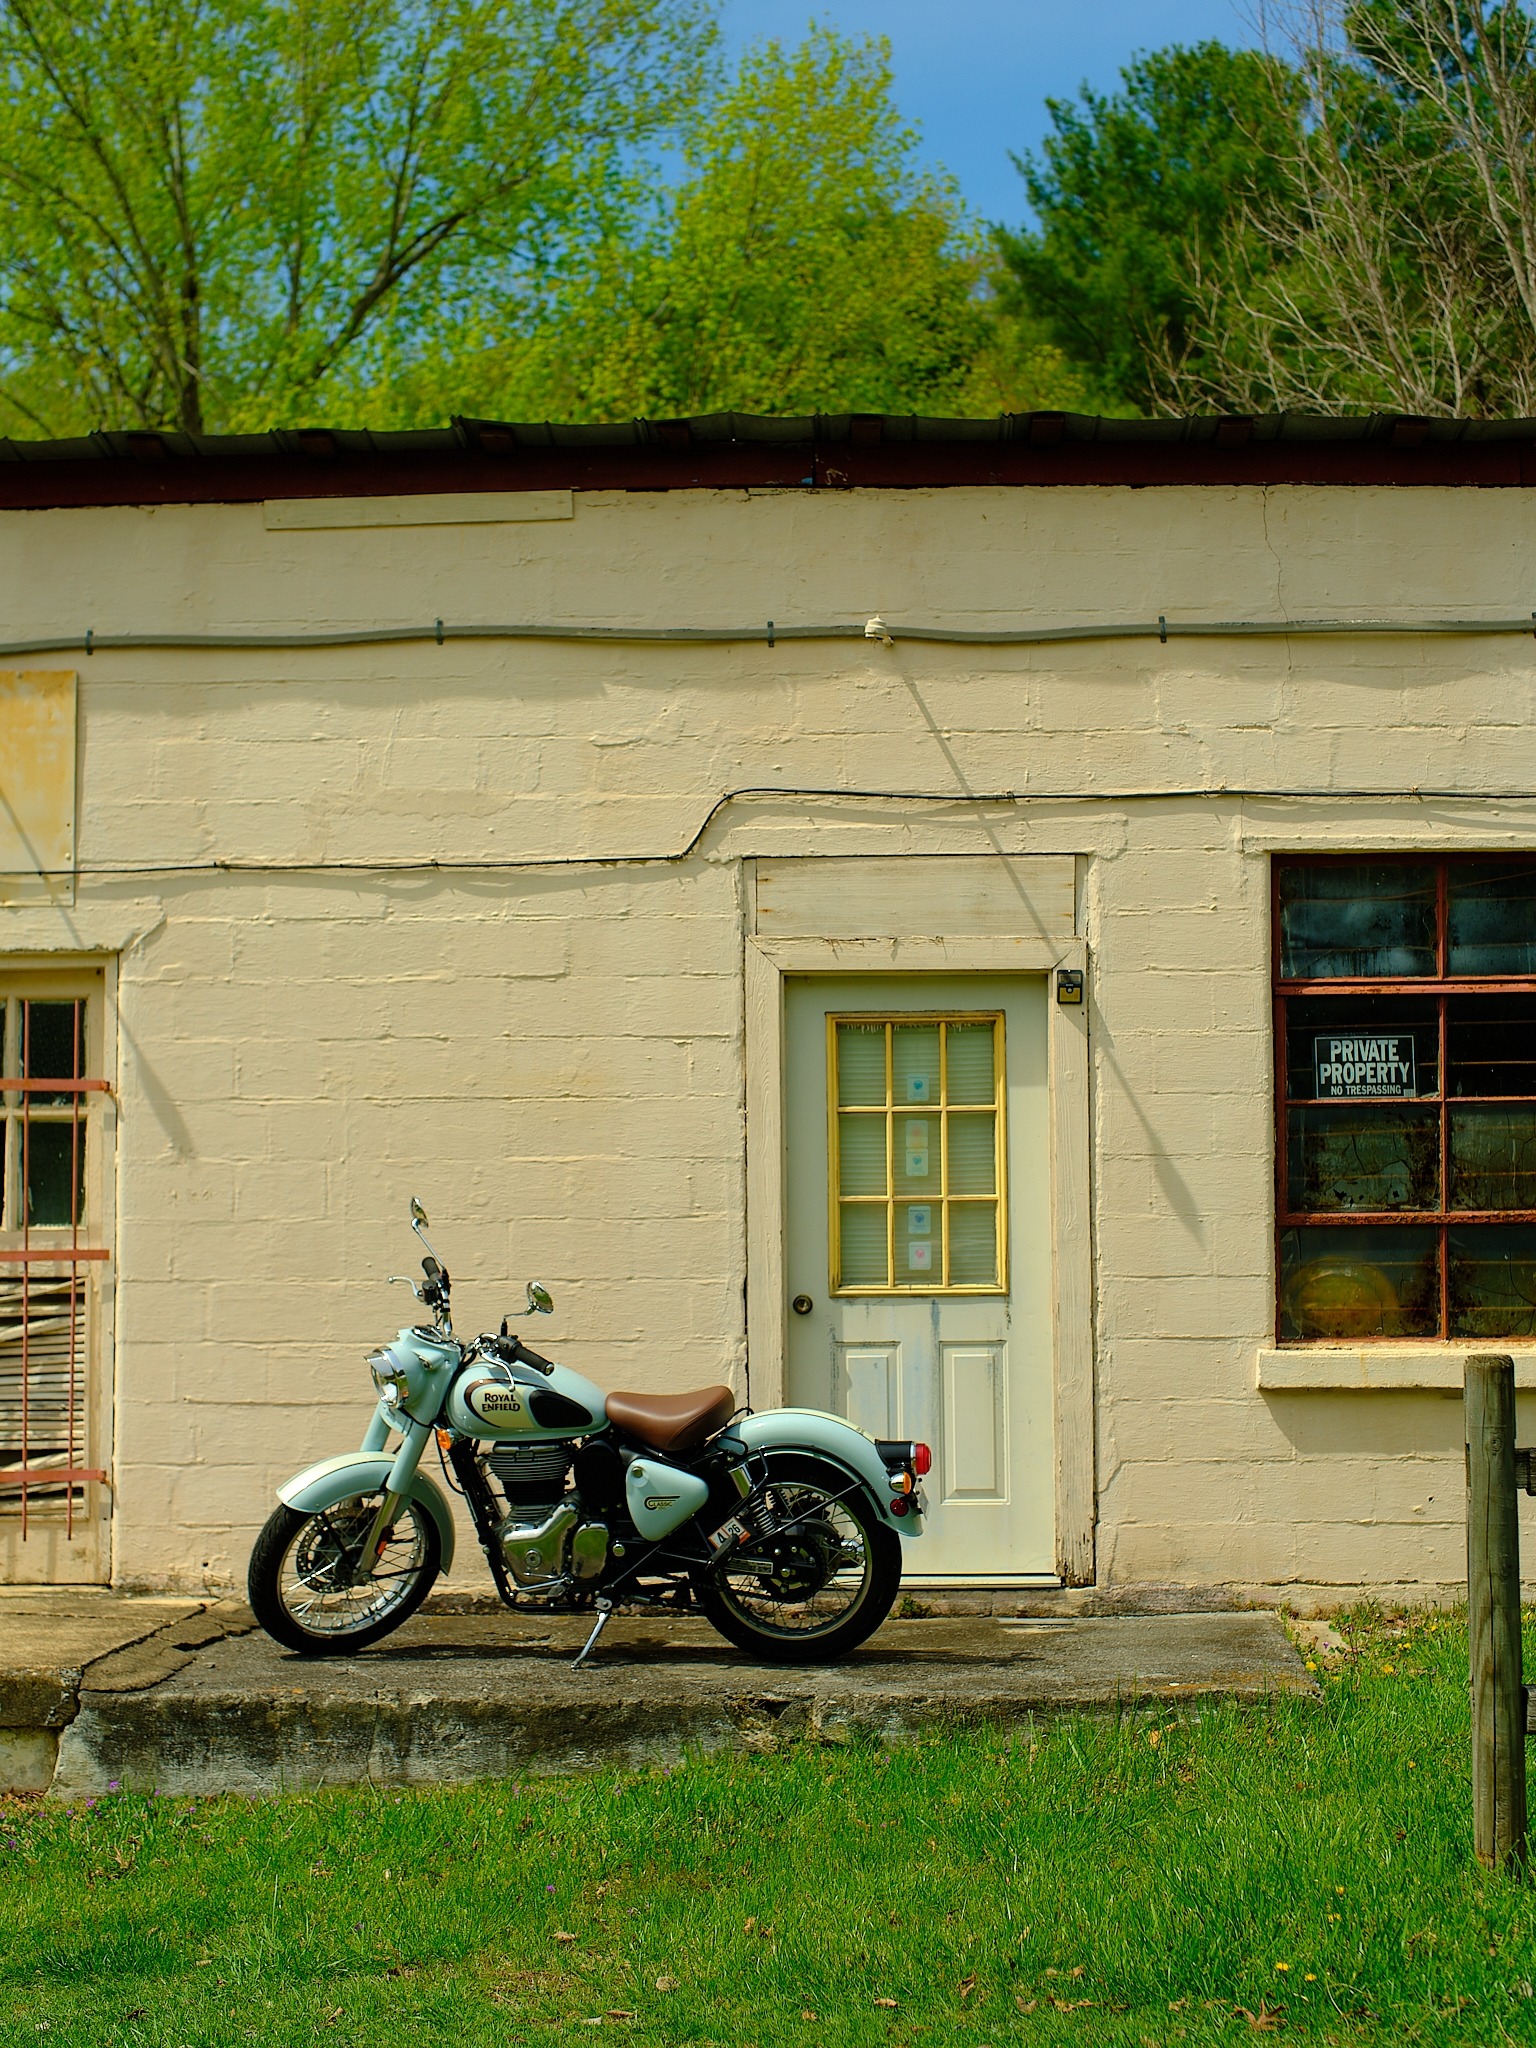
I’ve been using Capture One for a couple of years now (especially w/ trying to avoid the subscription models). So opening images in there feels like coming home.
I love that when the GFX files go in, everything was already there – the color science, the starting “recipe” look I used, the tonal response, the overall feel of the JPEG in the raw files. That starting place matters more to me than I realized when those “looks” were applied in the metadata and I could start grading from my initial intention.
One thing I still haven’t solved in Capture One: replicating the look of a lens blur like an out-of-focus tilt-shift lens on the lower portion of an image. I keep wanting that soft, dreamy fall-off that mimics a lens blur, and I haven’t found a clean way to do it there yet. Playing with the clarity/sharpness/dehaze all looked a bit off when trying.
If anyone has figured this out, I want to hear from you. ([email protected])
Luminar Neo – Impressive Tools, Frustrating Starting Point
Luminar Neo has some wonderful – excellent finishing tools. The Light Depth effects are so cool! The kind of atmospheric layering that would take serious masking work in other programs is a few sliders here. It let’s you dial in the place of the light in a sort of 3d depth map. It was great fun to highlight the portions of the image you wanted.
I also played with the Bokeh AI function and it was great to separate and pick the focus plane. It worked really well even with landscapes.
The sky filter and landscape enhancement functions are polished and effective. Used subtly it can be beautiful. The water enhancement is also lovely to add some blueness to water.
Sky replacement kinda feels like cheating in some ways but sometimes the image is just more enjoyable with a different sky. The deciding question – are we going more for a “feeling” or documentation?
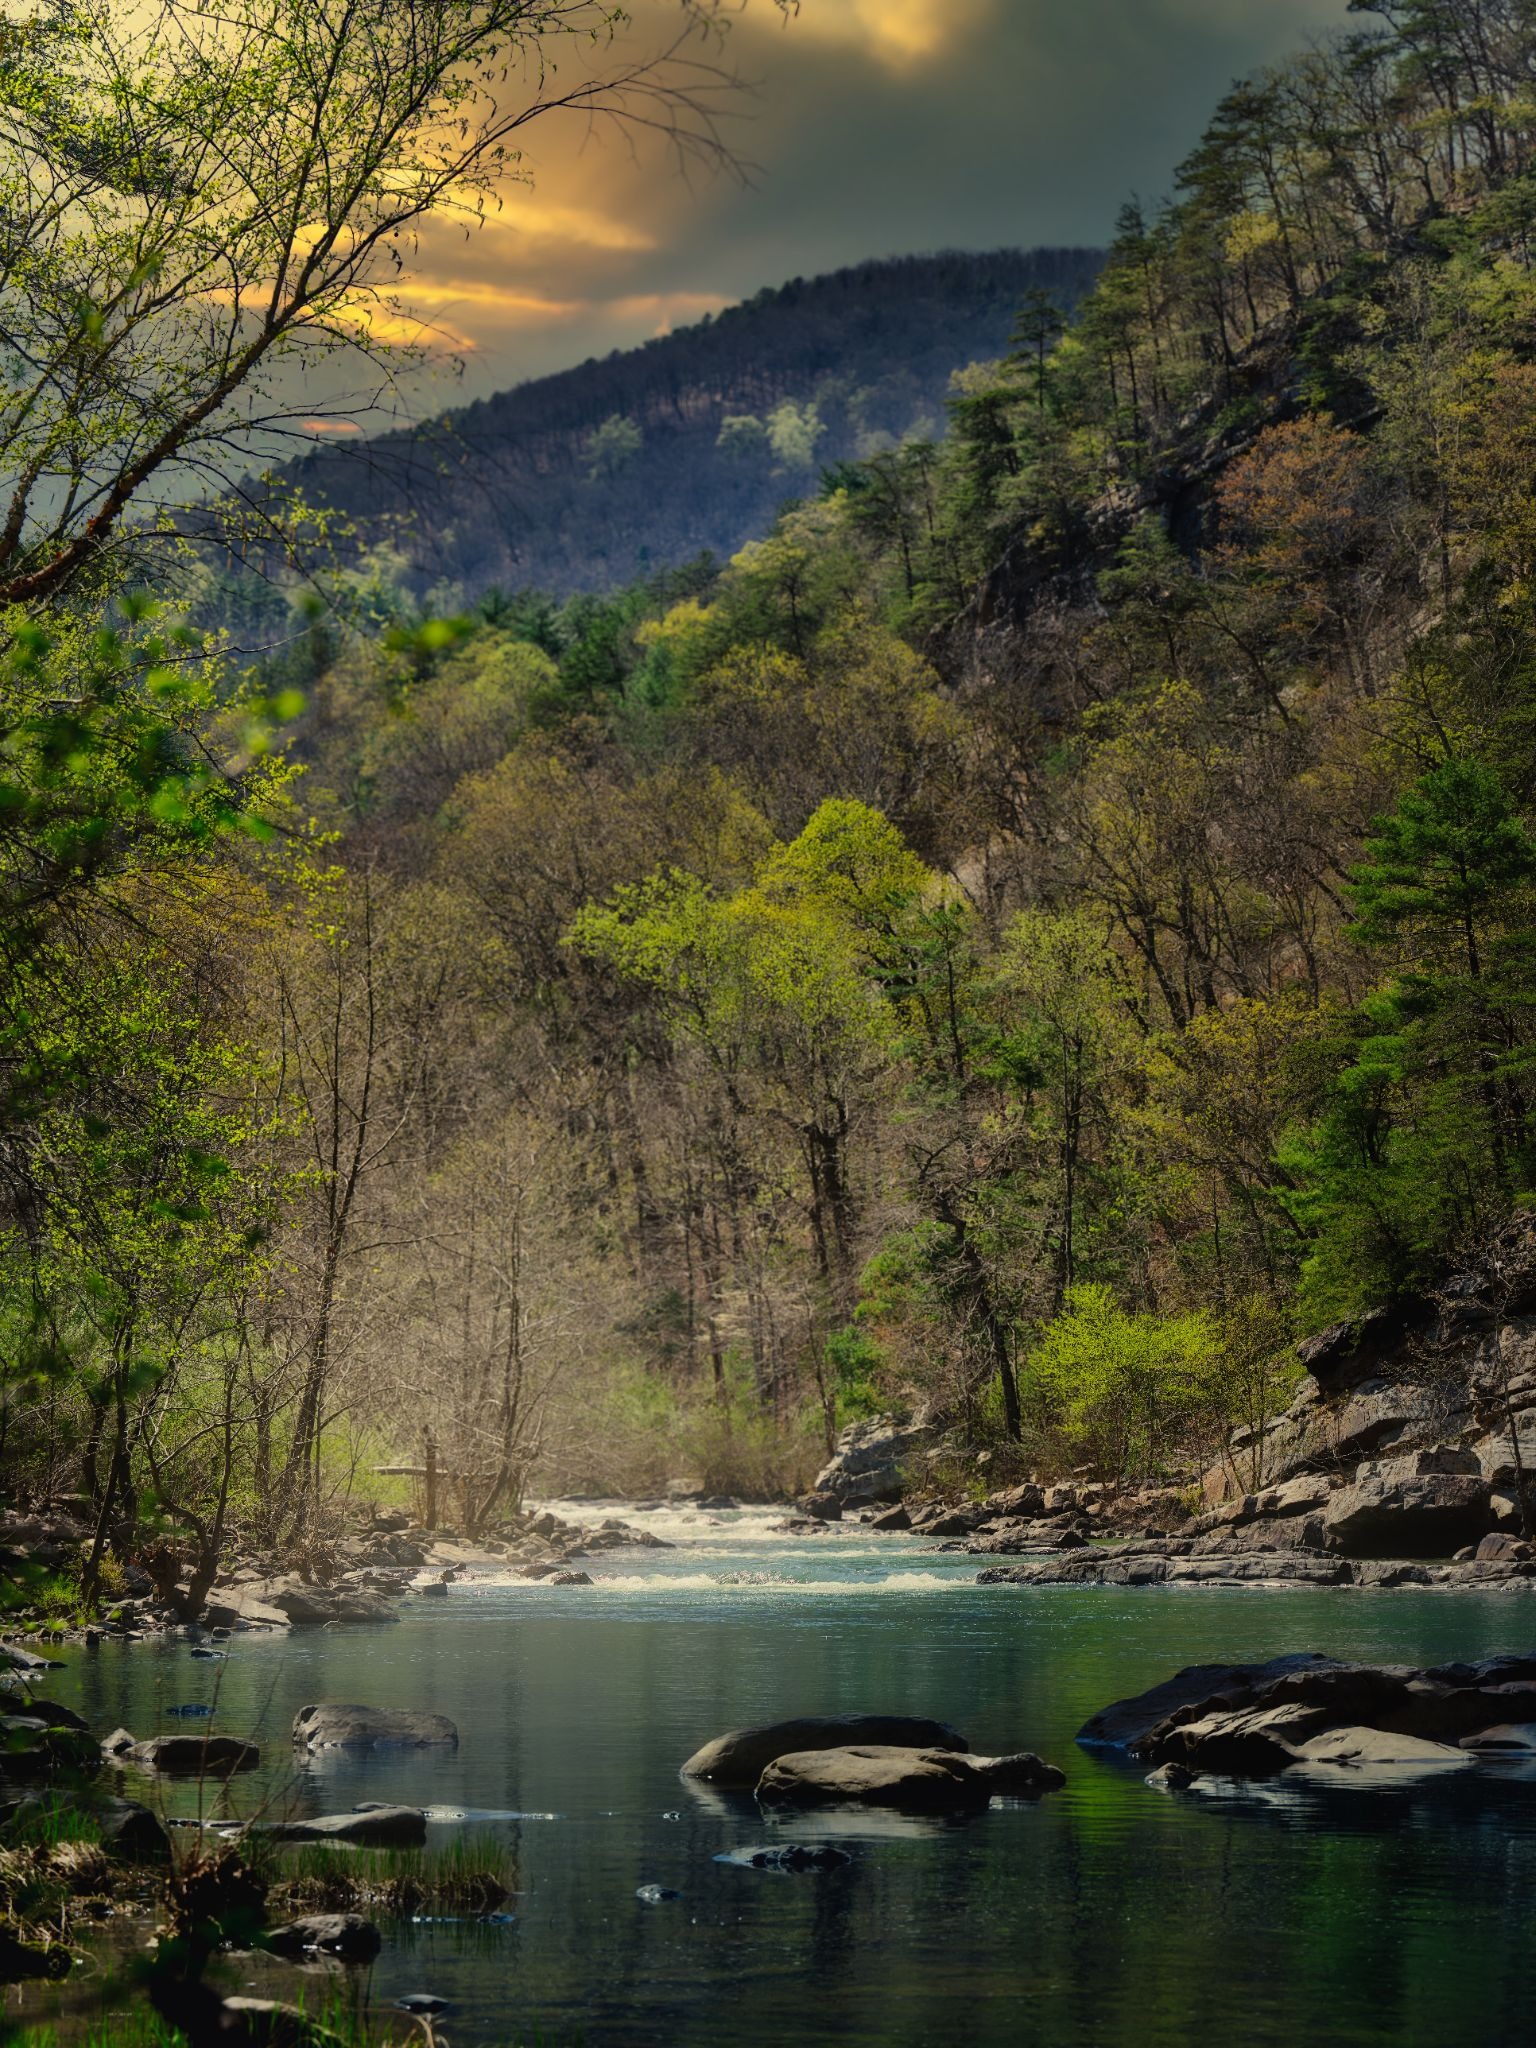
I had the thought while using Luminar Neo – to shoot some “sky plates” and building or adding to the library of skies – that way you can add your own “skies” selection for variety.
Here’s a big thing for me about using Luminar Neo: the experience of opening my GFX files in Luminar Neo felt like starting from scratch every time. Yes – I could get there with this program but why retread that path.
That baseline – that starting place with a sense of your camera’s character already being present in the file – was missing.
For photographers who want quick, dramatic transformations, Luminar Neo delivers. For photographers who want to start from where their camera left off and refine from there, the workflow feels like fighting uphill.
This isn’t a dismissal – the finishing tools are worth knowing. But it’s not my primary editing environment. For now, Neo for me is THE intermediate to final step in the workflow. I’m looking forward to using the improvements they’ve done with portrait editing – but that will have to be explored another day.

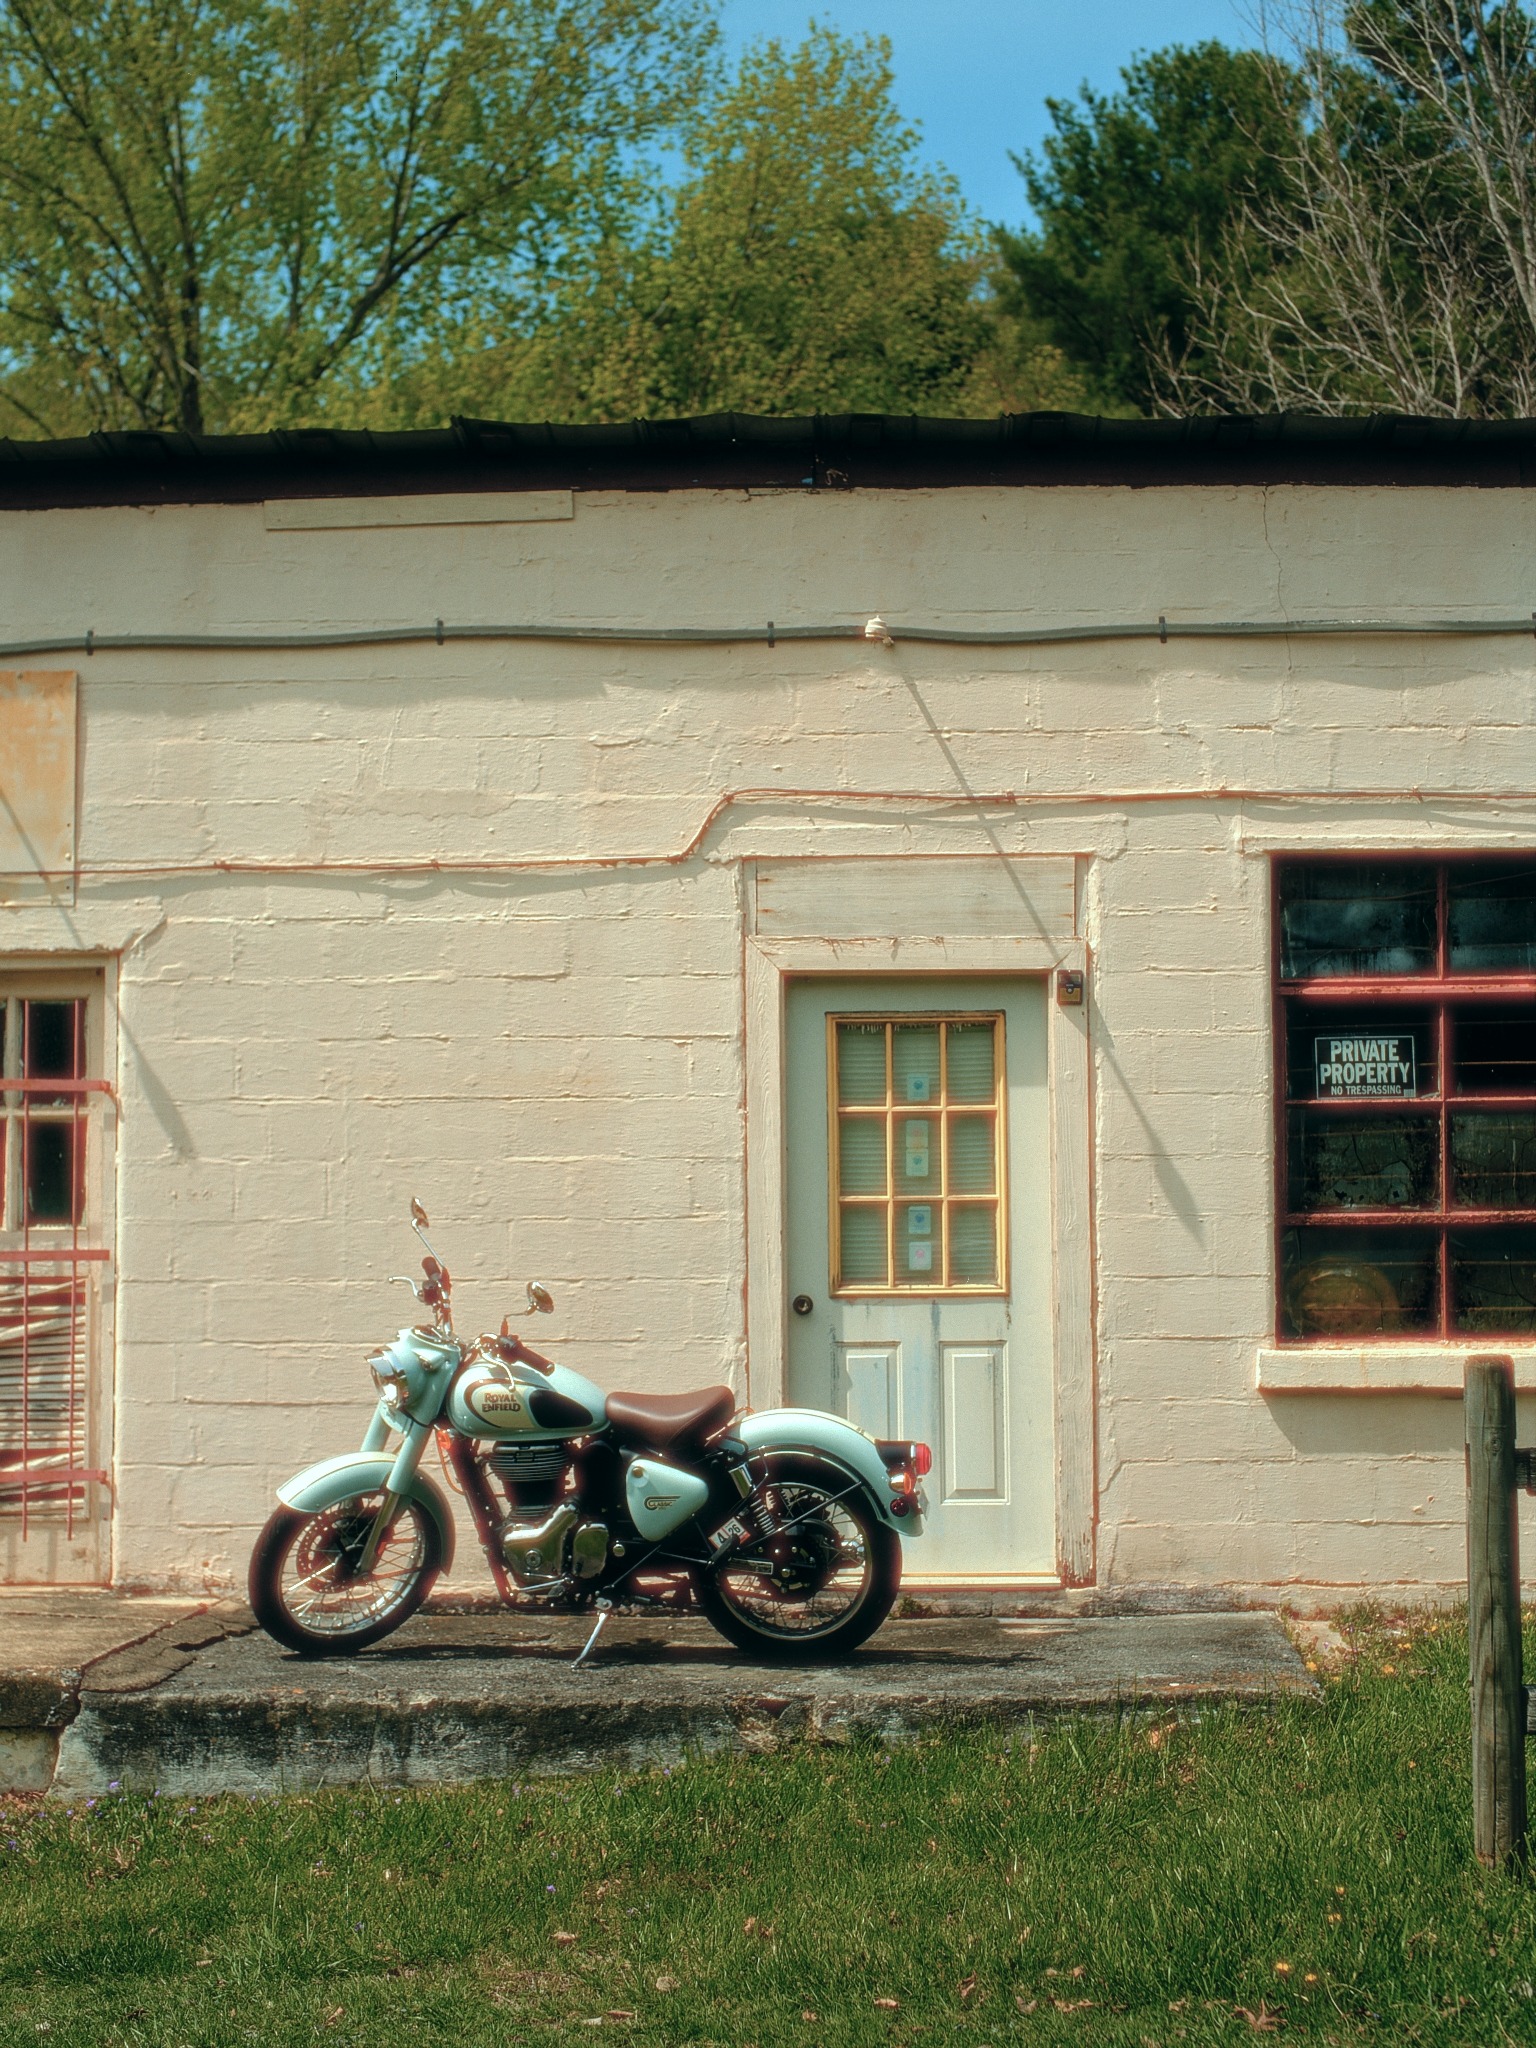
Dehancer – I Want to Hate the Subscription and I Can’t
Dehancer has been a plugin for Adobe, DaVinci Resolve, Baselight, After Effects, and more for a while now. They recently launched a standalone desktop app, and I got access to a trial to explore it.
The film emulation library is wonderfully staggering:
- Polaroid series going back to 2009
- Lomochrome profiles
- Kodak and Fuji film stocks
- Print profiles
- Film grain, halation, film damage effects
- Dozens of looks that feel photographic rather than digitally simulated
I had so much fun taking the already worked with images that had gone through the Capture One/Luminar Neo and then finishing with dehancer. It sort of “smoothed out” what I was going for and added more depth to many of the pictures.
Here’s the deal though – when I brought the dandelion shot in, I actually didn’t feel like I needed any of the “Dehancing”. The image had its own quality that the Dehancer looks would have competed with rather than enhanced.
But on the other images – the halation and bloom controls alone were exceptional for some the images. It seemed to bring the final touches of “organic” and mood.
In my opinion, for portraits, landscapes, and anything you want to feel like it was shot on film, the finishing and polish that Dehancer provides is hard to replicate anywhere else.
Here’s the deal though – the ongoing pricing. $11 a month for photo access, and $25 a month for photo and video.
Oh brother – Not another subscription! But alas – I still want to keep using this program.
**Update: I just went digging on their website and they have a one time payment of 350$ lifetime for personal use. That’s a selling point – by the way we has LuLa members get 10% off (code: LuLa10) for their software. Dehancer: https://www.dehancer.com/pricing/lifetime/pslr
I keep looking at what Dehancer does and know it’s going to be difficult to walk away from. That’s either a testament to the product or a warning sign about my self-control. Probably both.
One practical limitation: when I went to adjust the horizon a couple degrees during the final edits, Dehancer couldn’t fill in the gaps created by the rotation. I know that’s a me problem but I thought I’d mention it.
DaVinci Resolve 21 – This Changes Things
I got a note from the team at Blackmagic Design about DaVinci Resolve 21 and its new Photo page. I’ve been using Resolve for video work long enough to understand what’s under the hood here, and the implications for photographers are huge.
The Photo page brings Hollywood-grade color grading tools to still image editing. What that means practically:
- Native RAW support for Canon, Fujifilm, Nikon, Sony, and iPhone ProRAW
- Full DaVinci color science – the same toolset that’s been trusted by professional colorists working on major films for years
- AI Relight – the ability to add or reshape light sources within an image using artificial intelligence
- AI CineFocus for natural subject separation
- Face refinement, beauty filter, and a face age transformer for portrait work
- The tilt-shift blur effect I’ve been hunting for in Capture One – it’s here, and it’s beautiful
- GPU-accelerated batch processing that moves significantly faster than conventional photo applications
- Non-destructive processing up to 32K resolution
Resolve works on a node-based system – think of it as layers that look like connected boxes, each one applying a specific adjustment in sequence. For photographers coming from Lightroom or Capture One, this will take some adjustment. It’s more complex, but it’s also more capable and can offer refinement.
Once the logic clicks, you can do things that simply are more difficult to achieve in traditional photo editing software.
The painting and brush-style work lives in a section of Resolve called Fusion, which I’ll be honest – I haven’t fully cracked yet. It’s powerful. It’s also deep. That’s a project for down the road. The learning curve is a little more intensive with working with Resolve – but they’ve always had excellent help available.
The AI Relight feature was sluggish on my machine during the beta – my computer was working hard to keep up. That will improve as the hardware catches up and the beta matures.
The bigger news is what this represents: a professional, non-subscription color grading environment that now supports still photography at the highest level. The base version of Resolve is free.
For portrait photographers especially, the facial tools alone are worth paying attention to. The AI cinematic haze gives Dehancer’s halation effects serious competition – and it’s included in the bundle rather than tacked on as a monthly fee.
Where This Leaves Me
After a full day roaming Virginia’s farmland – I came home to a desk full of software questions and a pen tablet I’m learning how to “paint” with. I do wish I had gone out at sunrise and planned for my sunset location better. That’s why we fix it in post right? Ha!
Here’s where I landed:
- Capture One remains my foundation. The starting point matters, and nothing else I tested came close to giving me my files the way I shot them
- The XP-Pen Deco v3 is a genuine addition to the workflow – with the pressure sensitivity dialed back, the ability to paint subtle edits with the style brushes felt natural and rewarding – good value
- Luminar Neo has tools worth reaching for, particularly the Light Depth effects, but it’s a finishing stop rather than a home base for the way I work
- Dehancer is genuinely excellent and I genuinely resent that fact, given the subscription **update: lifetime purchase available – thinking of purchasing
- DaVinci Resolve 21 is the one I’m most excited to grow into – the depth is there, the price is right, and the direction they’re heading is clearly aimed at giving Adobe real competition
That’s the process. You carry the camera because it makes you look more carefully. You play with the images and create something new.
There are so many other programs out there! Let us know what you’re loving to use right now? DXO? Apple? Canva? Let us know at [email protected]
All images in this article were shot with the Fujifilm GFX 100S using the GF 45-100mm f/4 and the TTI Macro 90mm.


Elevate Your Vision


Read this story and all the best stories on The Luminous Landscape
The author has made this story available to Luminous Landscape members only. Upgrade to get instant access to this story and other benefits available only to members.
Why choose us?
Luminous-Landscape is a membership site. Our website contains over 5300 articles on almost every topic, camera, lens and printer you can imagine. Our membership model is simple, just $2 a month ($24.00 USD a year). This $24 gains you access to a wealth of information including all our past and future video tutorials on such topics as Lightroom, Capture One, Printing, file management and dozens of interviews and travel videos.
- New Articles every few days
- All original content found nowhere else on the web
- No Pop Up Google Sense ads – Our advertisers are photo related
- Download/stream video to any device
- NEW videos monthly
- Top well-known photographer contributors
- Posts from industry leaders
- Speciality Photography Workshops
- Mobile device scalable
- Exclusive video interviews
- Special vendor offers for members
- Hands On Product reviews
- FREE – User Forum. One of the most read user forums on the internet
- Access to our community Buy and Sell pages; for members only.
You may also like


