


A LuLa member reached out recently asking if we could help them find someone to print their work in dye transfer. It sent us down a fun and fascinating path – it led us to a man named James Browning in Lebanon, New Hampshire. One of the last people on earth actively making dye transfer prints. Hopefully not the last!
What is the deal with Dye Transfer prints?
Here’s the thing most photographers don’t know: you’ve seen dye transfer your whole life.
The Wizard of Oz. Gone with the Wind. Singin’ in the Rain. That rich, saturated, almost impossibly vivid color in classic Hollywood films – that was Technicolor, and Technicolor ran on the same dye imbibition principle as dye transfer prints. The process that gave Dorothy’s ruby slippers that RED is the same process Jim Browning uses in his New Hampshire darkroom today.
The color quality that made those films legendary, that still makes them look different from anything shot after – that came from physically transferring dyes, layer by layer, into a receiving surface. Cyan first, then magenta, then yellow. Three passes, built up by hand, creating color from the ground up.
When we understand that, the appeal of a dye transfer print starts to make sense.

What Dye Transfer Actually Is
Dye transfer – also called dye imbibition – is a color photographic printing process developed in the 1930s and refined by Eastman Kodak into the standard for fine art color printing through most of the 20th century.
The heart of the process is a matrix – a sheet of gelatin-coated polyester film that, once exposed and developed, carries a physical relief image.
Think of it as a topographic map built in gelatin: thick in the shadows, thin in the highlights. Each matrix soaks up dye in proportion to that gelatin relief, then transfers it onto paper by rolling the two into contact.
Five minutes of pressure, peel it back, one color layer down. Three matrices, three primaries, one print.

A Brief History
Kodak marketed dye transfer materials commercially starting in the 1940s. For decades it was the process of choice for anyone demanding the most from a color print – advertising photographers, fine art photographers, museums. The archival stability alone made it irreplaceable.
Then in 1993, Kodak discontinued the materials. Matrix film, dye transfer paper, the dyes – all gone. For most practitioners, that was the end. For James Browning, it was the beginning of a different project.
The Man Who Refused to Let It Die
Jim Browning came to dye transfer honestly. His family had been making dye transfer prints since 1946. By the time Kodak pulled the plug, Jim was a software engineer in Silicon Valley, working on color calibration systems and building his own laser-based film recorder.
When the materials disappeared, Jim went to the library.
“I didn’t know anything about making emulsions,” he told us when we called him. “I just futzed around with it for a few years.”
That undersells it considerably. From 1995 through 1998, working out of New Hampshire while also flying to Santa Barbara to help develop what became the Chromira digital paper printer, Jim developed his own matrix film formulation from scratch. He built a slot coater. He worked out dye chemistries. He documented everything and put it in the public domain – a 41-page technical manual covering every material needed to make dye transfer prints without Kodak’s help.
That document reached a photography professor named Egbert Heinecke in Hamburg, Germany. The two connected, flew to Croatia together, and persuaded Fotokemika – the Kodak of the Eastern Bloc, makers of Efke films – to coat matrix film using Jim’s formulation.
They came home with three miles of it.
Jim still has that film in his freezer. Still works fine.
The Craft Itself
This is where dye transfer separates from every other printing process – the degree to which the printer’s hands are in the print, all the way to the end.
Jim is 71. He’s currently printing 30×40″ prints for a well-known fine art photographer – seven stainless steel trays, matrices he has to reach as high as he can to lift out. He figures 10 prints will take him about 10 months.
“It’s almost like a choreography,” he said.
During the transfer process, he has real-time control that functions more like painting than printing:
- Dipping the matrix partially into a rinse controls density in specific zones, blending the effect by drawing the matrix up and down
- Sodium acetate applied directly to the wet matrix bleeds dye out – a localized dodge
- Acid applied to the same wet matrix forces more dye in – a localized burn
- Dye painted directly onto a matrix allows an additional transfer to intensify color in a specific area
- Sodium hexametaphosphate in the rinse pulls dye back from highlight areas, cleaning up paper-white zones
That last 5% of a print – the difference between a great result and something that grabs attention from people in a gallery – comes from skilled hands during the rolling process.
Jim describes it as the moment where real mastery shows. And it’s repeatable. Once he’s learned how a specific image wants to be handled, editions of 10 to 25 prints follow from those same matrices with that same level of control.
A first print – working out the color balance, dialing in the chemistry – takes Jim about a week for a standard size, three weeks for a 30×40. The prints are archival by nature. Dye fade tests show remarkable stability under 50 hours of direct sunlight.
What a Dye Transfer Print Actually Looks Like
The qualities are really difficult to describe to someone who hasn’t seen one in person. Jim gave it his best shot when we asked.
The paper is fiber-based with a gelatin surface – similar in texture and feel to classic black and white darkroom papers from Ilford.
There’s a tactility to it. But the real story is in how the dyes sit in and near that surface.
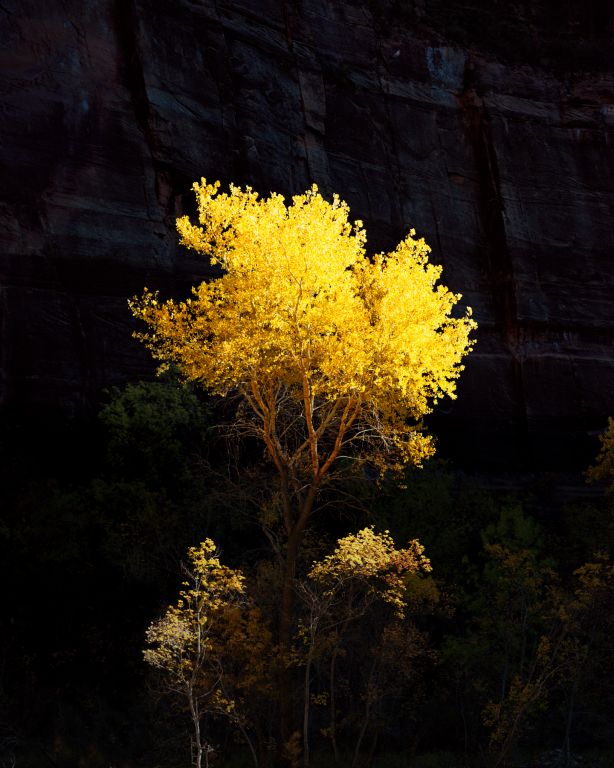
- Blacks that hold under bright light. A D-max (maximum density) that can reach over 3.0 – Jim typically prints to around 2.7. A standard Type C print under the same bright light goes muddy in the shadows. A dye transfer print stays put.
- Color in the shadows. Inkjet prints often substitute a black pigment in dark areas. Dye transfer is three-color all the way down, which means color information stays visible where other processes go dark.
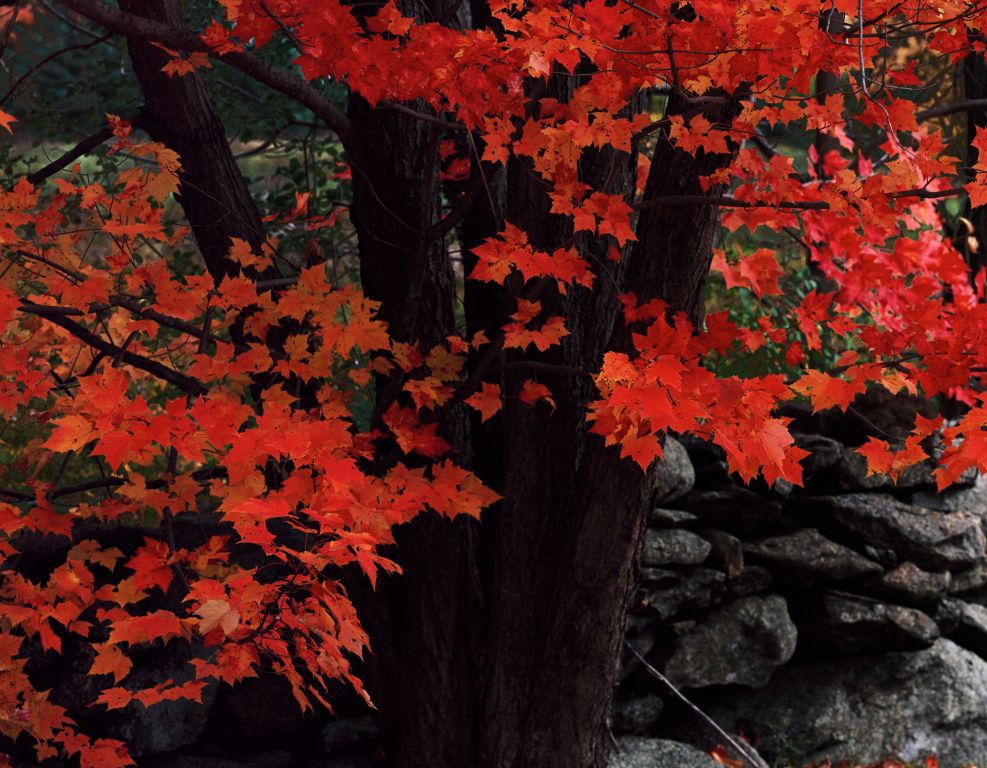
- Purity in the warm tones. The yellow dye in dye transfer is particularly clean, which produces exceptional separation between reds, oranges, yellows, and greens – subtle gradations that compress or shift in other processes stay open and distinct.
Images with strong shadow detail and deep blacks play to the process’s strengths most visibly. Low-key images – rich in shadow, maybe with some midtones – can be, as Jim put it, “pretty astounding.” High-key images take more work and more skill to land well.
One of the more remarkable qualities of dye transfer is how well it responds to retouching. Specific chemicals allow a printer to remove each dye color individually or strip all three at once, giving precise control over corrections directly on the finished print. Dyes can also be painted back onto the surface, and when done well, they’re indistinguishable from the transferred image itself. It’s a level of hands-on craftsmanship that no digital output can replicate.
Can Someone Still Get One Made?
Yes – for now.
Jim Browning takes commissions. He prints other photographers’ work alongside his own, and the relationship involves real back-and-forth: a first proof, notes, revisions, then the signed-off edition. His pricing reflects the time involved, which is substantial.
He can be reached at: [email protected] or through his site at www.dyetransfer.org
He’s open to visits. He’s done demonstrations for small groups in his darkroom, rolling prints with the lights on so everyone can watch the image appear. He invited us up to New Hampshire to film the process, and we’re planning to take him up on it.For anyone wanting to go further into the history and resources around the process, Jim has compiled a thorough reference page here: Dye Transfer Resources
Is This Something Anyone Else Can Learn?
Technically, yes. Jim put his entire methodology into the public domain for exactly this reason. The formulations are documented, the equipment is described in detail, the dye alternatives are tested and published.
Sourcing matrix film is the real obstacle. The factory that made Jim’s film, Fotokemika, is no longer in business. The specific polyester stock he used isn’t available from DuPont in small quantities anymore.
“I may be the last one actually doing it,” Jim said. He said it plainly, as a matter of fact.
A dye transfer print is an object. It has weight and surface and a physical presence that a file on a screen or a standard inkjet print on photo paper simply doesn’t match. There’s a reason this process lasted 60 years, a reason it gave Hollywood its most memorable color, and a reason a handful of people spent years and real effort keeping it alive after Kodak walked away.
If you’ve ever wondered what your best work would look like made this way, Jim Browning is the person to ask.
Do You Know Someone Still Making Dye Transfer Prints?
Jim Browning may be the last active dye transfer printer in North America, but the process has practitioners scattered around the world – and we’d love to find them. If you know of someone still working in dye transfer, or if you’re doing it yourself, reach out to us at [email protected]. We want to document this process while we still can.
Join the discussion on our forum and share your thoughts on dye transfer printing here.


Elevate Your Vision


Read this story and all the best stories on The Luminous Landscape
The author has made this story available to Luminous Landscape members only. Upgrade to get instant access to this story and other benefits available only to members.
Why choose us?
Luminous-Landscape is a membership site. Our website contains over 5300 articles on almost every topic, camera, lens and printer you can imagine. Our membership model is simple, just $2 a month ($24.00 USD a year). This $24 gains you access to a wealth of information including all our past and future video tutorials on such topics as Lightroom, Capture One, Printing, file management and dozens of interviews and travel videos.
- New Articles every few days
- All original content found nowhere else on the web
- No Pop Up Google Sense ads – Our advertisers are photo related
- Download/stream video to any device
- NEW videos monthly
- Top well-known photographer contributors
- Posts from industry leaders
- Speciality Photography Workshops
- Mobile device scalable
- Exclusive video interviews
- Special vendor offers for members
- Hands On Product reviews
- FREE – User Forum. One of the most read user forums on the internet
- Access to our community Buy and Sell pages; for members only.
You may also like


