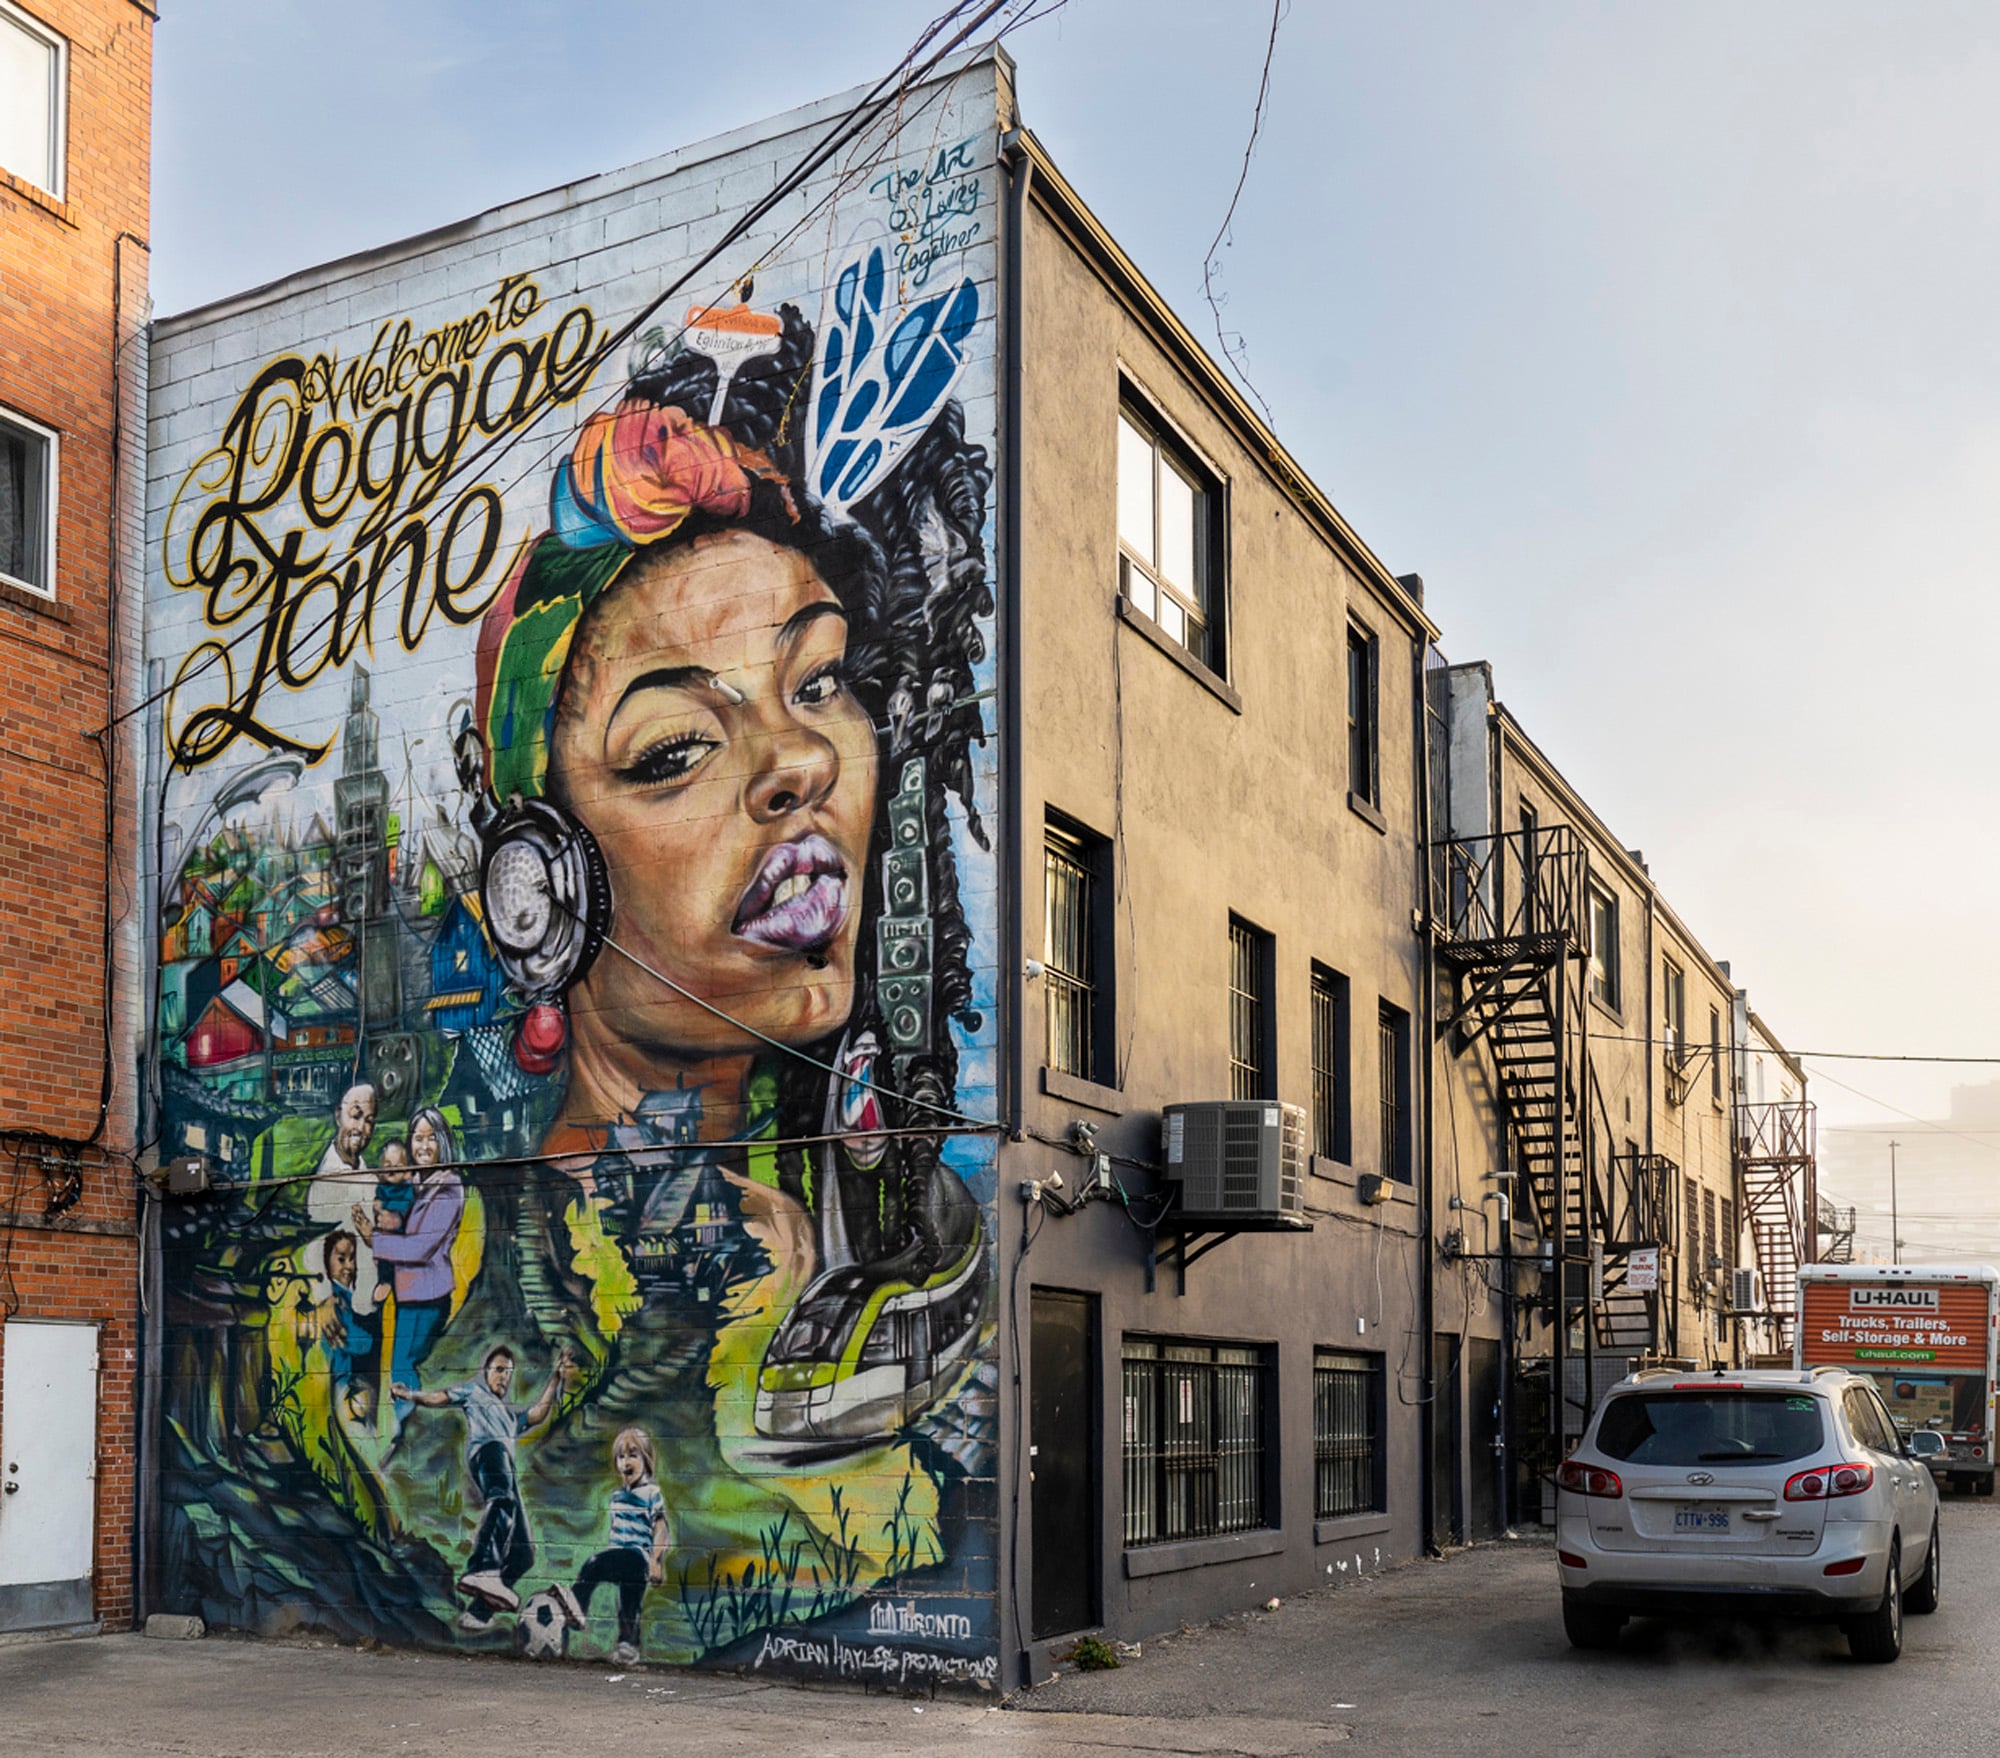




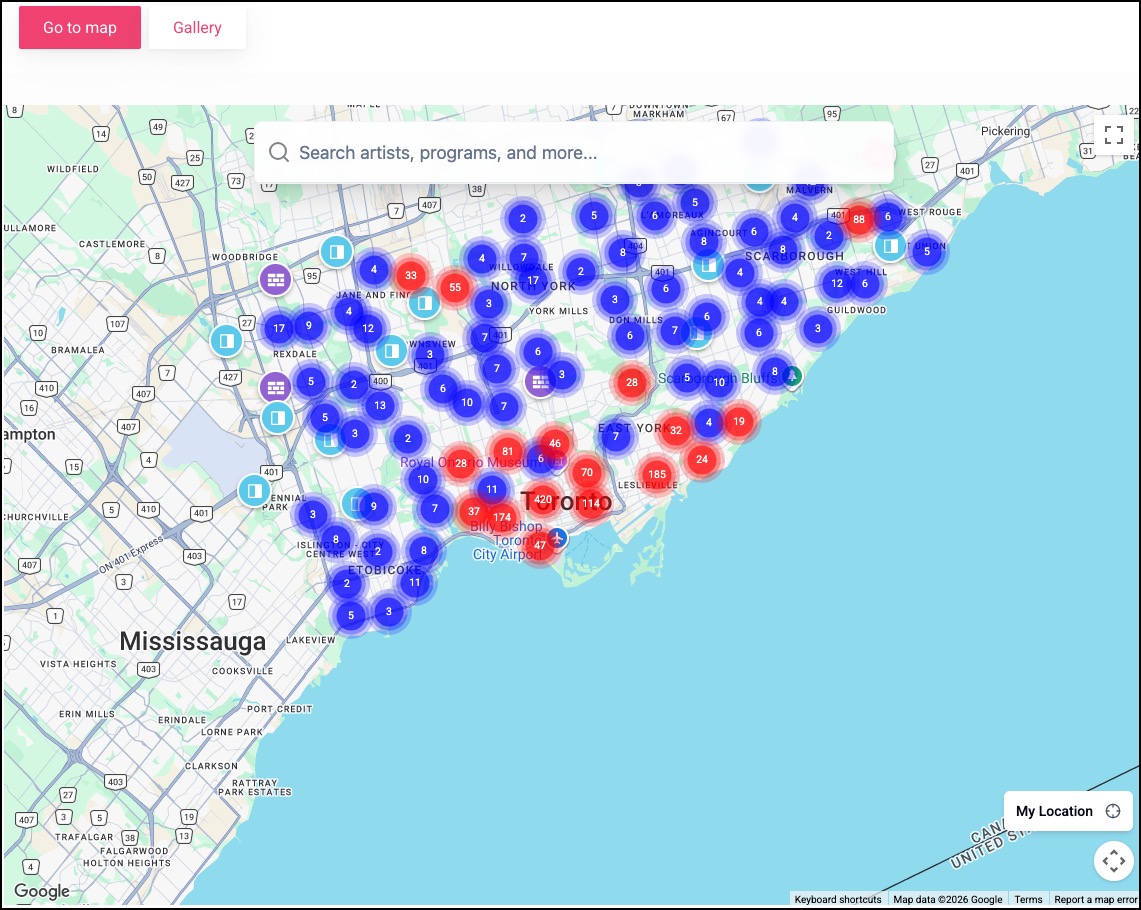
Toronto has first-rate mural artists of numerous cultural backgrounds, many of whom grew over the years from a graffiti tradition and/or formal training in the arts into the production of large scale world-class mural works. Unlike many cities that discourage or prohibit painting on walls, or simply ignore it, Toronto hosts City and non-profit organizations facilitating and promoting the city’s mural arts development by helping to match artists with painting opportunities, while fostering community involvement and reflecting the city’s cultural diversity. One of them is Street Art Toronto – StART, figure 1: https://www.streetartoronto.ca/). The Reggae mural featured here, however was primarily organized by STEPS Public Art (then known as The STEPS Initiative) and The Laneway Project, lead artist Adrian Hayles.
I’ve admired good quality murals of different genres over many years and whenever the opportunity arose I sharpened my skills at photographing them, as there is more to mural photography than aiming the camera at a wall and pushing the button. I’m on contract with the City of Toronto to photograph the more photographically challenging murals for their archives and periodic exhibitions, and to mentor emerging photographers who will carry the practice of careful mural documentation forward.
So, briefly, what is there to photographing a mural? These murals can be big overwhelming productions that flood the senses and give one that intuitive feel of really impressive work. After all, much of it has strong graphic and expressive quality.
One needs to penetrate those first-blush sensations and probe the work for its qualities of tone and colour that are important to photography. Simply put, the photographers need to start by observing in detail what the artist painted. The nuances of tone and colour are deliberate and remarkable considering the painting is most often done with spray paint and some brushwork on all manner of surfaces and textures; we need to respect those qualities in how we make the photographs.
The photographer’s approach must start with the end-points and objectives of the photographs in mind, because how one achieves those in post-capture processing determines how one makes the photographs in the first place. The basic objective is to reproduce the art as the artist intended it to be seen, hence collaboration between the artist and photographer is often important to the end result. This is particularly important when unusual or varied lighting conditions are at hand.
Apart from rain, glare is the most serious obstacle to successful mural photography. Most paint, and all the more so protective coatings, give off specular reflections when hit with direct sunlight; this obscures both tone and colour, and I have yet to find any combination of tools in post-capture workflow that successfully eliminates it without also impacting the integrity of the art. So we try to make the photos before any protective coating AND aim for overcast conditions, which is nature’s best “light tent” for smooth, non-glare lighting, or failing that, photographing them when they are in the shade and brightening them thereafter.
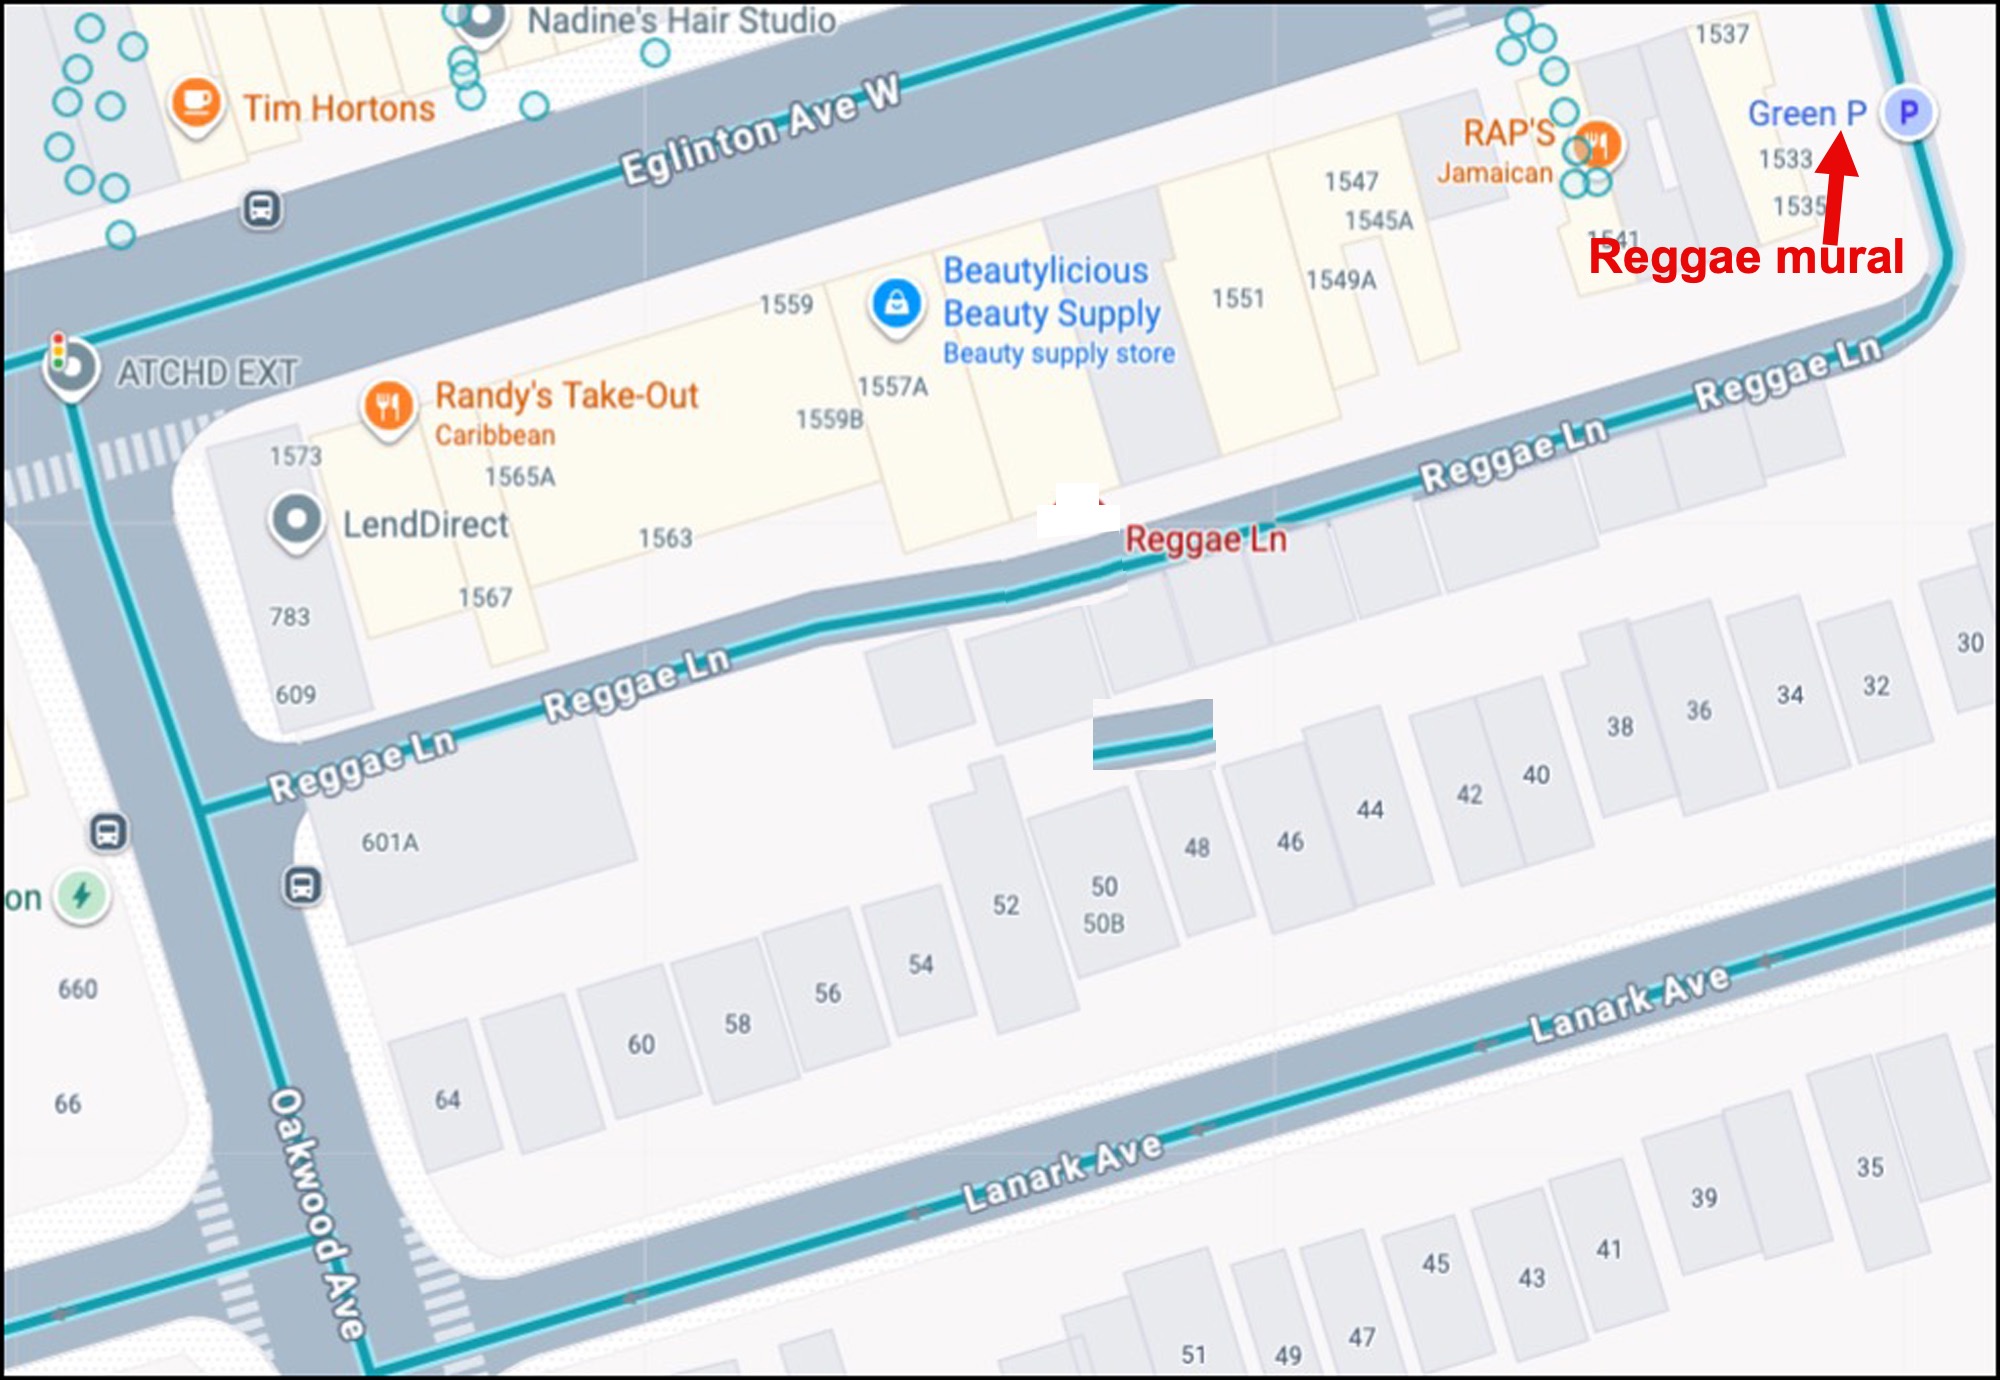
OK, let’s get down to the case at point. This mural is located at a “Green P” parking lot at the end of “Reggae Lane” (Figures 2 and 3).
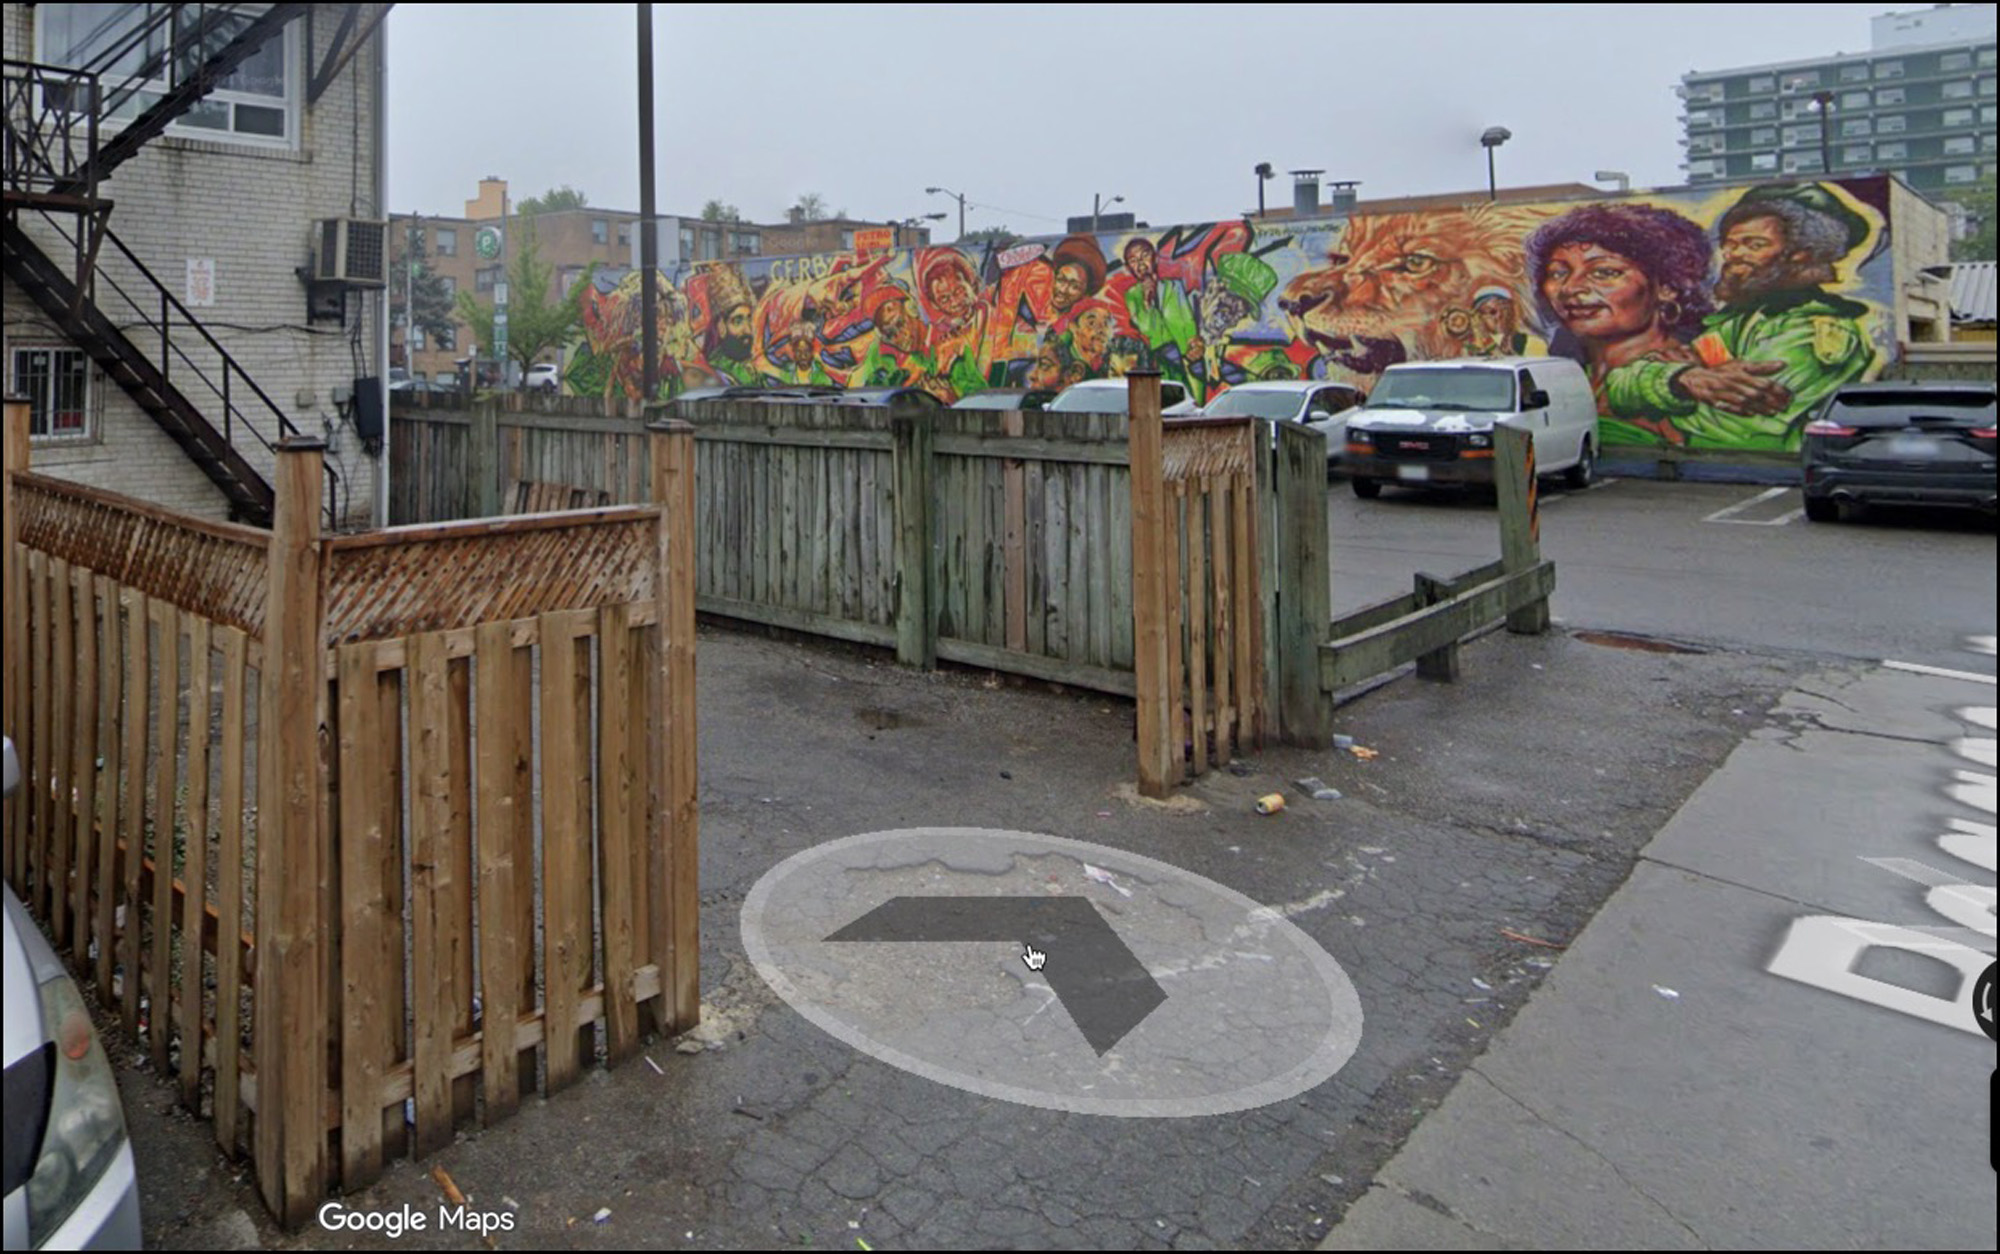
You can see the history and cultural backgrounders on it here: https://www.youtube.com/watch?v=g0WITdCxvq8; https://urbaneer.com/blog/reggae-lane-in-the-heart-of-torontos-little-jamaica; http://www.canadianreggaeworld.com/blog/adrain-sawtay-hales-illustrator-reggae-lane-mural and https://coremagazines.com/culture/yonge-mural/. Adrian had asked me to make a high quality, high resolution panoramic photograph of this mural about three years ago.
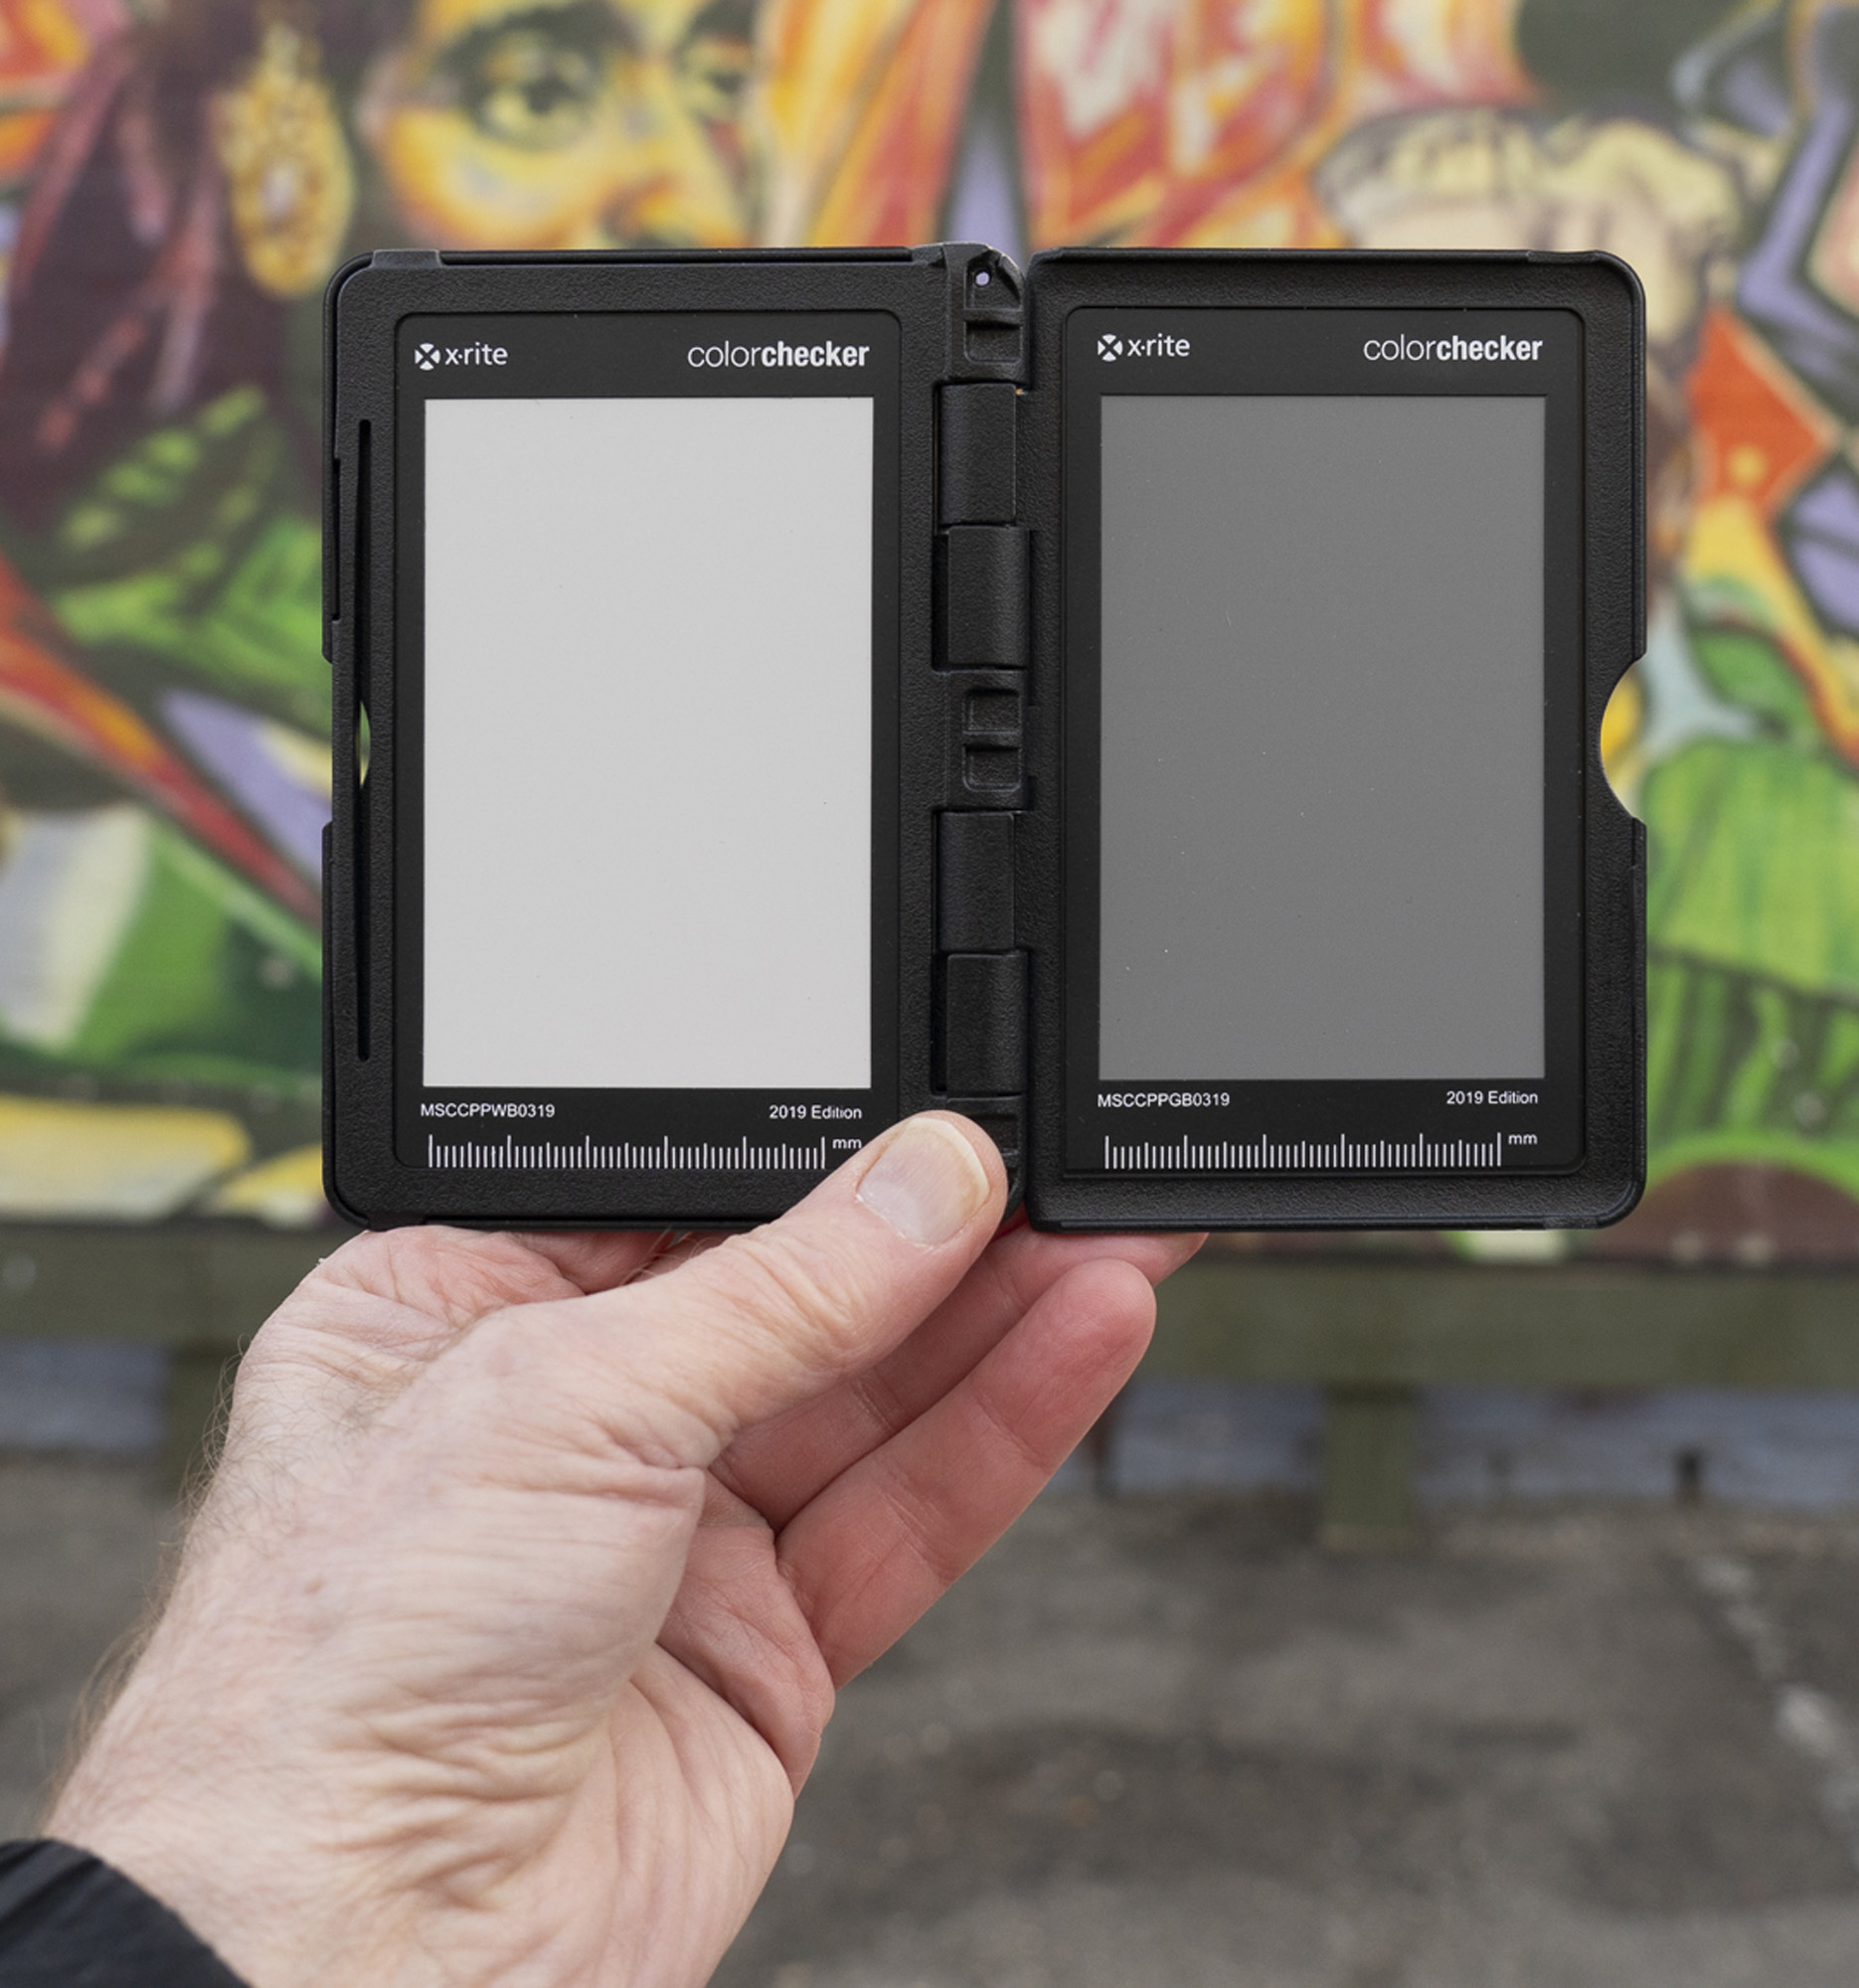
Like many other murals in the city, the Hayles mural is on a large wall bordering a municipal parking lot, so an additional challenge was to photograph it without parked cars; there is no alternative – the remove tool is not an option here because what lies behind the parked cars is unique painted imagery, not trees or uniform material that AI can easily and seamlessly infill. In this case, that meant making the photos, camera on a tripod, at about 6:30 AM before anyone parked there, getting a white balance from an in-situ photo of a gray card (Figure 4) and brightening them with the Tone curve and Clarity in Lightroom afterward. Such photos may look dull and darkish at the outset, but the post-capture adjustments, done properly, result in photographs that quite faithfully document the intended appearance under more usually experienced lighting conditions.
This is a big mural, 1500 square feet – 100 feet long by 15 feet high. The finished photographic document would be a composite of numerous photographs. I composite them using Photo Merge either in Lightroom or Photoshop. For making large prints it is desirable to plan for maximizing usable pixel count and allowing enough overlap from one photo to the next so that Photo Merge and subsequent adjustments can yield successful composites. One needs to think ahead and allow for the fact that “Upright” adjustments shed pixels, so one needs to provide for that beforehand.
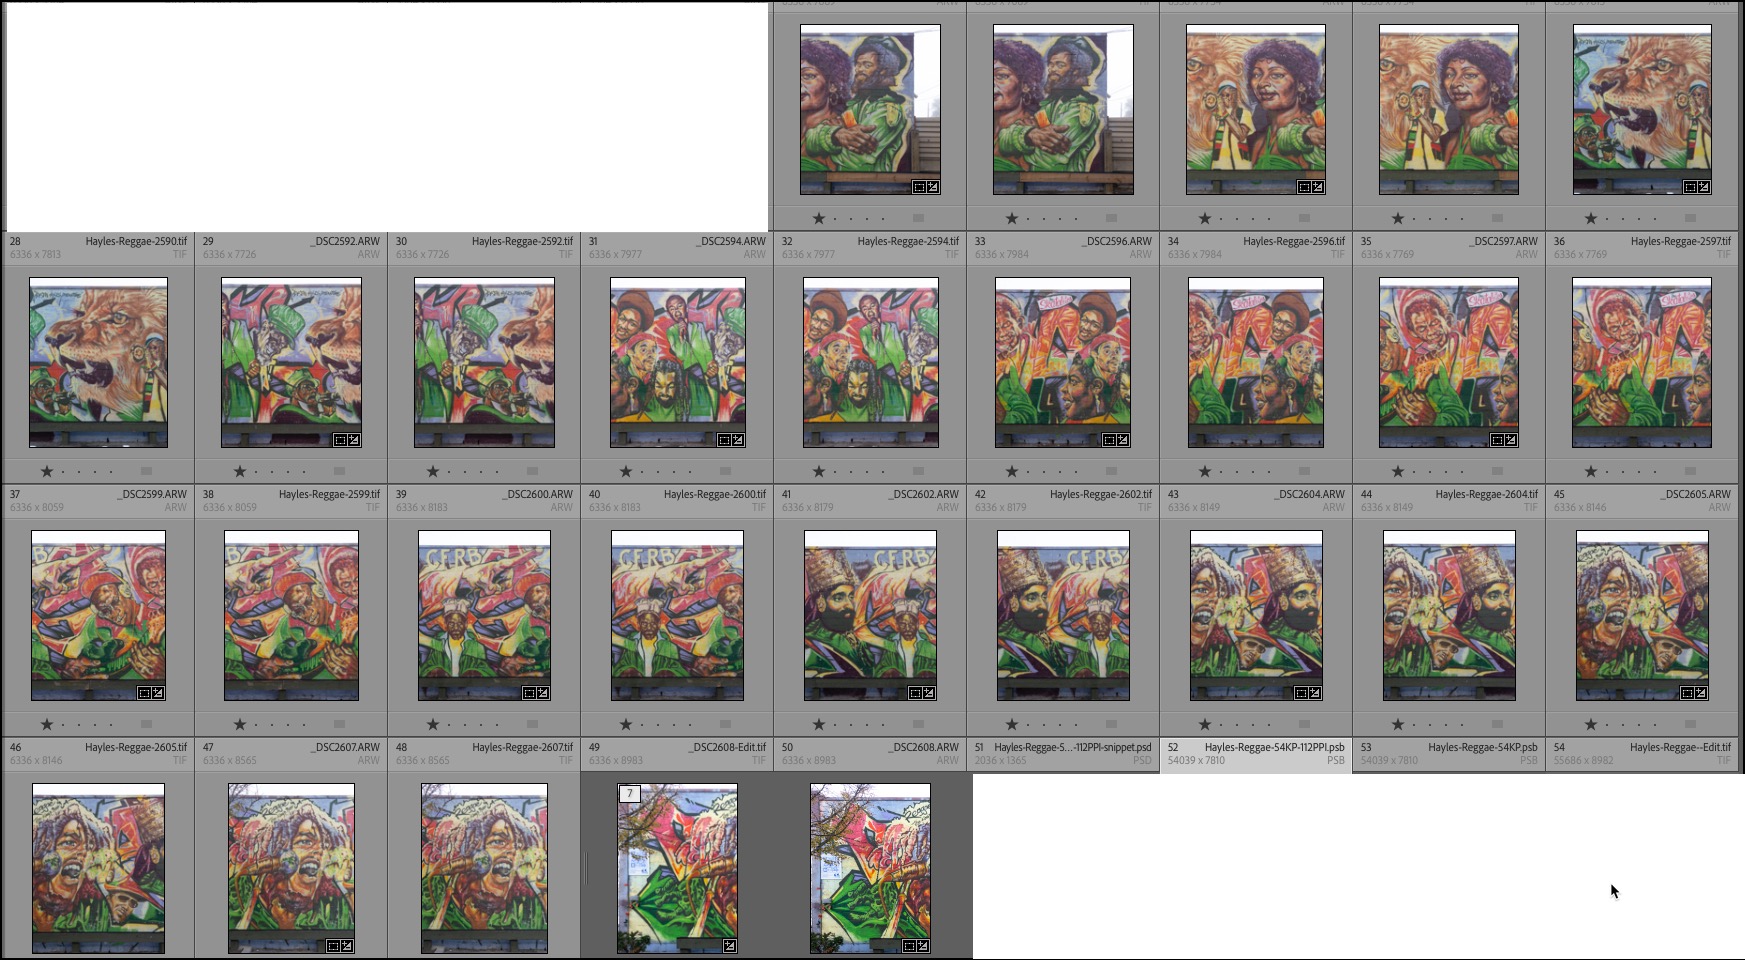
To do so, and to be certain that the stitching application can work, I generally allow about one-third overlap on each side of each photo, and I make one set of vertical captures as well as another set of horizontal captures, because sometimes one orientation works better than the other. This procedure means walking along the mural making quite a few photos – in this case the initial count was 85 images, including quite a number of duplicates (the TIFFs from the RAWS) and detail photos. Not all of them needed to be used for the composites. I used 14 TIFFs for the composite from the portrait mode images (Figure 5), raw photos no adjustments), and 6 TIFFs from the images in landscape mode.
Why the conversions to TIFF for making the composites? Composites to be constructed from photos made by walking along a wall always work best when the contents of the photos to be merged are perfectly straight and aligned. While having the camera on a tripod helps to meet this criterion, often it isn’t perfect for a variety of reasons, meaning that some use of the Upright perspective control in Lightroom is a go-to tool for correcting alignments easily.
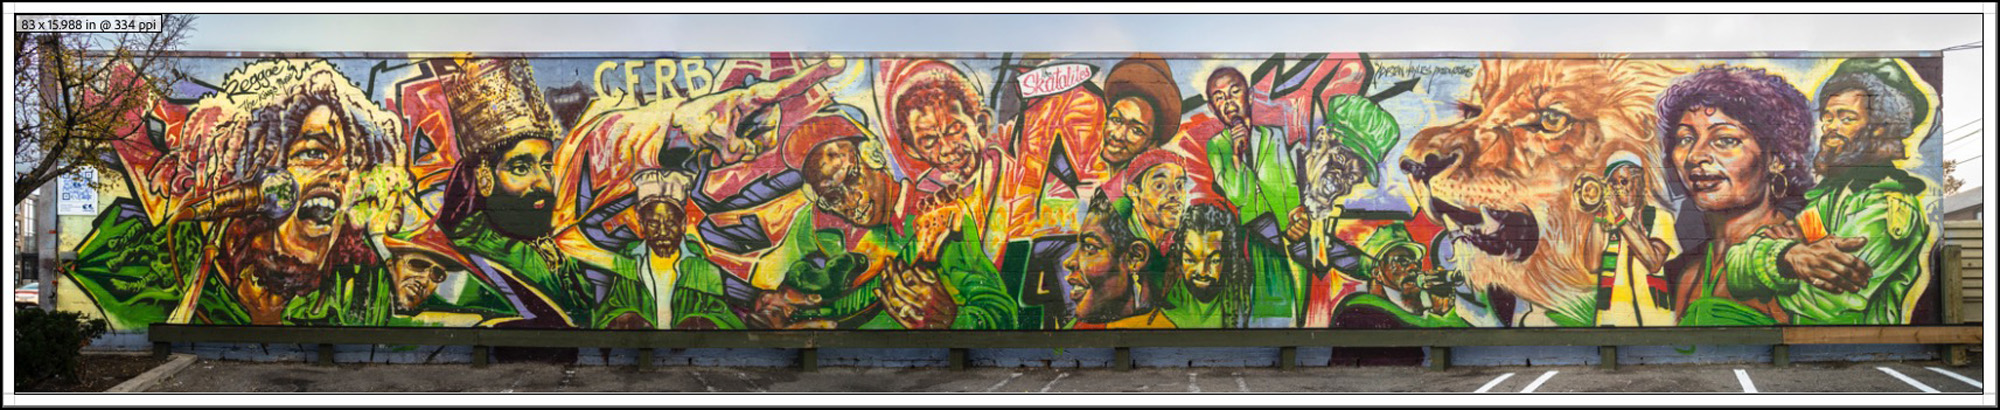
HOWEVER, Lightroom does not recognize those corrections in a Photo Merge operation. Photo Merge of raw files in Lightroom goes right back to the original raw files ignoring the added adjustments. Therefore, saving the corrected images as TIFFs bakes-in those upright corrections in a rendered file, which can then be used for Photo Merge either in Lightroom or Photoshop with all editing accounted. So that’s what I do, and it produced a composite looking like this (Figure 6):
The vertical version produces a considerably higher pixel count than the horizontal one, because more photographs are used to capture and compose the panorama, insofar as compared with the horizontal version, one captures less width with more photos. And fortuitously, that’s what we needed for producing the Oakwood LRT Station version, though at the time I made the photos I didn’t know there would be any such thing.
Several years passed and all I did with this panorama was to give Adrian a printed copy for his gallery. I made that one from the horizontal set which gave us a pano 7 feet wide by 16.5 inches tall at 345 PPI, which was fine for an Epson SC-P5000 printer. Then one fine day several months ago Adrian called me and asked me if I could produce this pano in a version 40 feet wide because an arrangement was in the works to paste it on the back wall of the Oakwood LRT Station and this was the best photo in existence to do the job.
What had happened is that Mr. Mike Colle, a city councillor at the time, developed an agreement with a nearby condo developer (for financing) and Metrolinx (the owner of the LRT line) to install a photo of Adrian’s mural in Oakwood Station.
My first – and only – concern was about the pixel count needed for a 40 foot wide panorama in order for it to print with decent photographic quality, taking into account of course that pixel-peeping would be impossible. I had a conversation with Rollout (Rollout.ca), the Toronto custom wallpaper company printing and installing the photo. They told me they only needed 112PPI, and that it would be printed on a Vinyl substrate.
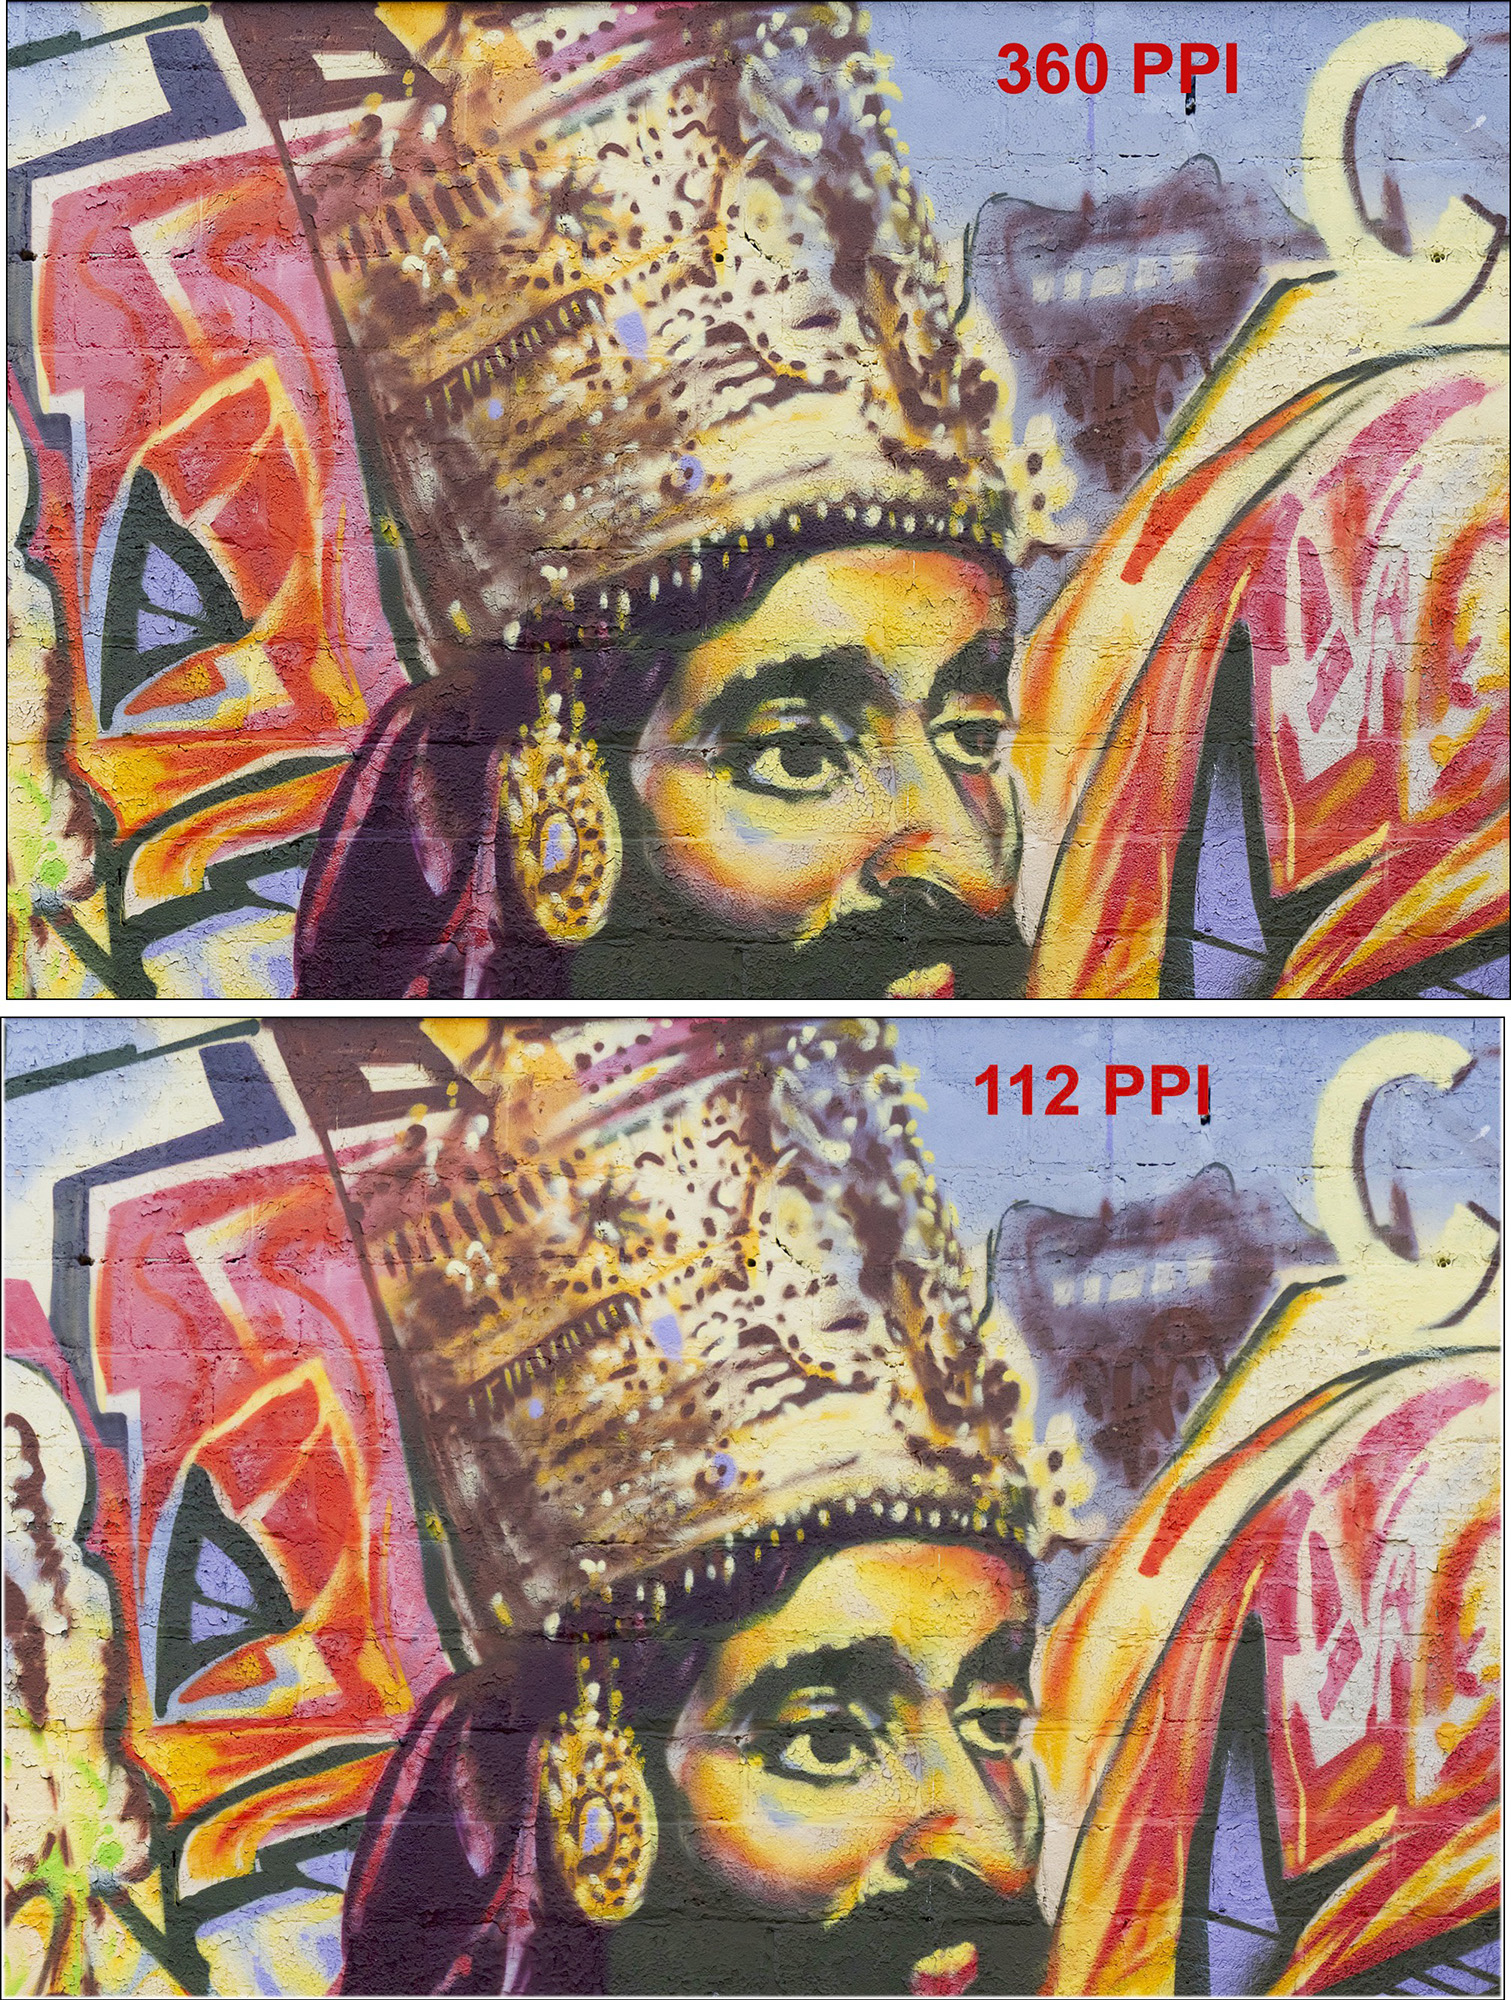
With that in mind, I assembled the vertical mode version, resized and resampled it in Photoshop so it turned out to be 40 feet wide by about 6 feet tall at 112 PPI; I tested this result using a snippet of the photo in my Epson P5370 and was pleased to see it looked OK. (Figure 7, comparing resolution after resampling but before printing), This only tests the quality of the input to their printer. What comes out one only sees when it’s printed in their machine on their substrate.
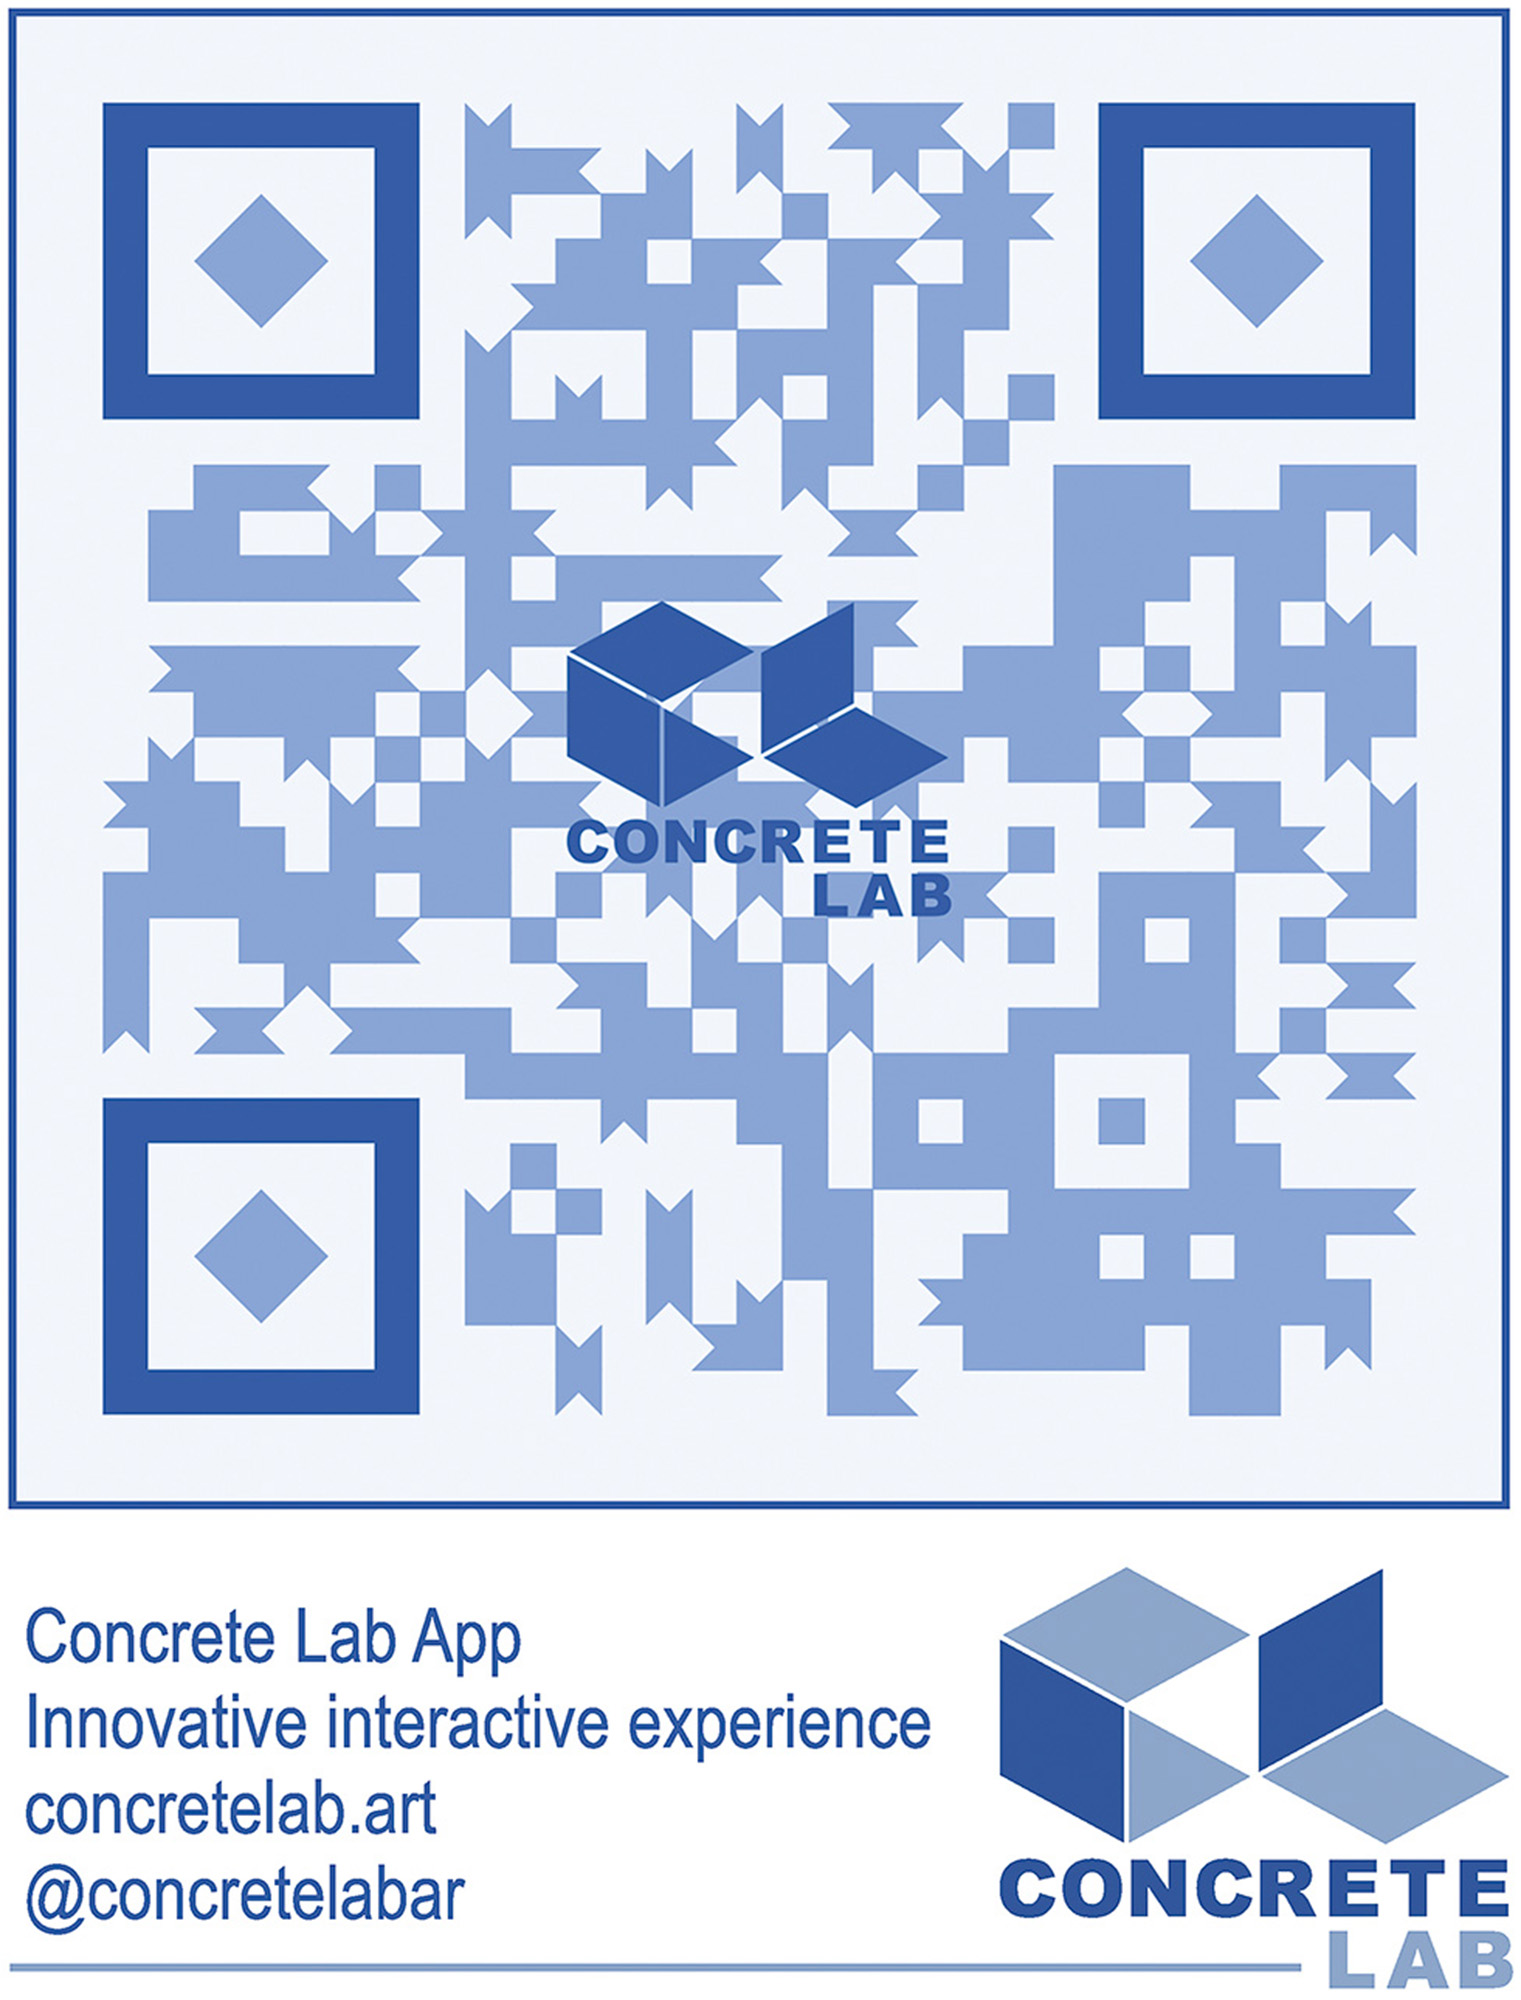
Then they wanted the tree branches in the upper left corner removed, which I was able to do with Photoshop’s Remove tool as its AI could easily reconstruct the behind material from the surrounding and visible background content. Then I had to paste-in a new version of the ConcreteLabar (https://concretelab.art/) QR code (Figure 8) in the lower left side that Adrian sent me. More about this ingenious application (which Adrian Hayles developed and owns) below.
The final composite I sent them looks something like this (Figure 9):

Part of Rollout’s production procedure was to perform an on-site adhesion test of the chosen material before committing the print.
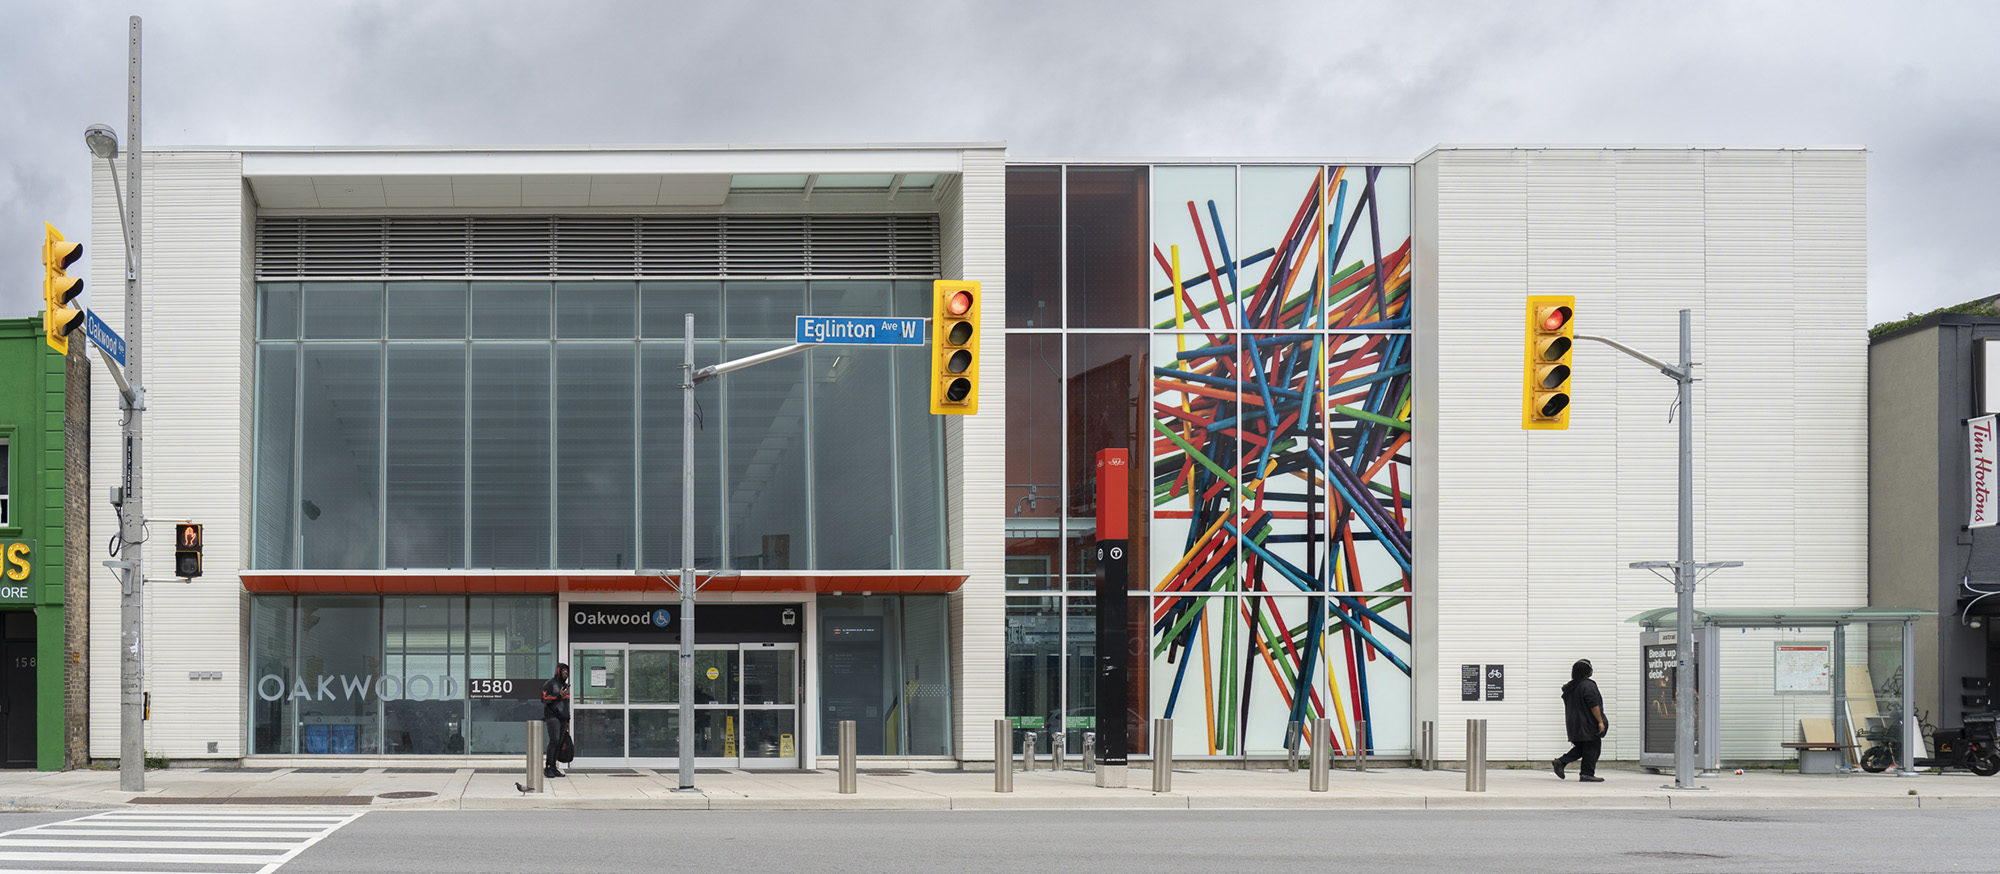
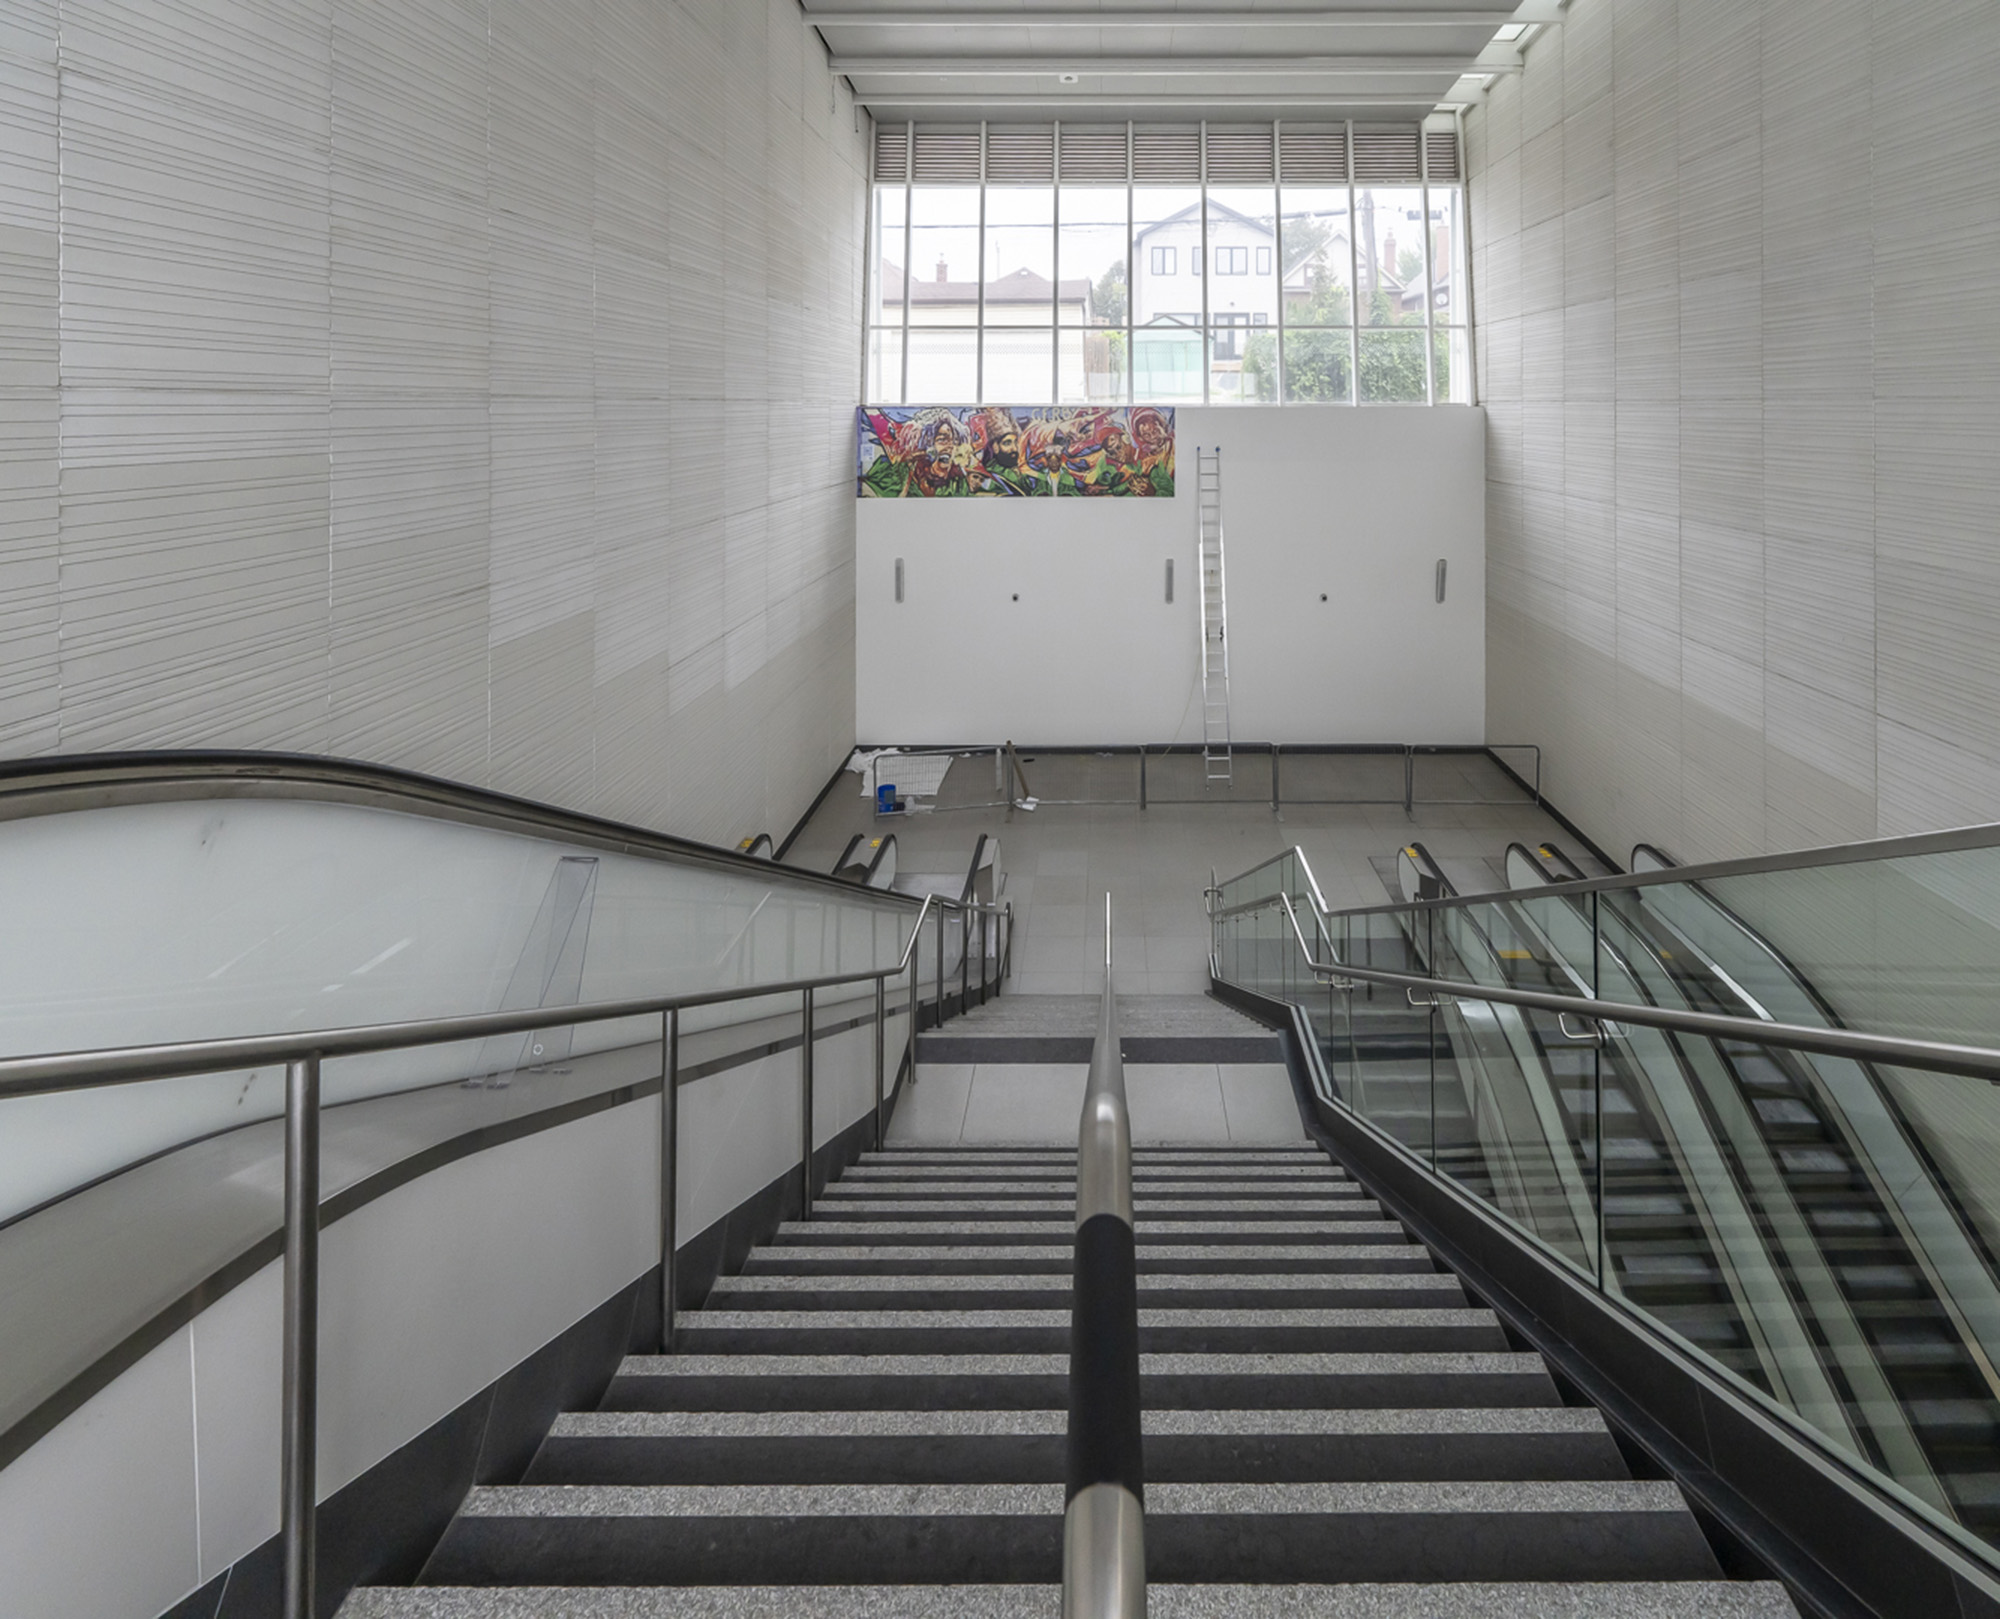
Several weeks ago Adrian sent me a note saying the install on the back wall of the LRT station was underway. Hooray, I dashed over there with my camera and captured some photos of the install as it progressed. It was impressive to watch the installers do this. Rollout had printed the pano on a series of large sheets with great precision alignment from one to the next and the installers pasted it onto the wall with equal care. It looks seamless and transforms the appearance of that otherwise sterile-looking station entrance. (Figures 10 to 15)
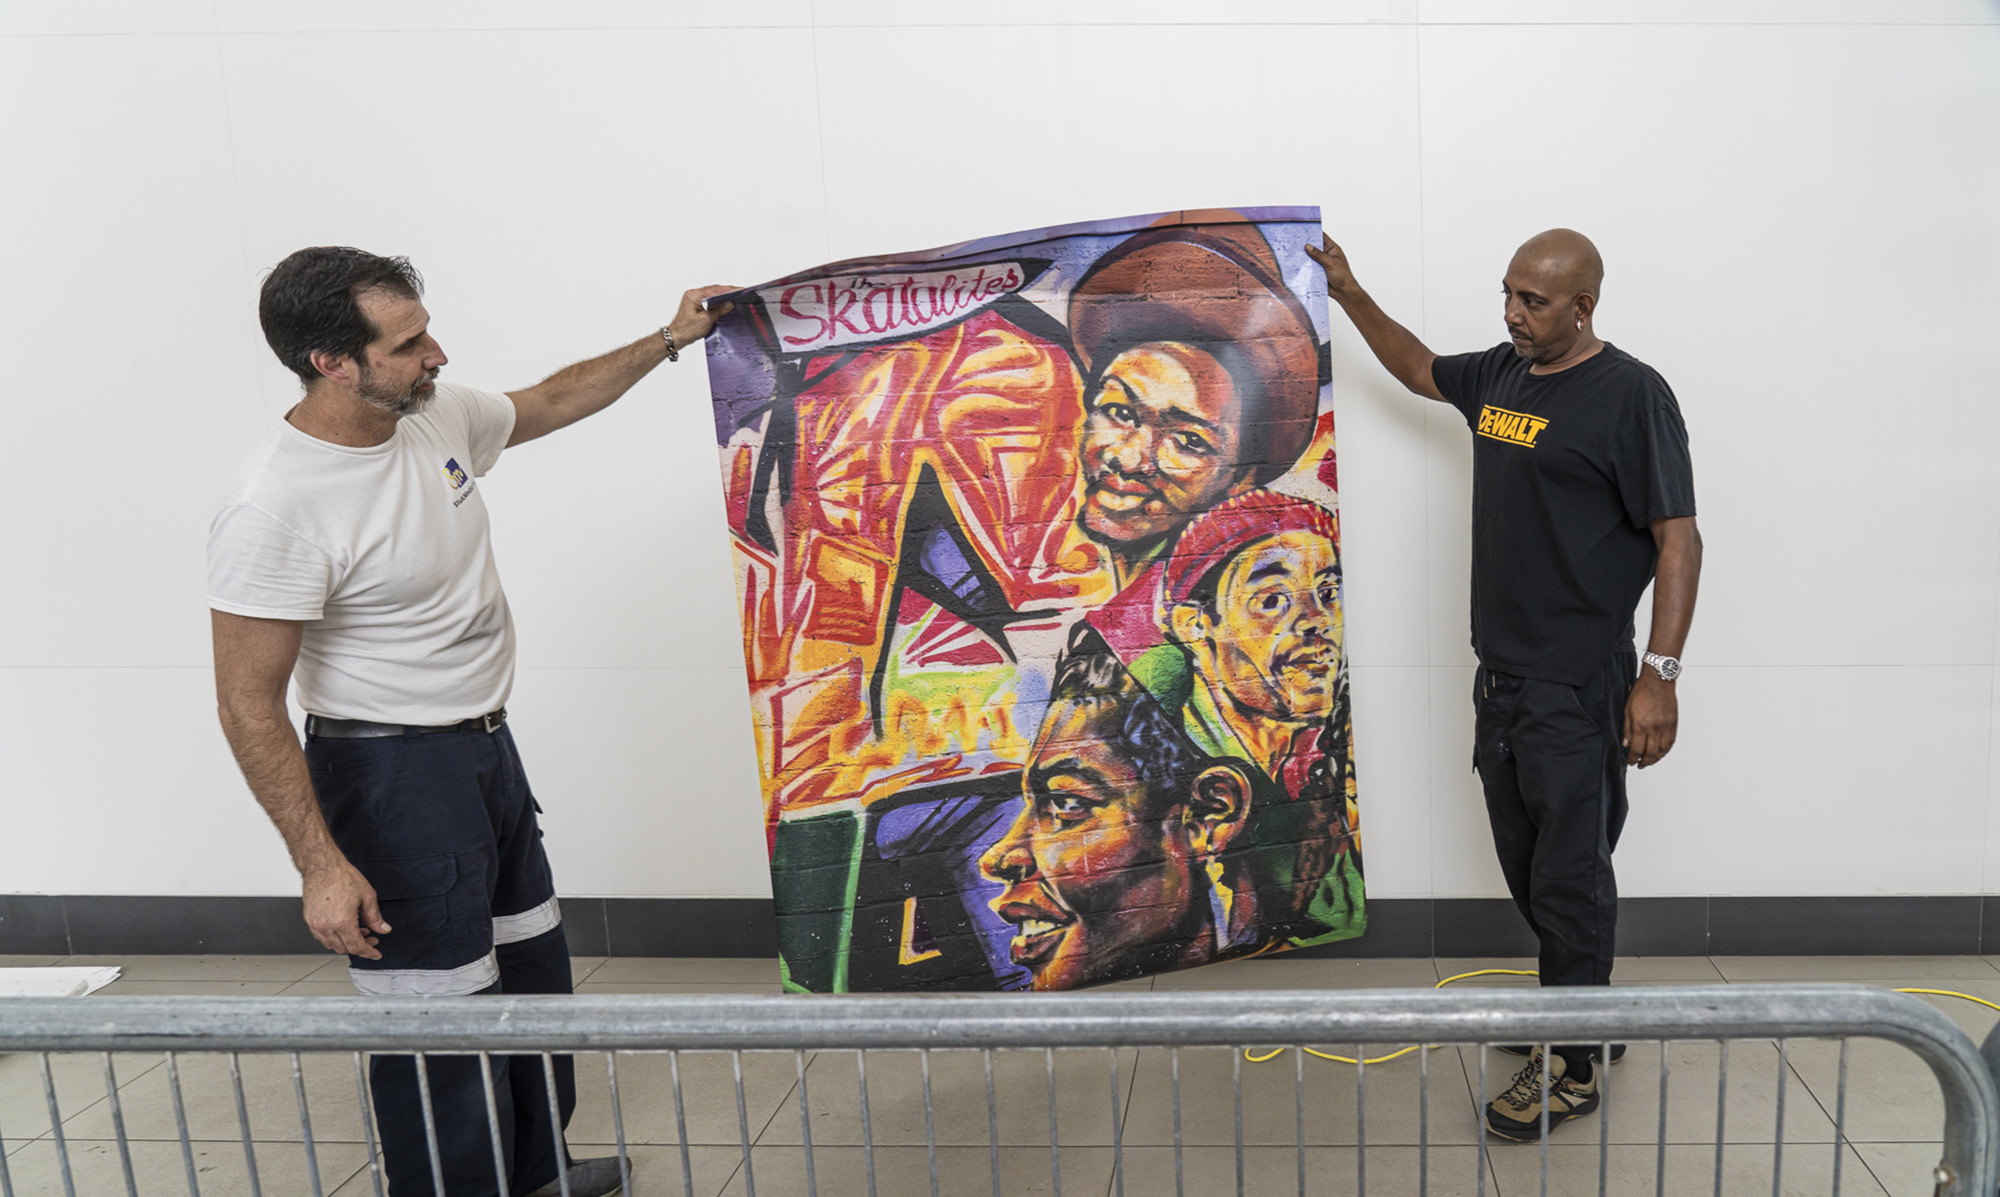
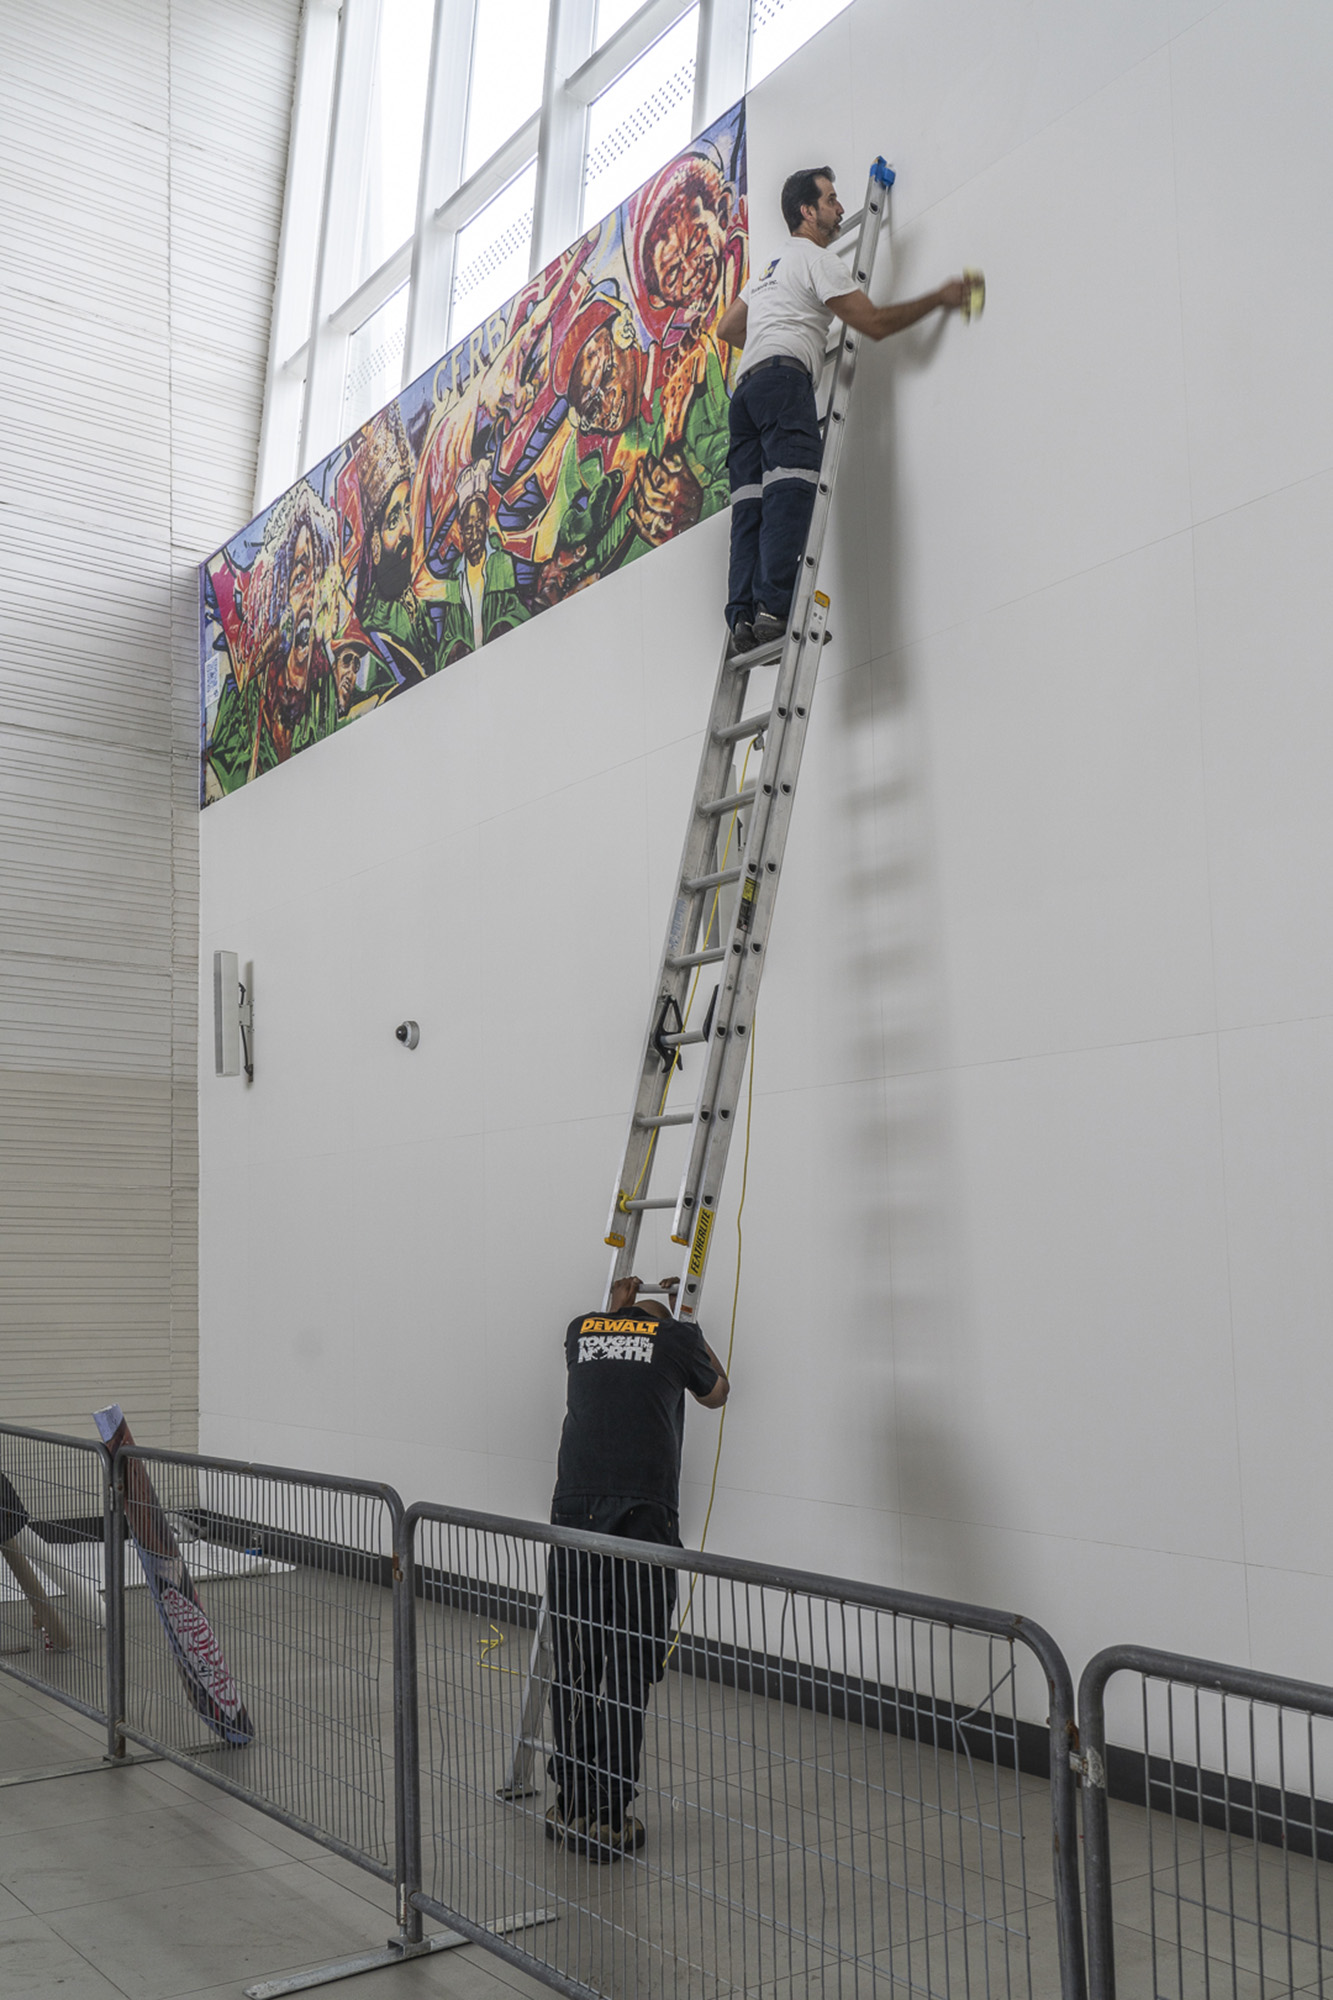
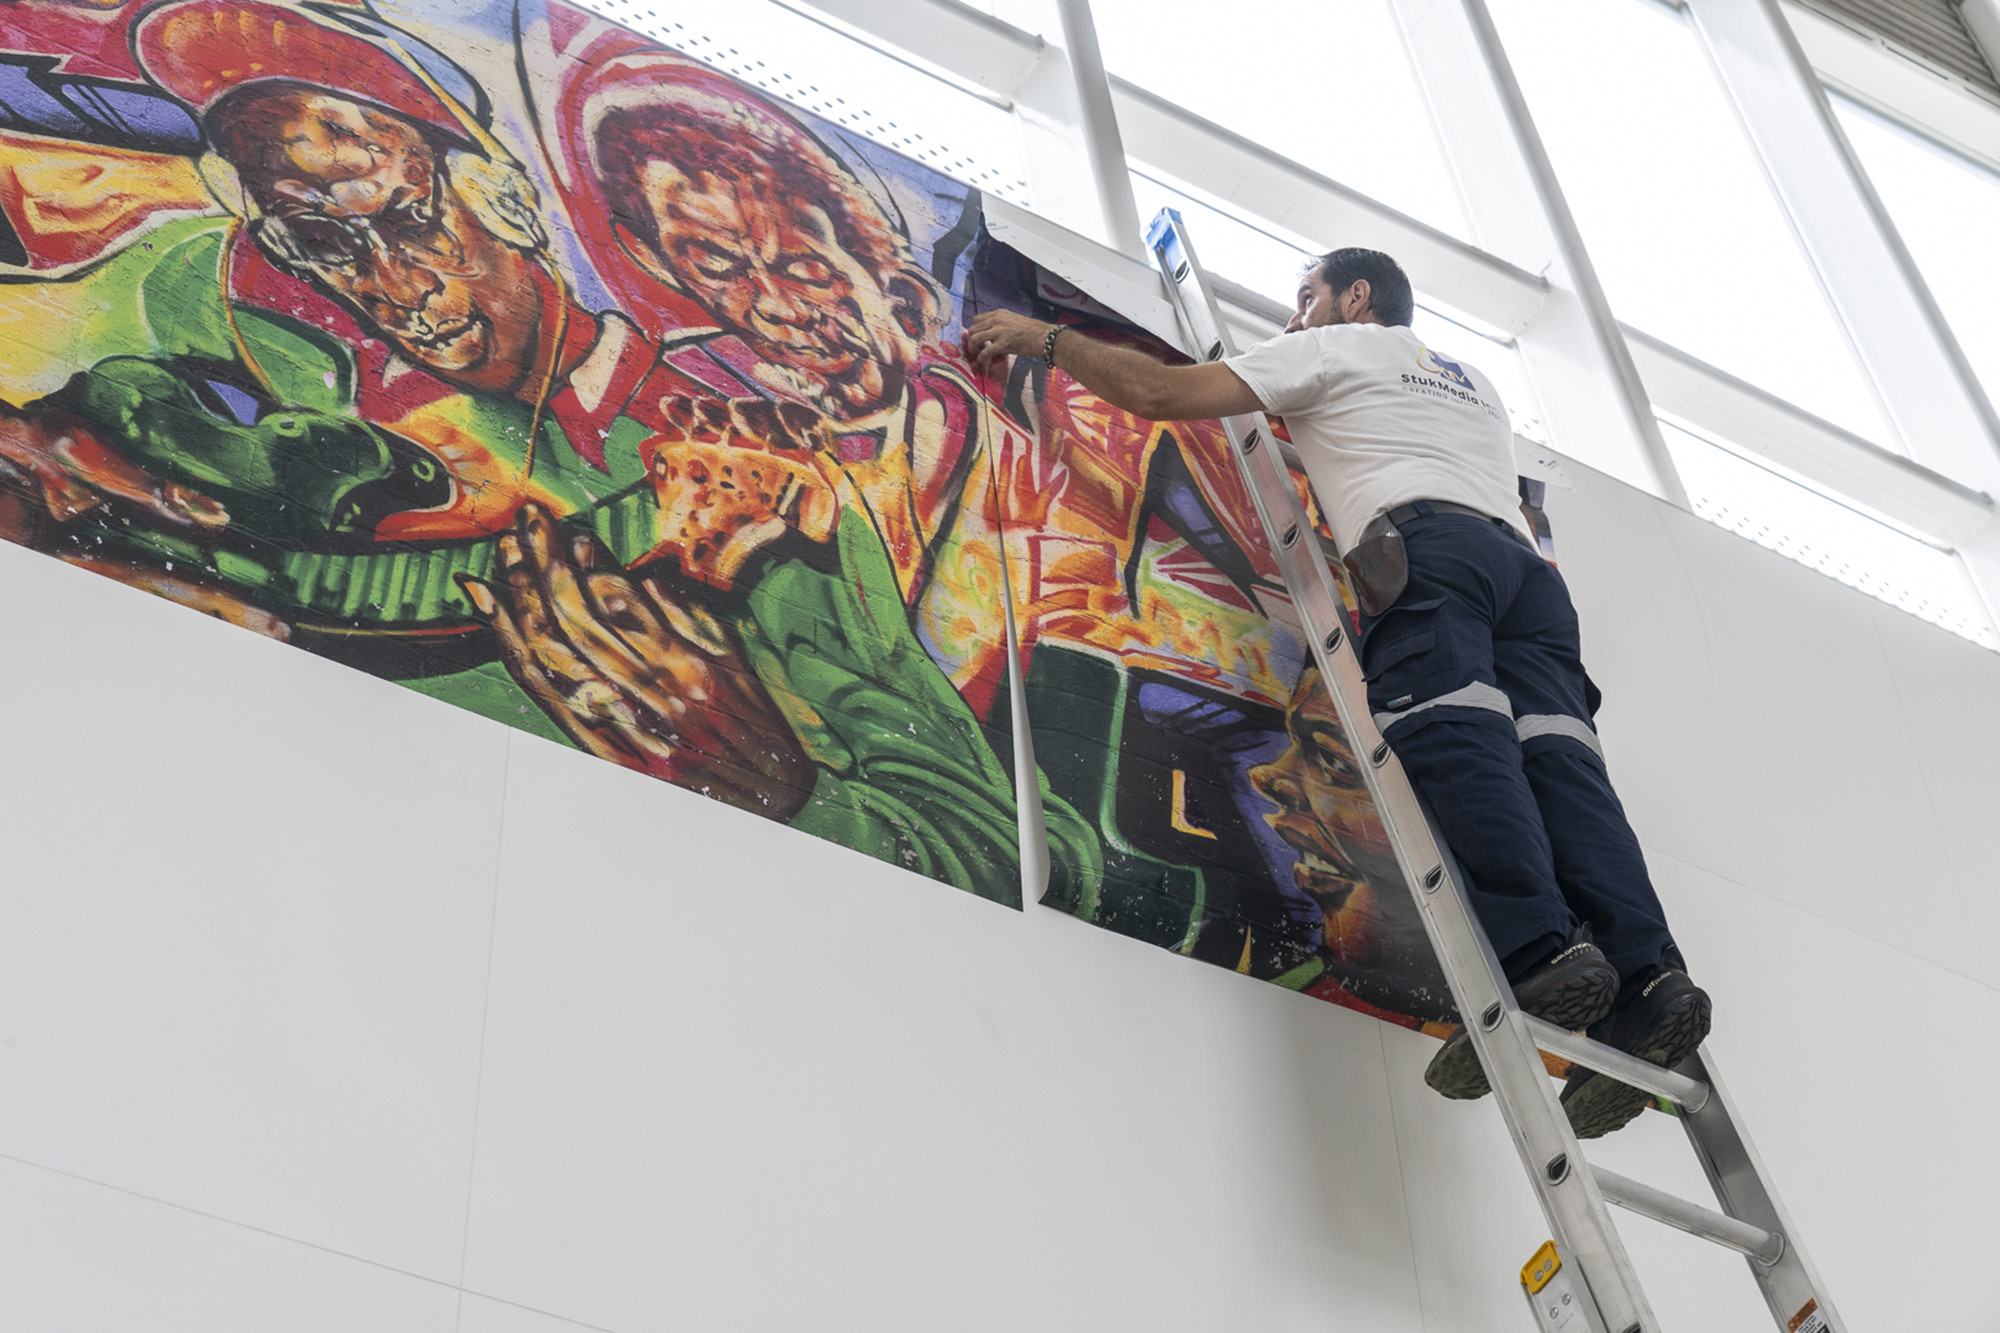
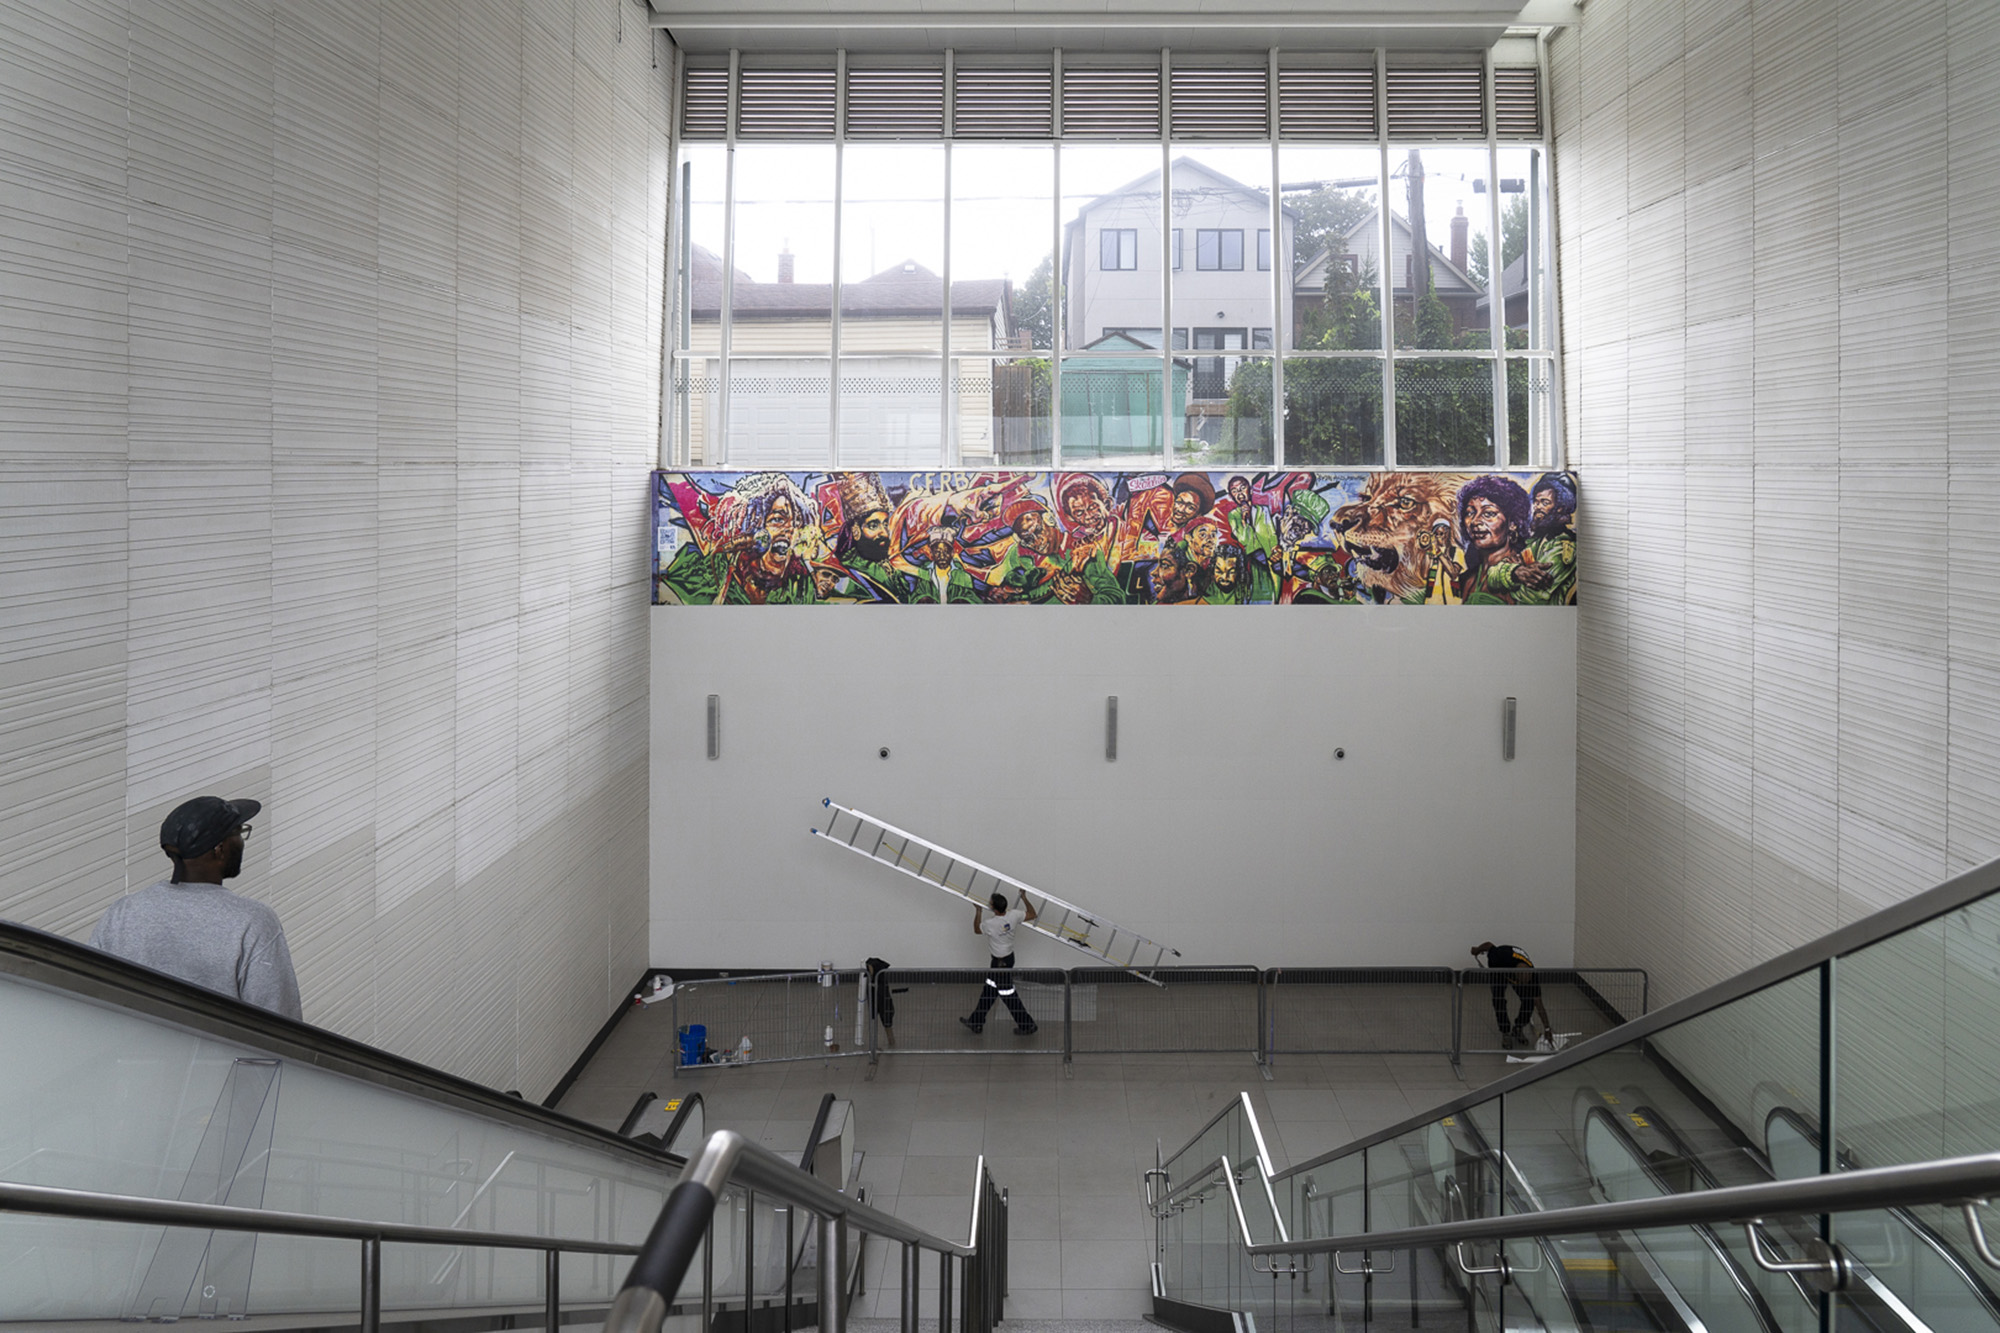
Now, the Concrete Lab app. How this works: it’s a real-time commentary on detailed aspects of the mural. This works either in front of the mural itself, or the photographic reproductions of it. At present it is developed for iPhone only. You point your phone’s camera on the QR code (Figure 8) and tap to access the app. Once the app has been downloaded and is open, point your viewfinder at the mural, the target areas will be in green and when the triggers are hit the underlaid art will show indicating the activity, the bios of the artist’s music playing in the background. The artists will be high-lighted when triggered and the surrounding art will be greyed out. It’s ingenious.
The lessons of experience I took away from having done this photographic preparation are essentially: (1) you never know when it will pay to archive high resolution raw files of your better photographs; (2) the technology within Photoshop for resampling and resizing images has become truly impressive, and (3) the detail and colour gamut achieved in the Vinyl print is remarkable, again evidence of very substantial technical progress with digital printing over the recent several decades of digital imaging.
Mark D Segal
Toronto, September 2026
Elevate Your Vision


Read this story and all the best stories on The Luminous Landscape
The author has made this story available to Luminous Landscape members only. Upgrade to get instant access to this story and other benefits available only to members.
Why choose us?
Luminous-Landscape is a membership site. Our website contains over 5300 articles on almost every topic, camera, lens and printer you can imagine. Our membership model is simple, just $2 a month ($24.00 USD a year). This $24 gains you access to a wealth of information including all our past and future video tutorials on such topics as Lightroom, Capture One, Printing, file management and dozens of interviews and travel videos.
- New Articles every few days
- All original content found nowhere else on the web
- No Pop Up Google Sense ads – Our advertisers are photo related
- Download/stream video to any device
- NEW videos monthly
- Top well-known photographer contributors
- Posts from industry leaders
- Speciality Photography Workshops
- Mobile device scalable
- Exclusive video interviews
- Special vendor offers for members
- Hands On Product reviews
- FREE – User Forum. One of the most read user forums on the internet
- Access to our community Buy and Sell pages; for members only.
You may also like