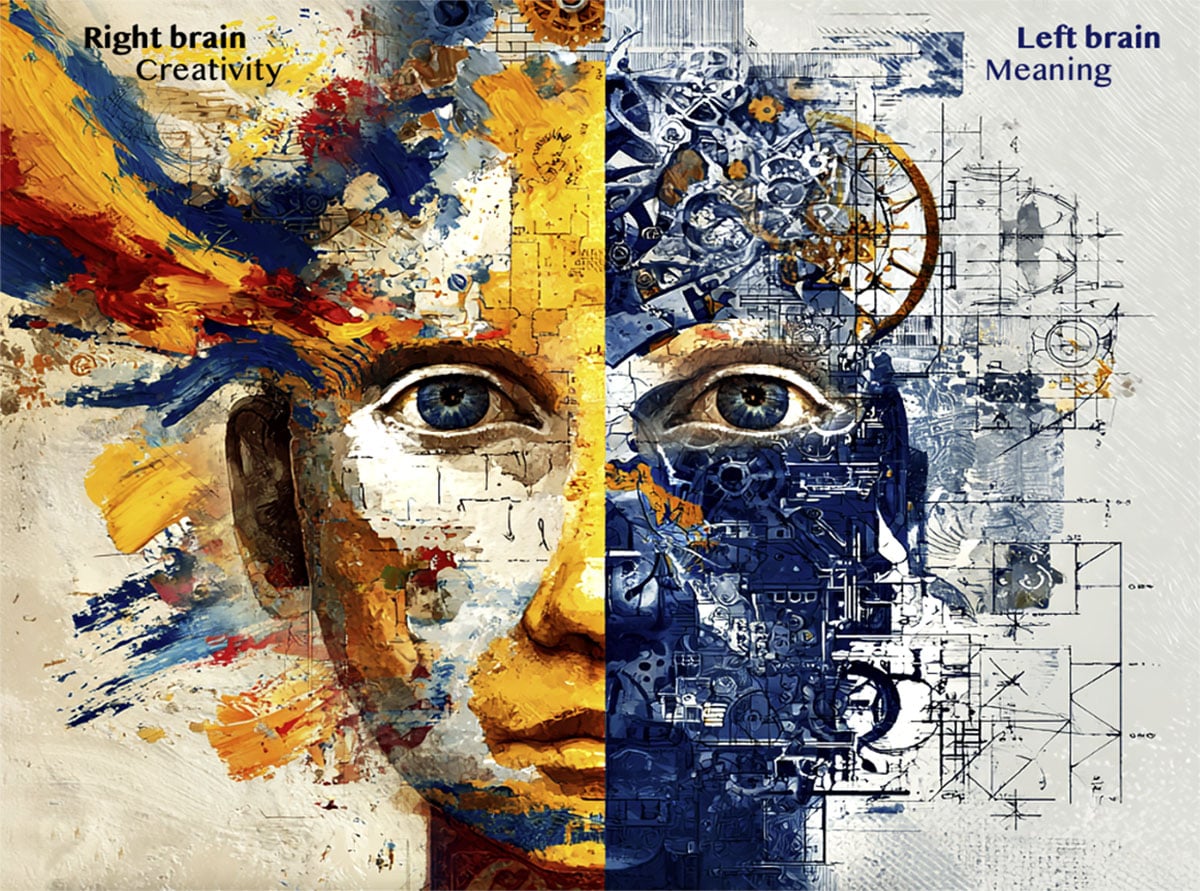
Your most powerful photography tool is the 200 million nerve fibers connecting both halves of your brain.


Hoping someone discovers your work isn't a plan - here's how to actually find the audience your photography deserves.


Notable releases in photography in 2025 and where we are headed.
Subscribe to our newsletter
Get interesting news updates from LuLa delivered straight to your inbox.
Join the newsletter
Our latest articles
All articles
Subscribers Only
Camera & Technology
Photographer Profiles
Techniques
Landscape & Environment
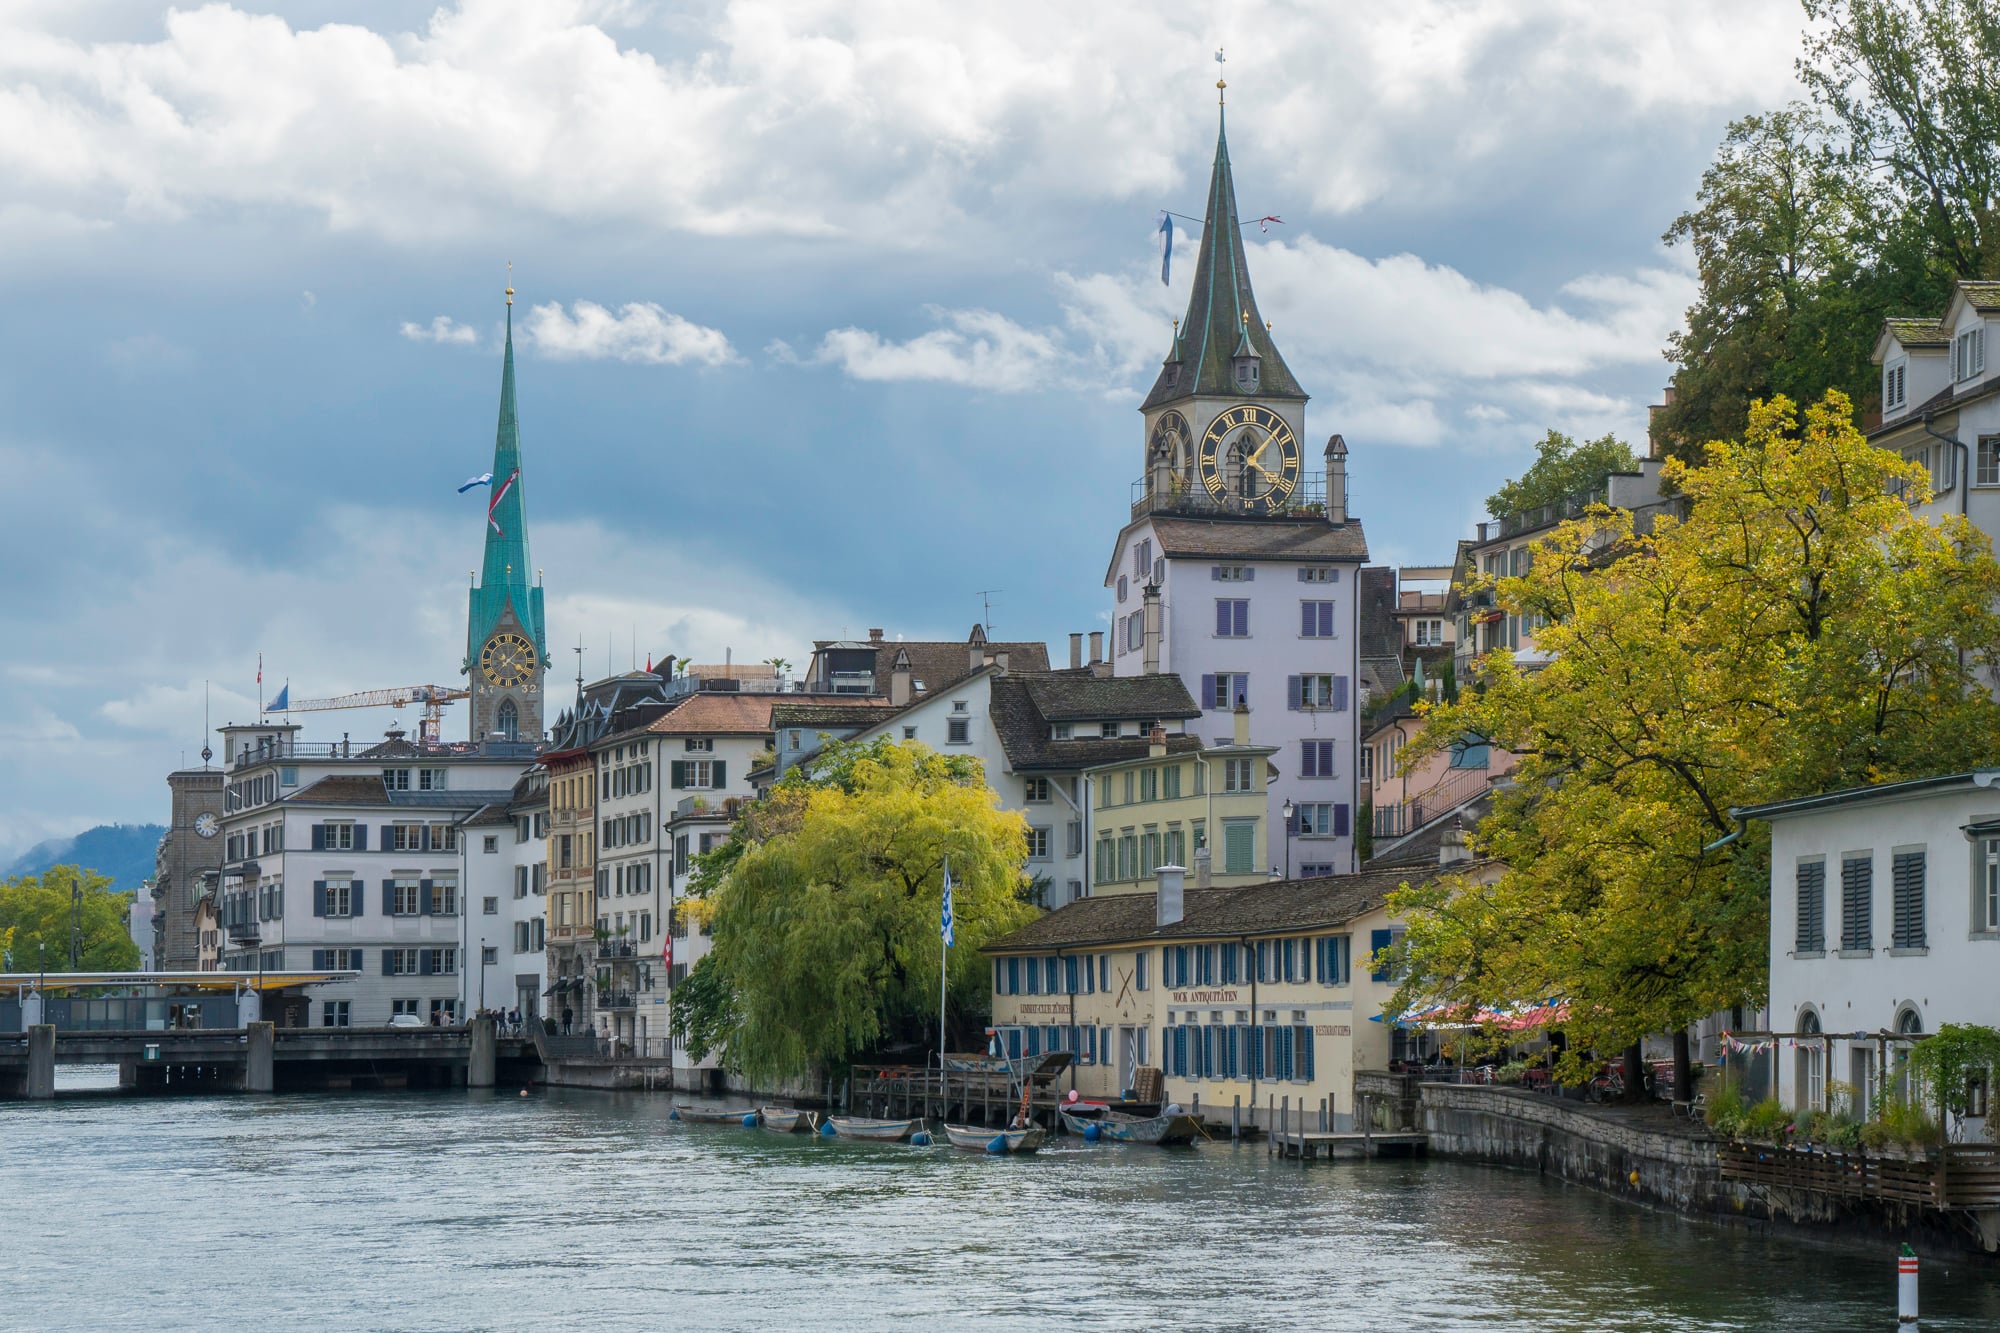
Next month, 25,000 photography enthusiasts will descend on Zurich for PhotoSCHWEIZ 2026 - here's why this prestigious Swiss exhibition deserves a spot on your calendar.
An end-of-year reflection on why the best camera for a young photographer might not be the "best" camera at all.
A holiday reflection on gratitude, community, and the light that connects us all.
How ImagePrint Black and Red manage colour and profiling for reliable photo printing.
What happens when the world's dominant drone manufacturer gets caught in the crossfire of geopolitics? We're about to find out.
Your most powerful photography tool is the 200 million nerve fibers connecting both halves of your brain.
Hoping someone discovers your work isn't a plan - here's how to actually find the audience your photography deserves.
Notable releases in photography in 2025 and where we are headed.
Next month, 25,000 photography enthusiasts will descend on Zurich for PhotoSCHWEIZ 2026 - here's why this prestigious Swiss exhibition deserves a spot on your calendar.
An end-of-year reflection on why the best camera for a young photographer might not be the "best" camera at all.
Notable releases in photography in 2025 and where we are headed.
An end-of-year reflection on why the best camera for a young photographer might not be the "best" camera at all.
How ImagePrint Black and Red manage colour and profiling for reliable photo printing.
What happens when the world's dominant drone manufacturer gets caught in the crossfire of geopolitics? We're about to find out.
What happens when AI data centers decide they need your SD cards more than you do?
A Conversation with Prashant Gharpure on Intentional Camera Movement in the Smoky Mountains
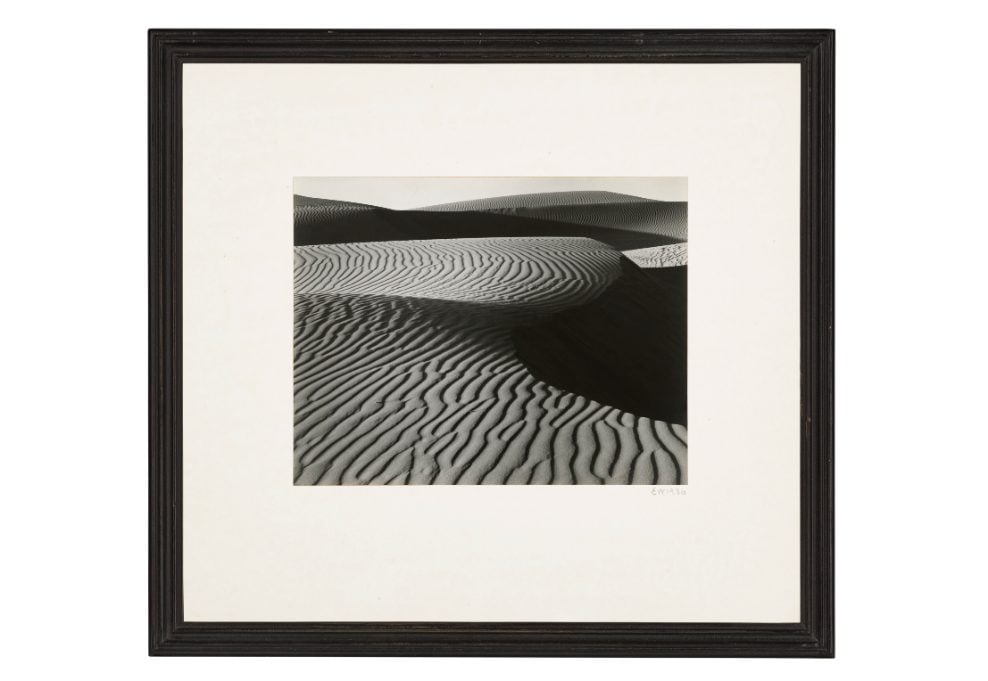
This Christie's sale brings together the titans who invented modern landscape photography, from Adams' technical precision to Sugimoto's philosophical vision.
Why I print every travel story instead of leaving it on a hard drive.
Learn how to eliminate color banding and create silky-smooth sky gradients in your blue hour photography with proven capture and post-processing techniques.
Shooting monochrome landscapes with Phase One IQ3 100MP - technical settings, exposure techniques, and creative challenges at 5,300m altitude.
Your most powerful photography tool is the 200 million nerve fibers connecting both halves of your brain.
Hoping someone discovers your work isn't a plan - here's how to actually find the audience your photography deserves.
Master photographic style to create cohesive, professional bodies of work.
A Conversation with Prashant Gharpure on Intentional Camera Movement in the Smoky Mountains
There are no mistakes in art, only attempts - and why that changes everything about how you create.
Your most powerful photography tool is the 200 million nerve fibers connecting both halves of your brain.
Next month, 25,000 photography enthusiasts will descend on Zurich for PhotoSCHWEIZ 2026 - here's why this prestigious Swiss exhibition deserves a spot on your calendar.
This Christie's sale brings together the titans who invented modern landscape photography, from Adams' technical precision to Sugimoto's philosophical vision.
As I wrote the reviews of the GFX 100SII and the 500mm f5.6, I realized that I’ve now used enough of the GFX lens line...
Seeing Carolina and choosing what to photograph.
The most viewed articles


Join for just $2 per month
Join for access to over 5000 in depth articles, hundreds of hours of video tutorials and access to the largest Photography forum.
Be in the Know: Get the Exclusive LuLa Newsletter Sent to Your Inbox!
Get access to exclusive articles, behind-the-scenes content, and become a valued member of our photography team! Subscribe now to elevate your photography experience.
Subscribe Now to Join Us!
Only $2 per month


